
Fabric selection
Always remember that the choice of fabric should be based on the calculation that you will often wash it. After all, the apron was created to protect your clothes from stains and take all the dirt from cooking on yourself.
First cloth, which is considered ideal for an apron to be teflon. Such a fabric does not leak water and does not absorb stains. It is easily erased, and also durable.

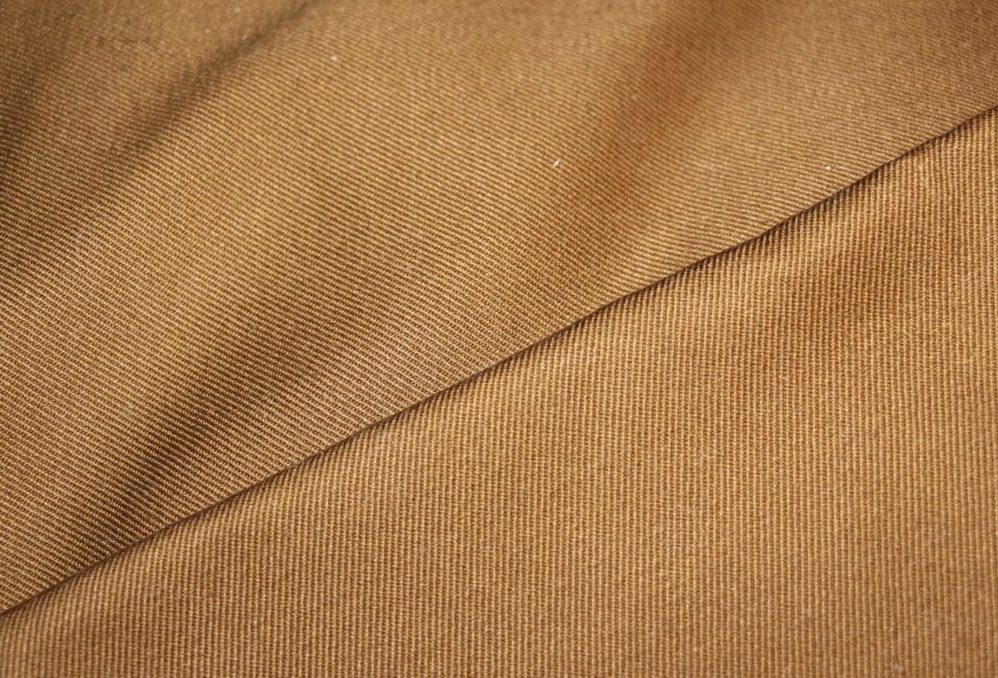
Second clothsuitable for aprons is a cotton fabric. The diagonal fabric has a cotton base, but comes with the addition of synthetics. It is easily erased, very dense and resistant to deformation.
Third fabric - synthetics. The synthetics are light, airy. It dries very quickly after washing, and also does not require ironing.
Color selection
In the selection of colors, experts recommend paying attention to several details:
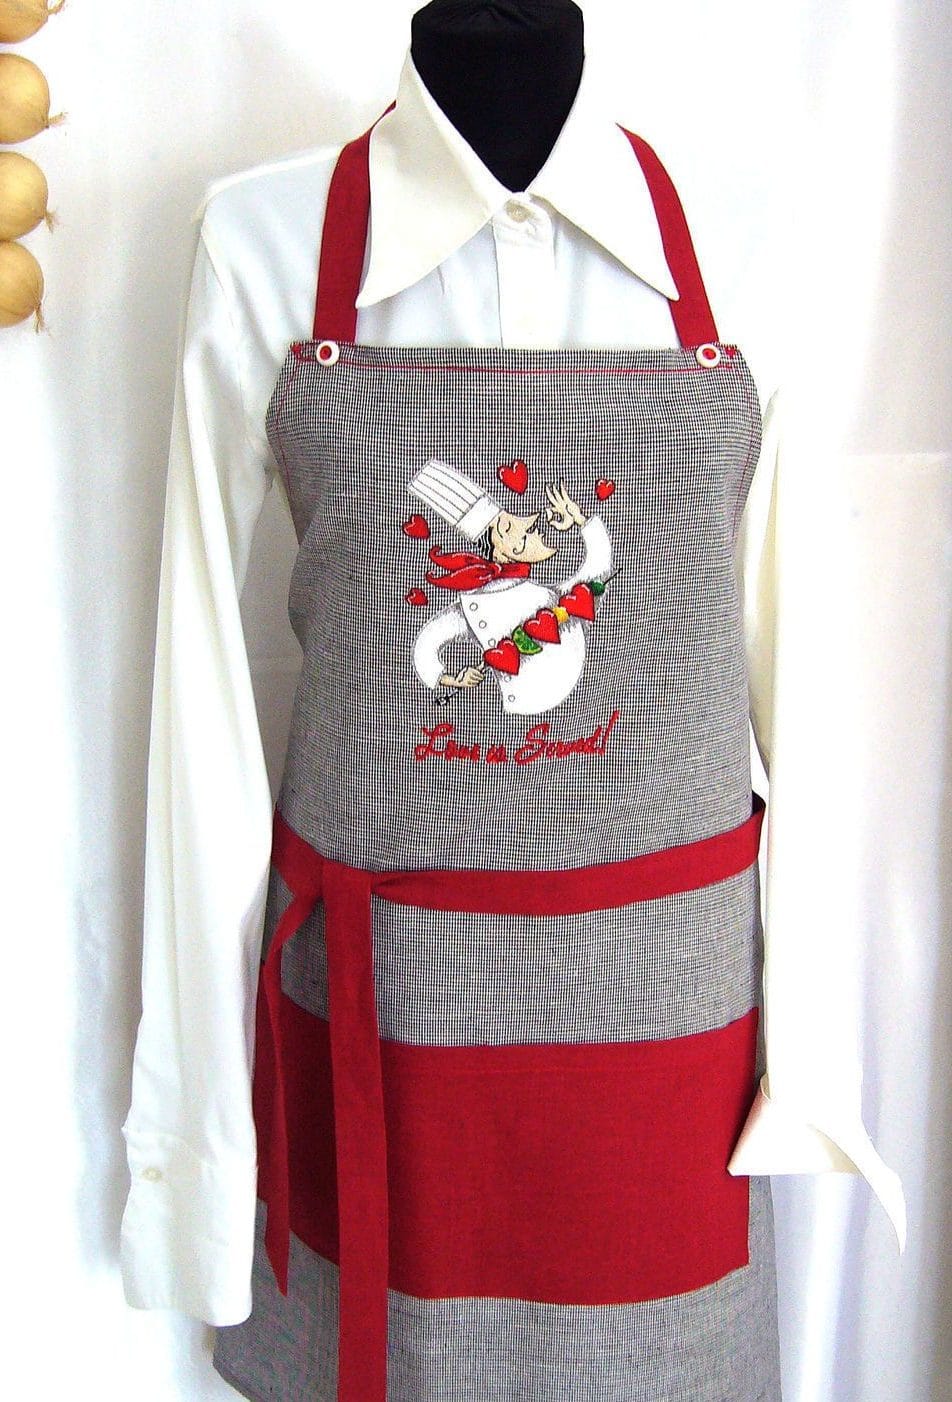
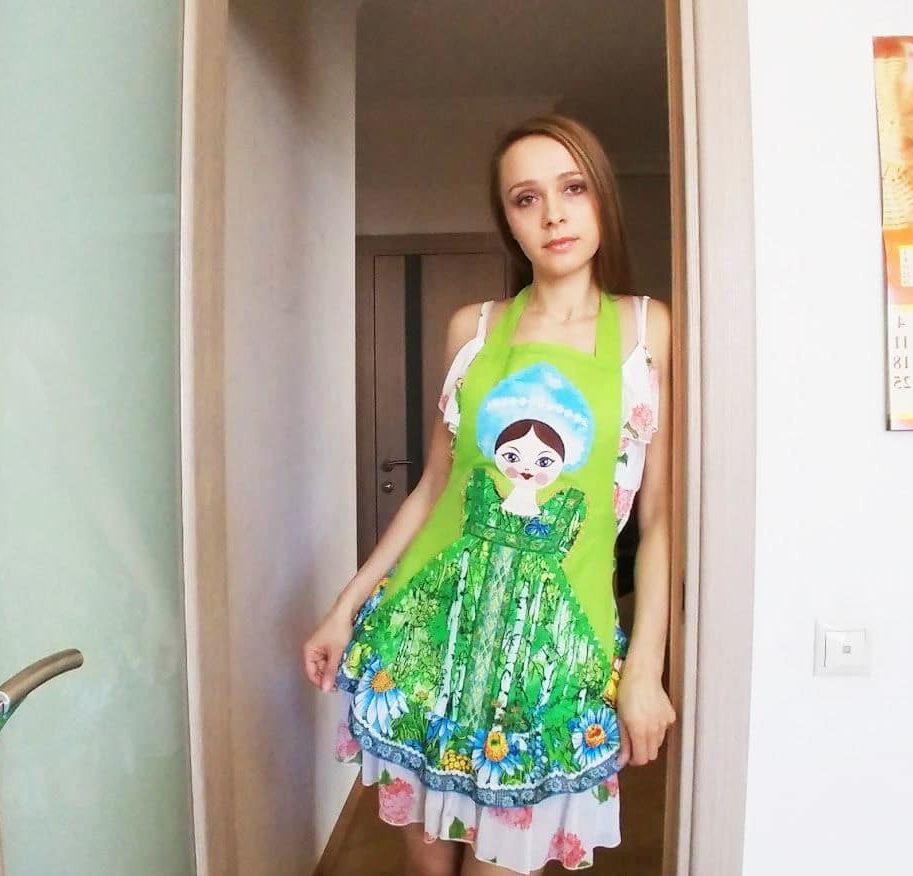
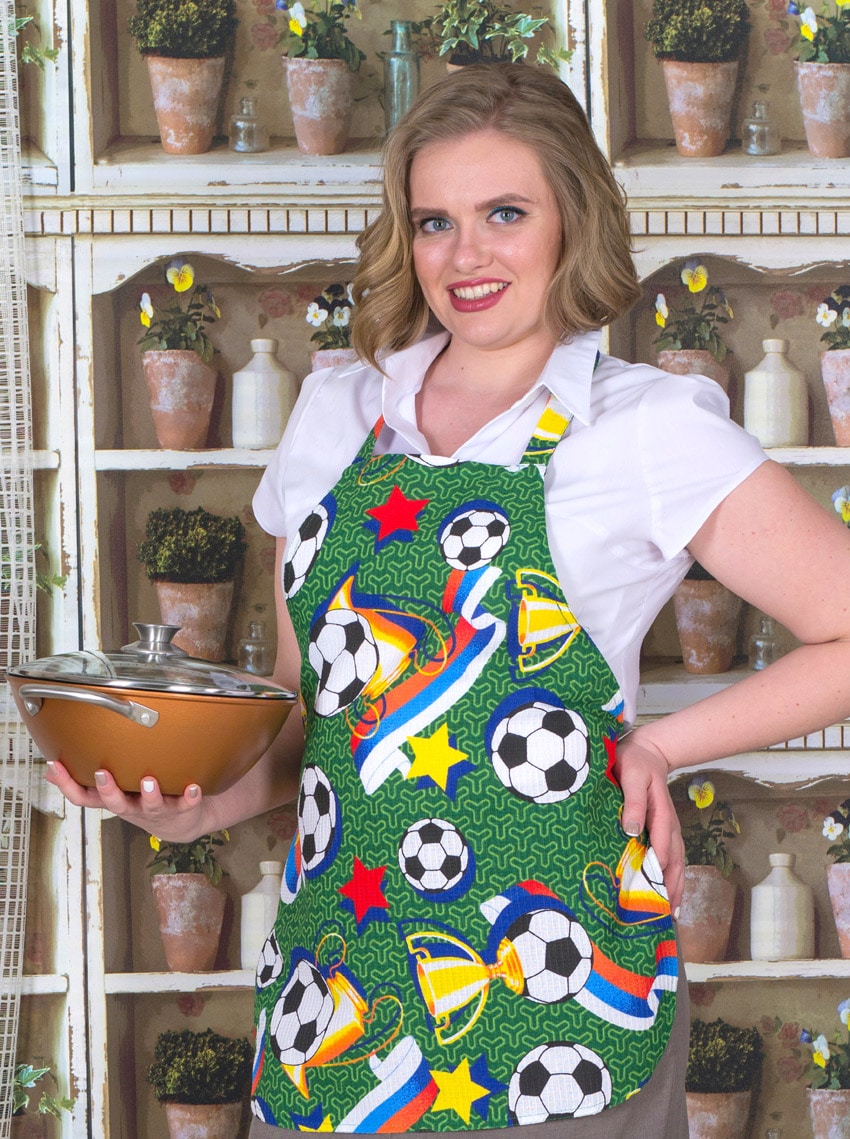
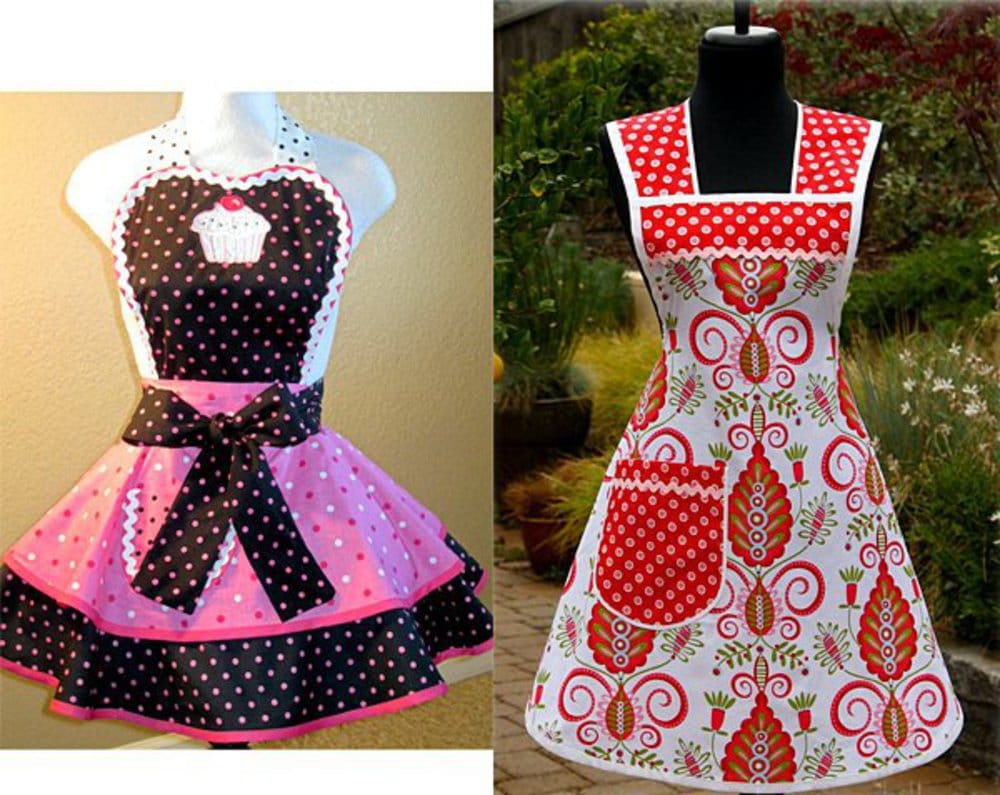
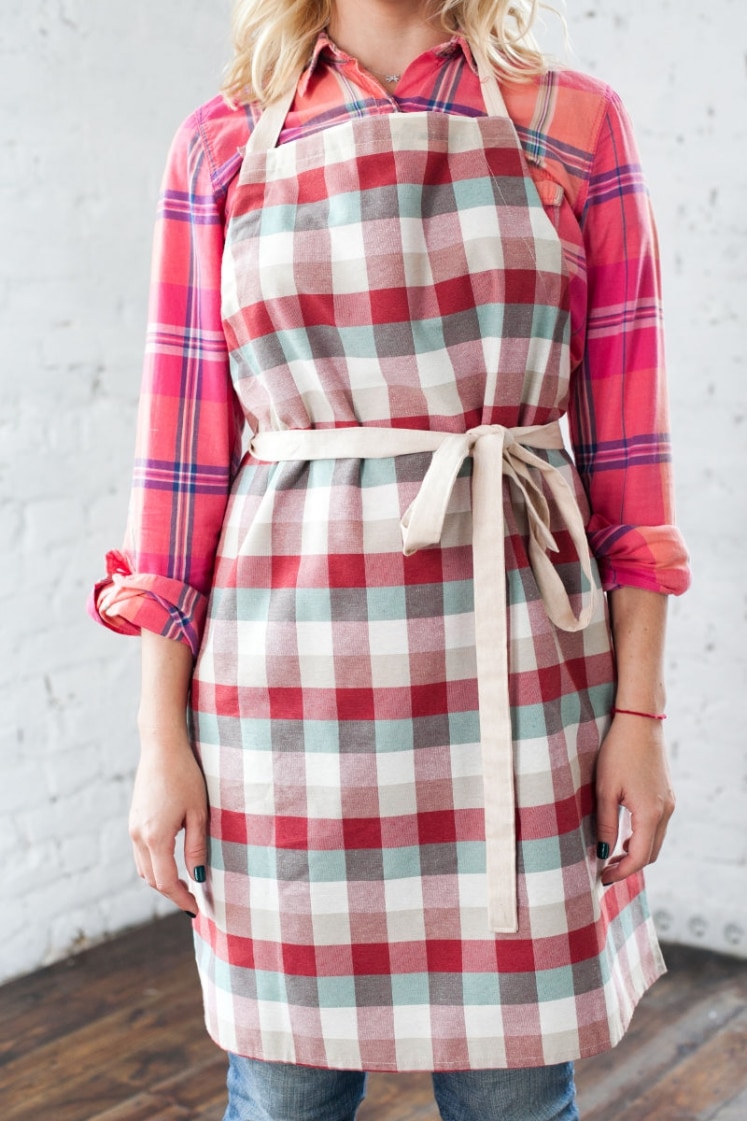
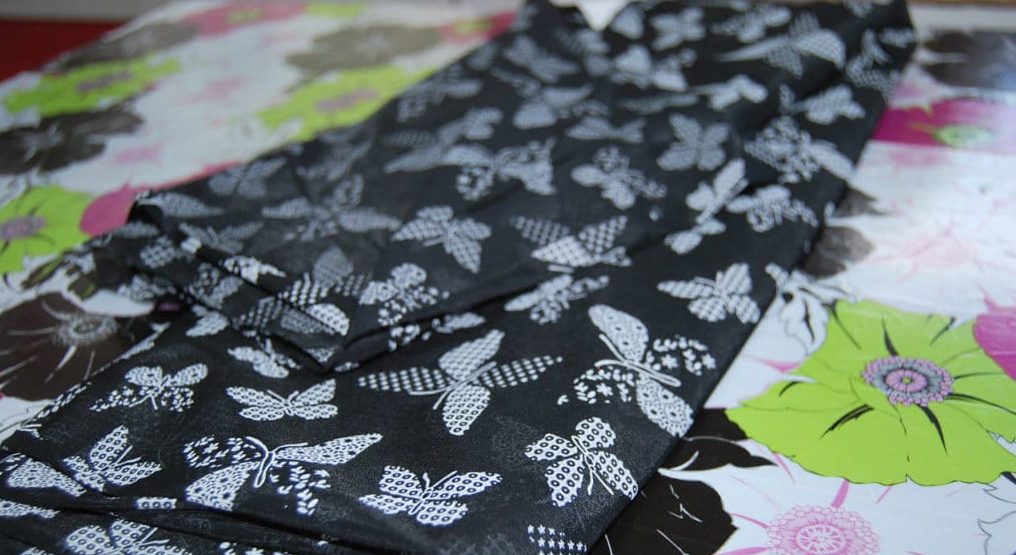
- On multi-colored fabric spots will be noticeably less than on plain.
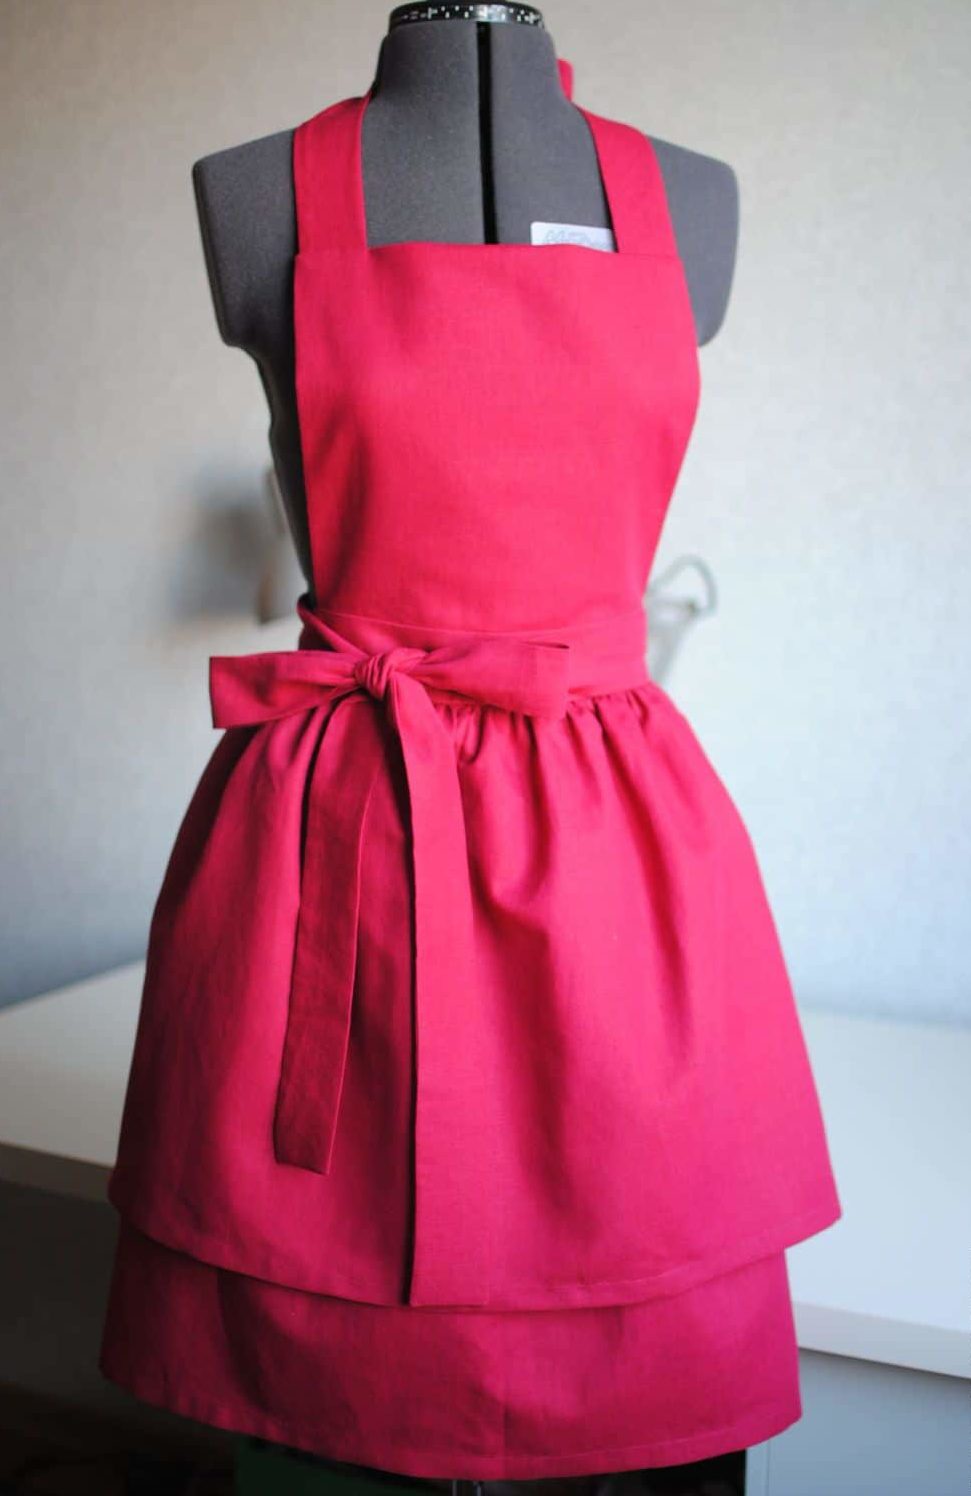
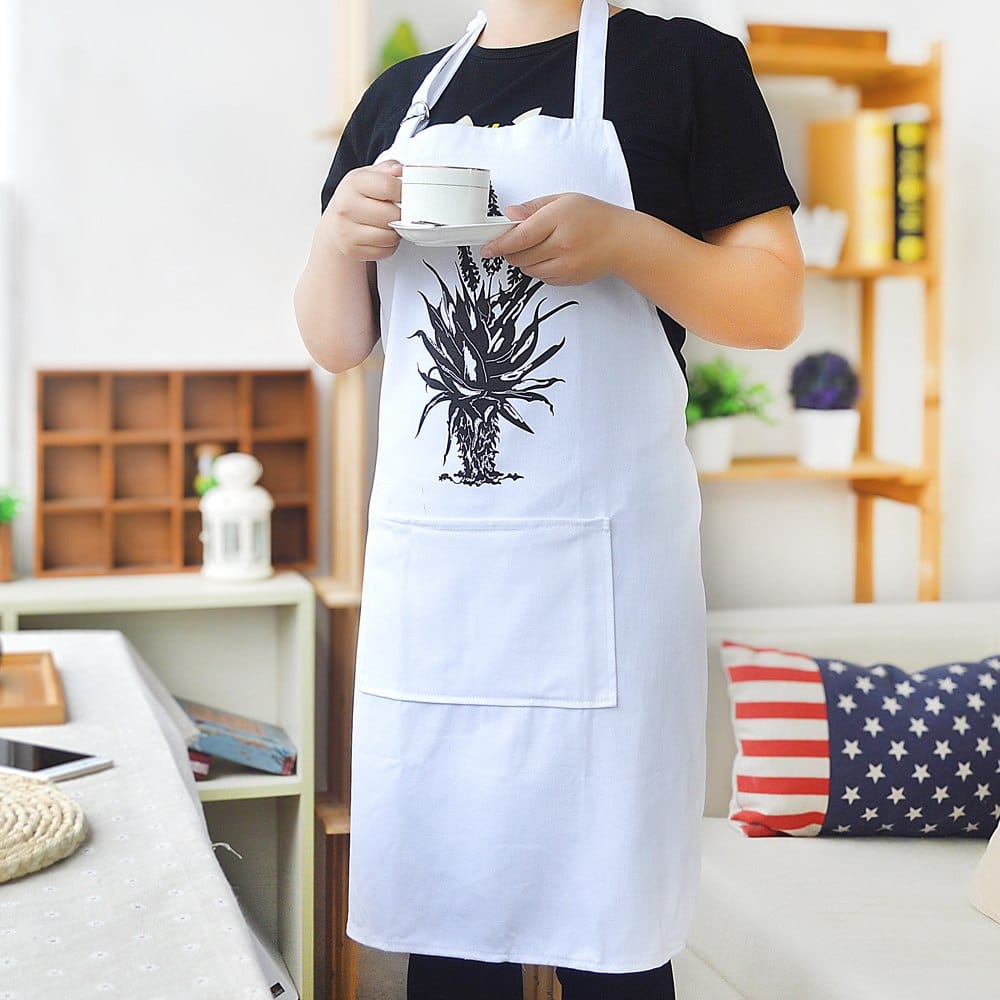
- On a dark, monophonic fabric, spots will hardly be visible.
- But the dark, monophonic fabric gets bored very quickly, and your cooking will turn into a sad event.
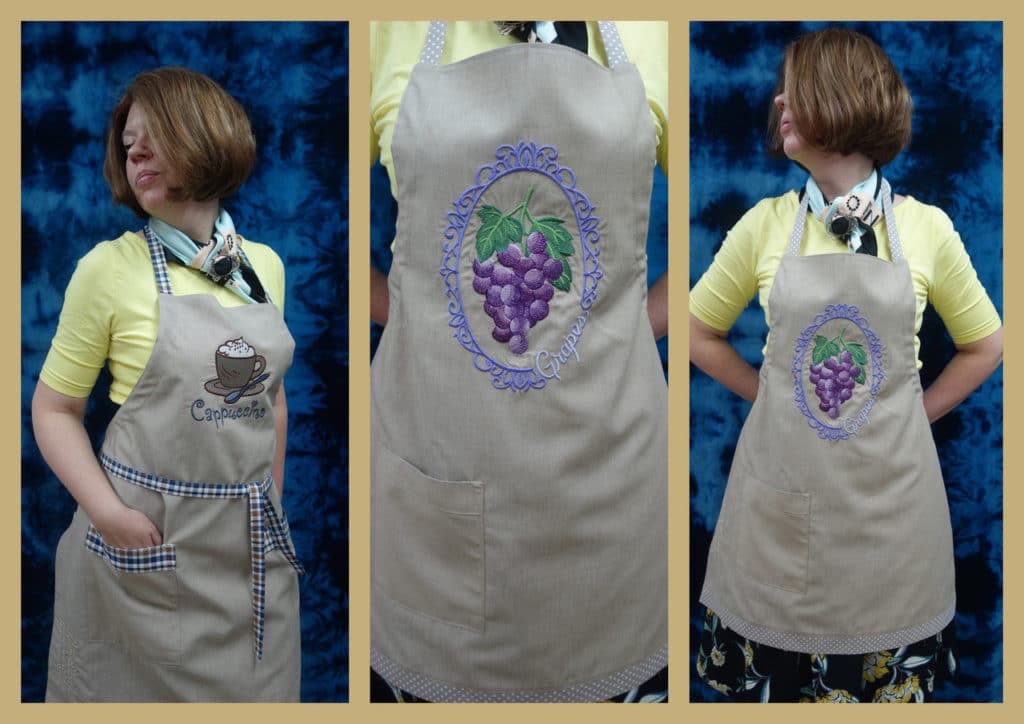
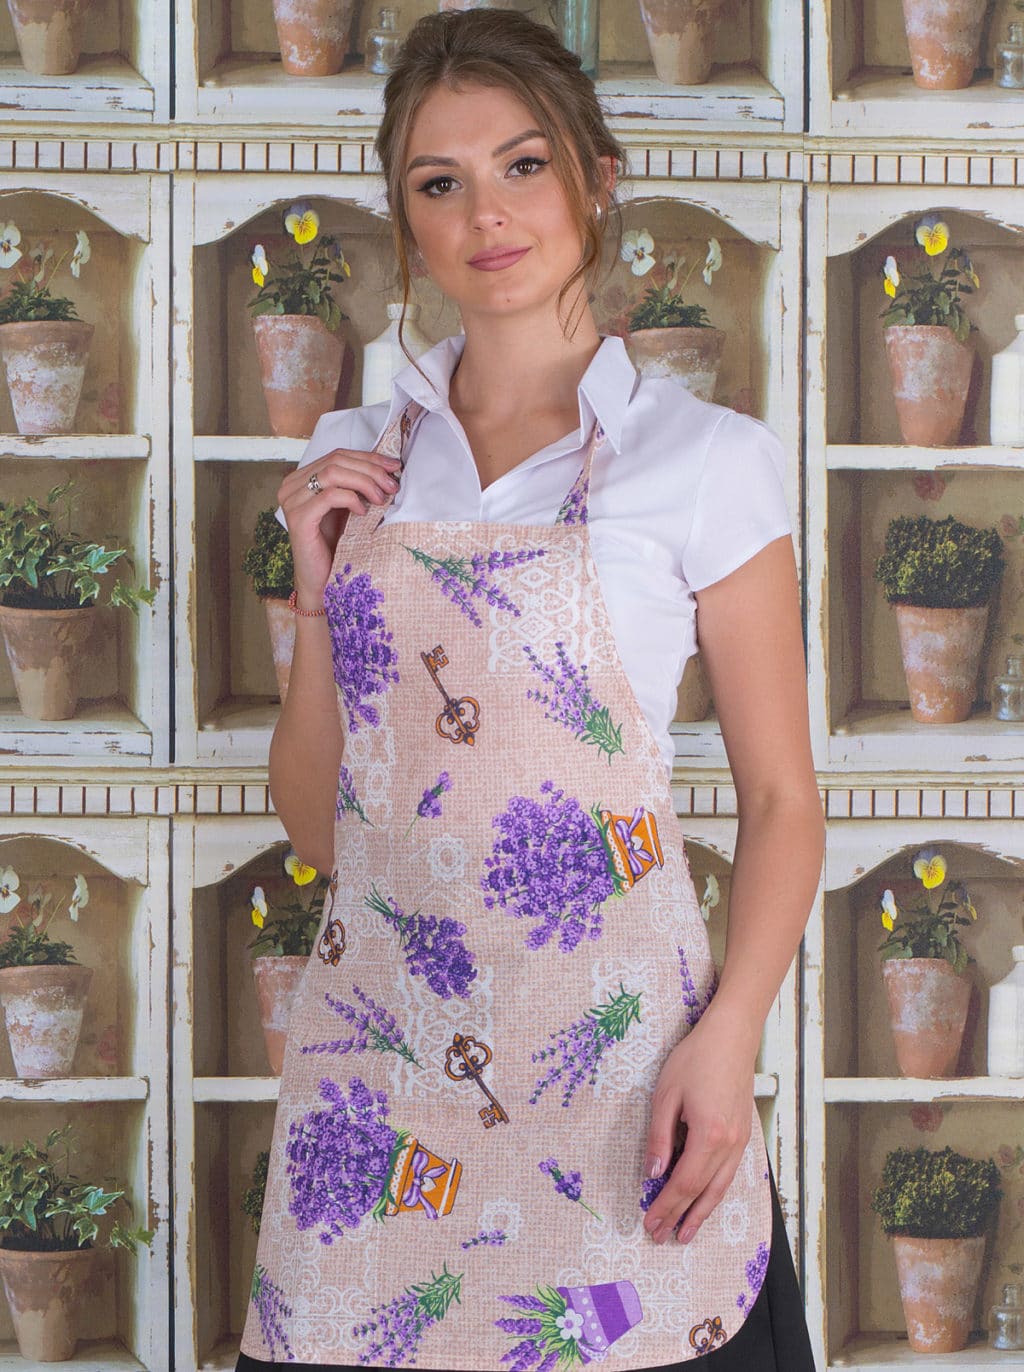
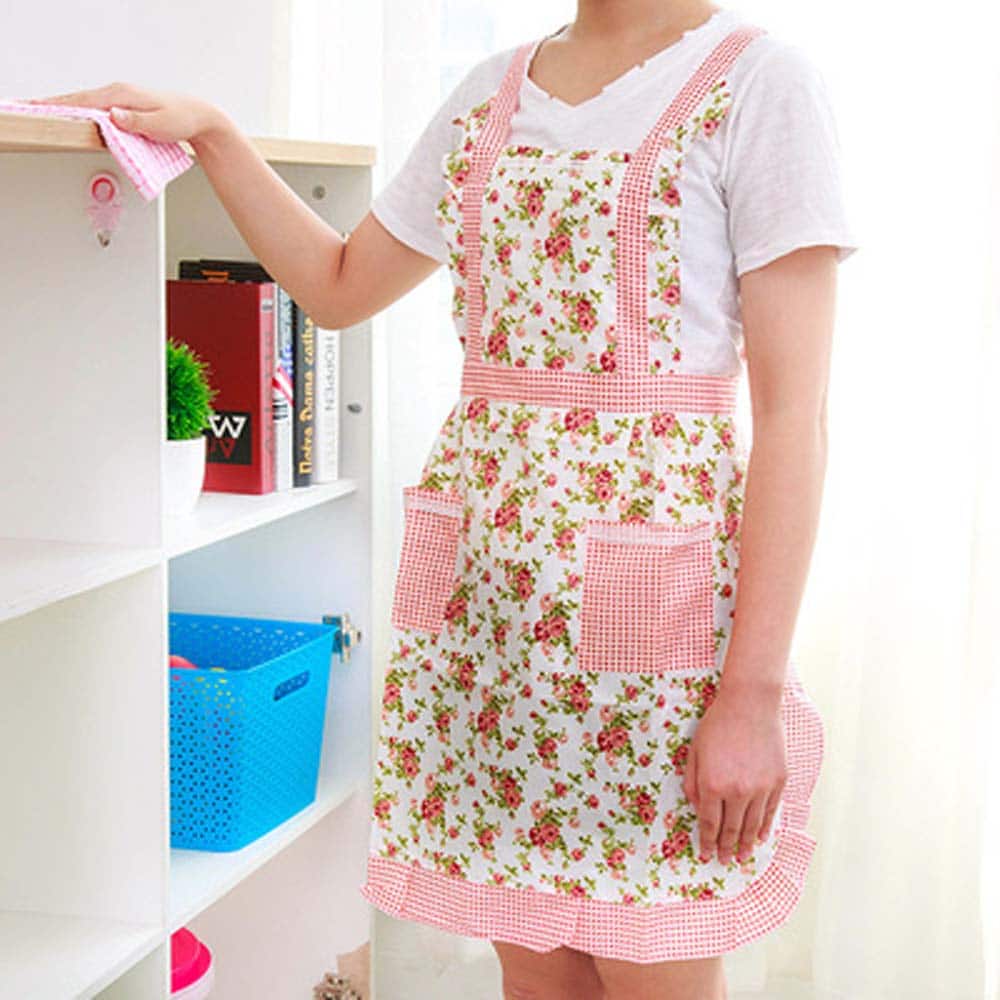
- But multi-colored or plain fabric with colorful décor will be able to revive any kitchen environment.

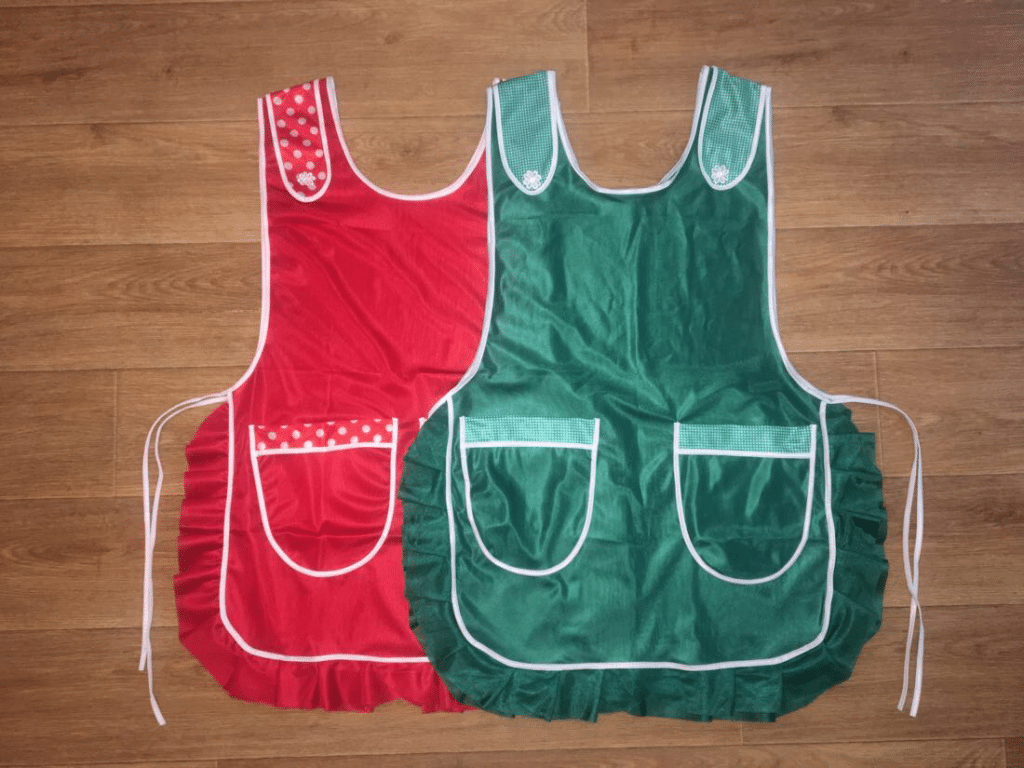
Psychologists have proven that bright colors stimulate appetite.
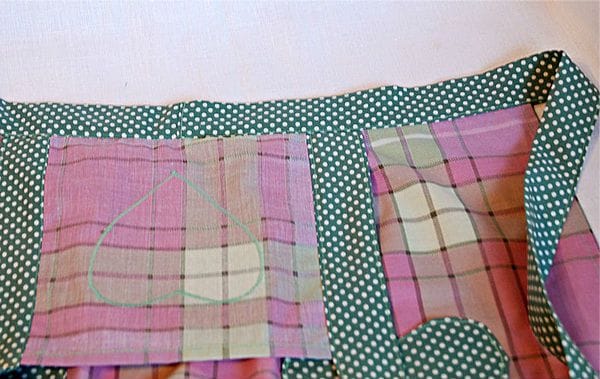
Pattern
Do it yourself
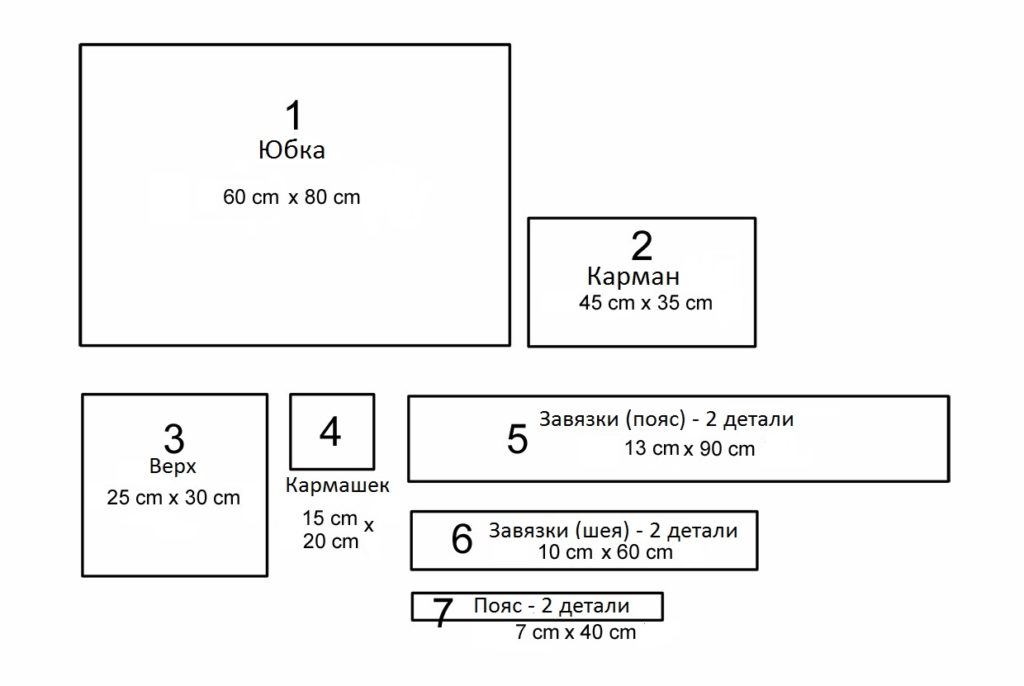
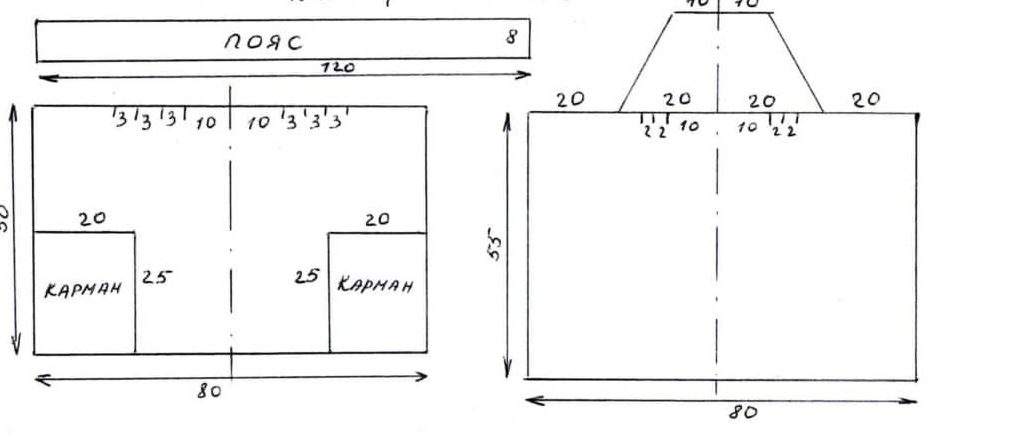
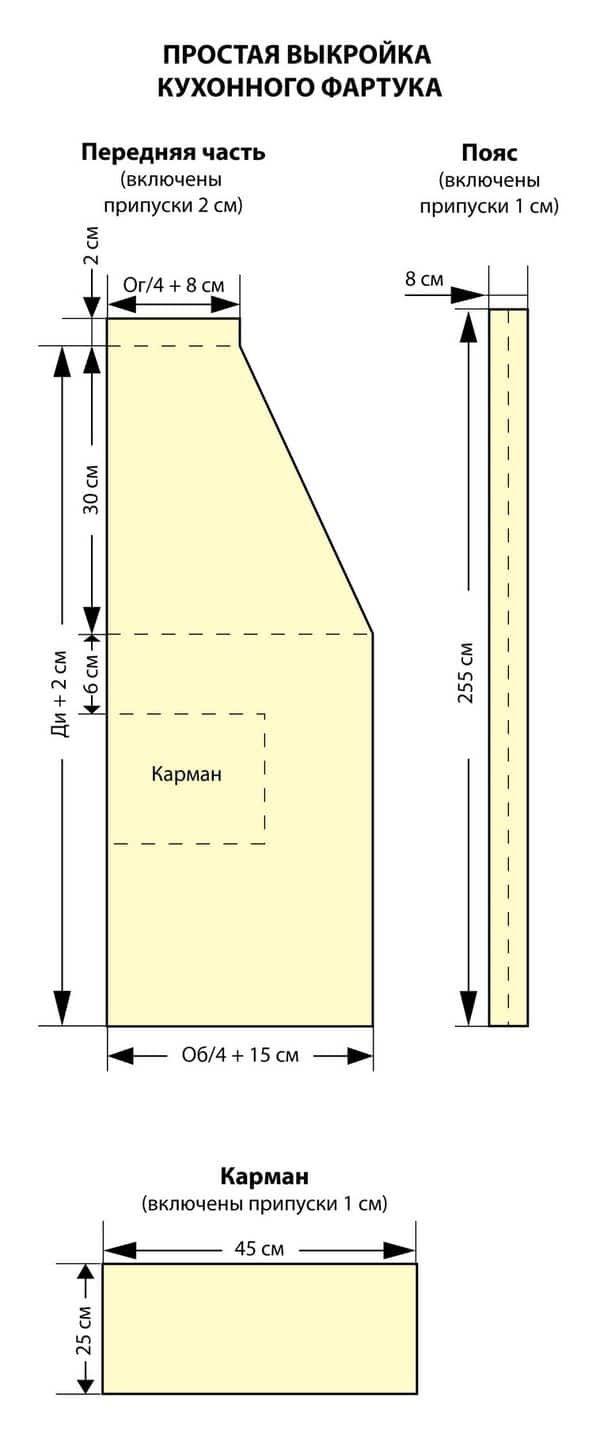
You can use our pictures with a finished pattern, or you can make your own. To do this, measure the following dimensions:
- The length and width of the apron and bib.
- Half Waist.
- The length of the belt at the waist and ties at the neck.
- When the measurements are ready, draw the details on paper according to the diagram with your sizes, and then transfer the drawing to the fabric and cut out the necessary details. Do not forget to leave room for allowances of 1.5 - 2 cm.
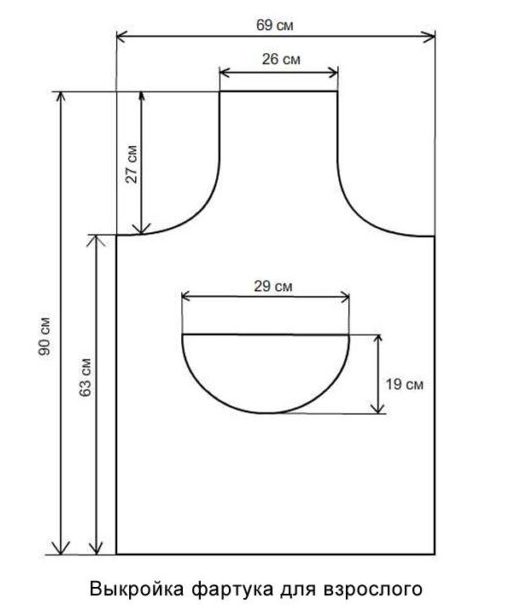
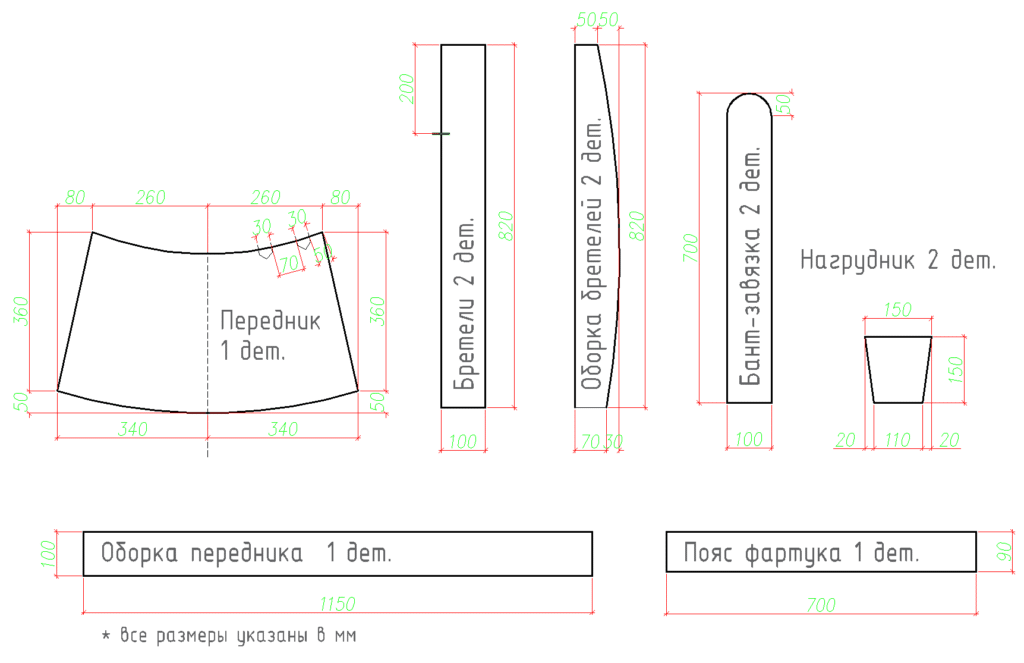
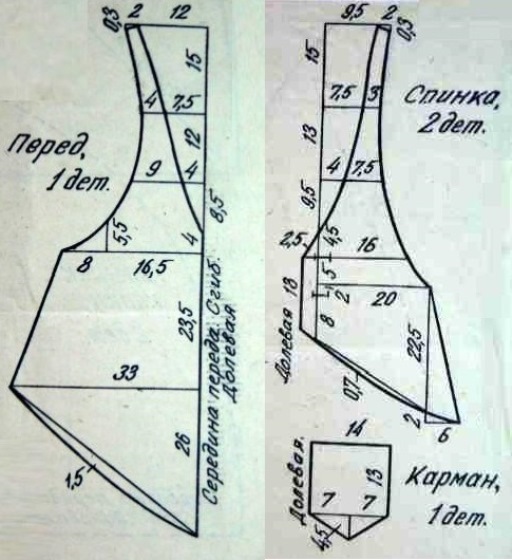
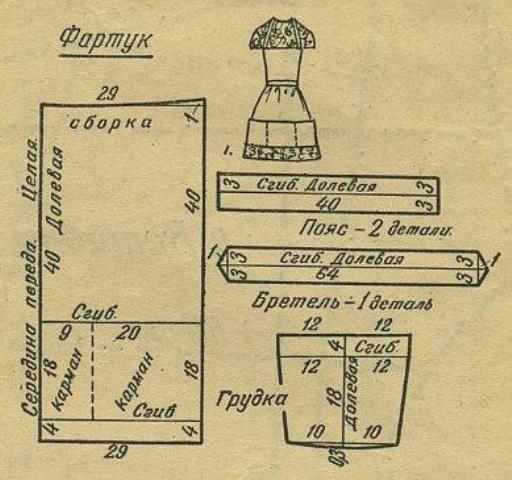
Ready-made patterns

We sew an apron
- When the pattern is ready, transfer the pattern to the fabric and carefully cut out the details. You will need patterns in your work, so do not throw them away.
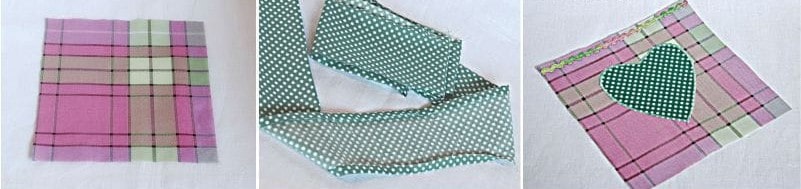
- When your details are ready, then select the largest of them and sew. To do this, we make a hem to the width of the allowance and iron the fabric so that the stitch is smooth.
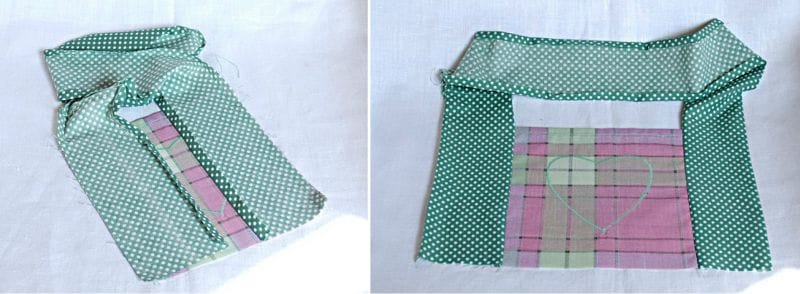
- Now go to the ties and belt. We attach the rectangles from the inside out, not forgetting to retreat from the edge and afterwards we twist and iron. To correctly stitch the ties, you need to attach the front part to the inside of the chest part and make a stitch. After the seam you need to iron.


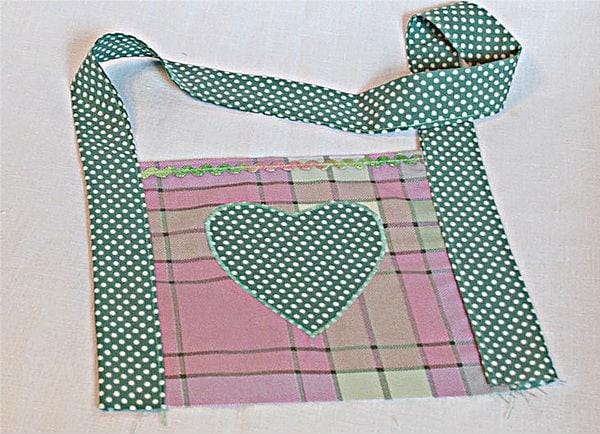
- Then we bend the seam and on the other hand, and also iron. After we do a seam line already from the front sides.
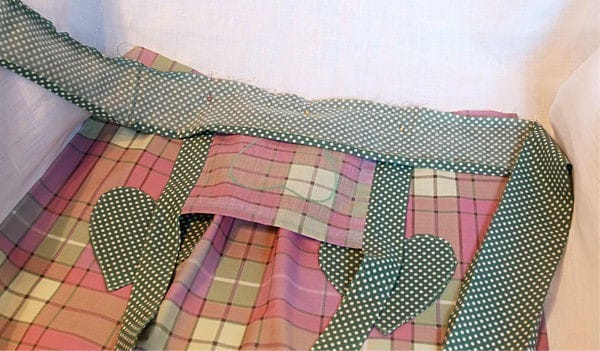
- After you have made small folds on the apron, it's time to connect your top and bottom of the future apron. In the center of the chest part and the apron part, you need to lay the wrong side of the top, placing it symmetrically and fix the part on the sides of the center. We also fix our tie down face down.
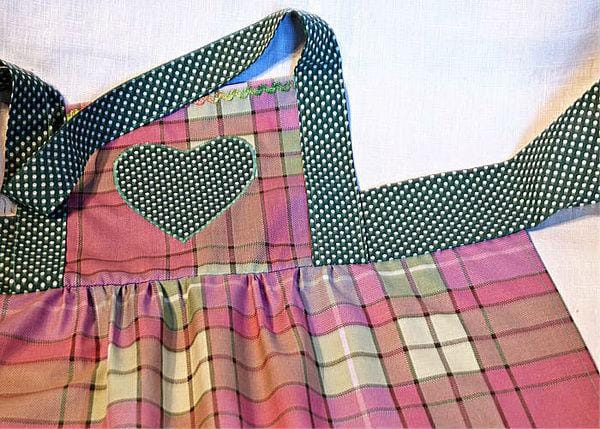
- Then all 3 parts of the apron are stitched.
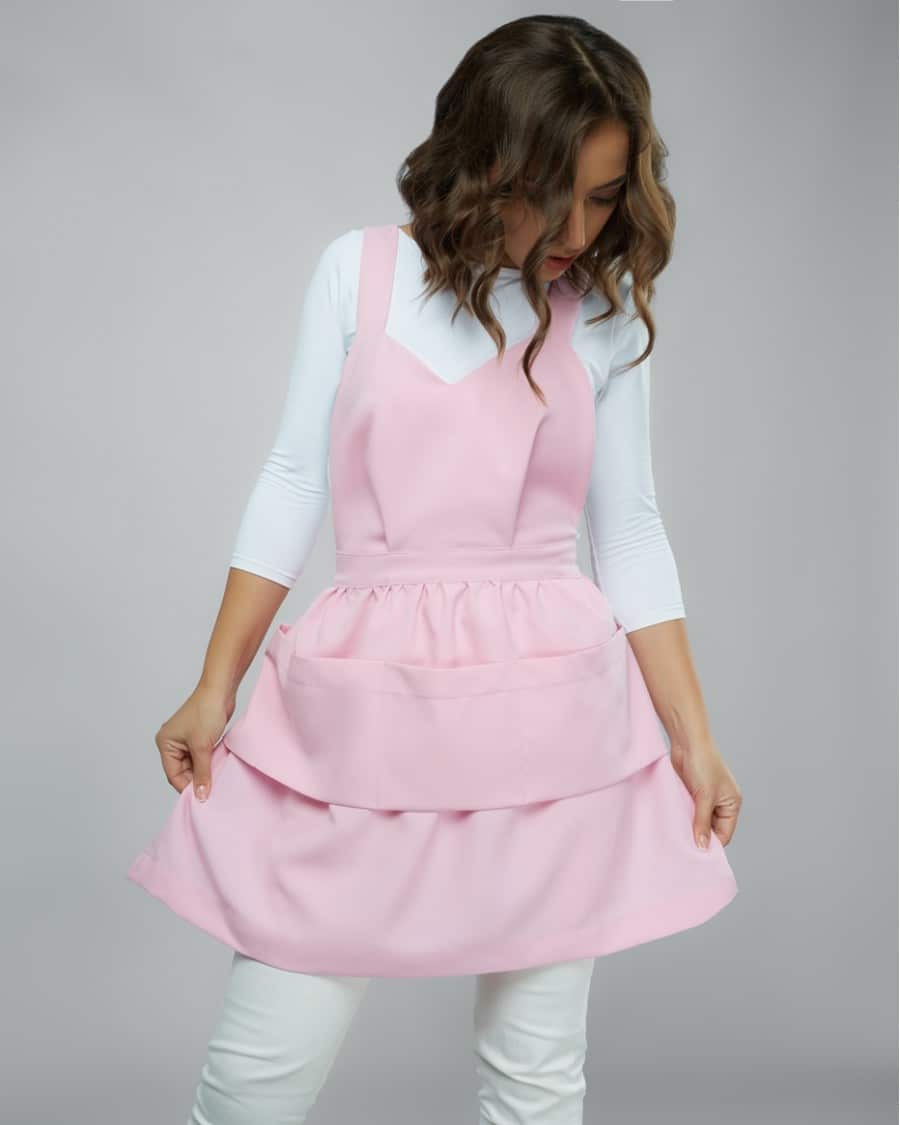
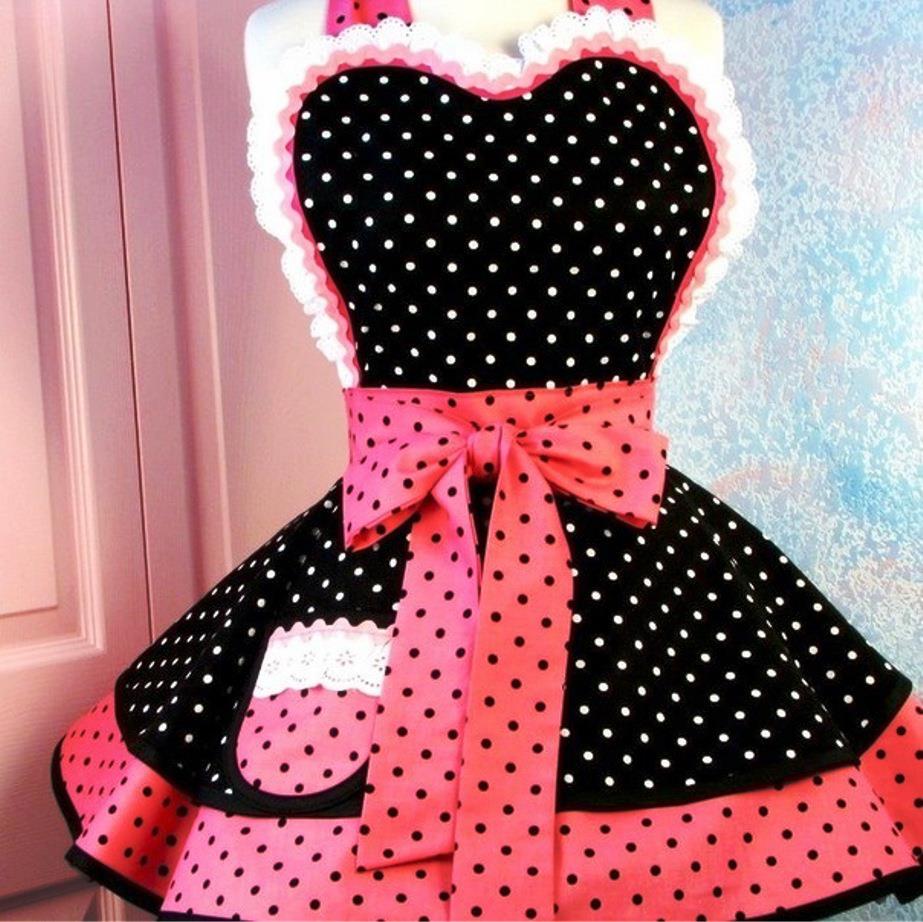
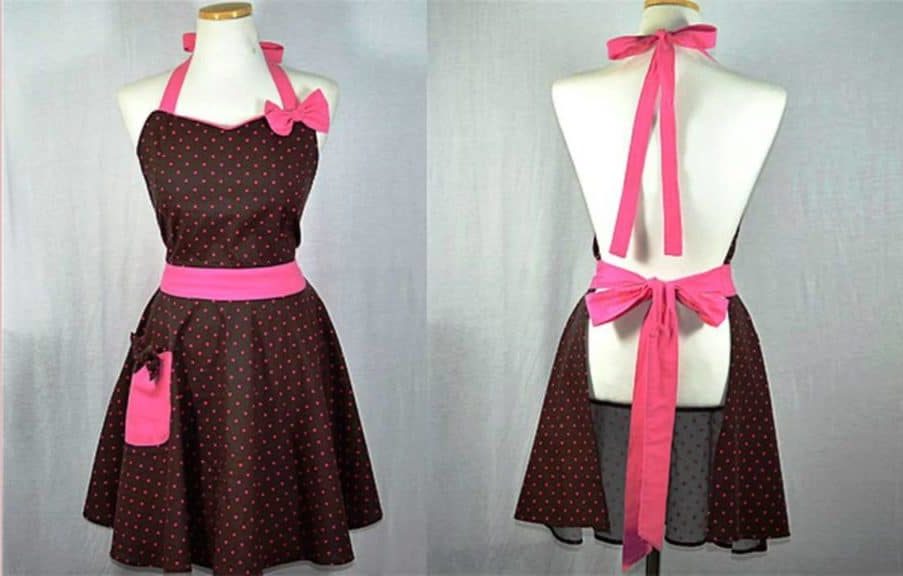
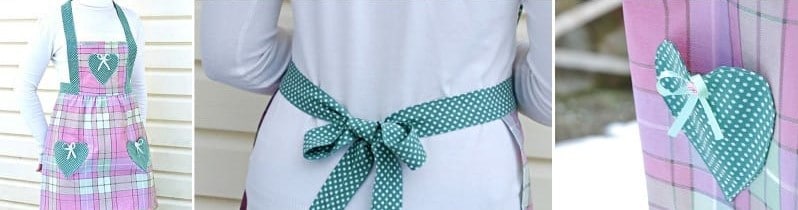
Apron Ideas