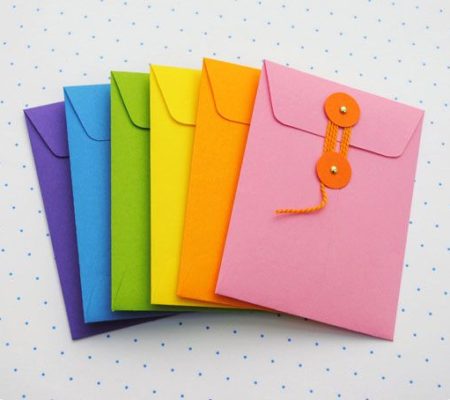

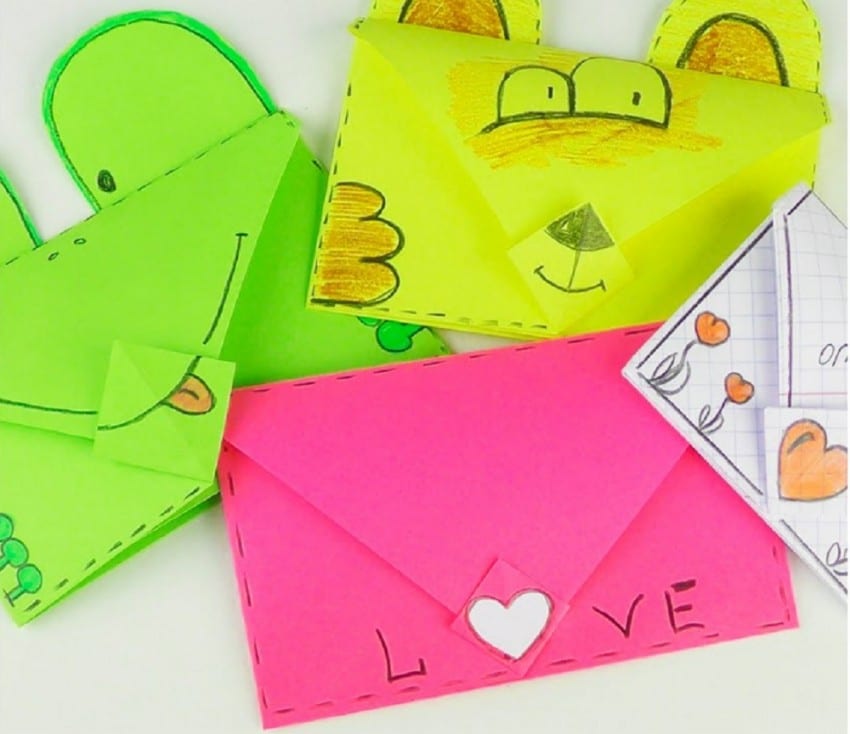
Although the era of paper letters has passed, we are still actively using envelopes. Basically, in everyday life, envelopes are used for congratulations. Since it’s very fashionable to do everything yourself now, a congratulatory envelope in a hand made technique will not leave anyone indifferent, it can be a pleasant surprise for your family and friends.
Jewelry
You can use a lot of things to decorate the envelope. It can be laces, beads, felt, rhinestones, ribbons, buttons and other decorative ornaments that will be enough for your imagination. If you make an envelope for your loved one, you can sprinkle it with your perfume so that the fragrance reminds him of you.
Material
In order to make an envelope with your own hands you will need:
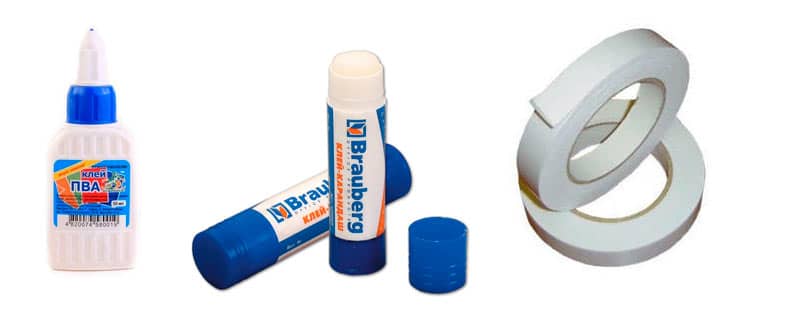
- Paper / cardboard / felt;
- Jewelry;
- Scissors;
- Ruler:
- Glue;
- Pencil.
Plain envelope
Let's start with a simple envelope for letters, it is done quite easily and can become the basis for your fantasies.
To make it, you will need a sheet of A4 paper.
- Measure 7.2 cm at the top right and bottom left and draw a line to the opposite corner (from upper right to lower right and from lower left to upper left).
- Cut the resulting pieces and lay the blank in front of you.
- First bend the sides to the middle, and then the bottom. and top.
- Glue your envelope with glue stick.

Envelope - Square
Making such an envelope is very easy.
- Take a square sheet of paper and mark with a dot its center.
-
You can find the center of the sheet using a ruler, or by folding the sheet in half twice.
- Lateral corners evenly bend to the center.
- Then bend the lower part with a slight overflow.
- Using glue stick, glue the resulting workpiece.
- Fold the top of the envelope.
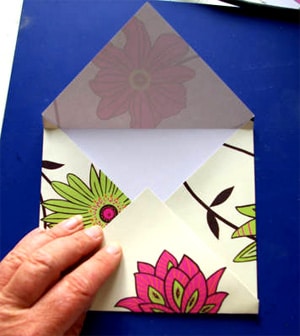
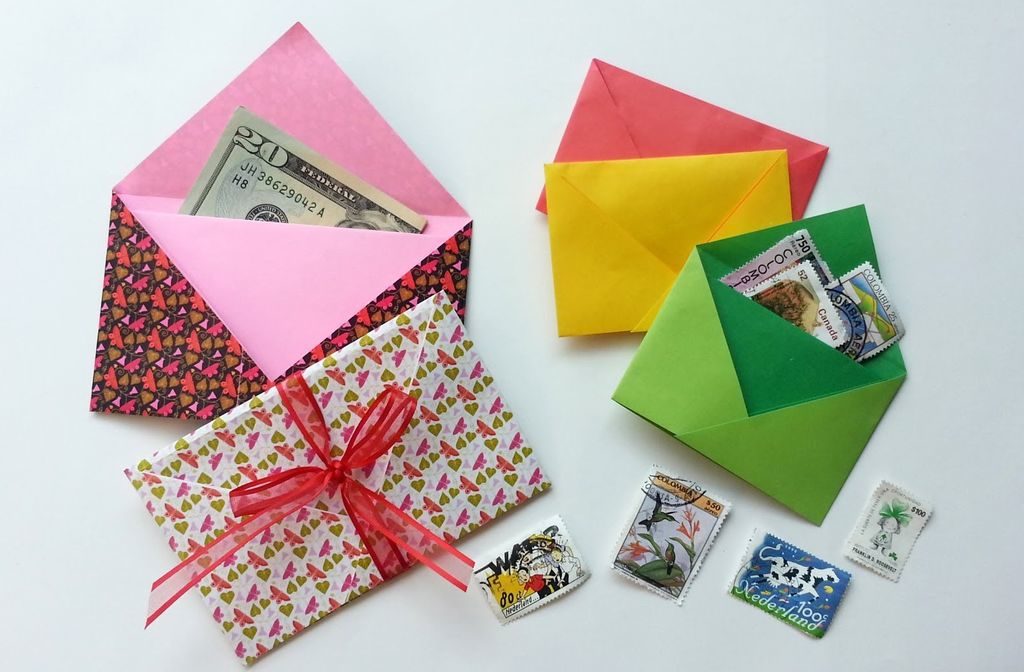
Double envelope
For such an envelope, you will need 2 types of colored paper.
- Decide what shape your envelope should be, it can be a standard envelope or a figured one.
- From one type of colored paper, make a blank for the envelope but do not glue it.
- Now take the second sheet of colored paper and cut the envelope of the same shape as the previous one, but without the sides and bottom.
- The second workpiece should be a few millimeters smaller than the first.
- Glue the second blank onto the first, as shown in the figure below.
- Gently glue the envelope.
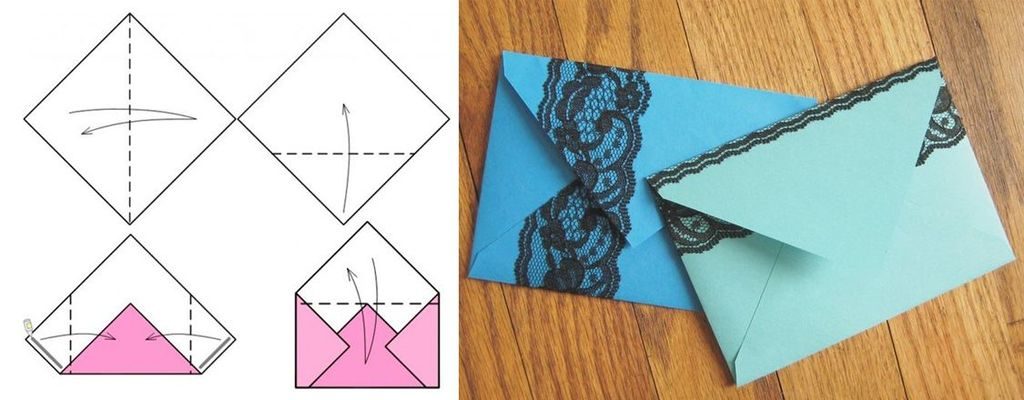
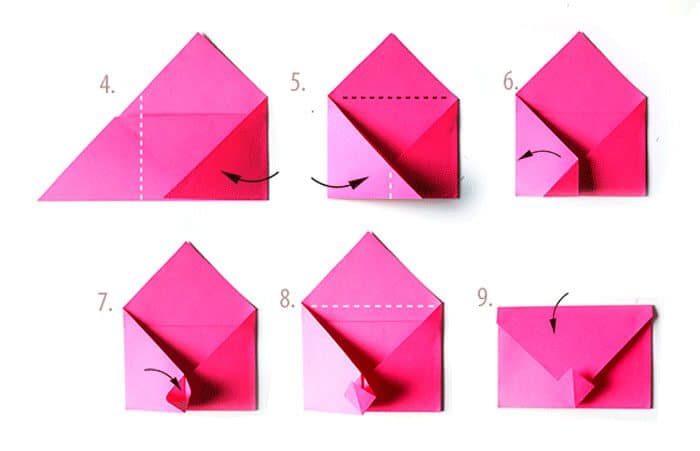
Origami envelope
All you need for this envelope is a square sheet of paper.
- Put a sheet of paper in the shape of a rhombus in front of you.
- Fold it in half so that the triangle comes out.
- Bend the edge of the upper triangle to the base.
- Now fold it by crossing the side corners.
- Fold the corner of the part that is on top of you.
- Form a pocket from this corner.
- Fold the top of the envelope and insert it into the resulting pocket.
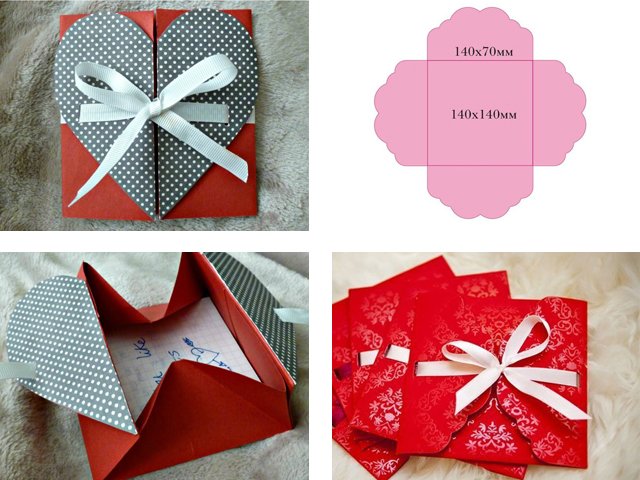
Figured envelope
Such envelopes are used for congratulations.
- Take a square piece of paper.
- Draw a square in the middle of the sheet, this will be the size of your envelope.
- Now take a compass and draw the same semicircles around each side of the square.
- Cut the envelope you draw and bend the sides inward.
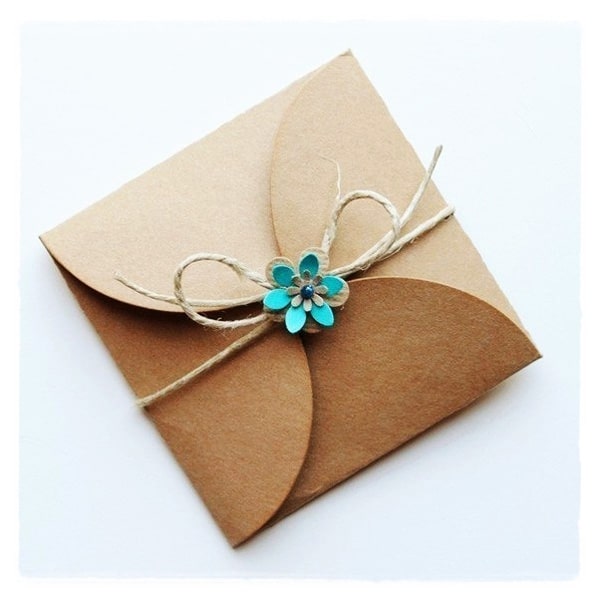
You can give the sides of the envelope any shape you like, not just a semicircle.
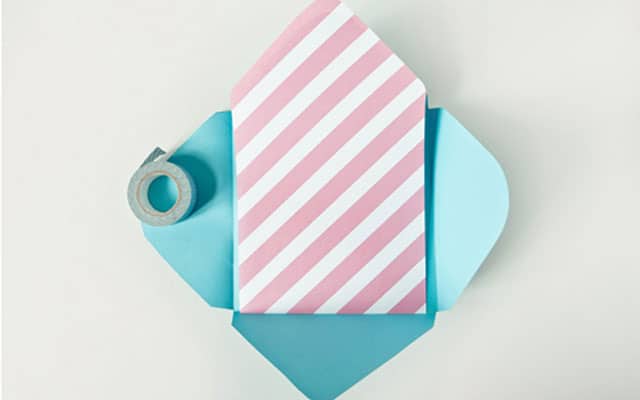
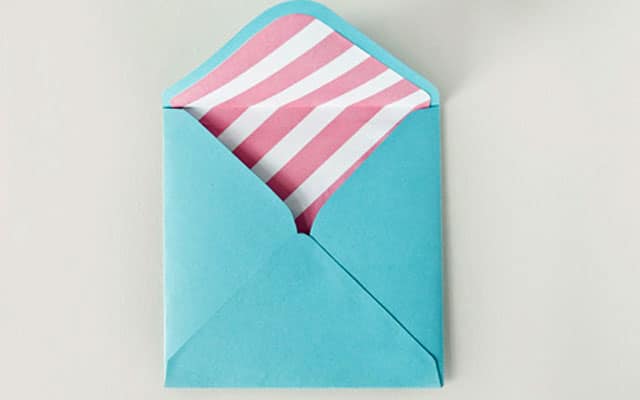
Envelope Decoration
The most important thing you need to successfully decorate an envelope is fantasy. If you have problems with this, use the Internet and select an interesting design from those already invented. For example, by threading a ribbon even in the simplest envelope, you will give it a festive look. You can stick an applique on it or even origami.Envelopes decorated with lace ribbon look very elegant.