Features of nail extensions
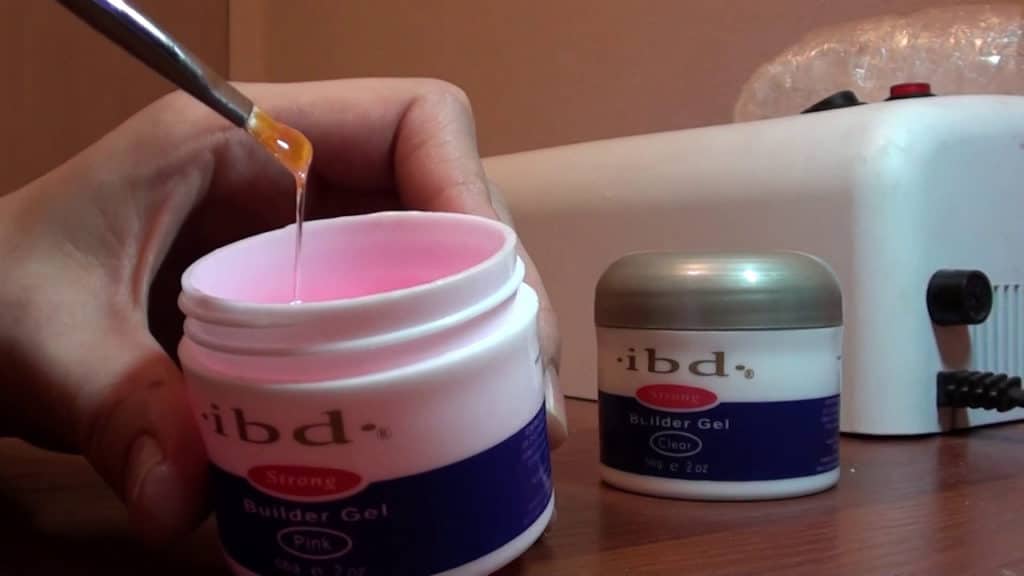
For home nail extensions it is recommended to use a special gel, not acrylic. The fact is that it is much easier to work with the gel, it is safe and odorless. But acrylic has a pronounced unpleasant odor, which is also considered toxic.
In order for the nail extension procedure at home to go right, you need to stock up on the right tools and materials.
Tools and materials
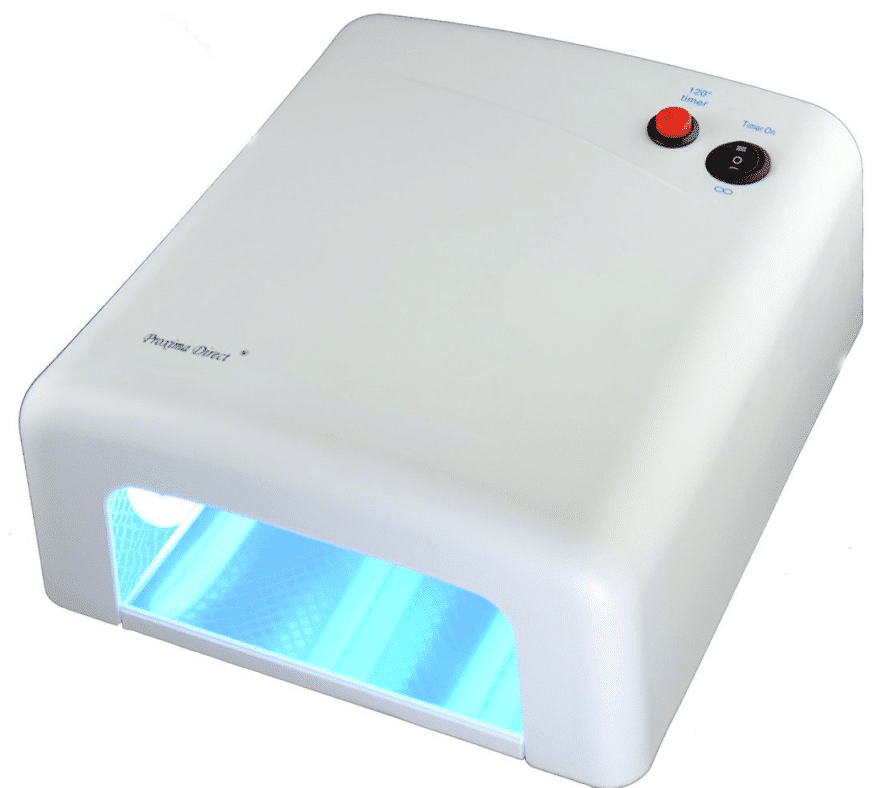
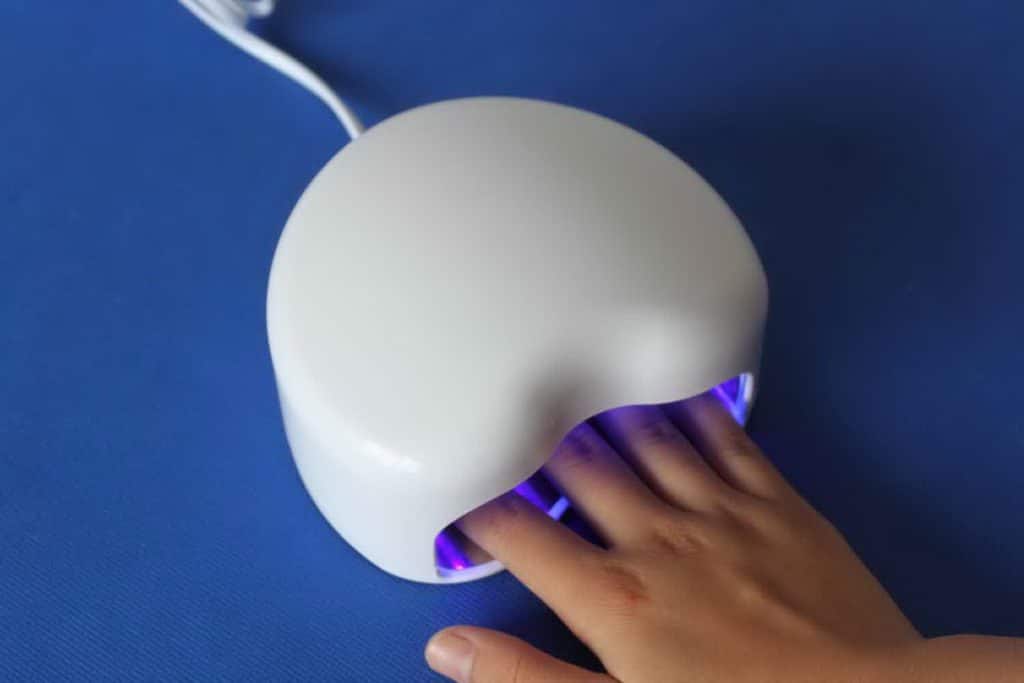
- The first thing you need is an ultraviolet lamp in which you will dry your gel.
After you need to purchase such tools:
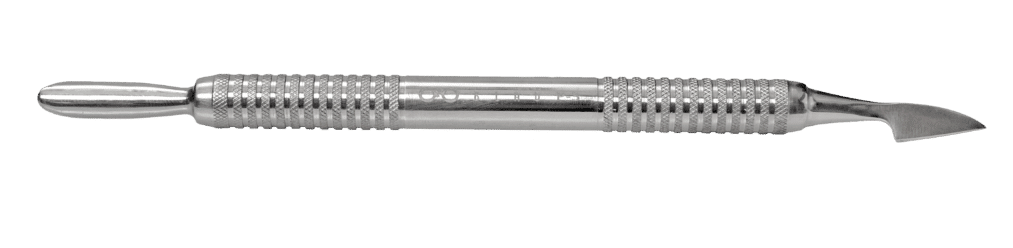
- The metal shovel for a cuticle which is used in trimmed manicure.
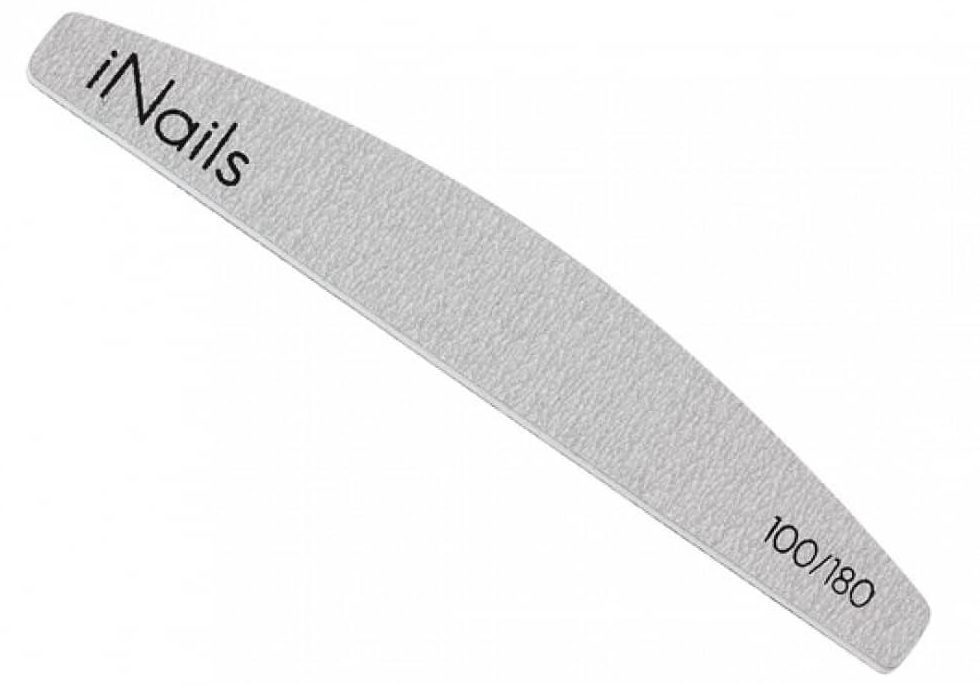
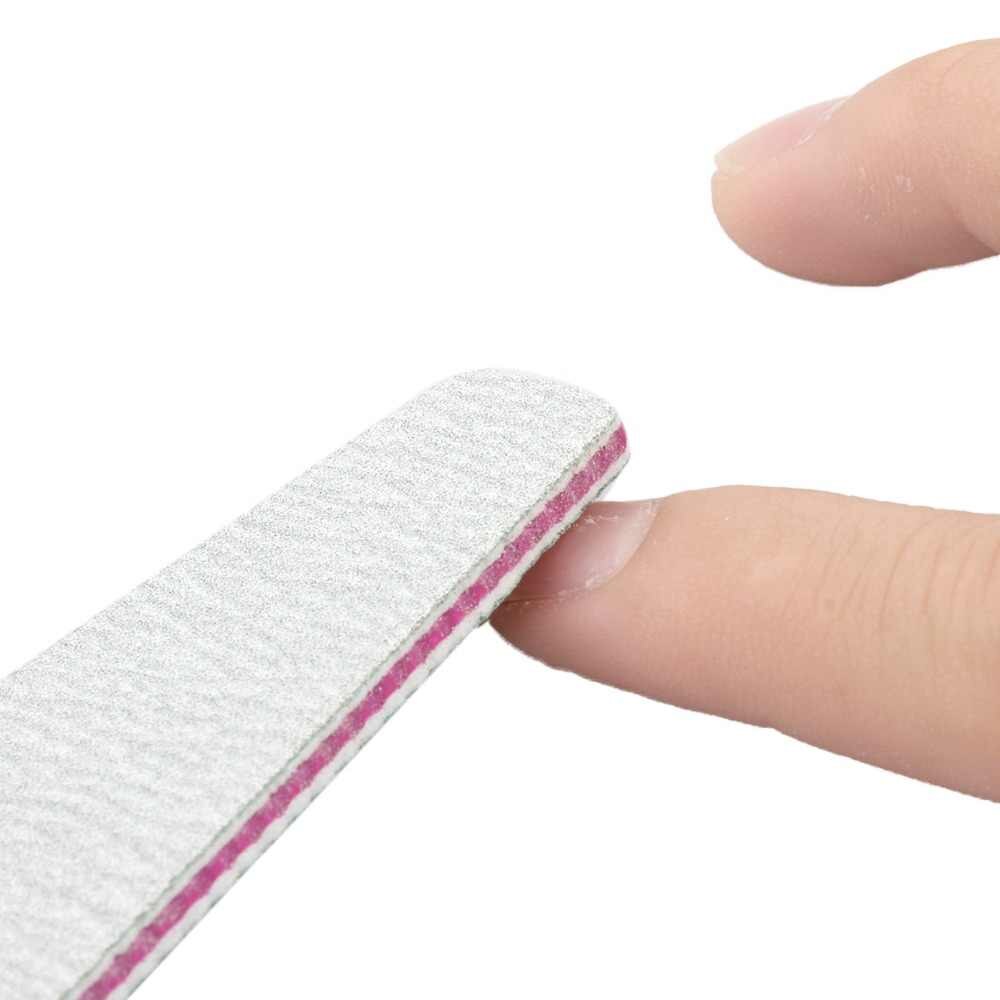
- Nail file for gel, low rigidity.
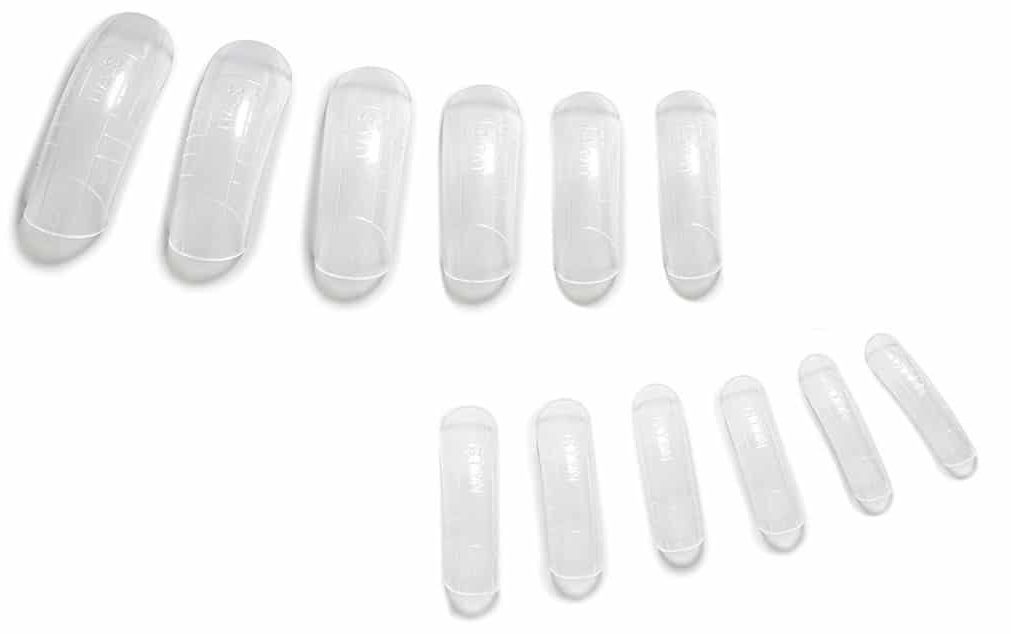
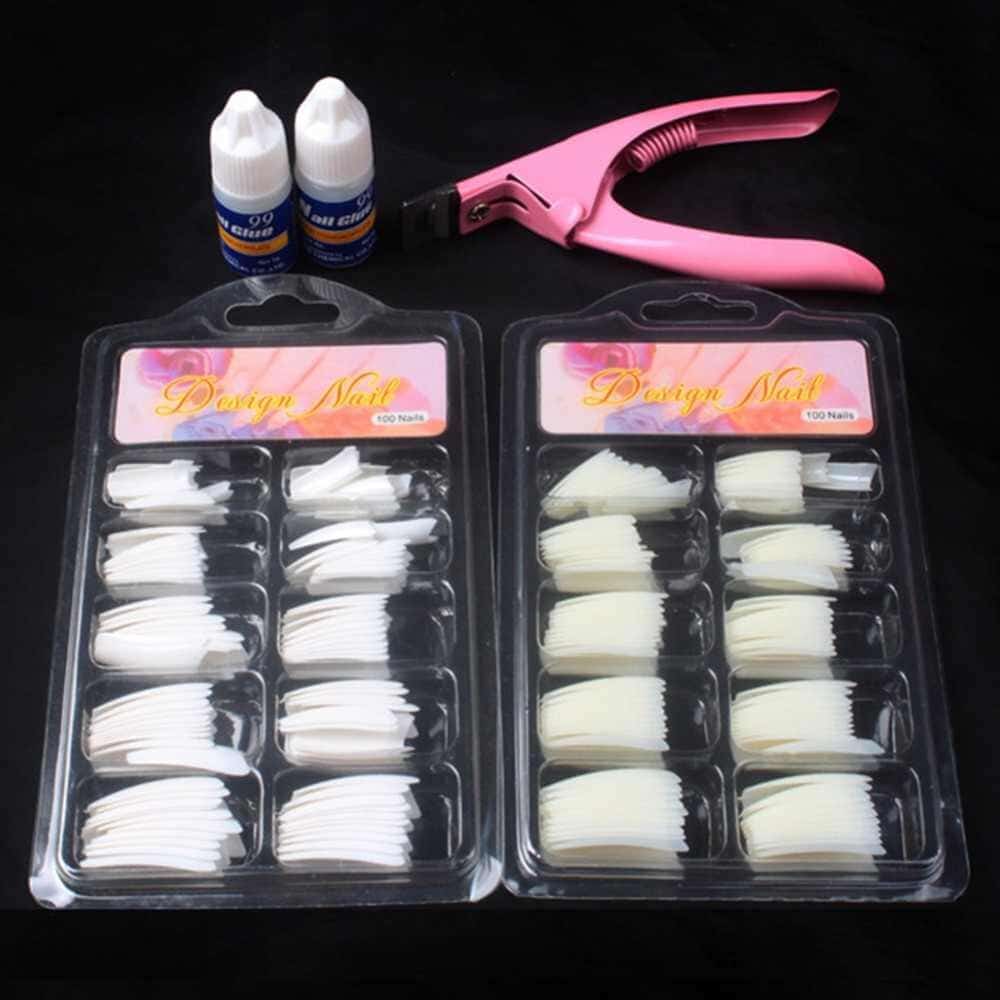
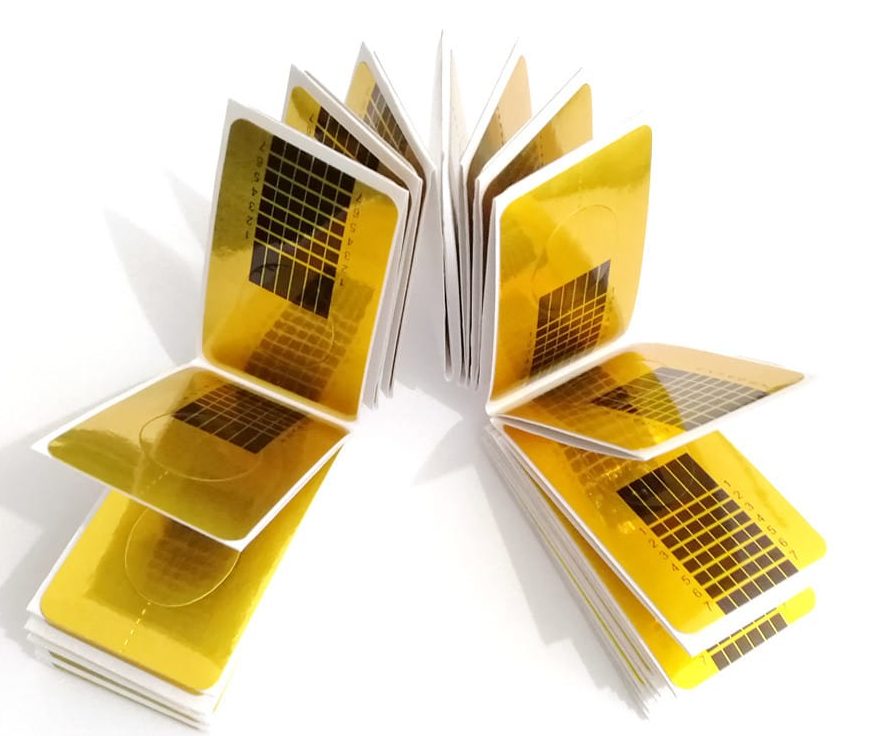
- Forms or tips for future nails.

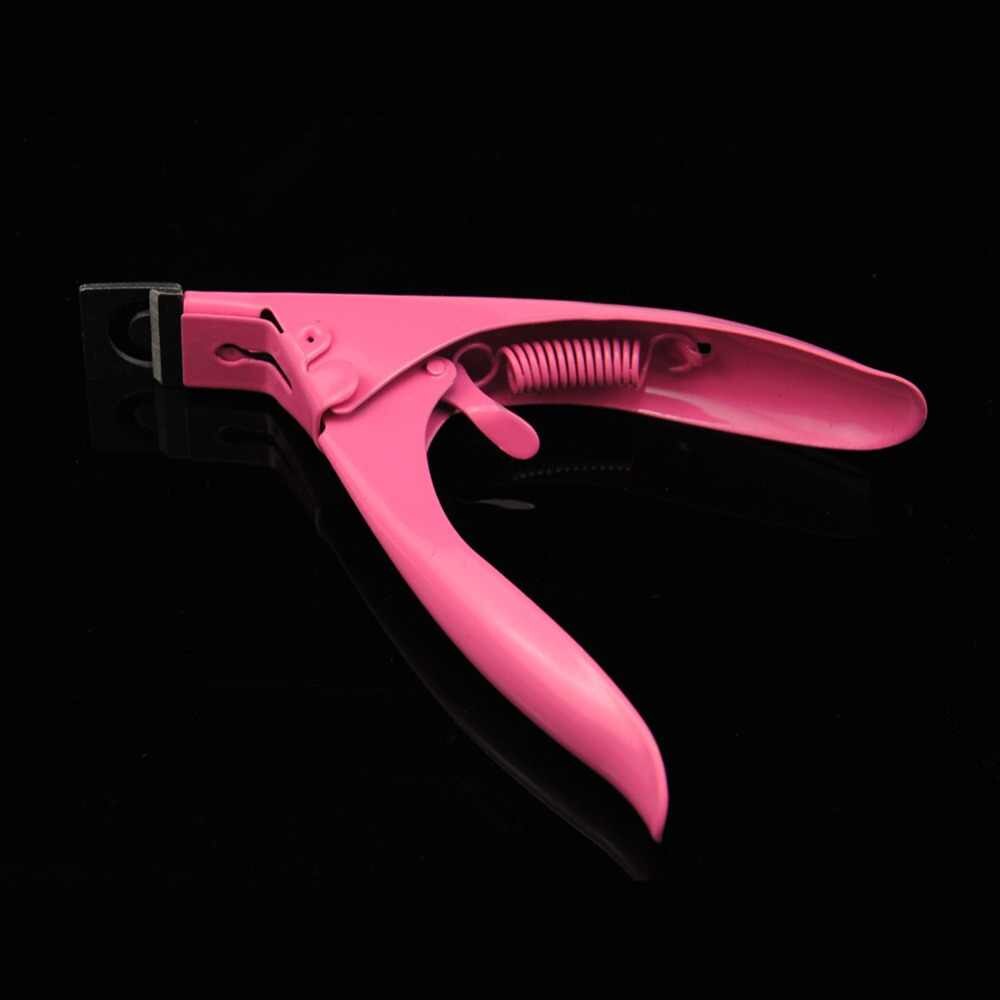
- A boat is a tool that cuts tips to the right size.
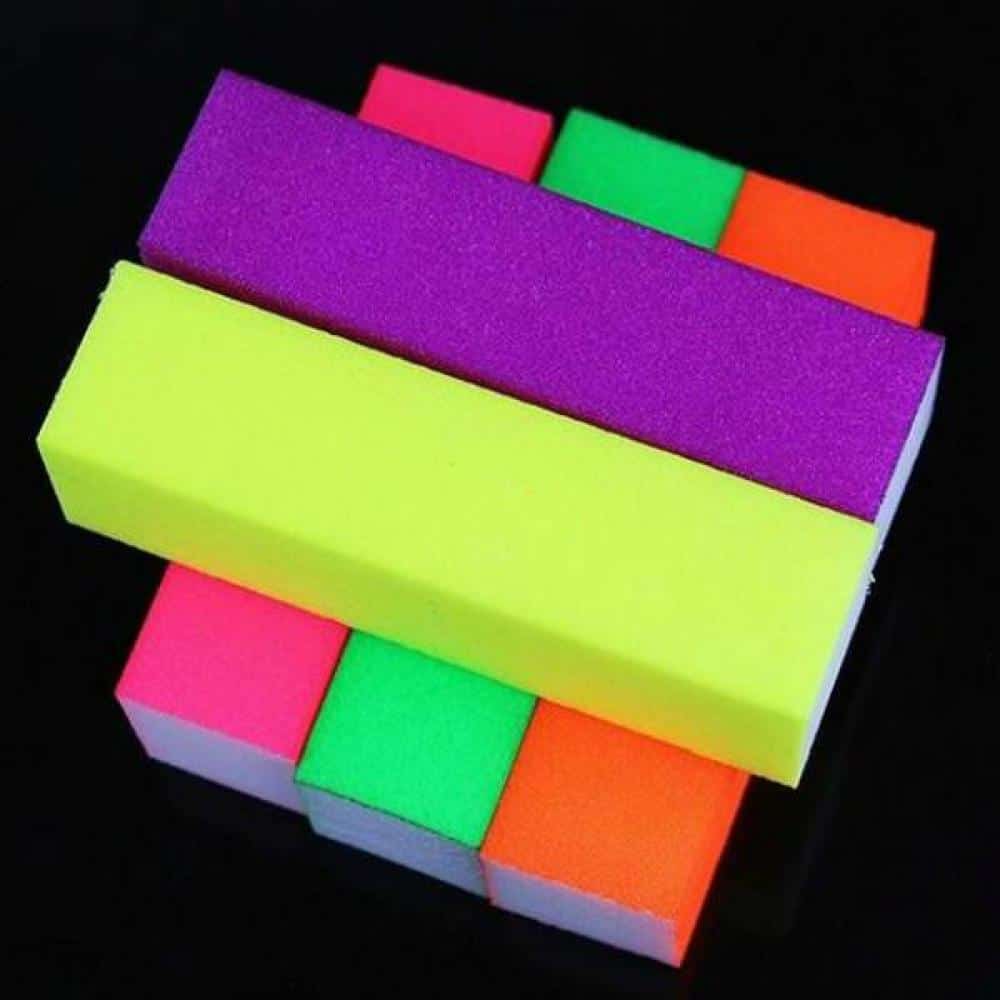
- Buff - for polishing a nail.
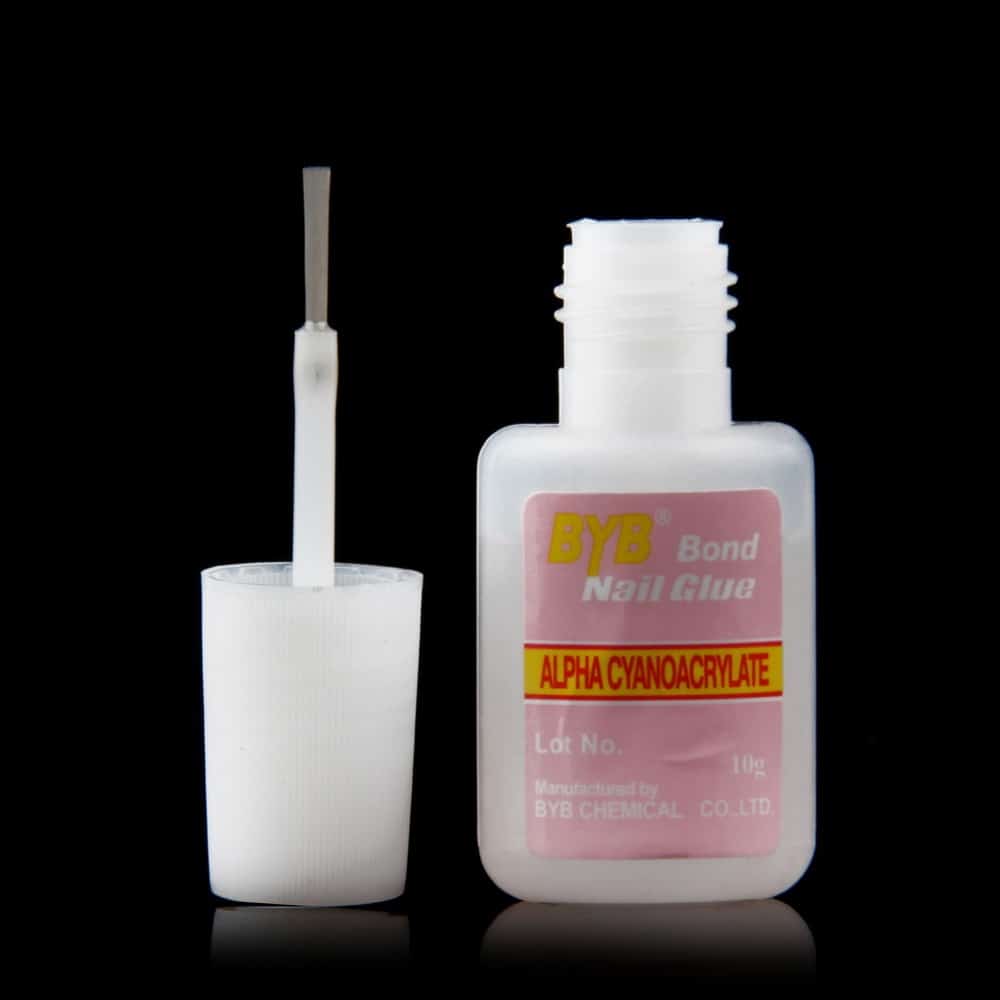
- Glue for tips.
- Tweezers.
- Brushes for building.
And of course the material itself:
- Antiseptics for the treatment of hands and tools.
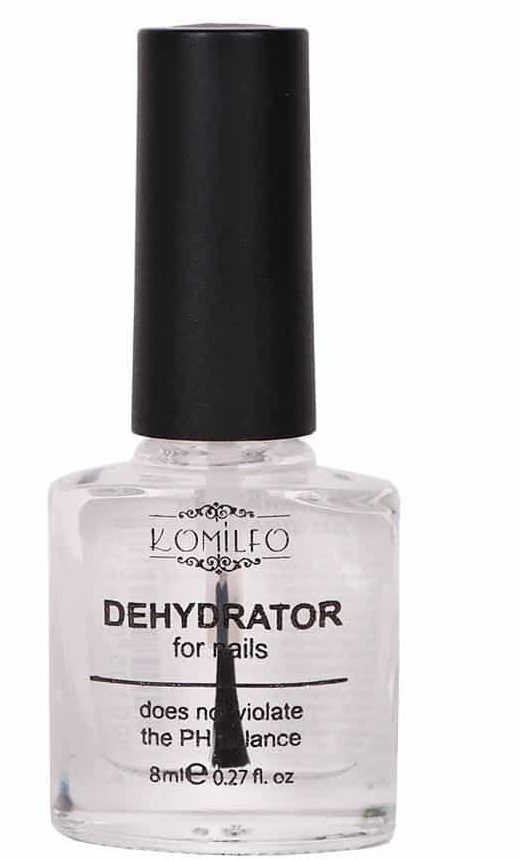
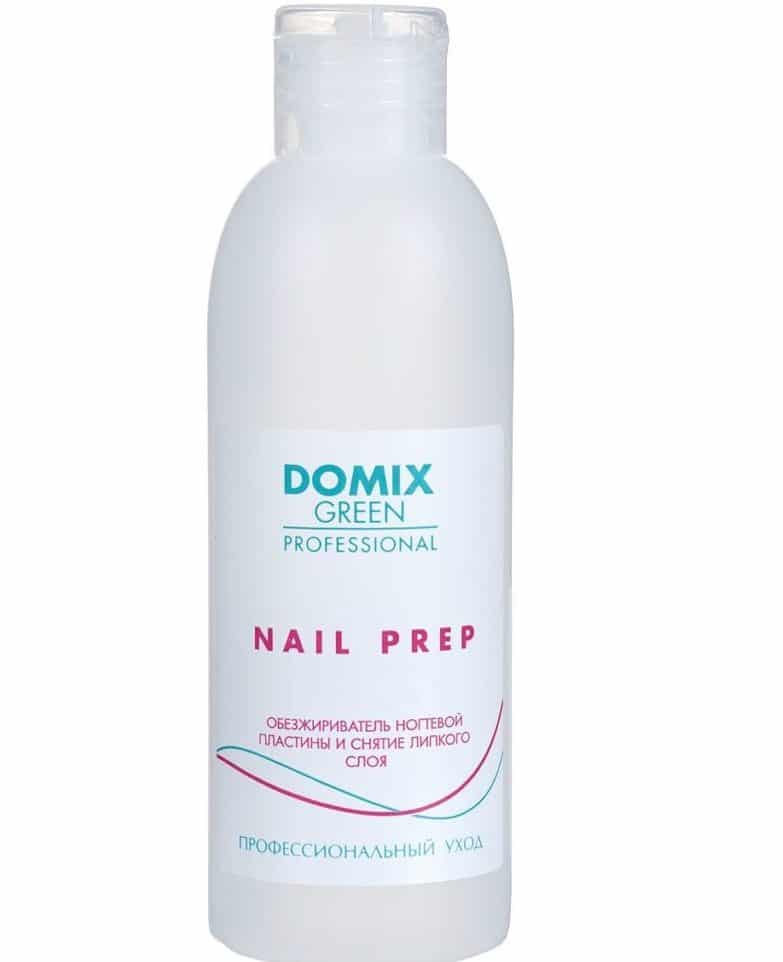
- A digitizer is a liquid that helps to dry a nail plate efficiently.
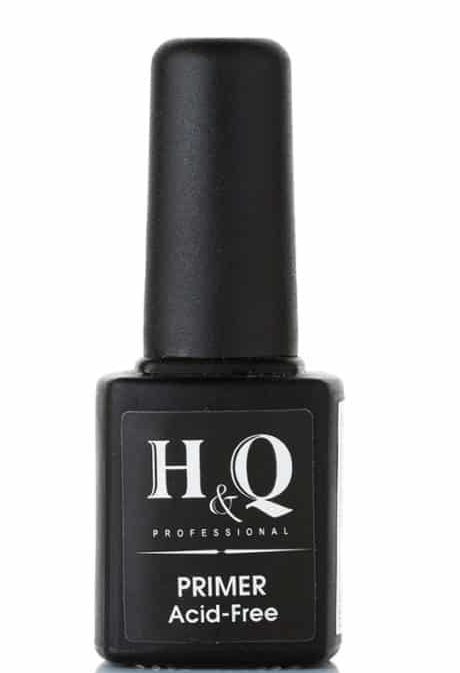
- A primer is a product that is applied to the nail first and helps the gel stick to your nail better.
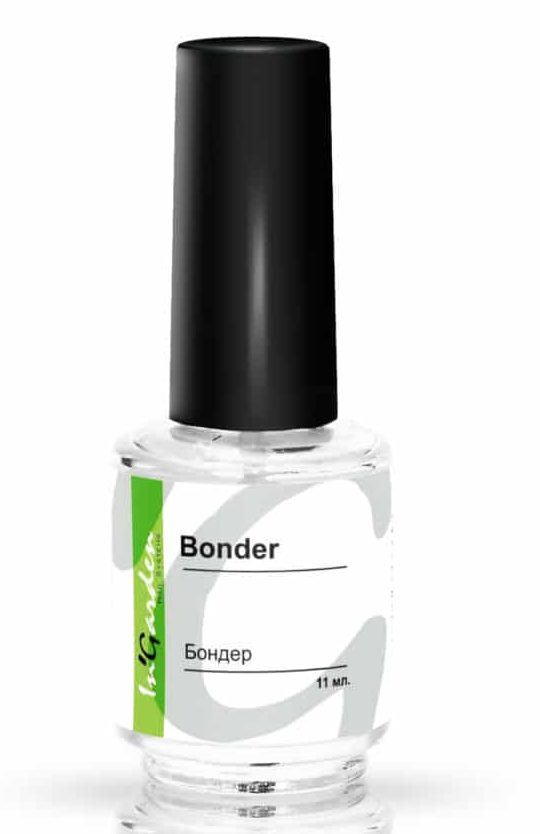
- Bonder.
- The gel itself, can be colored, can be colorless.
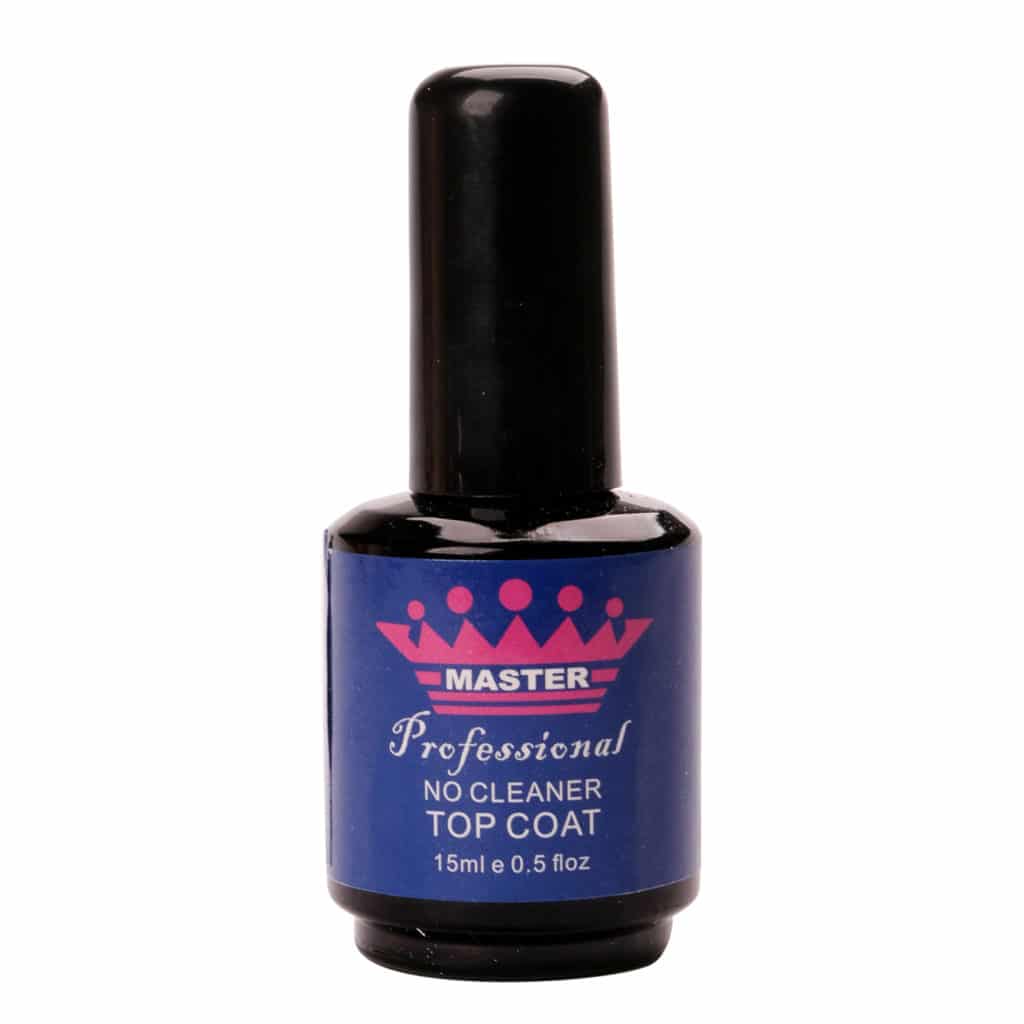
- Topcoat or top.
- Gel Remover
Build options
There are two ways to build nails.
On tips - look like artificial plastic nails. They are glued to the surface of your nail with a special glue, and then its shape is adjusted depending on your preference.
On forms - Thanks to these forms, the master models the nail directly on them, and then, when the gel cools under the lamp, removes them and files them with a file.
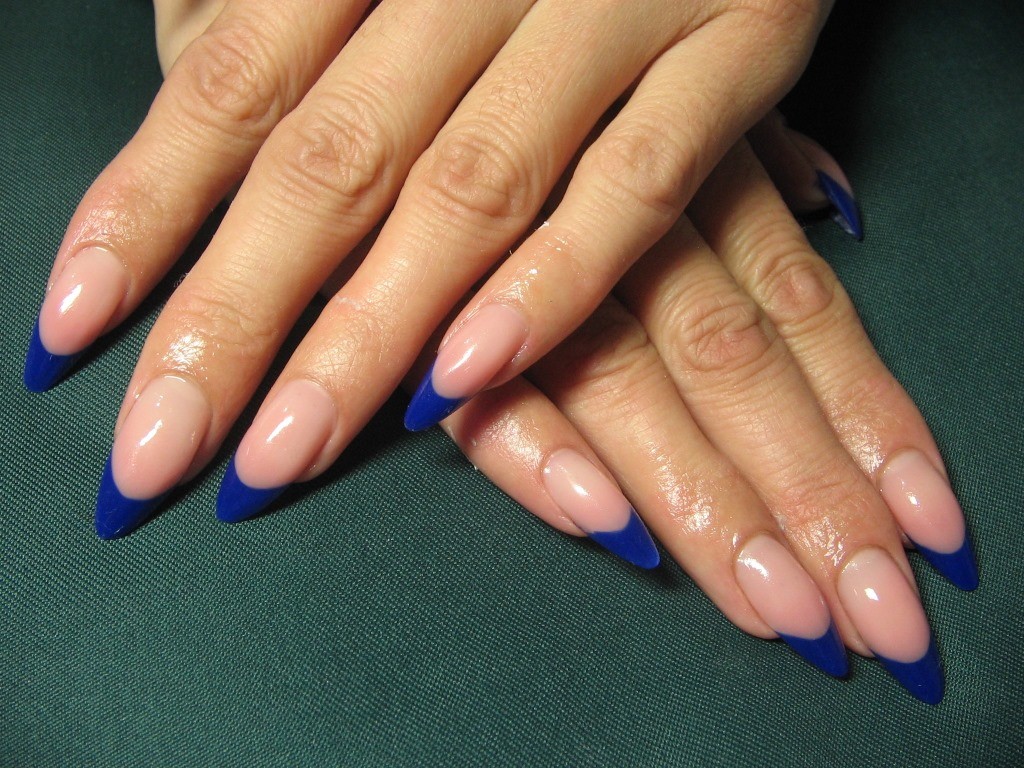
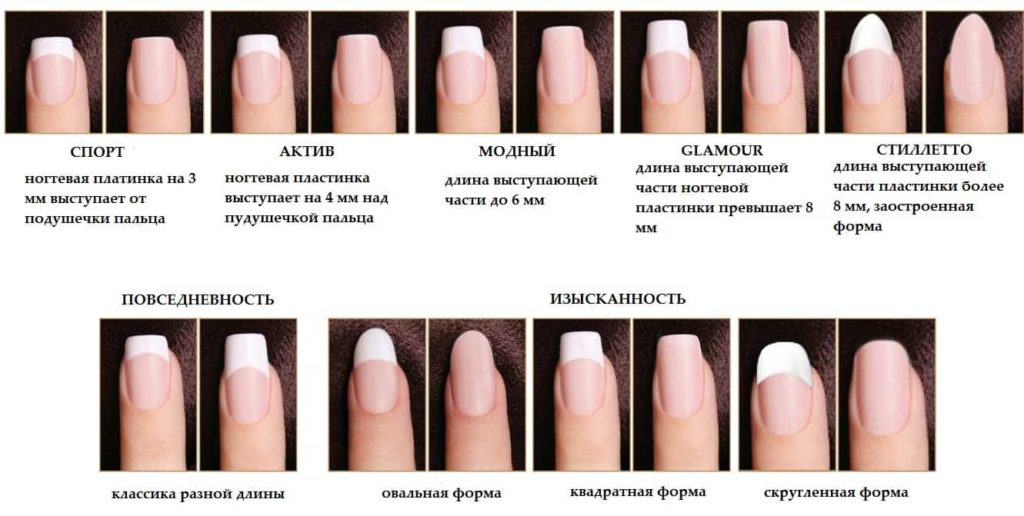
Forms of nails
Before you start building, you need to determine the future shape of the nail.
The shape of the nails can be any one you want, but if you are a beginner, it is better to use the classic options, and leave complex ones for later.
Escalation
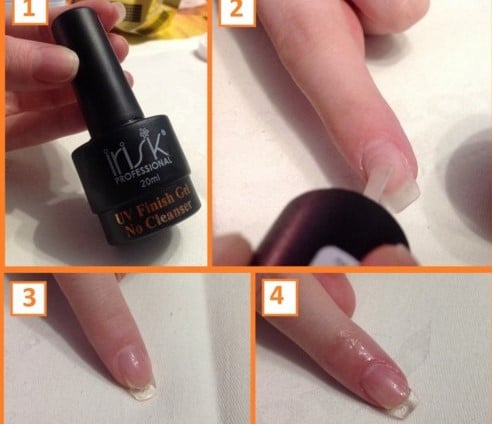
Tips Method
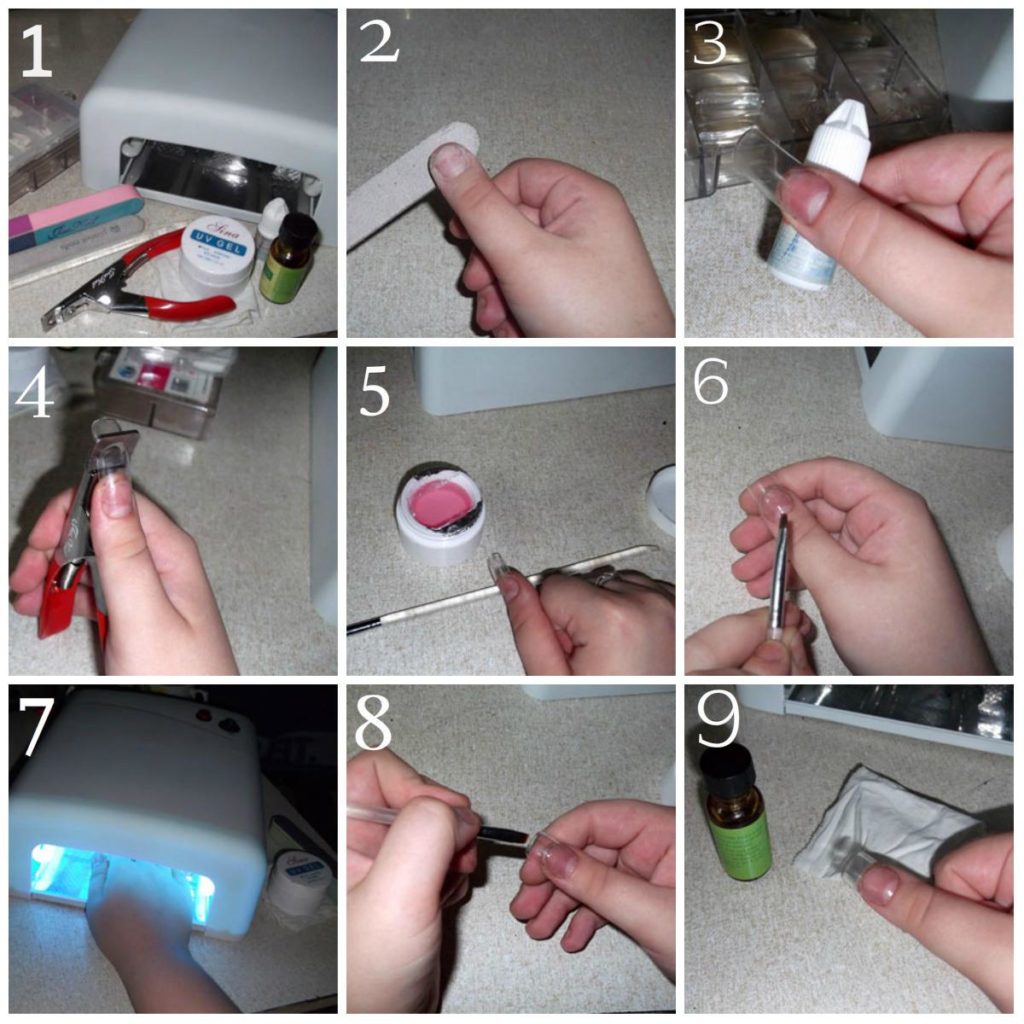
- Spray all our tools with an antiseptic. After we start working with tips. Put it on your fingernail and see what shape you would like to give it. After, cut the tips in accordance with the selected shape. Then grab a cuticle blade, also called a pusher, and move the cuticle off the nail.

- Also remember that cutting a nail is by no means recommended. Leave small nails, and your extended nails will last much longer than on cropped nails. When you removed the cuticle, then with the help of a nail file you need to remove the shine from your nail.
- After applying kutasept on the nail, and then the dehydrator. Then drip a little special glue for tips on the nail and firmly attach to the nail. The main thing here is to attach the tips correctly so that not one of its edges moves sideways or down. Then, with a neat and thin layer, apply the bonder and primer and dry in the lamp for 2 minutes.
- After applying the gel. Using a brush, take a large amount of gel and apply it to the center of your nail. After pulling a drop, stretching along the nail giving it the desired shape. When the first nail is ready, put it in the lamp to dry.Do not hold the gel for more than two minutes, otherwise there is a risk of burns. If you feel that it’s baking, you can pull out the nail and then put it back in the lamp.
- In this way, you need to apply the gel on each nail, drying each of them in turn. It is recommended that the gel be applied last to the thumbs. When the gel has dried in the lamp, remove the sticky layer with a special composition and shape the nails. File a leaked gel in some places, and then cover the nails with a topcoat. Dry the nails in the lamp for 2 minutes and the nails are ready.
Recommendation
If you use a colorless gel, then after the finish coating you can apply any varnish or color gel. You can also use shellac gel polish and fix its effect in the lamp for 2 minutes.
Form extension
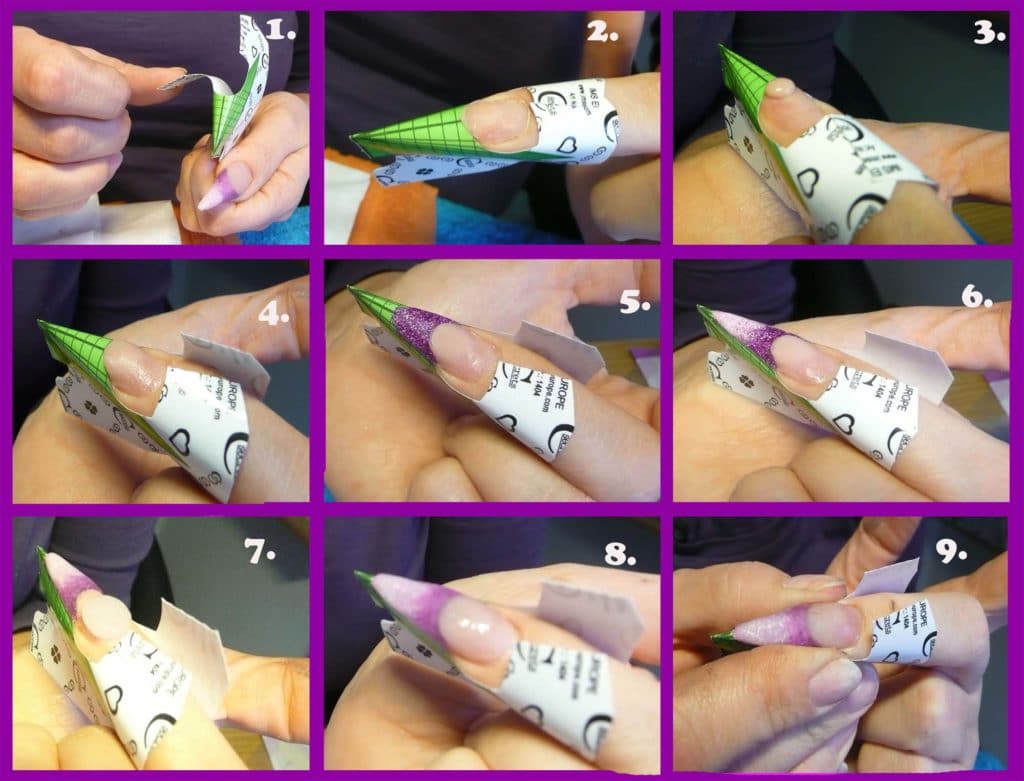
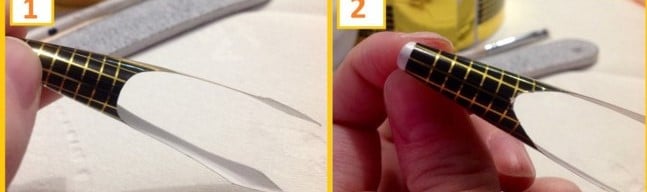
- Preparation for nail extension is exactly the same as nail extension. The form is a paper pattern that needs to be bent in half and put on a finger. It is fixed under the nail, and its edges are fixed on the finger above.
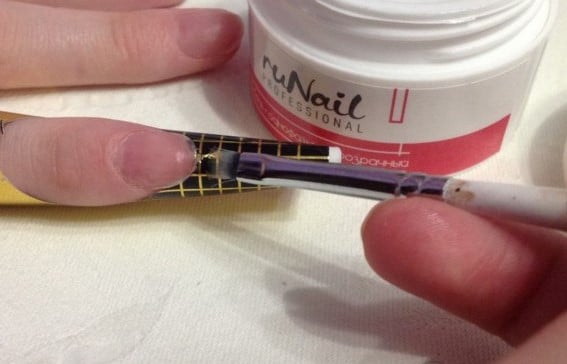
- Then apply the gel using the same technology as described above. Gently distribute the gel to the level of the desired length and simulate the shape with a brush. To make the form more ideal, turn your hand over and adjust the flowing gel with a brush.

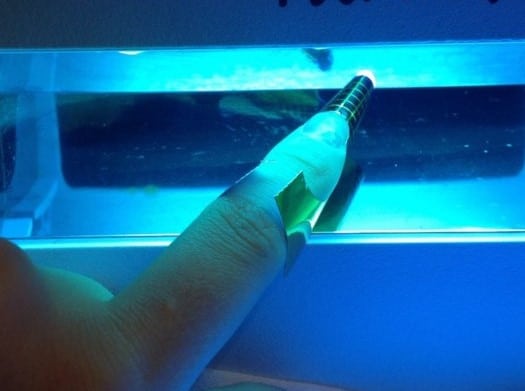
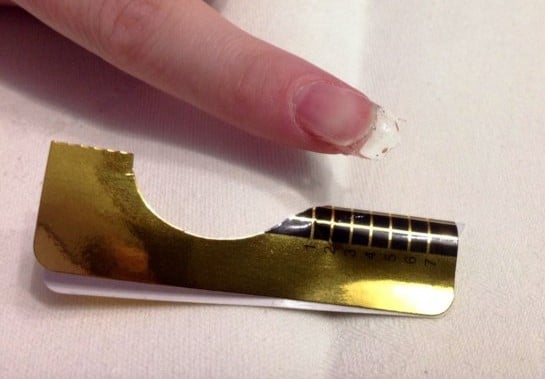
- Do not forget to dry each nail individually under an ultraviolet lamp for 2 minutes. When the gel clings to the forms, carefully remove it from your nail, and the gel itself should be filed, giving it the desired shape.
- After the sticky layer is removed, the topcoat is applied. Further, at your disposal, leave it as it is or apply gel polish or regular varnish to your nails.
Recommendations
- You can not apply a sharp change in temperature to the nails, this will affect the rapid exfoliation of the gel from the native nail.
- Once every three weeks you will need a mandatory correction of nails, which is carried out almost as well as the above-described process of building.
- If you use aggressive detergents, gloves are recommended.
Contraindications

- You can not build up nails for people with diabetes.
- If there is a fungus in the hands.
- Thyroid disease.
- Herpes.
- Disruption of the hormonal background.
- Taking antibiotics.
- Heart and blood vessel problems.
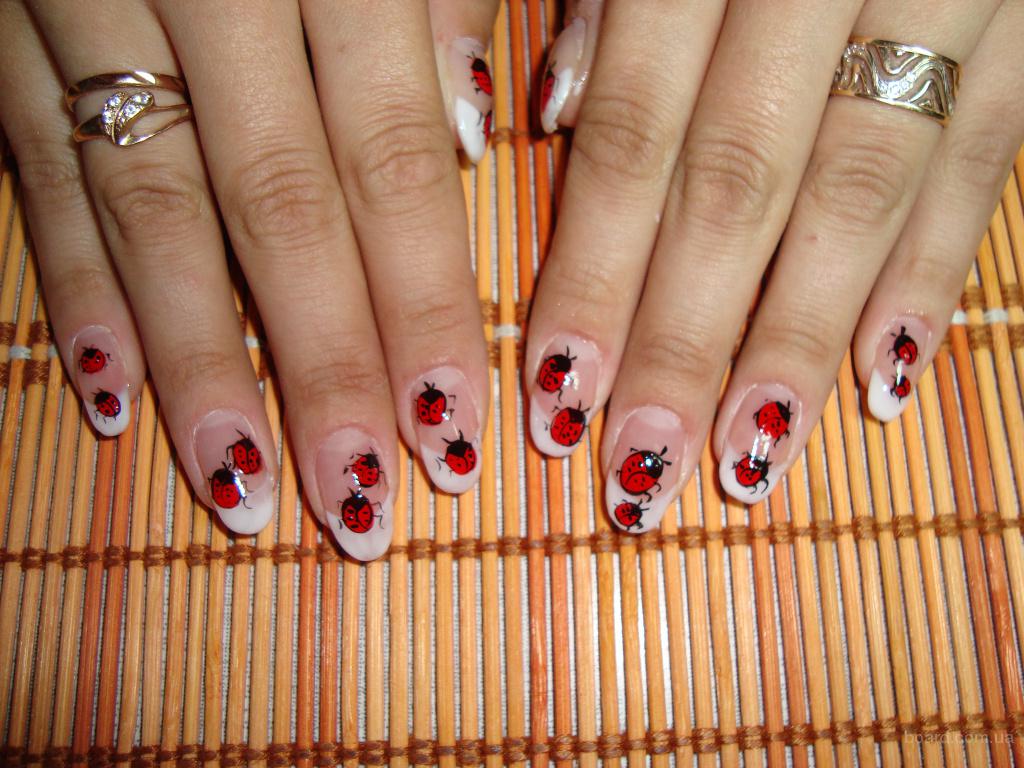
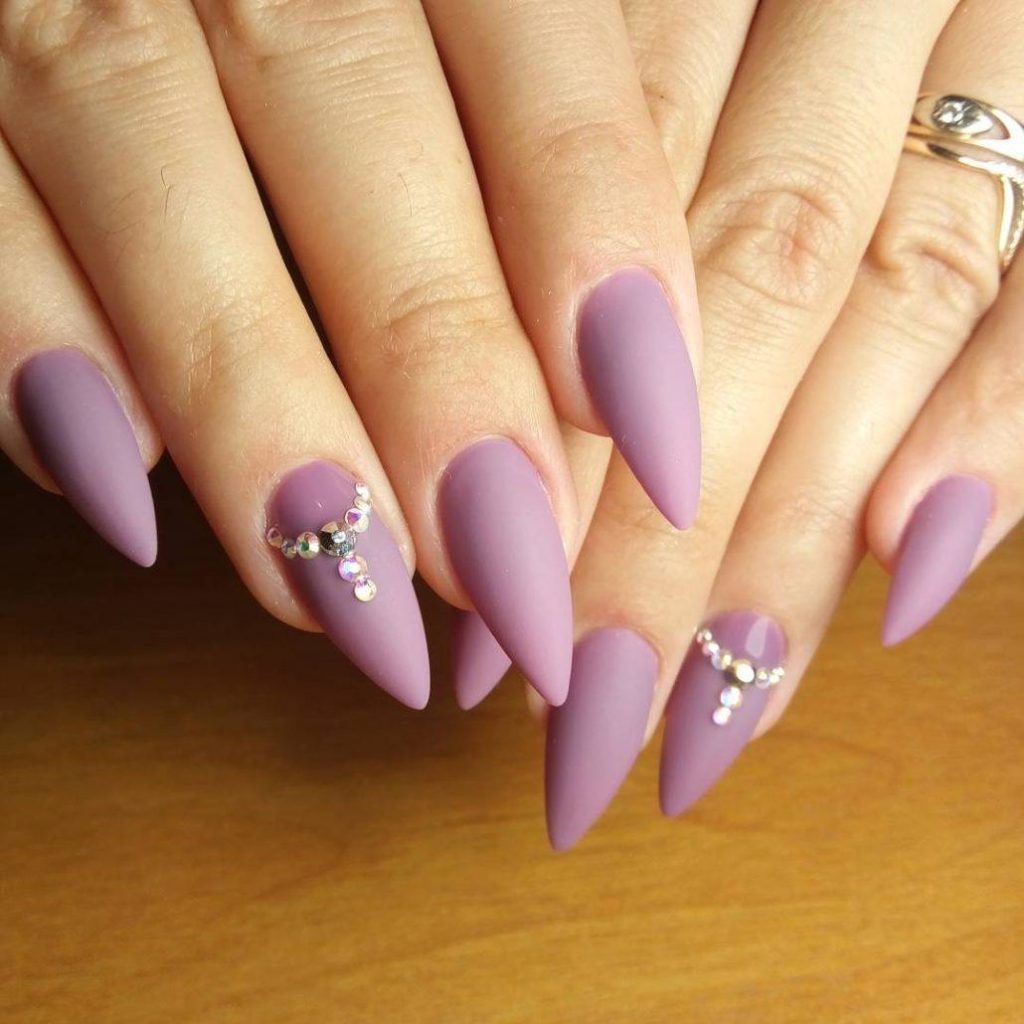
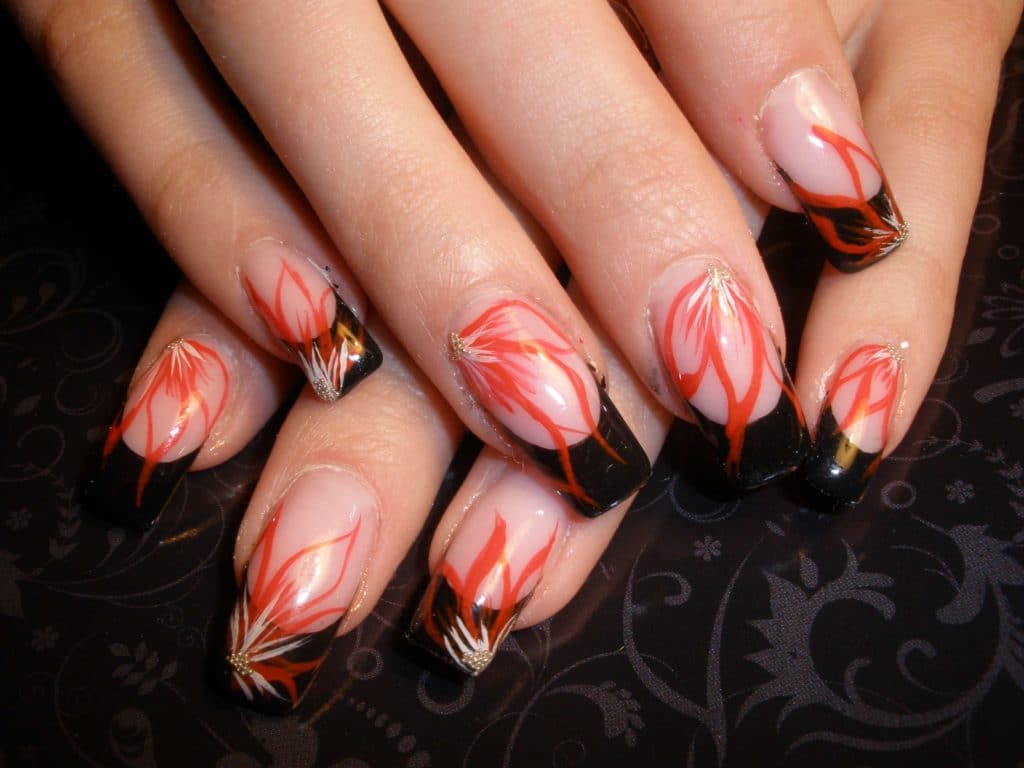
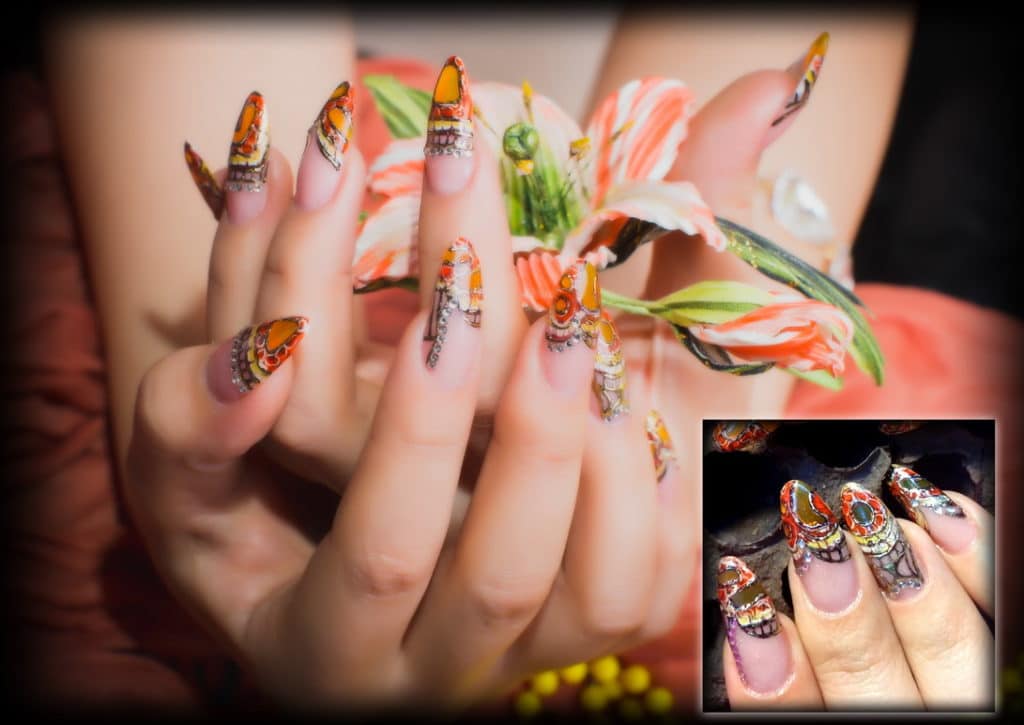
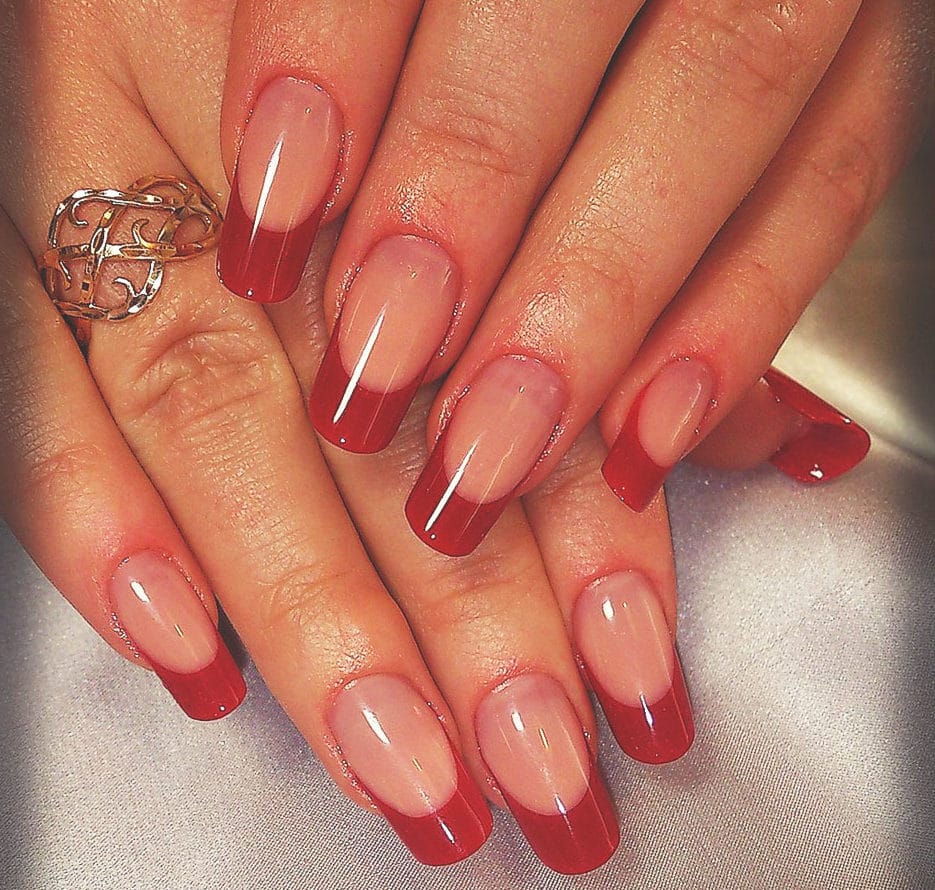
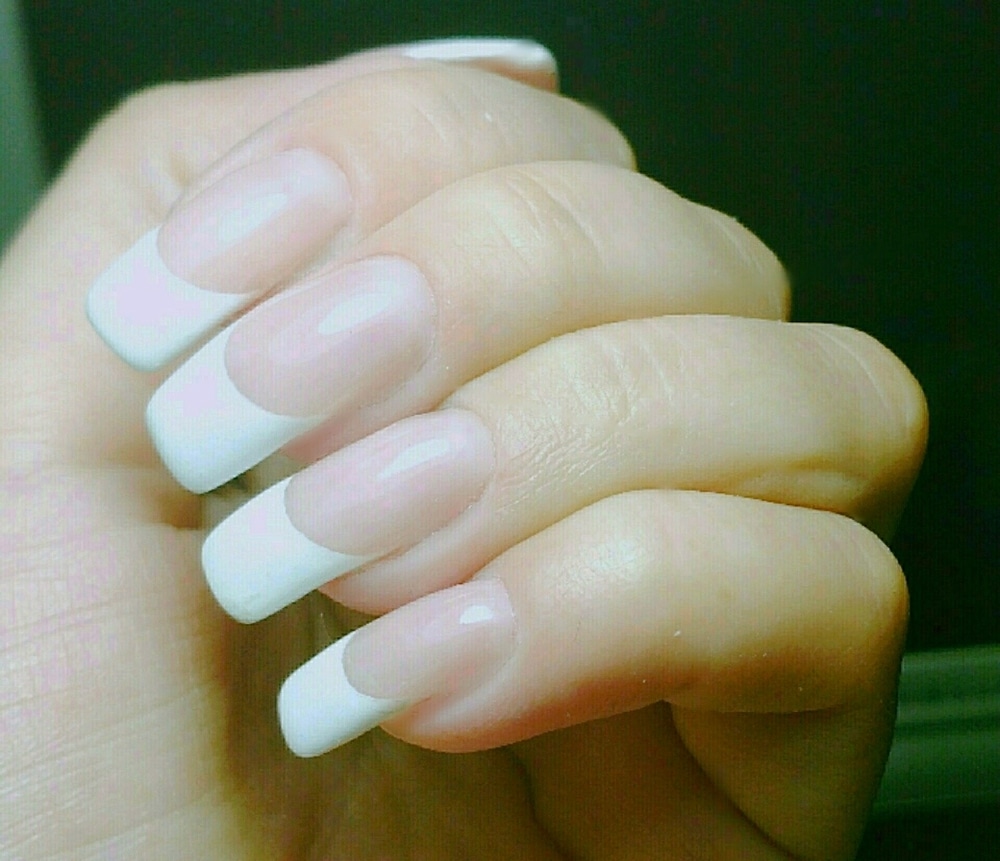
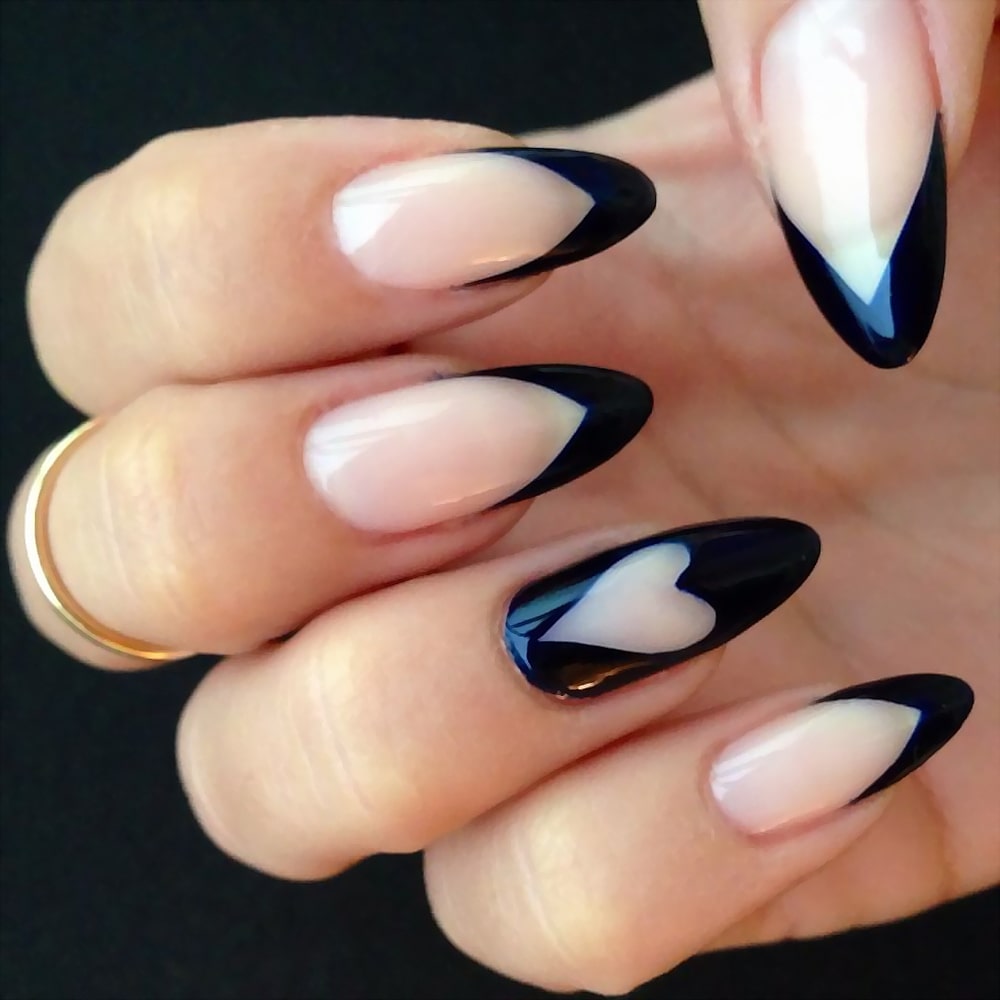
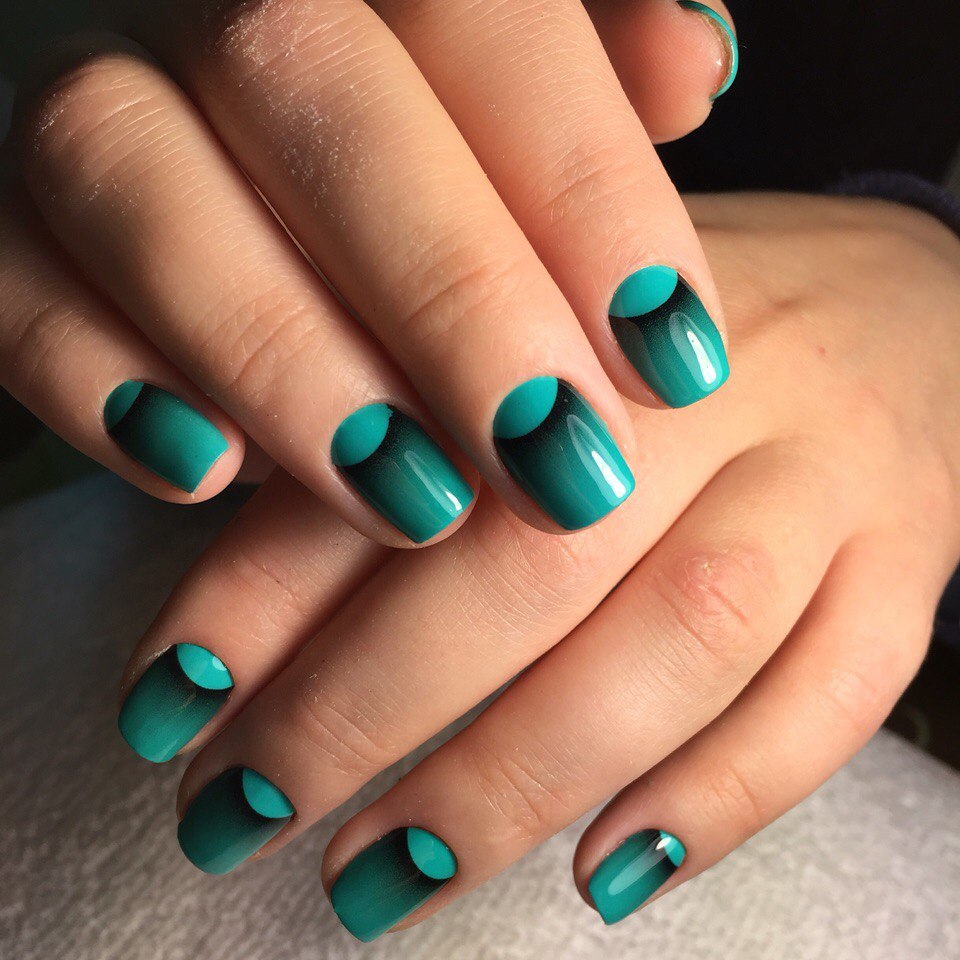
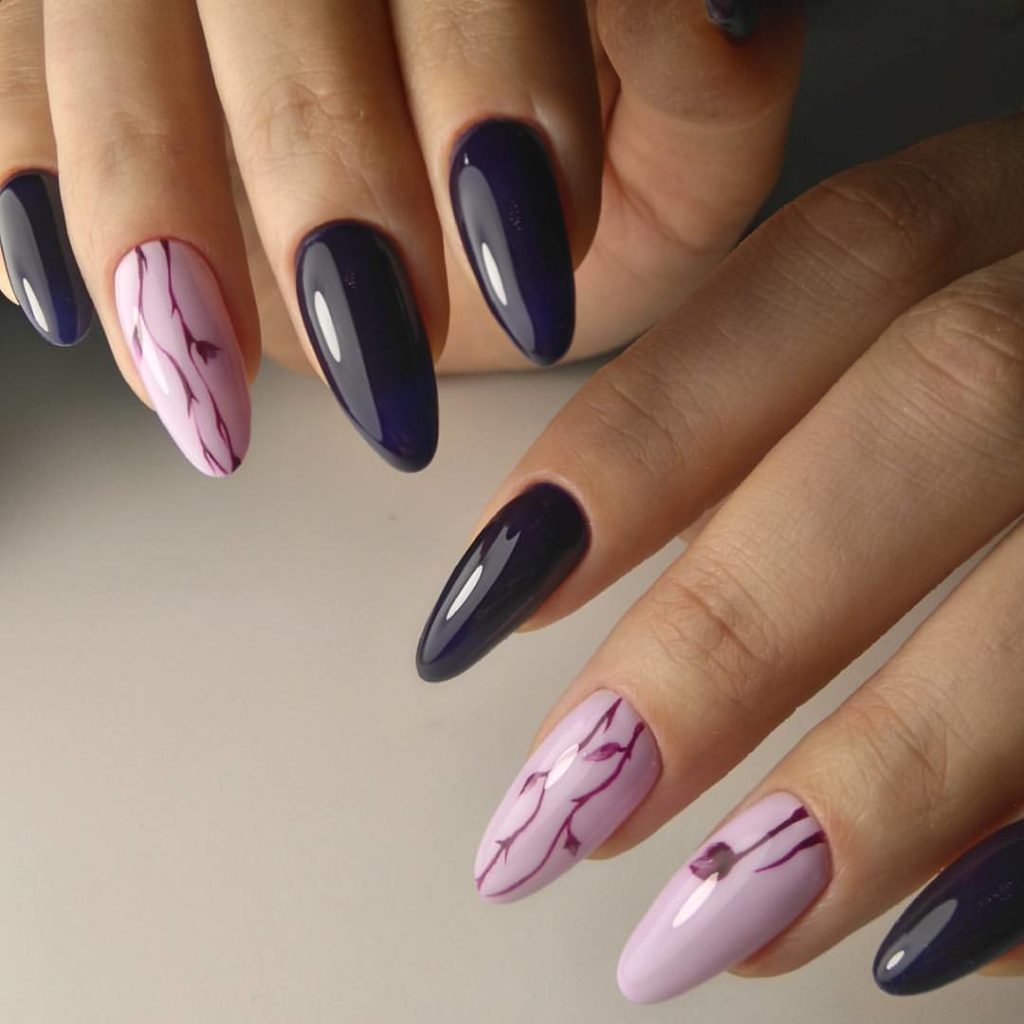
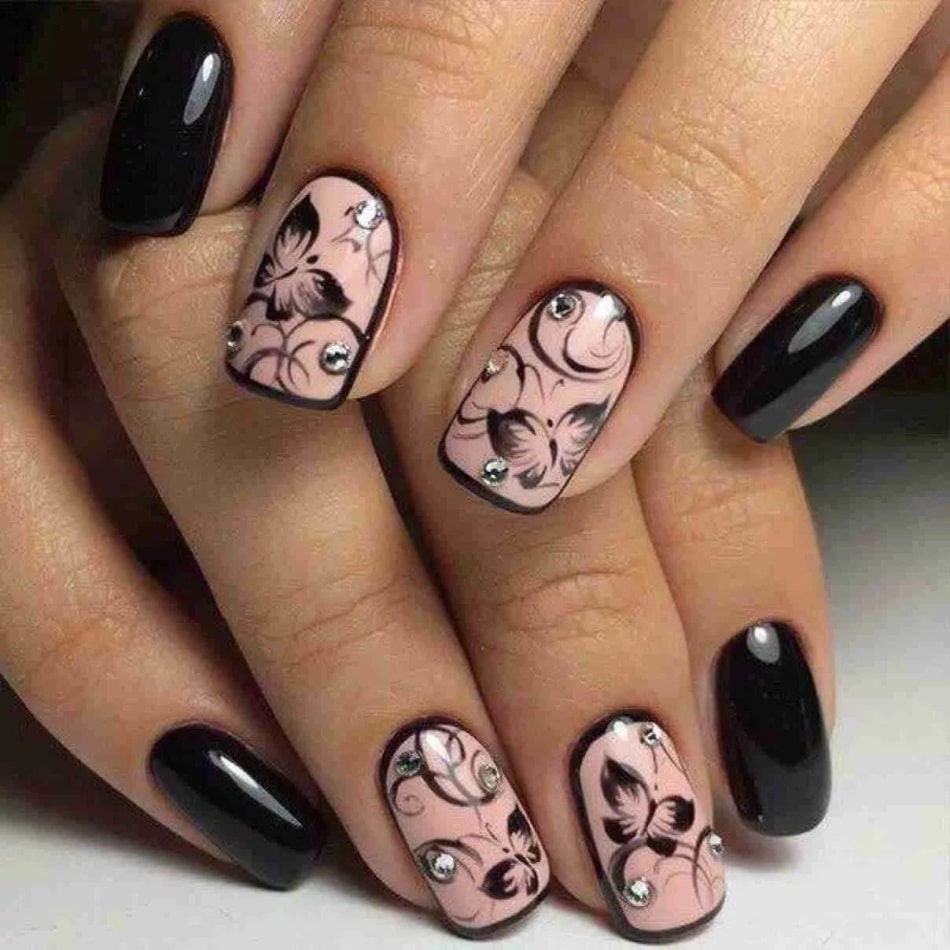
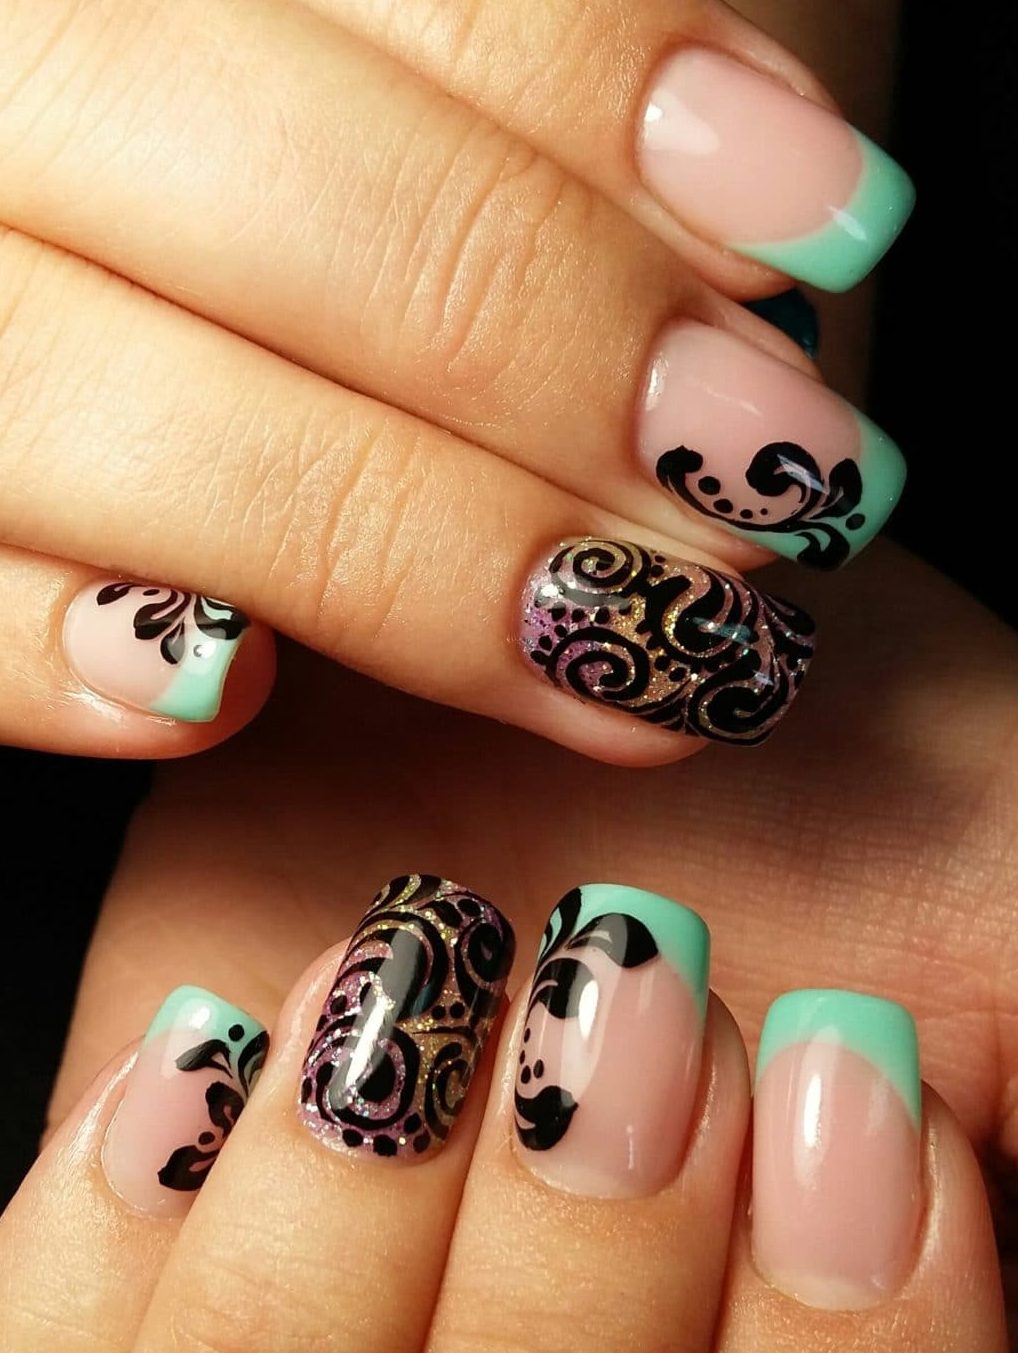
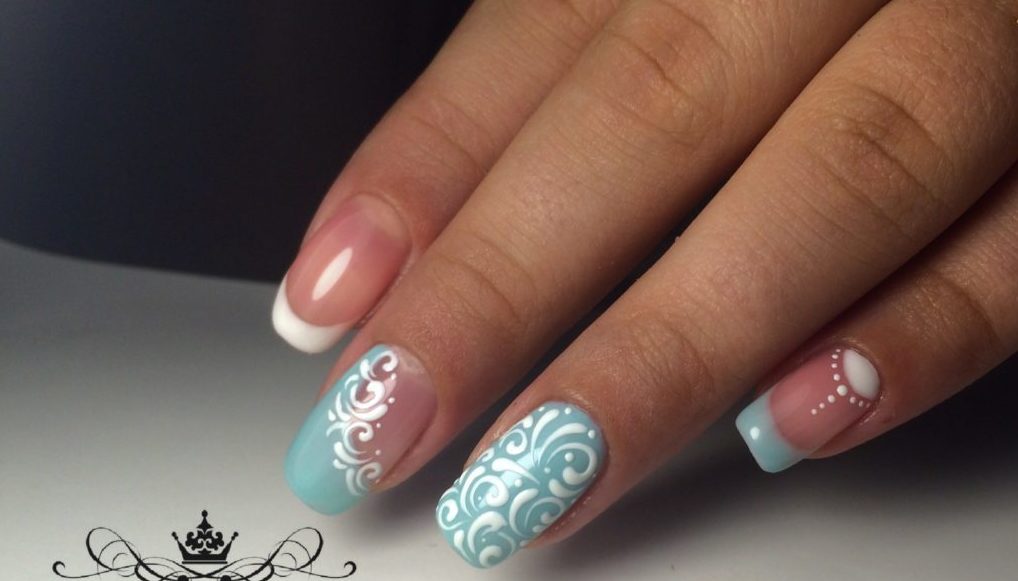
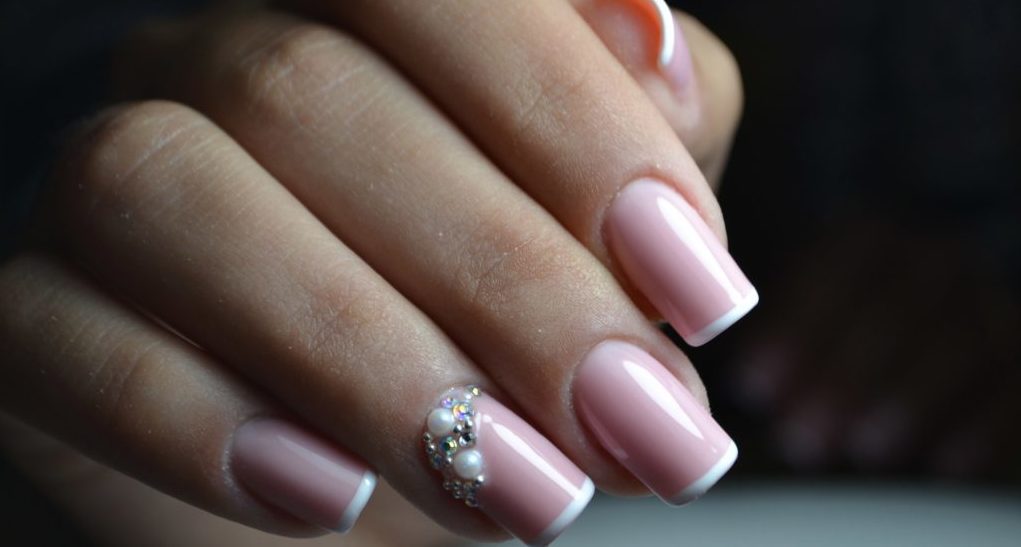
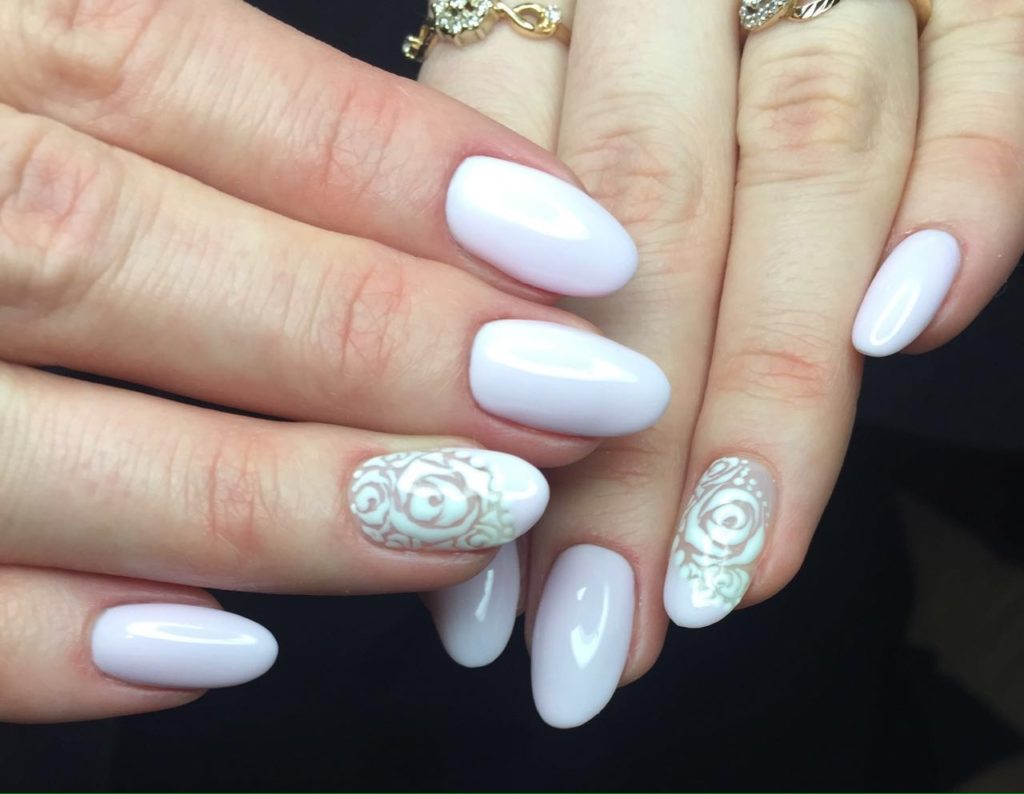
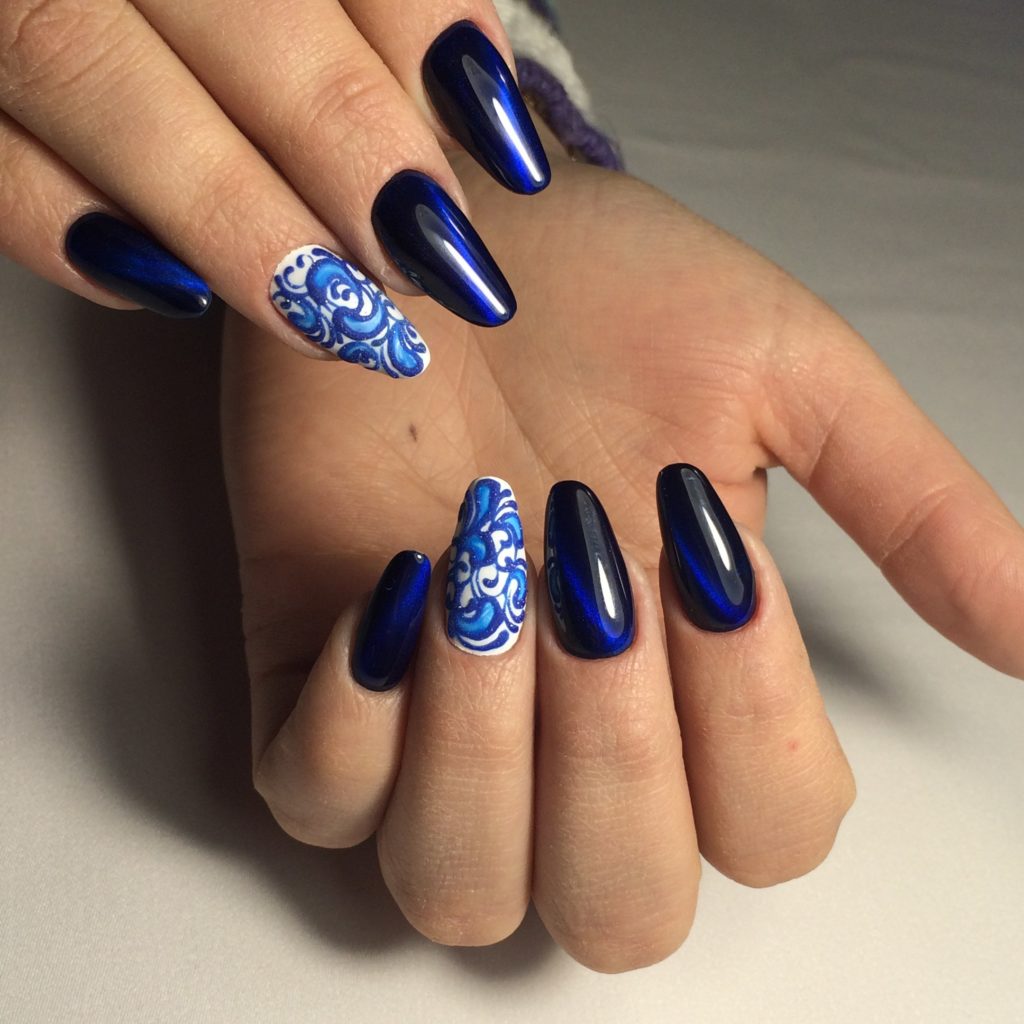
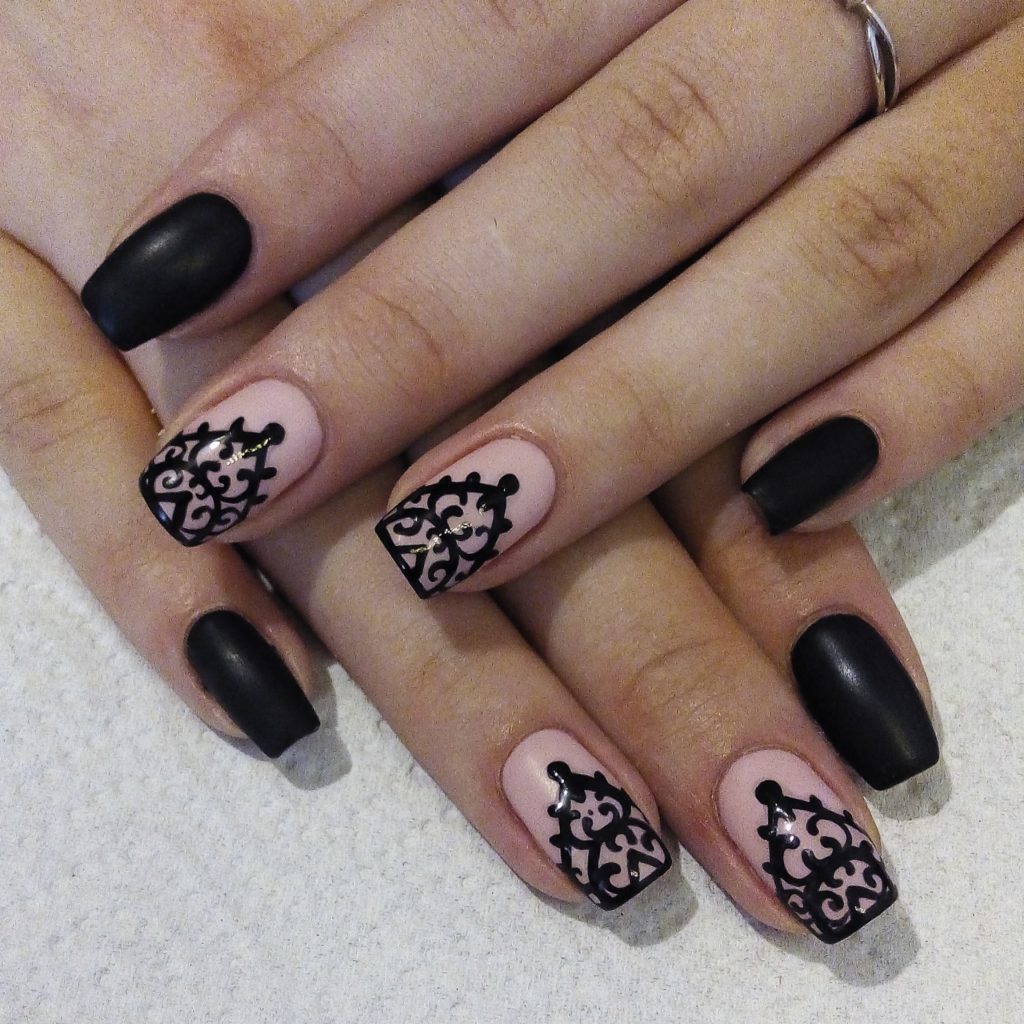
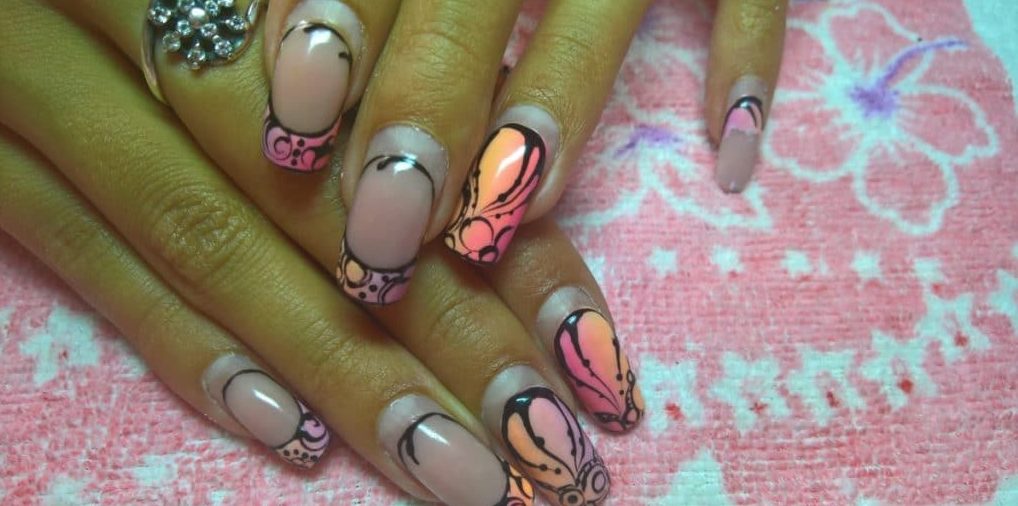
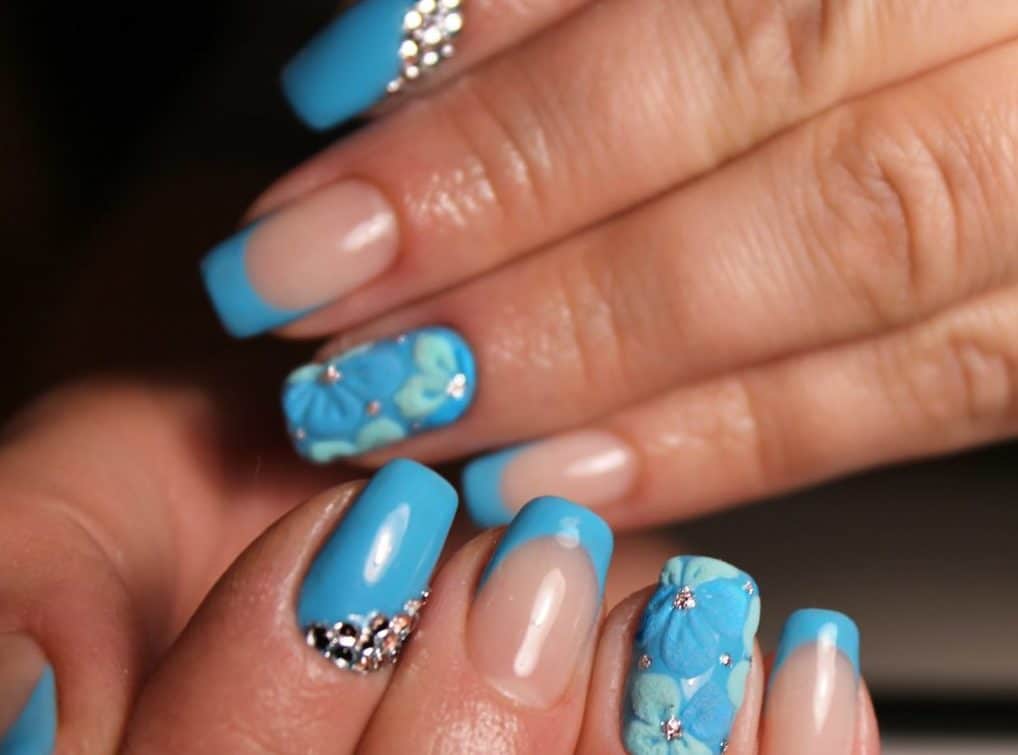
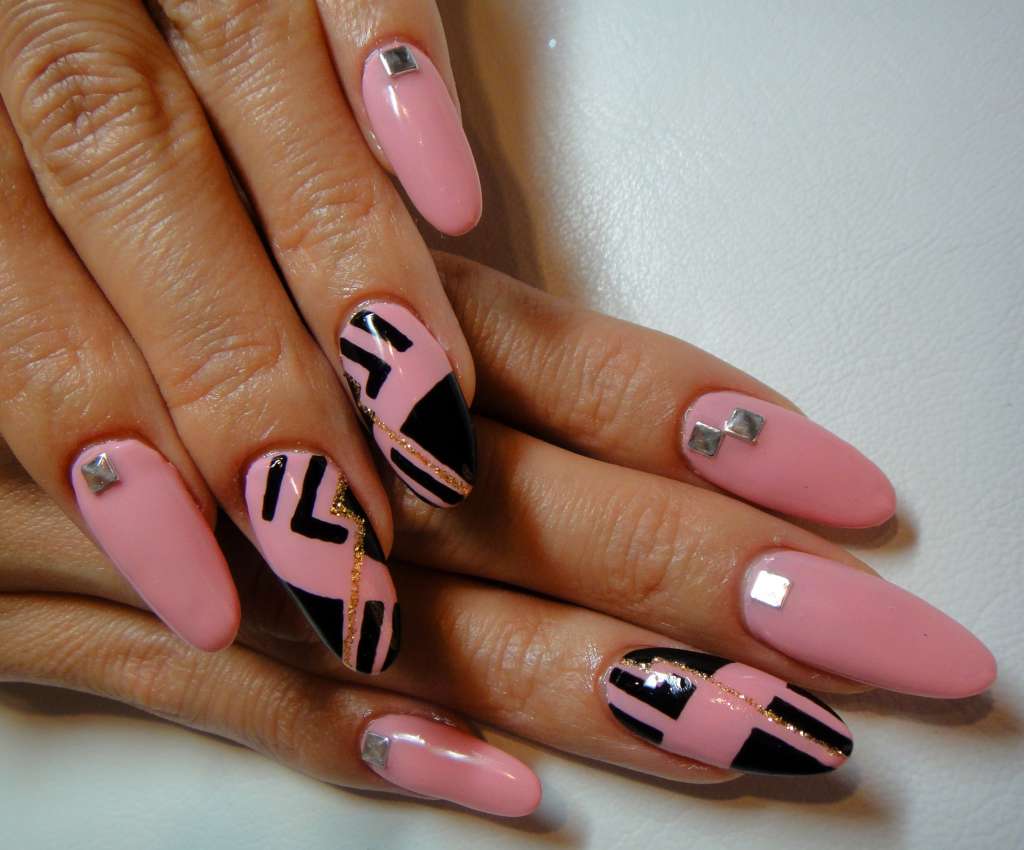
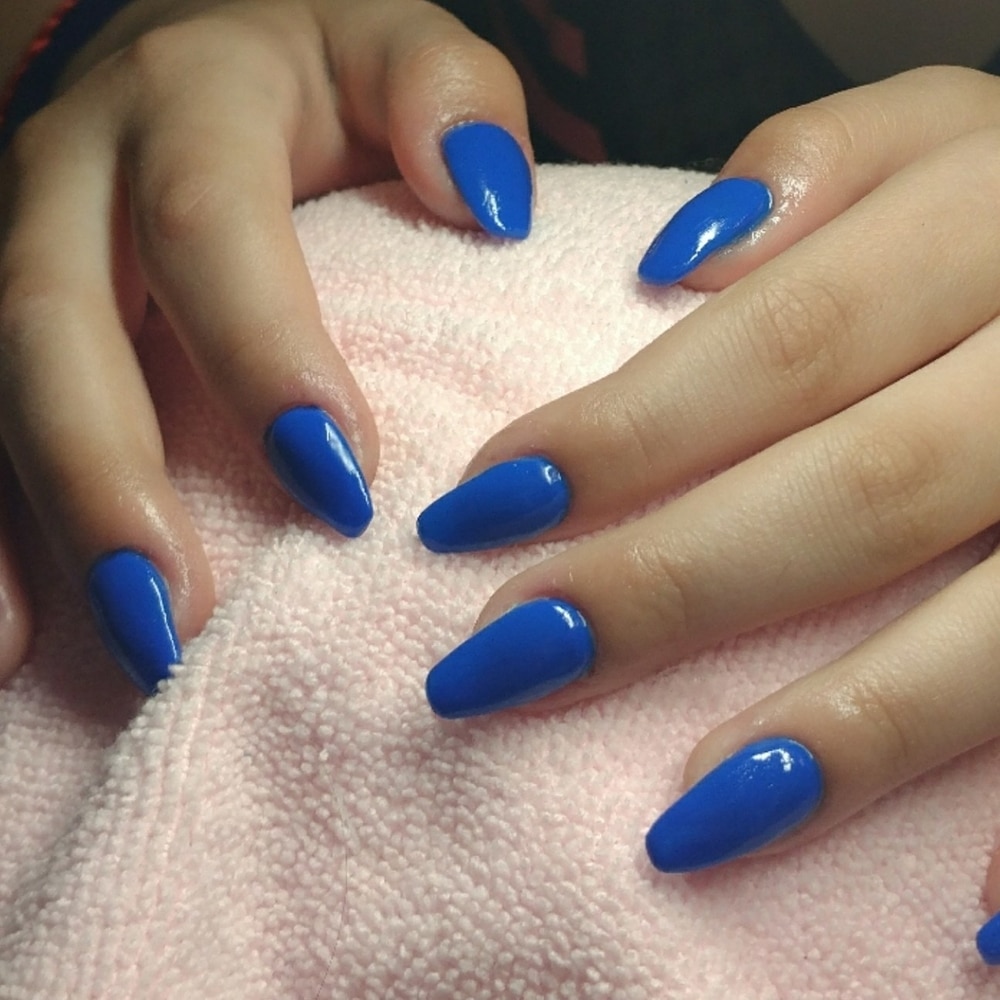
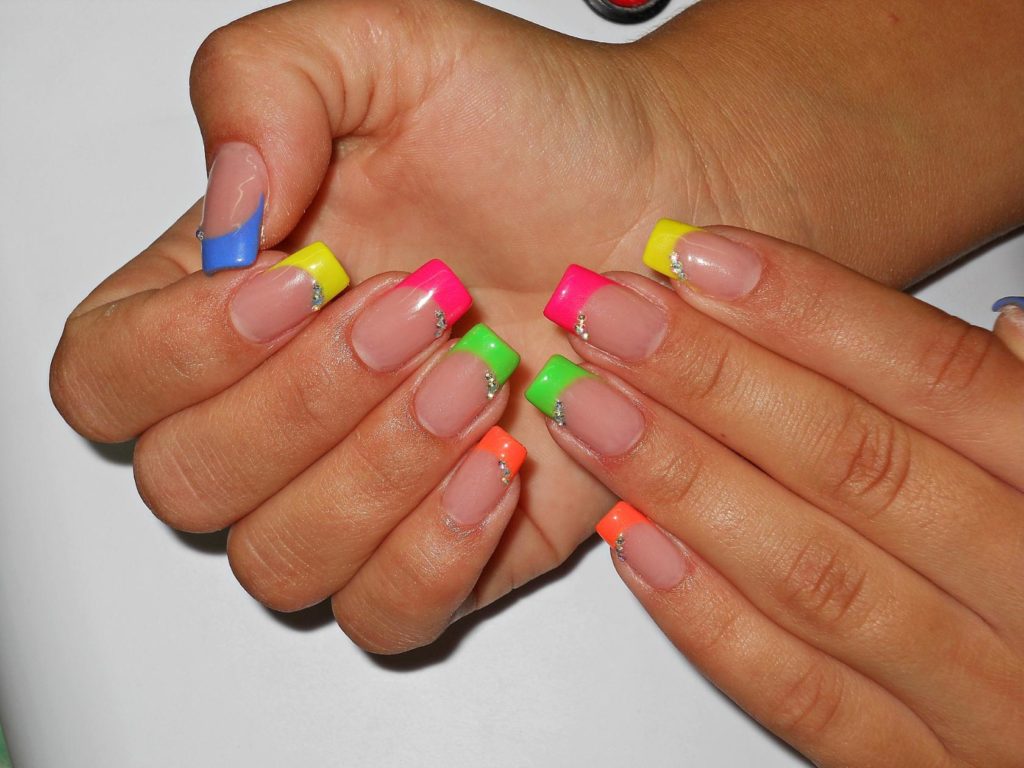
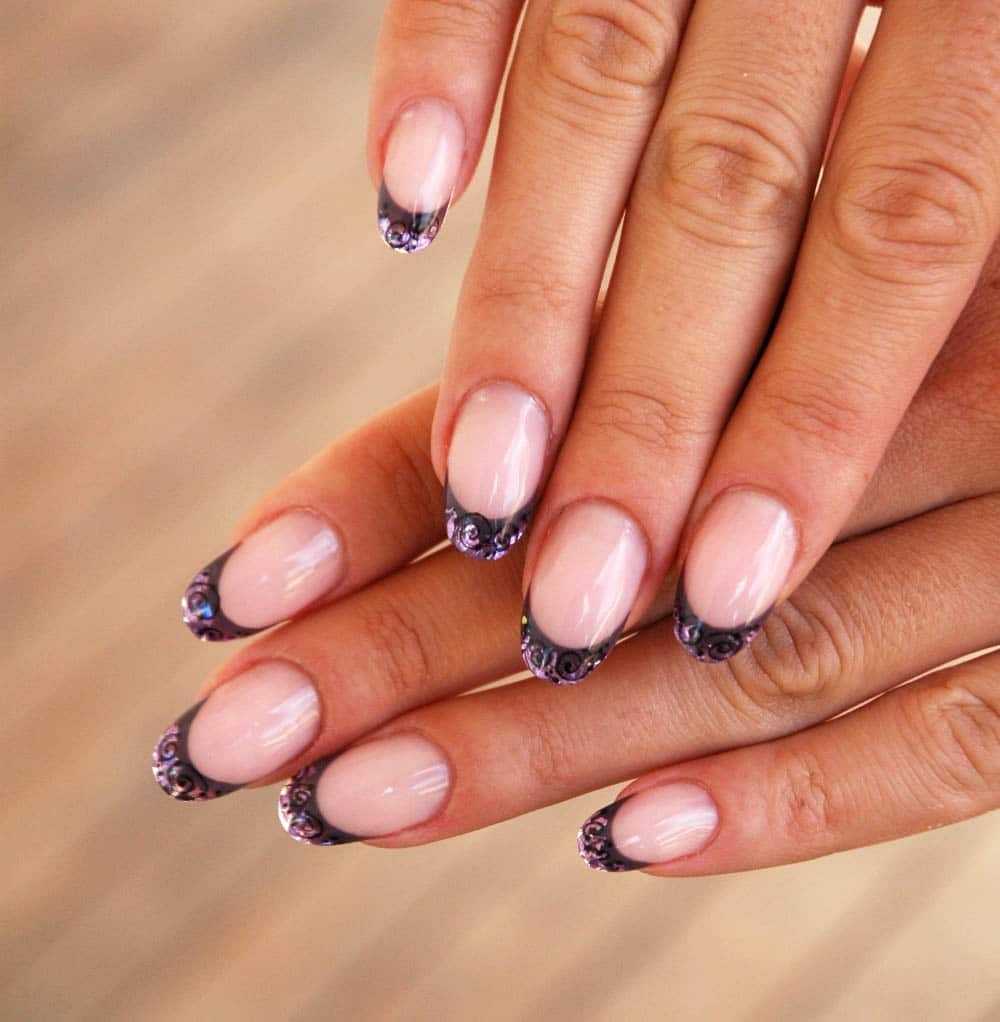
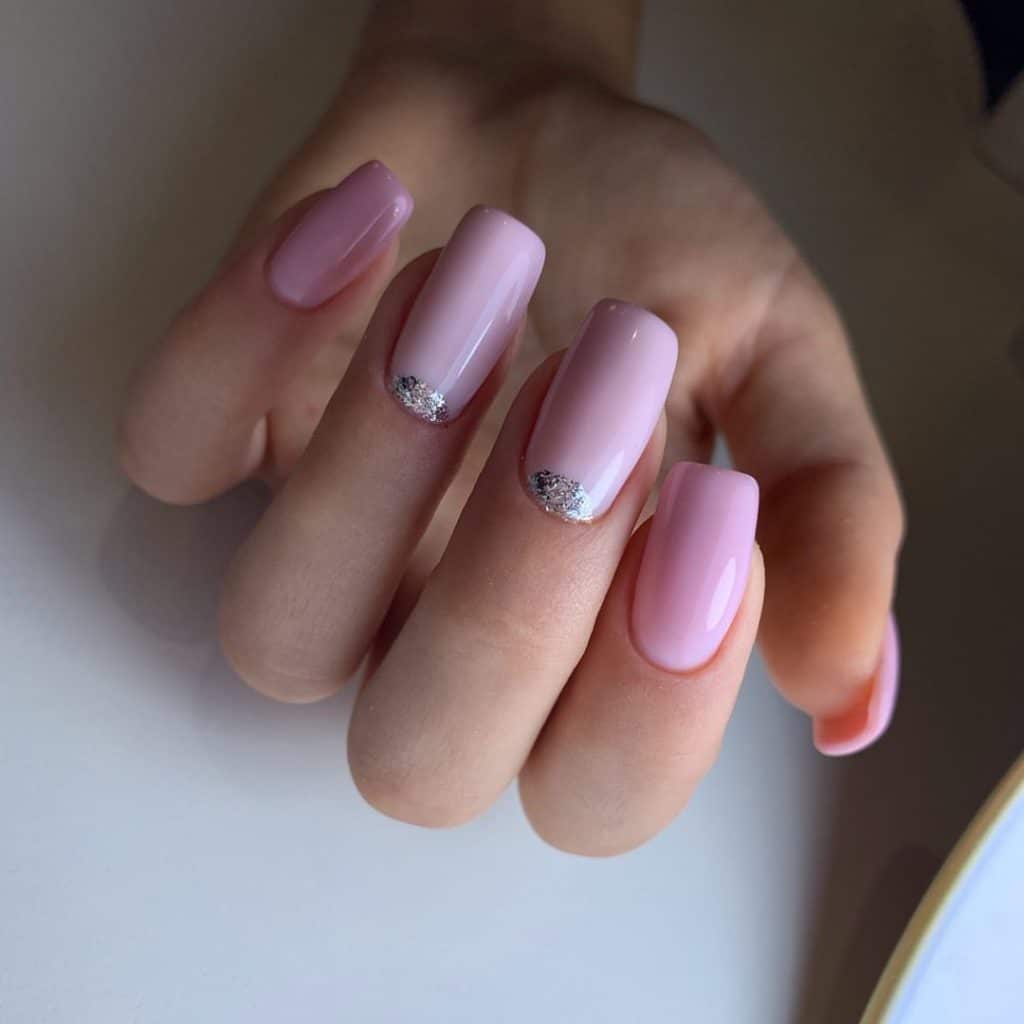
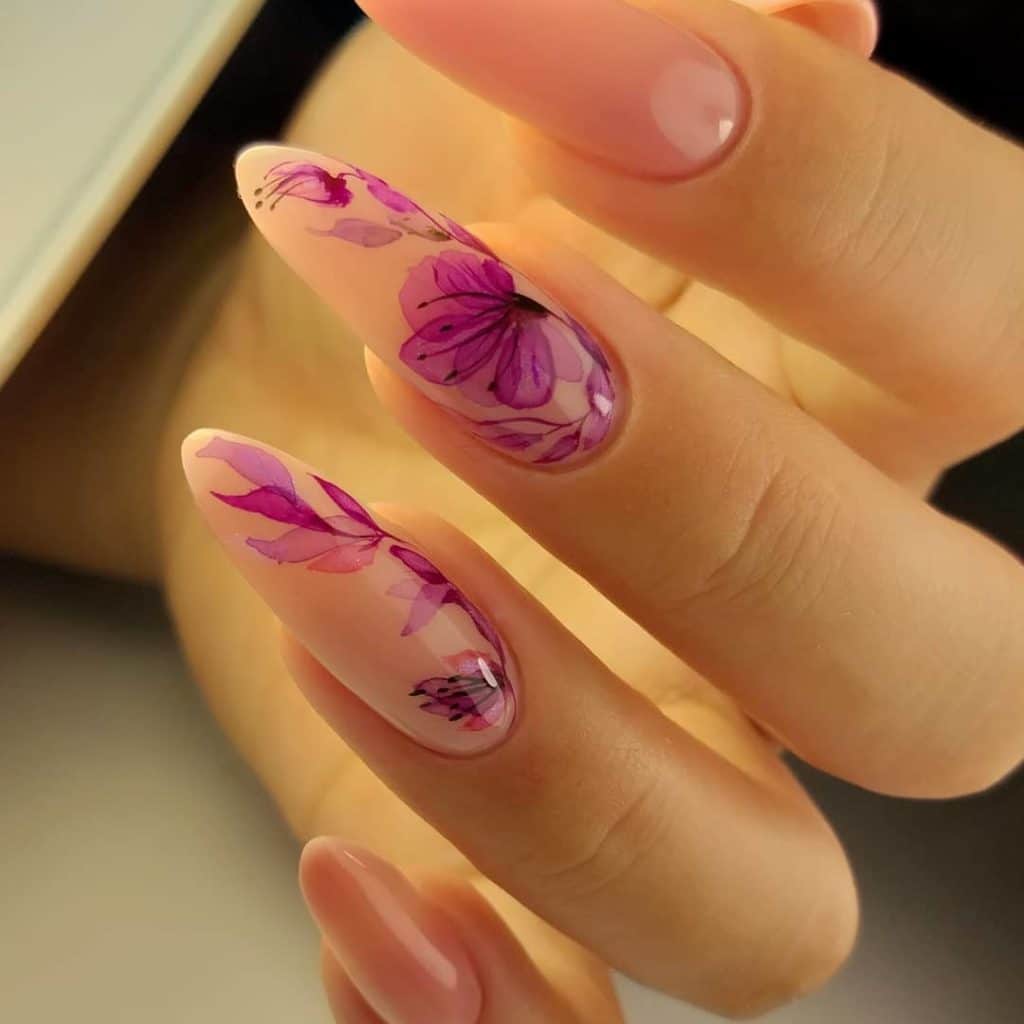
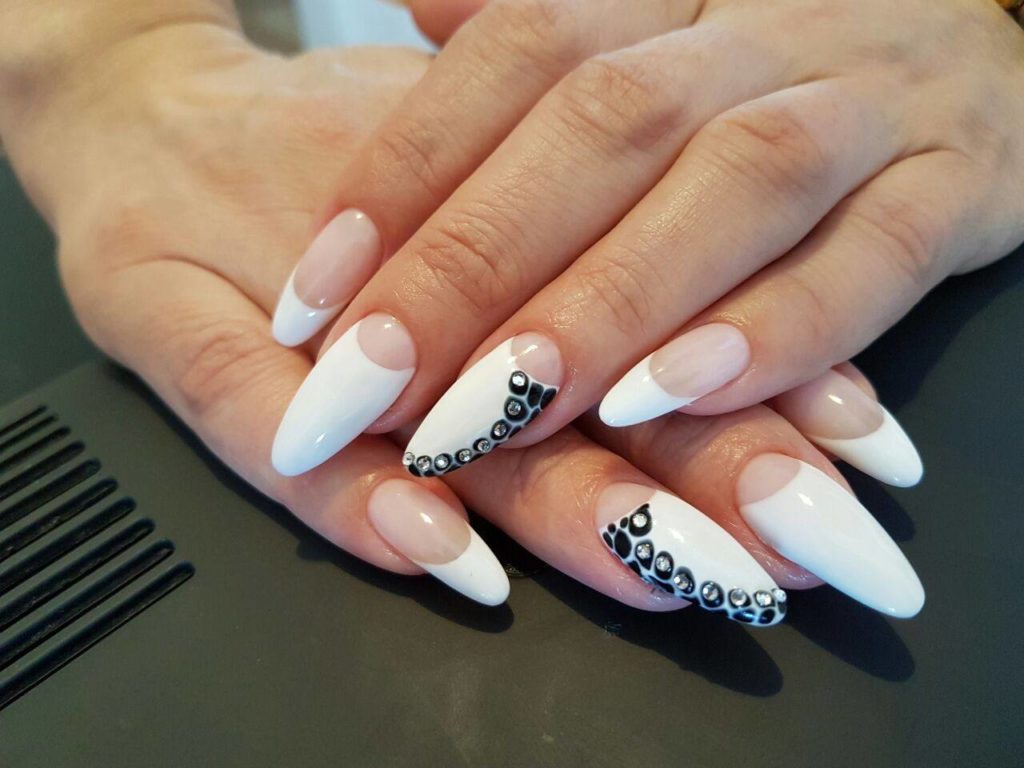
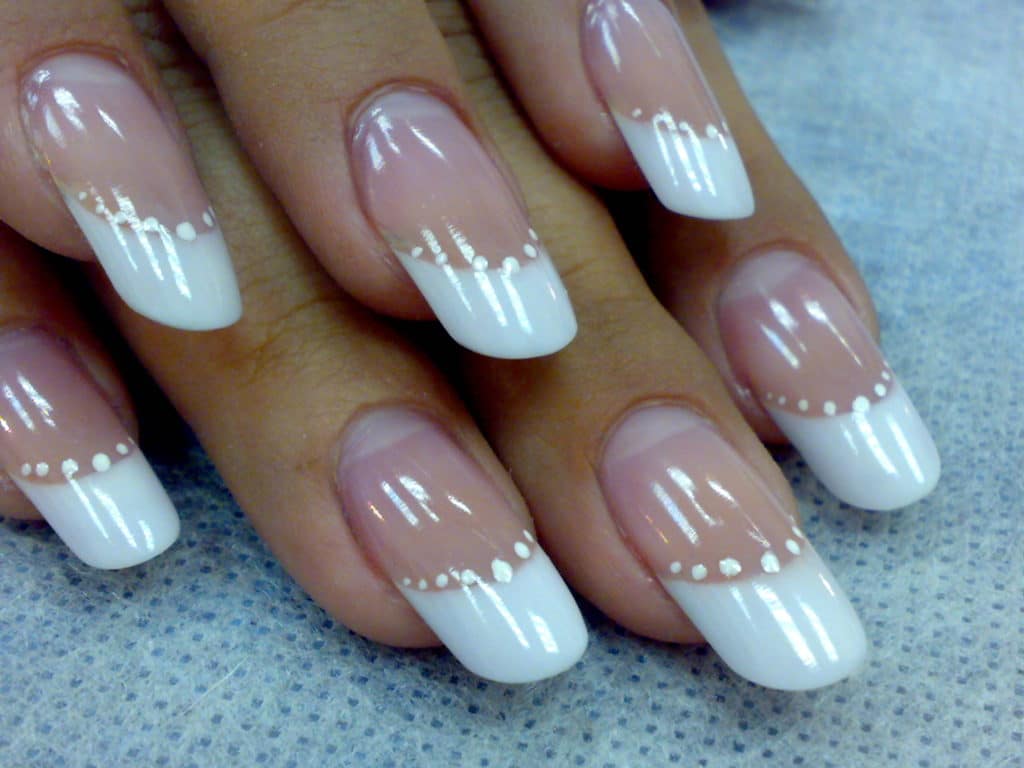
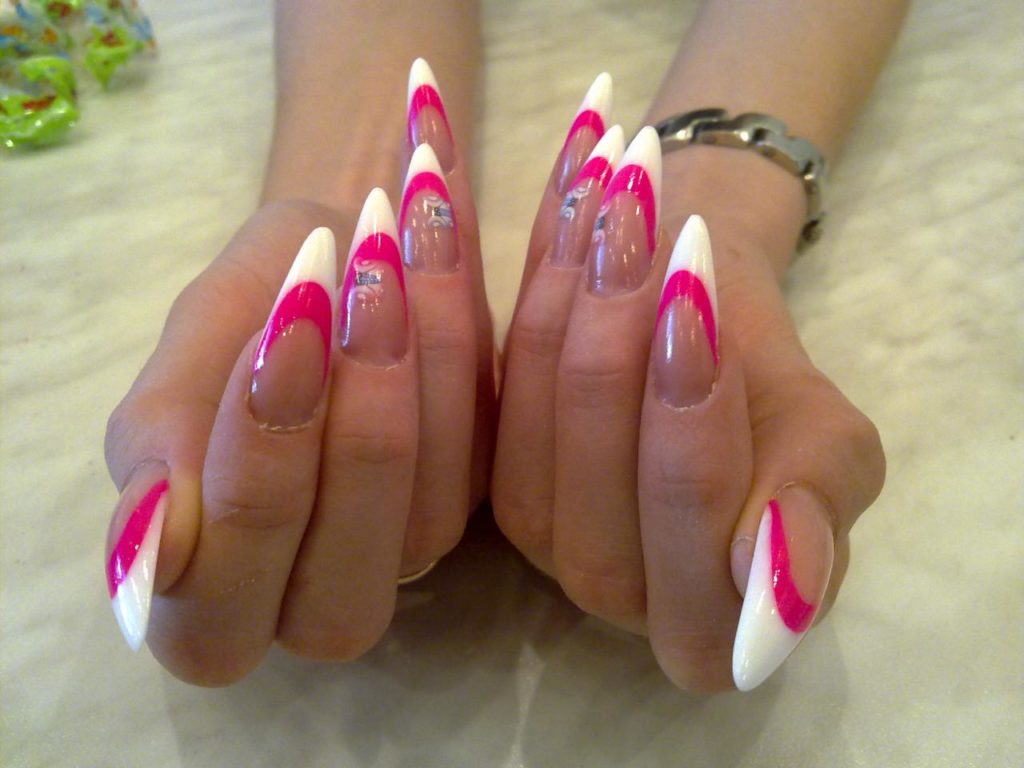
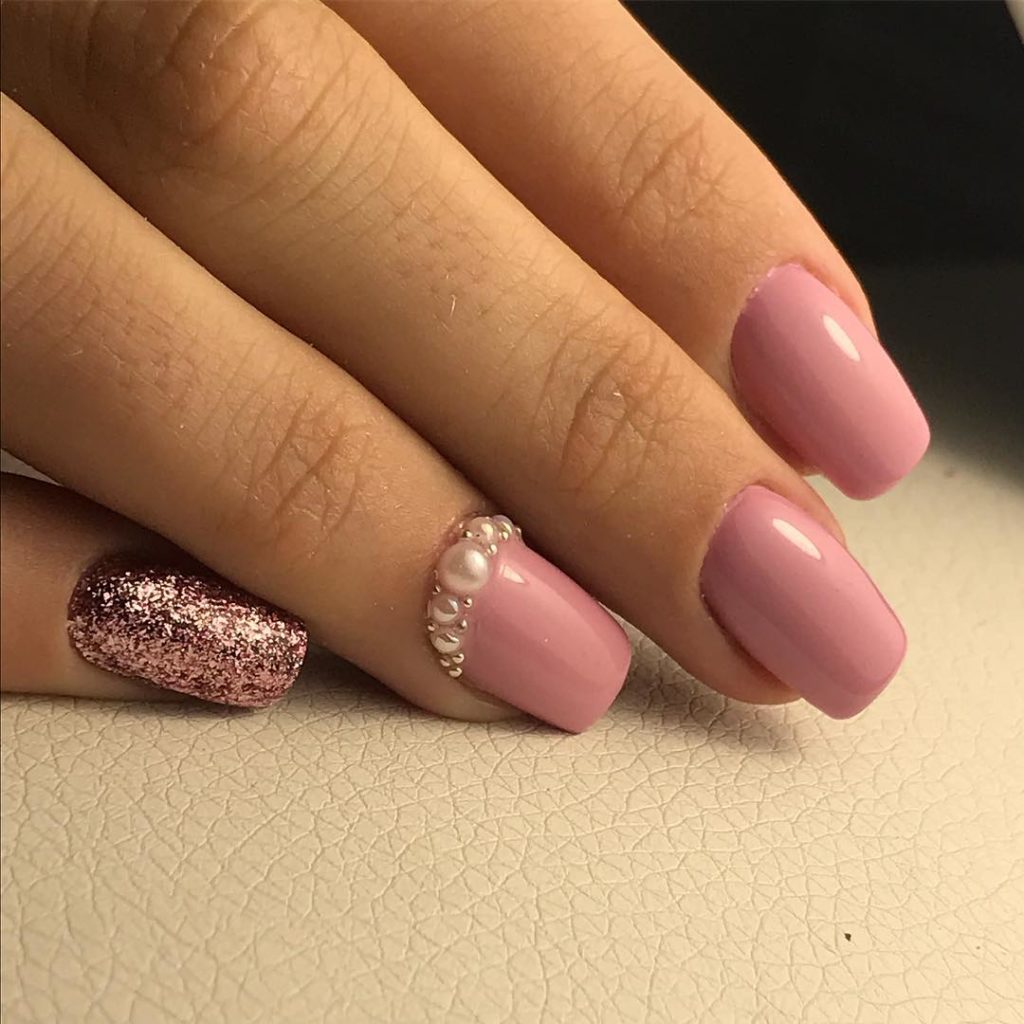
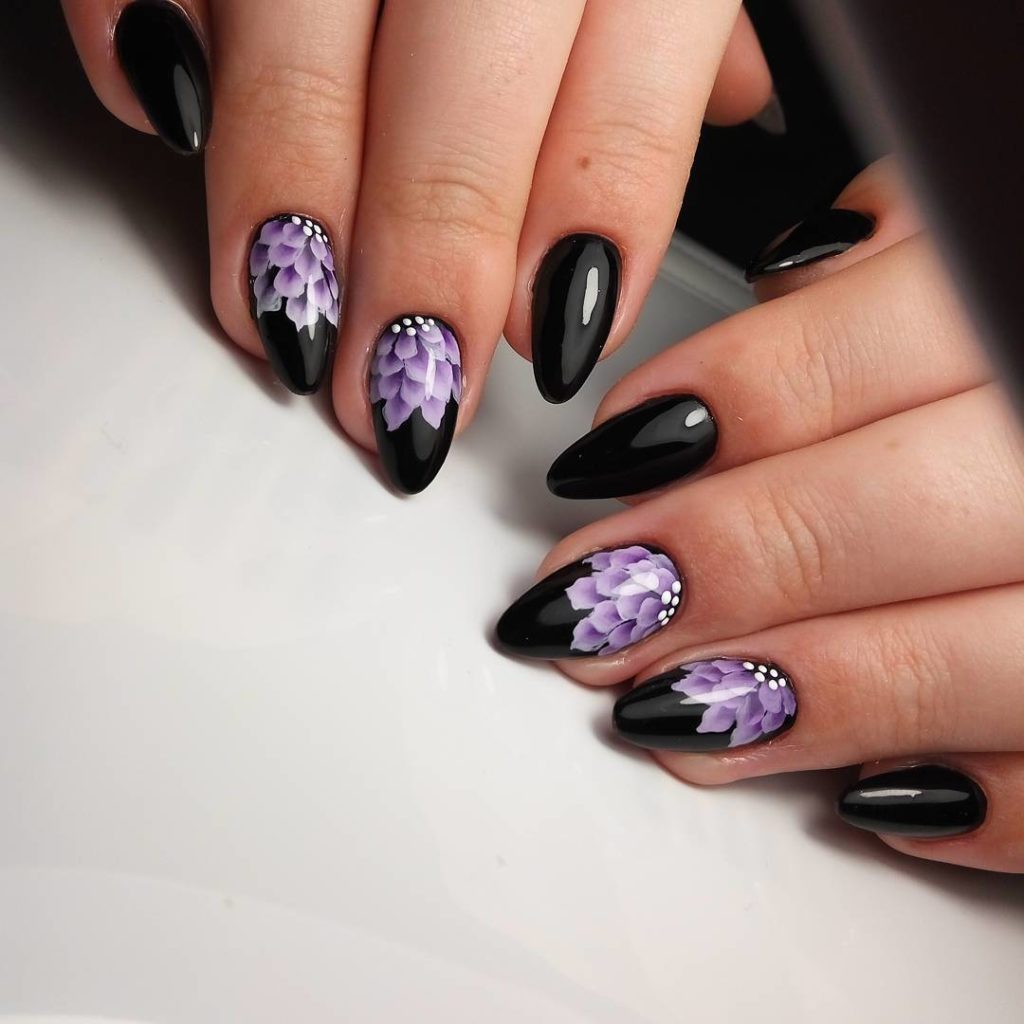
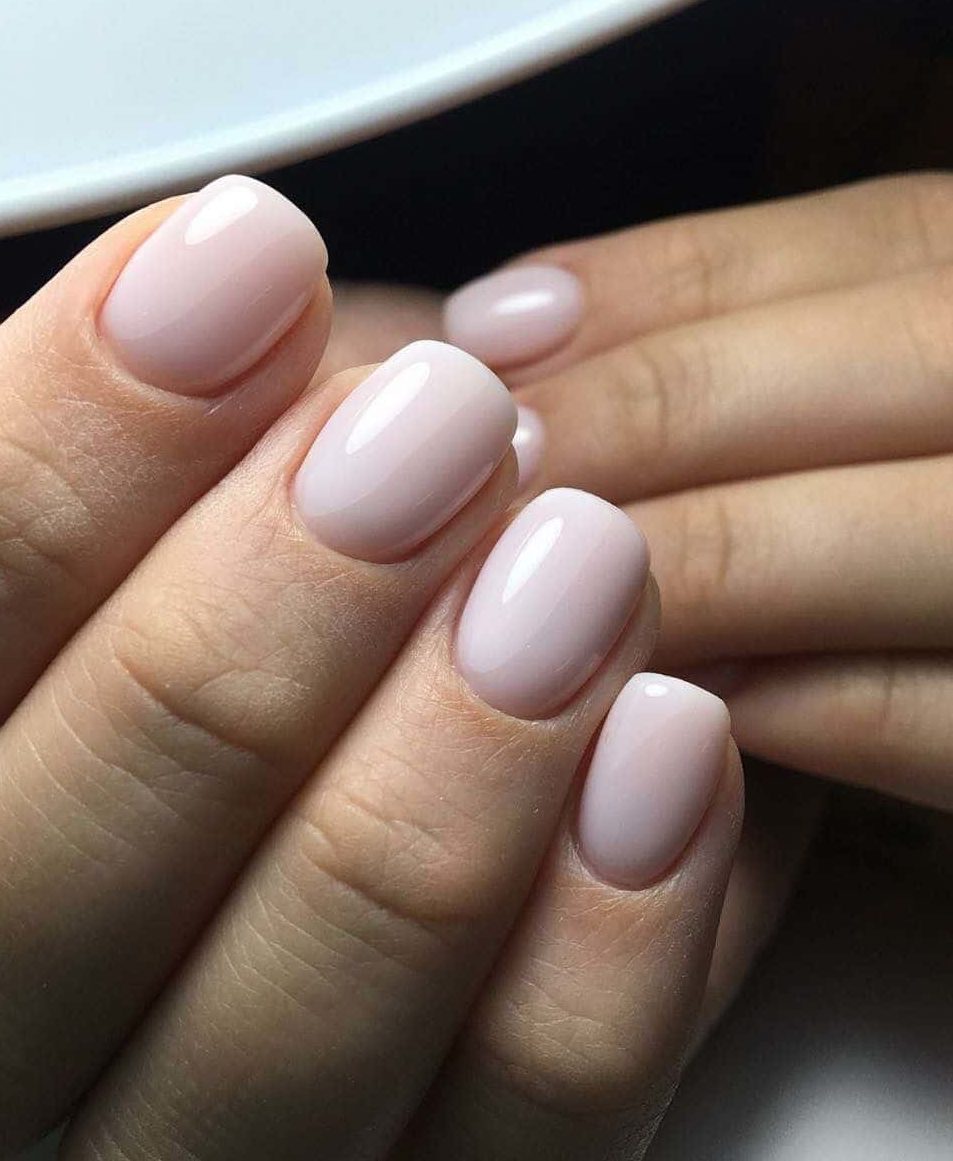
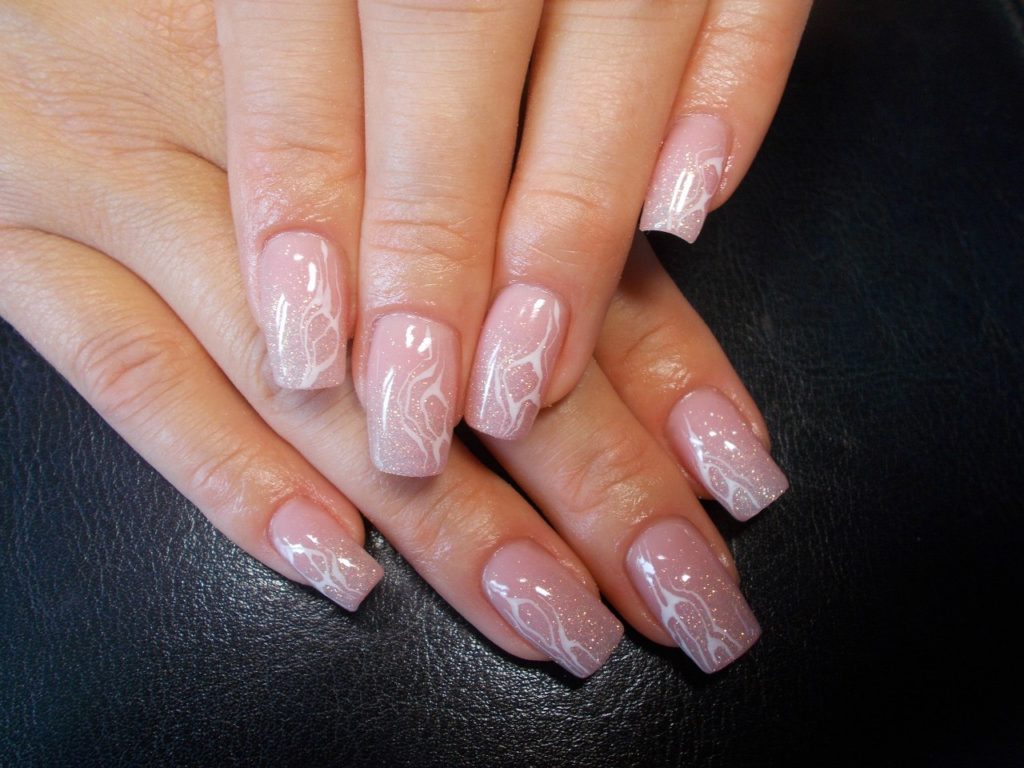
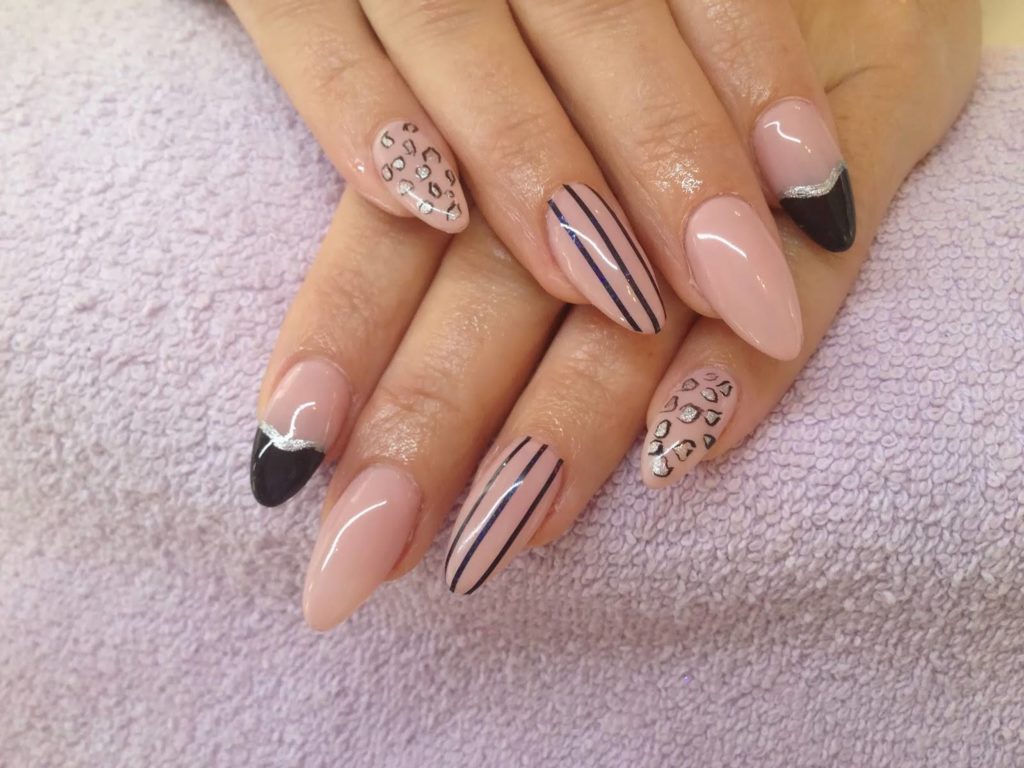
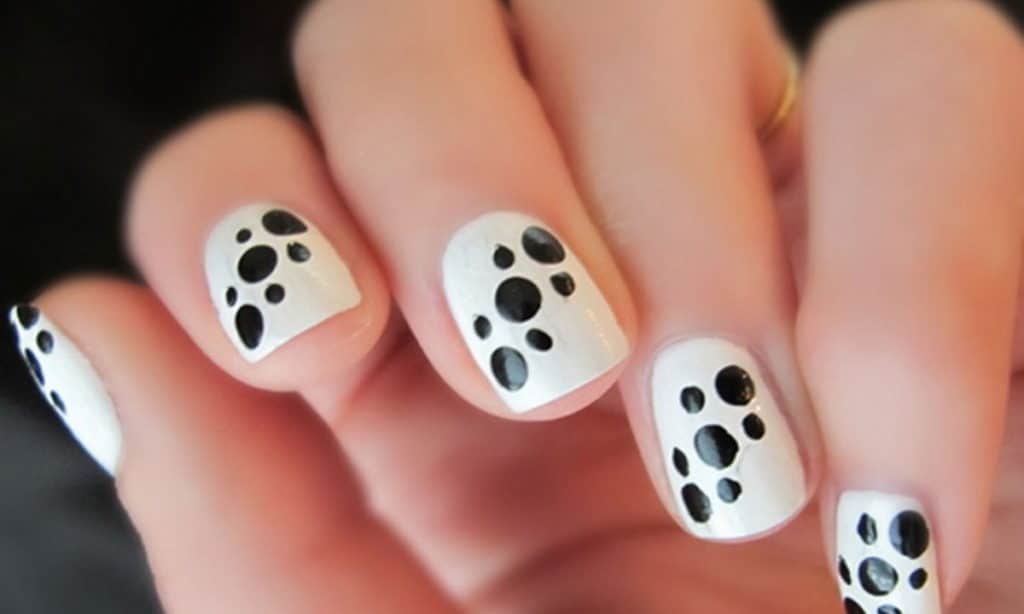
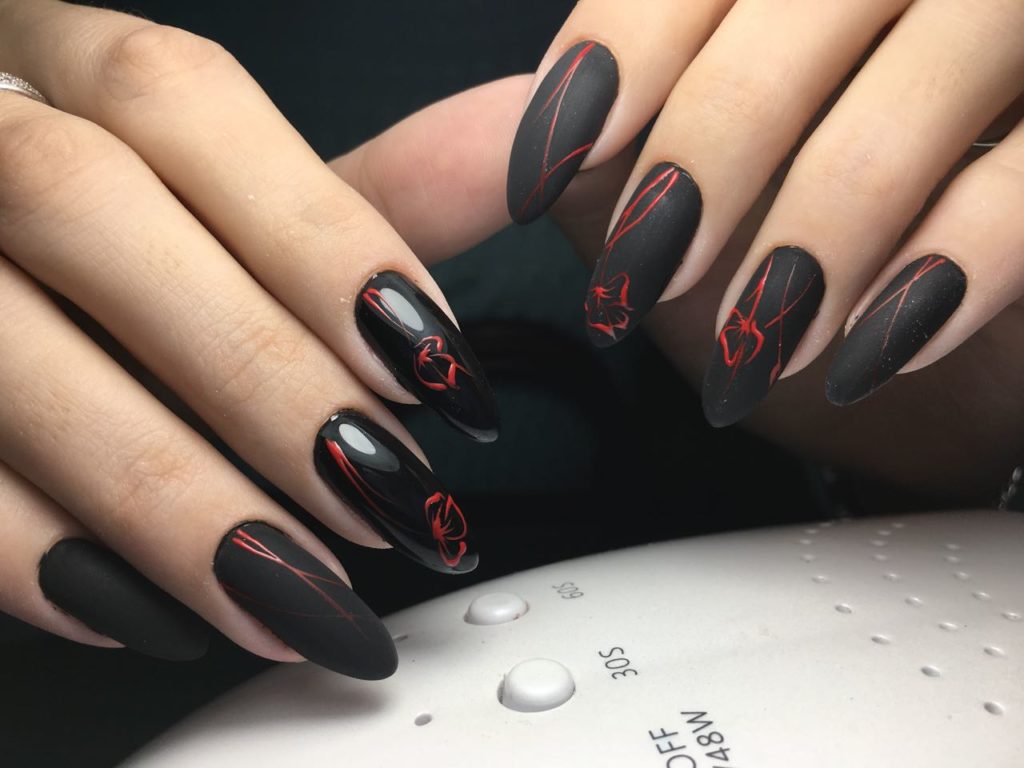
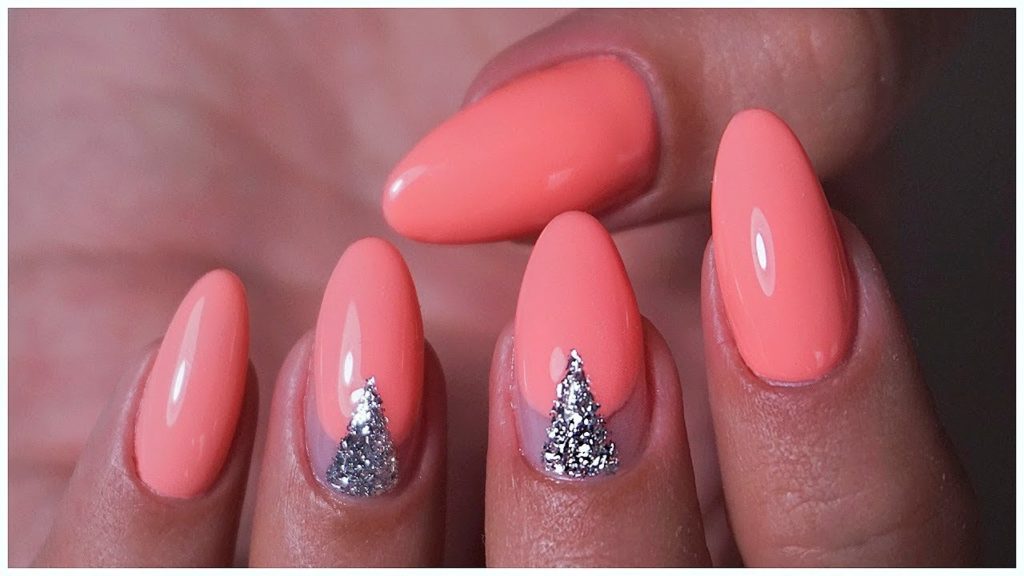
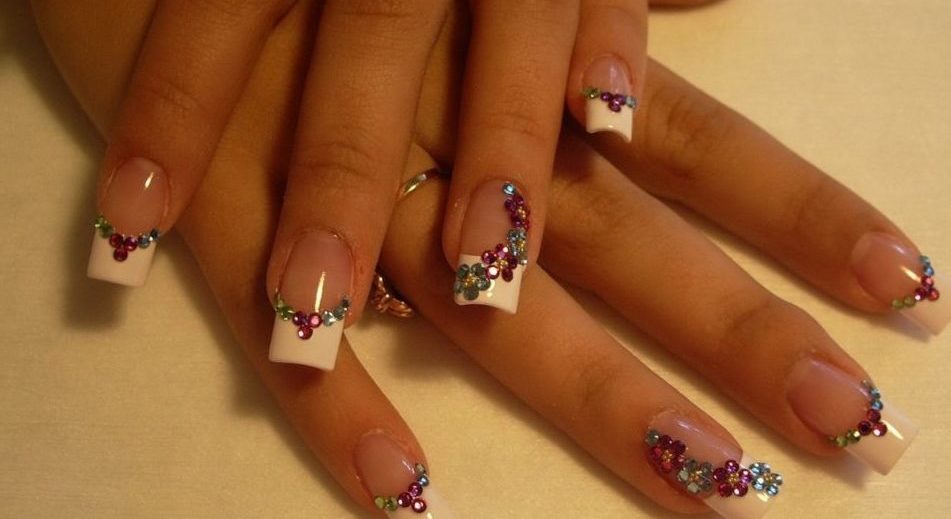
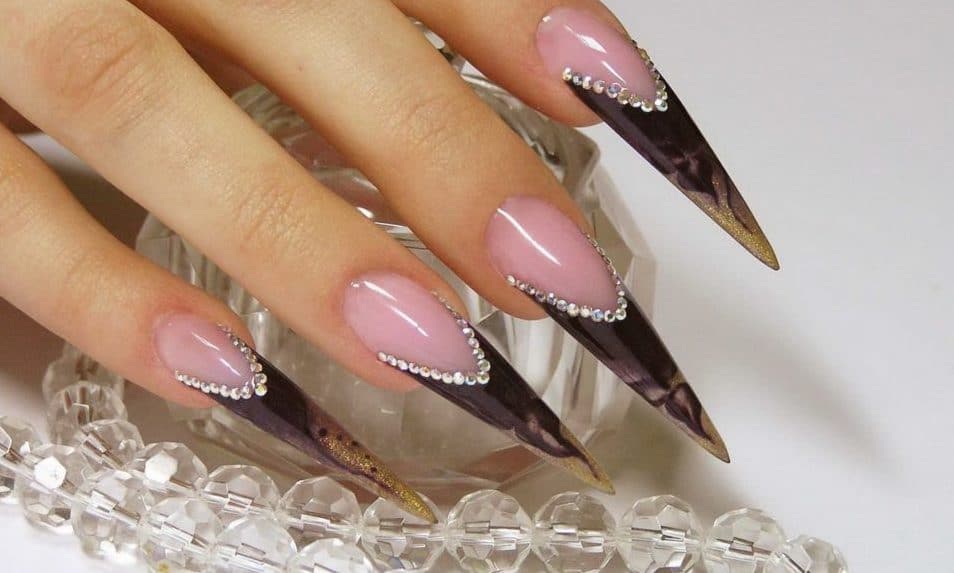
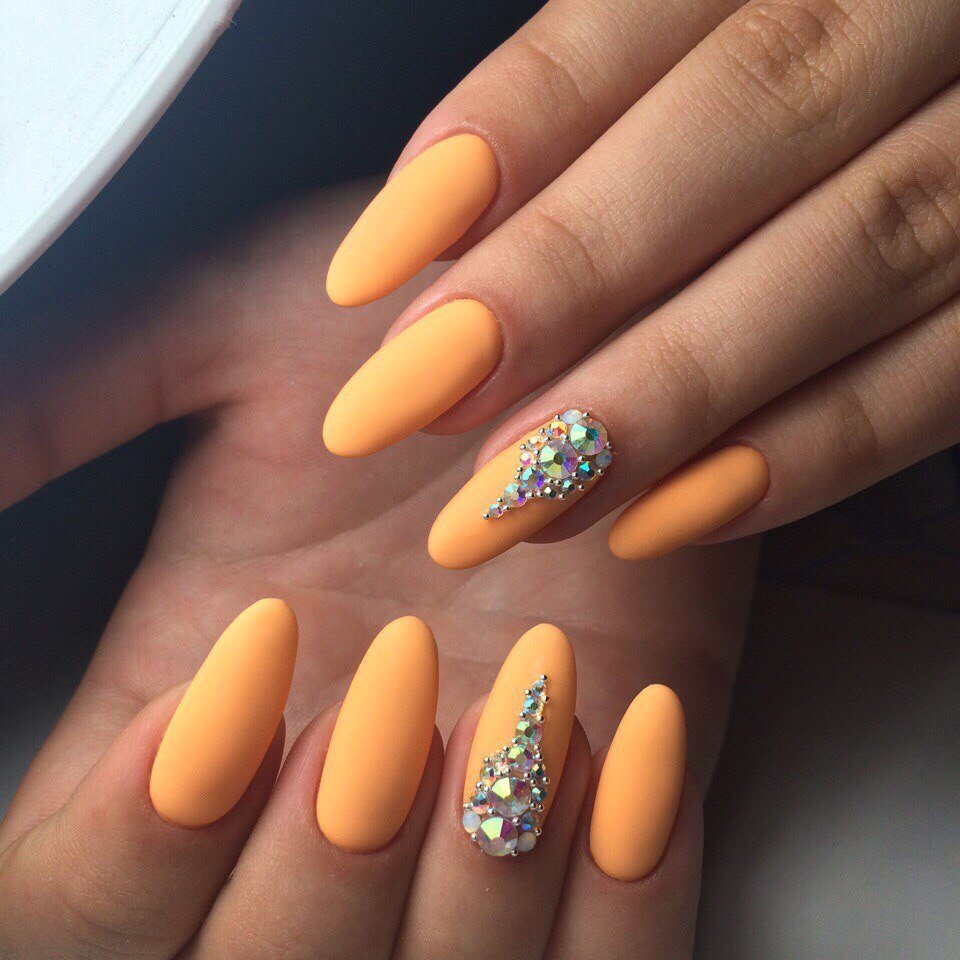
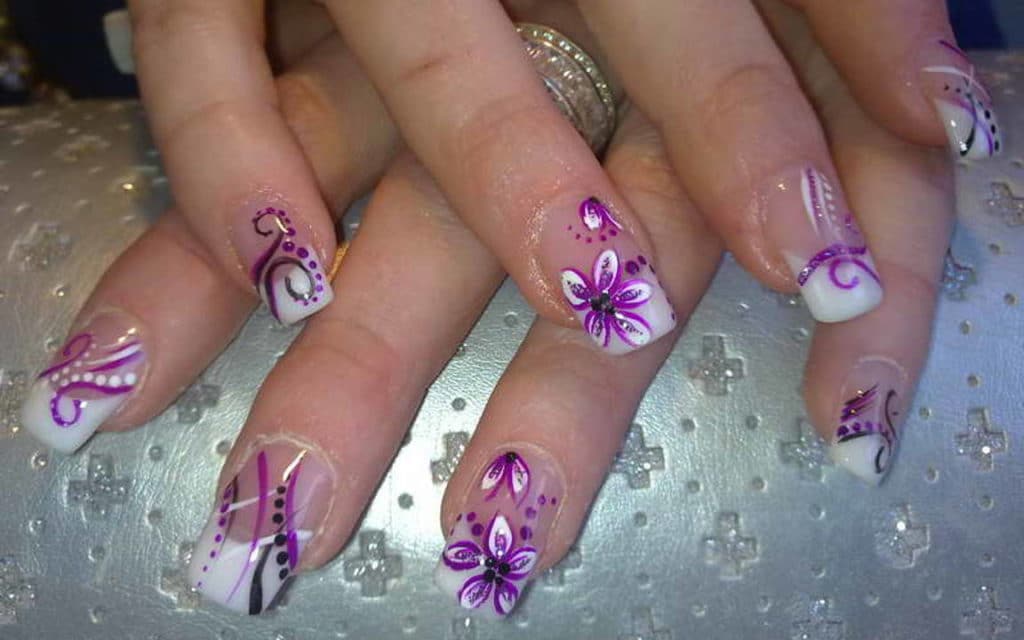
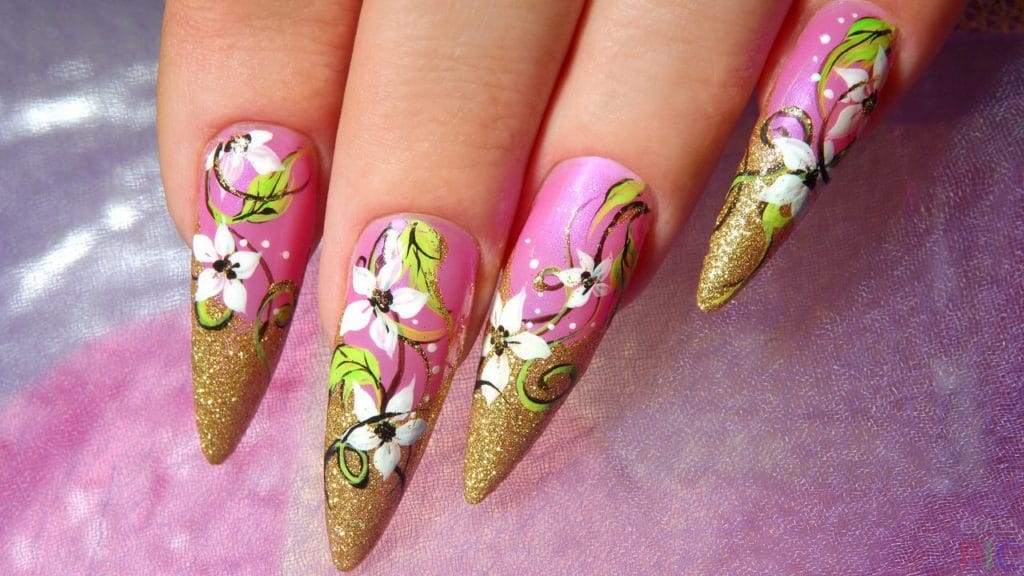
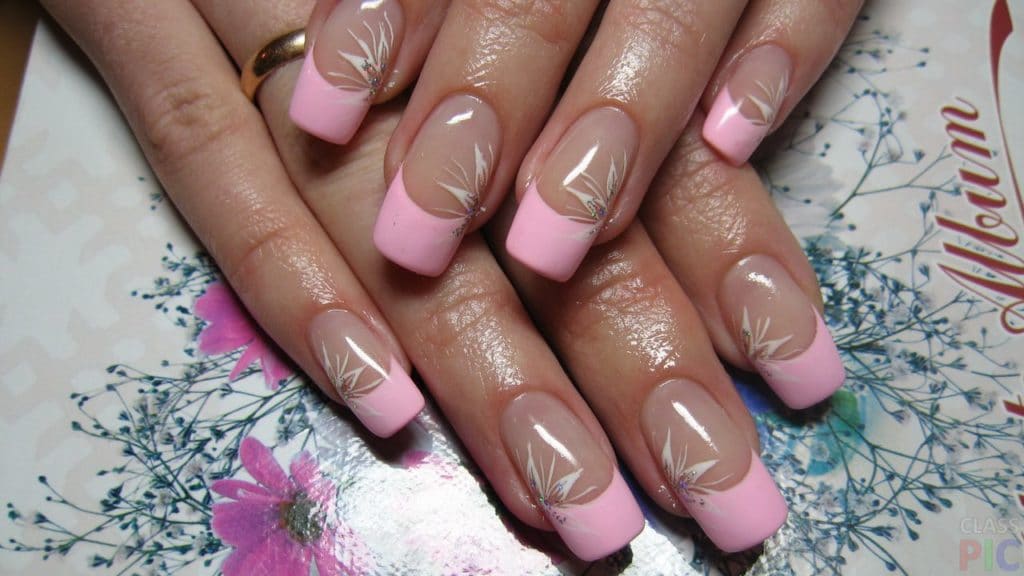
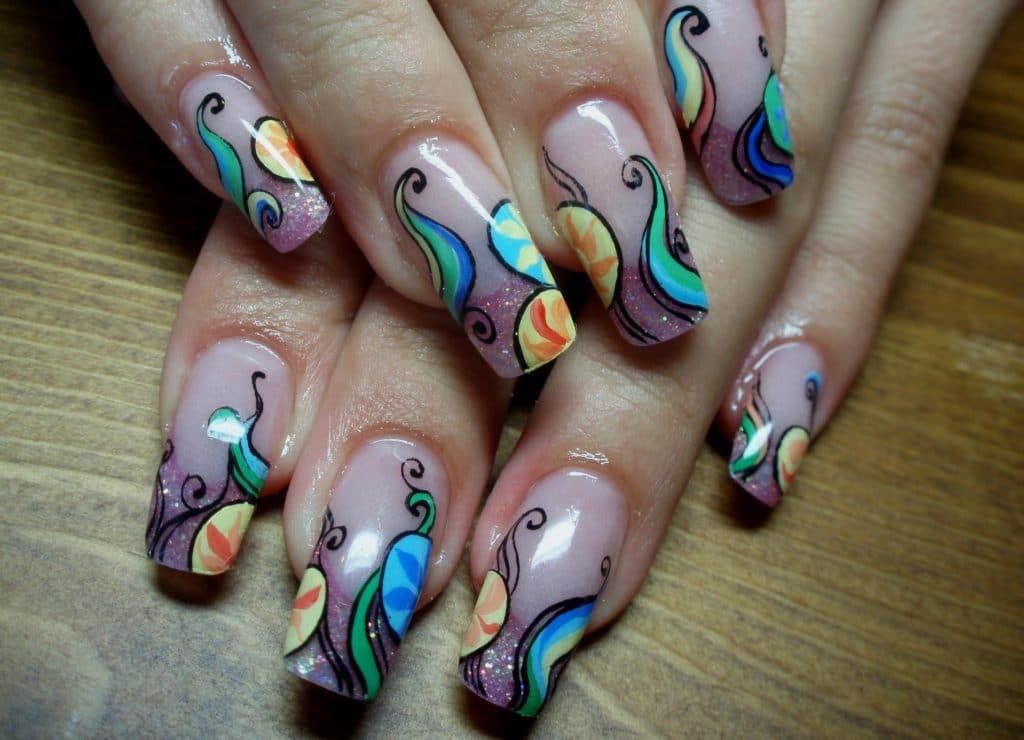
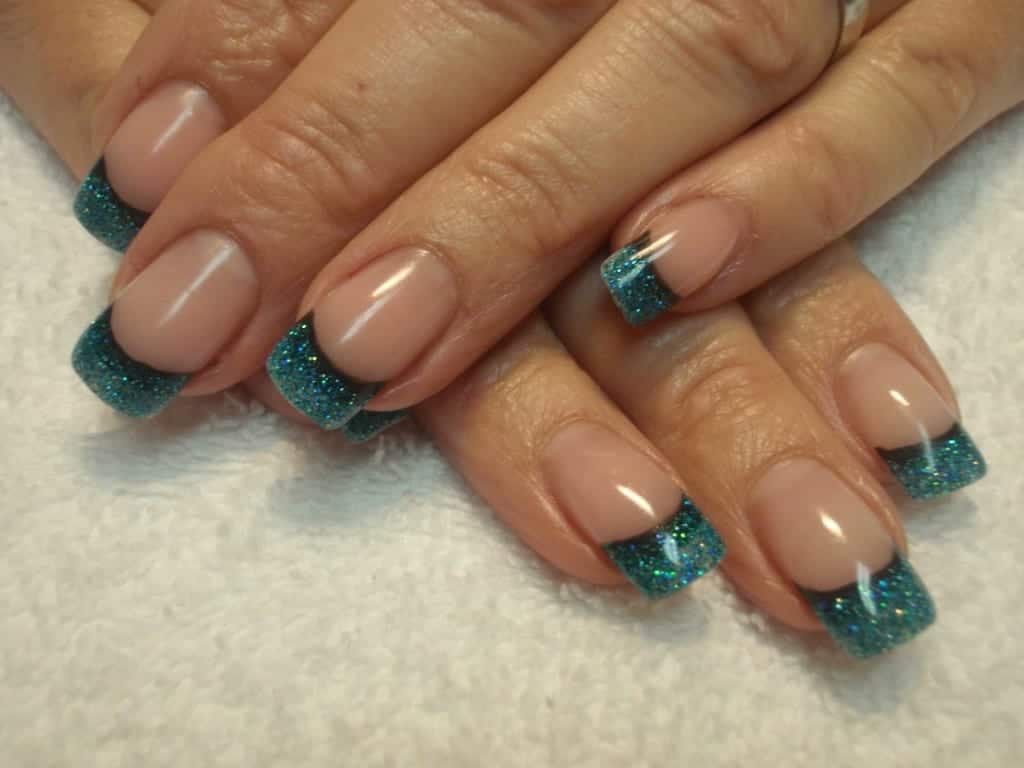
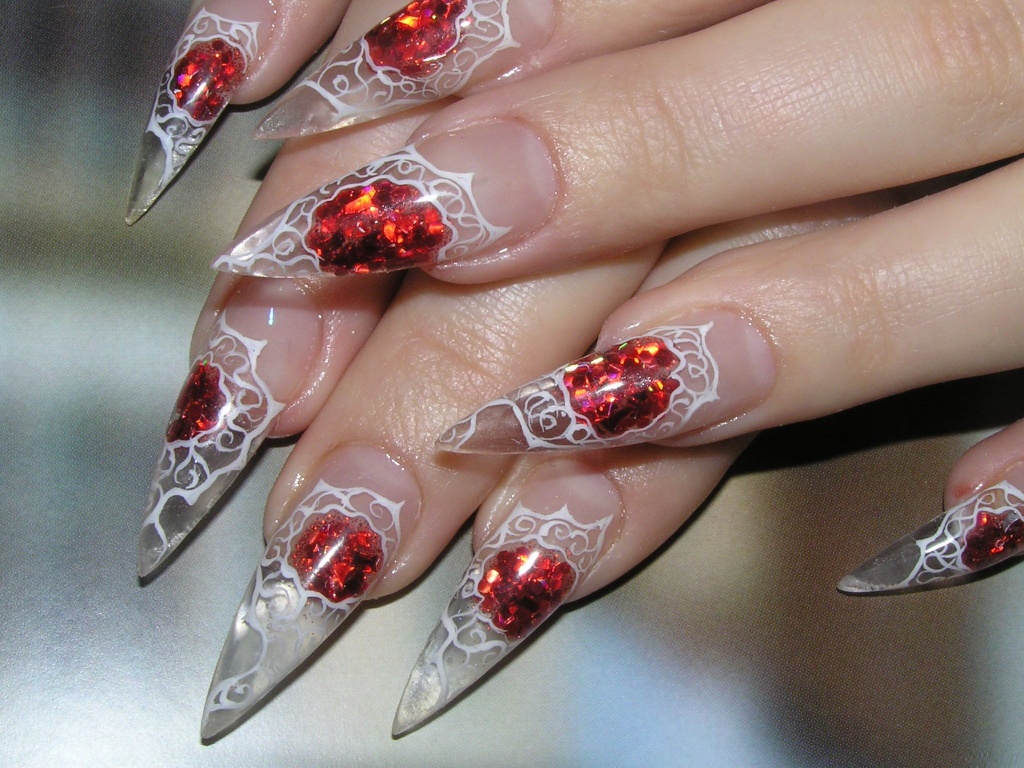
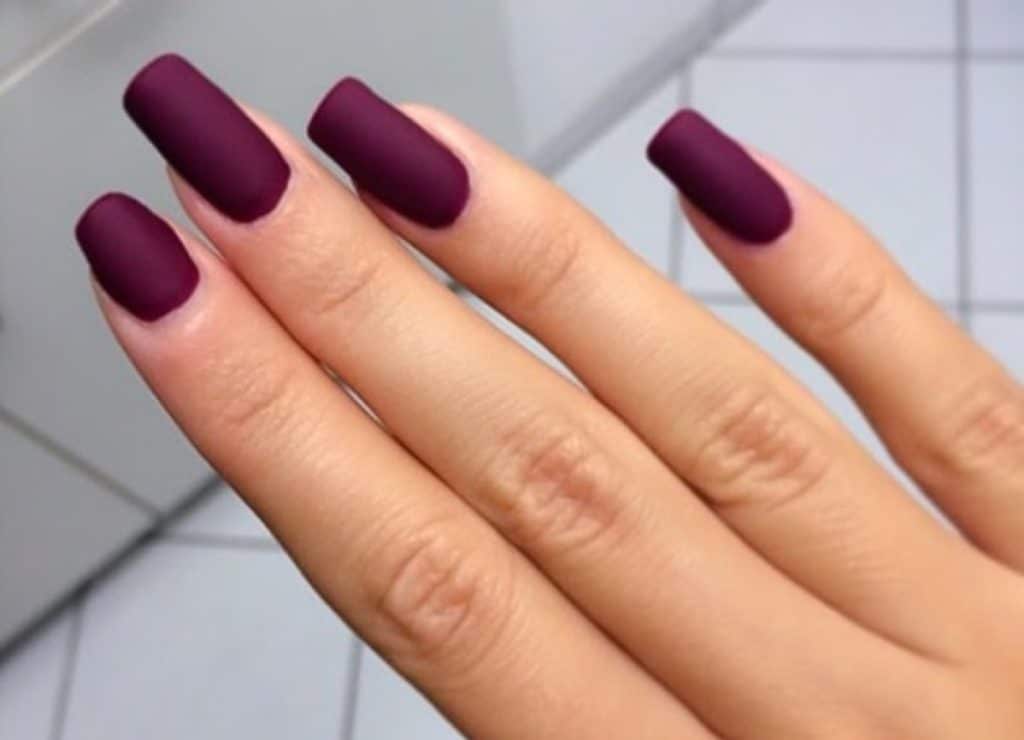
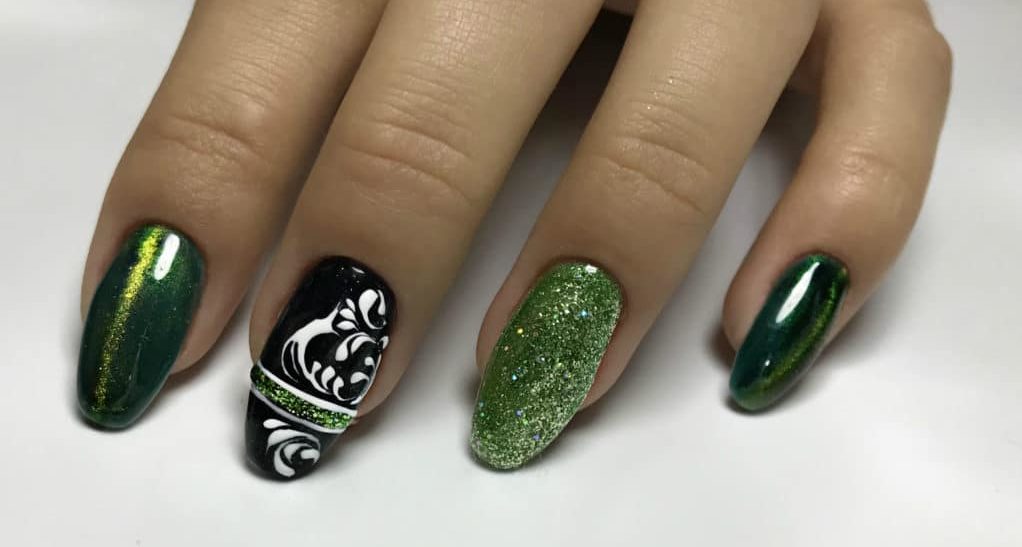
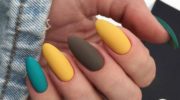
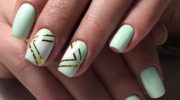
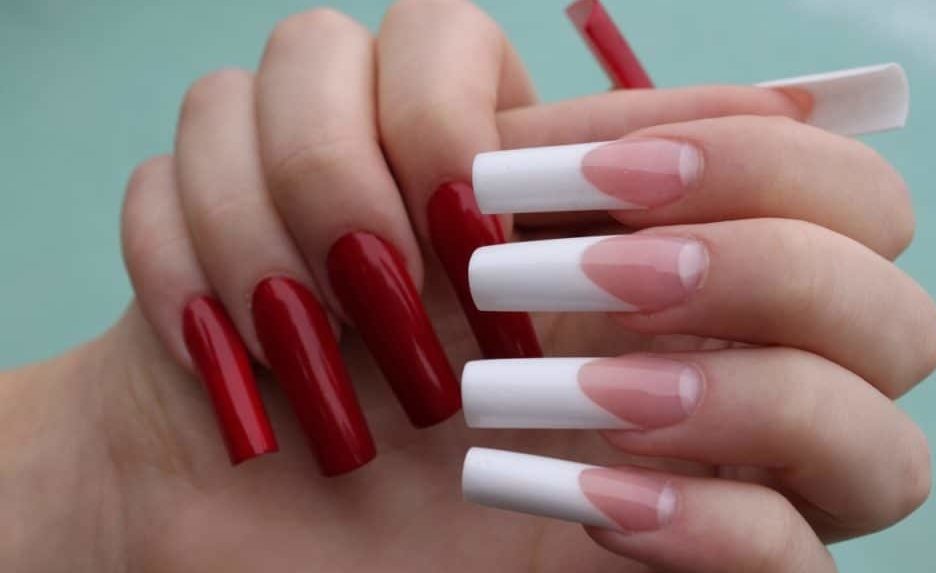
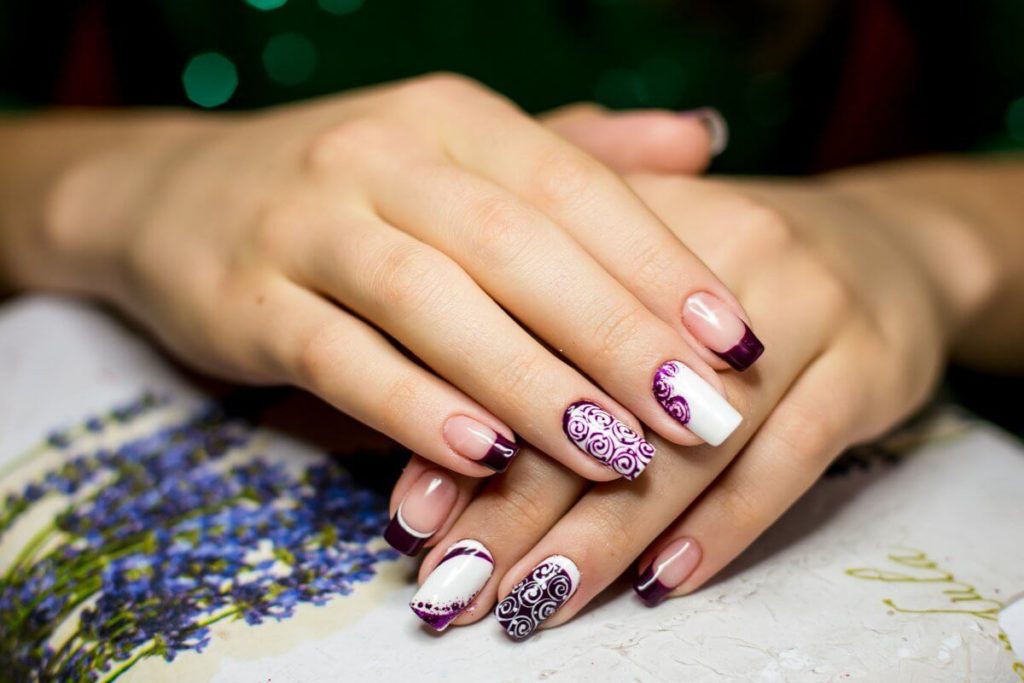
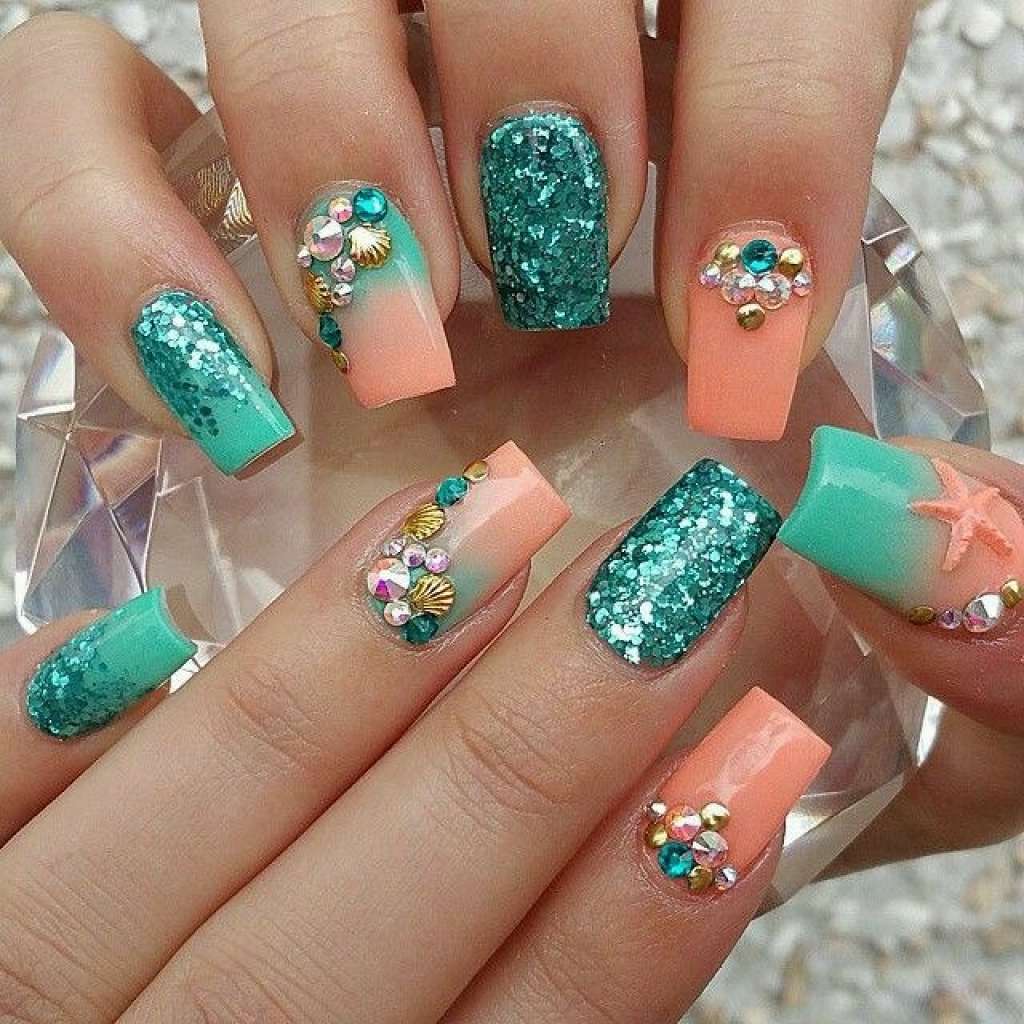
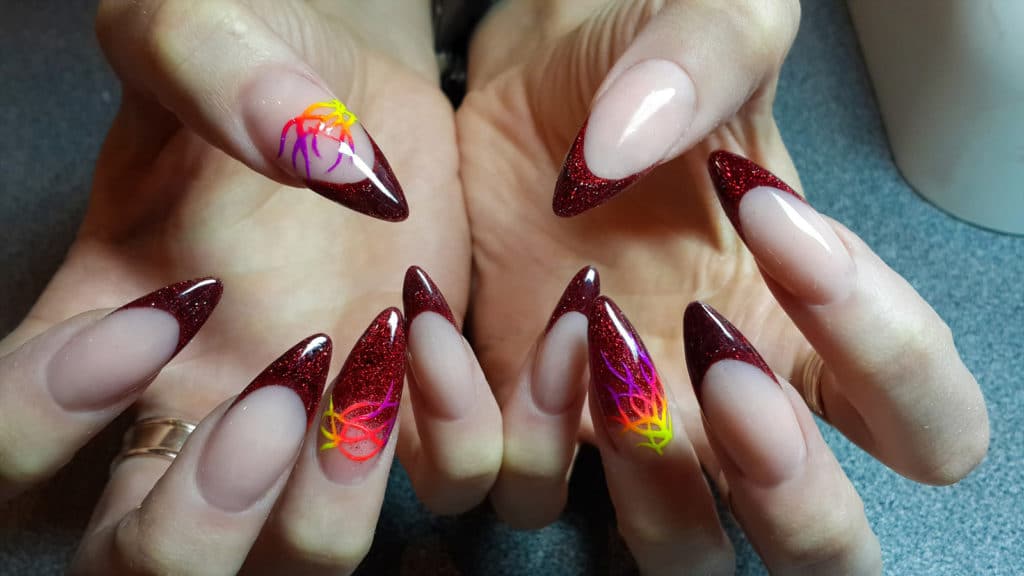
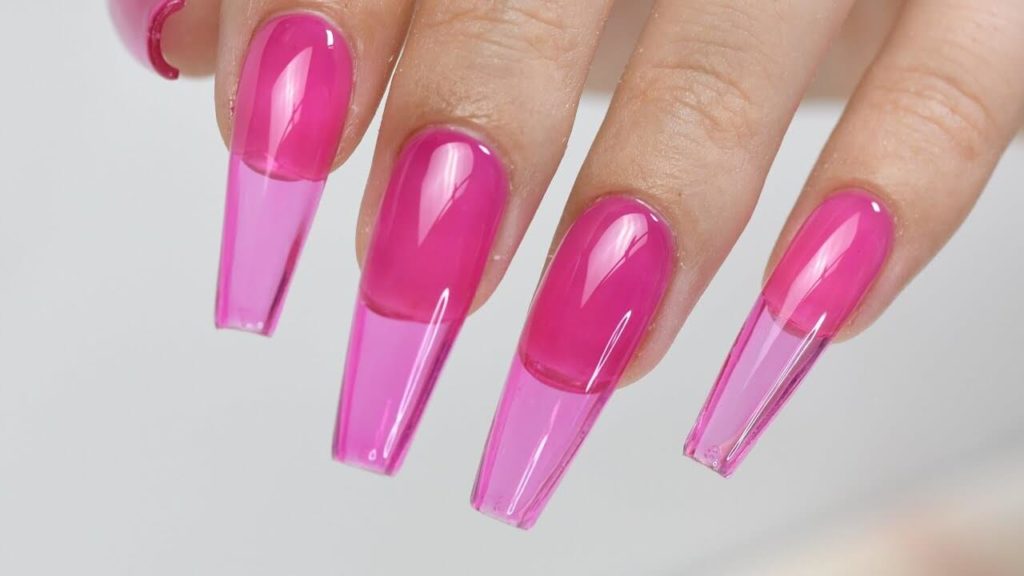
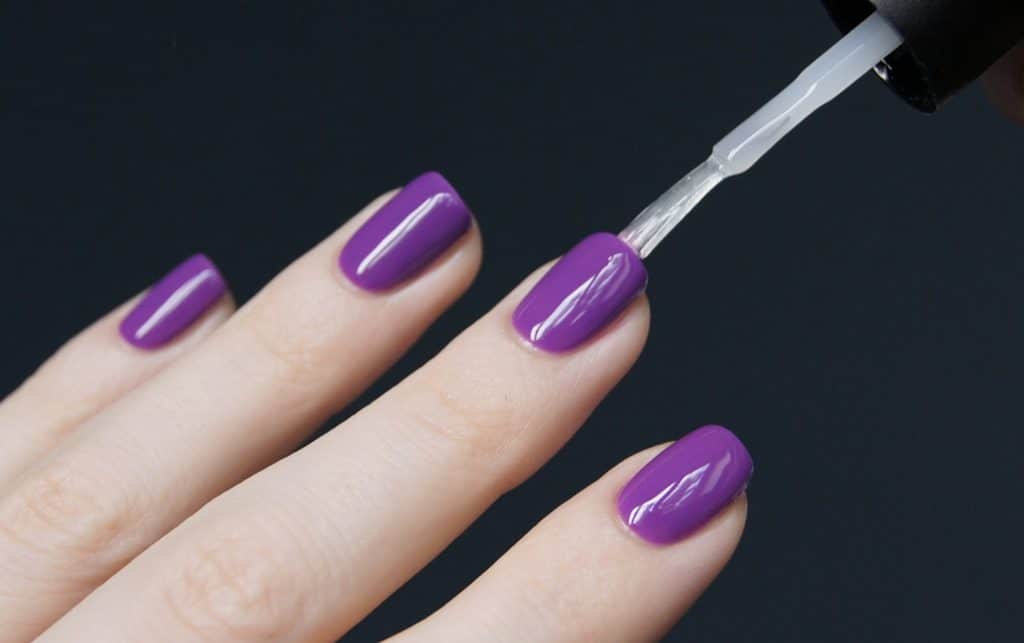
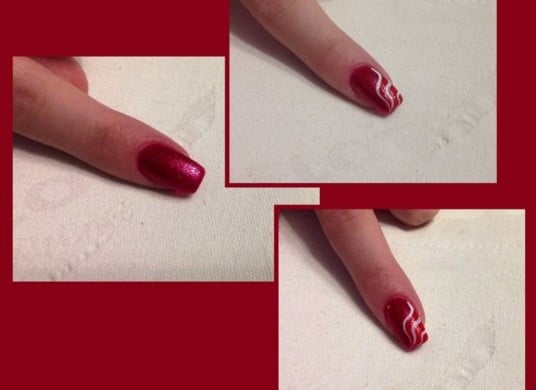
Photo Ideas