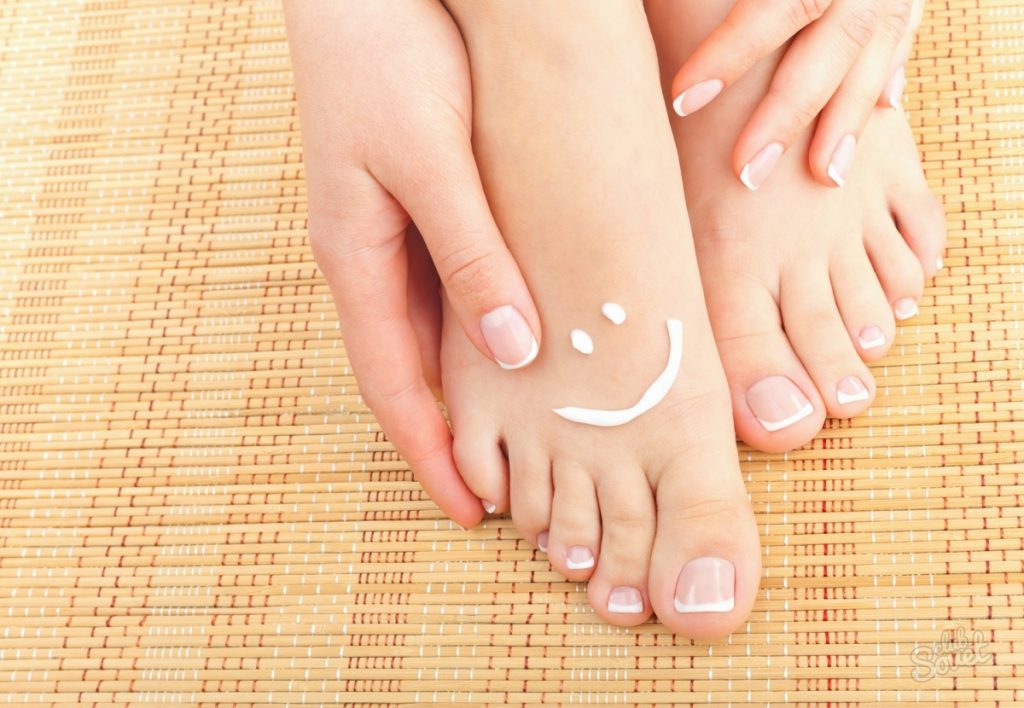
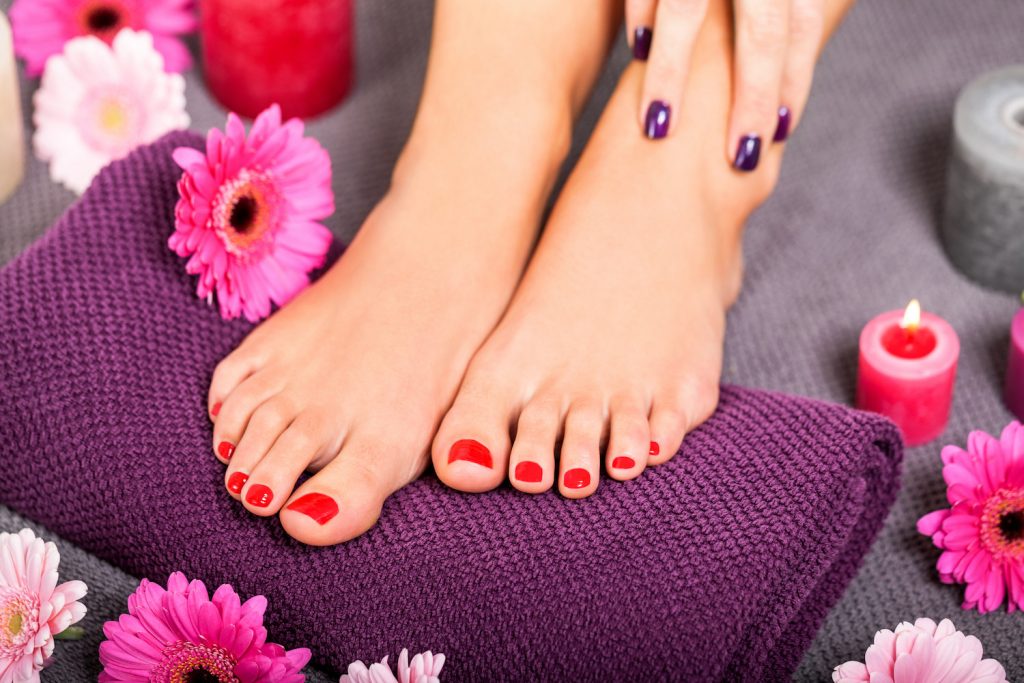
Liquid blade pedicure or liquid pedicure is one of the most beloved and easy options for treating the foot. Such pedicures can be done both in the salon and at home.
To perform a pedicure with a liquid blade, not many skills and tools are needed.
Materials and tools
- A special tool is a liquid blade. It can be purchased at specialized beauty stores or ordered from a master in the salon.
- Bath with warm water
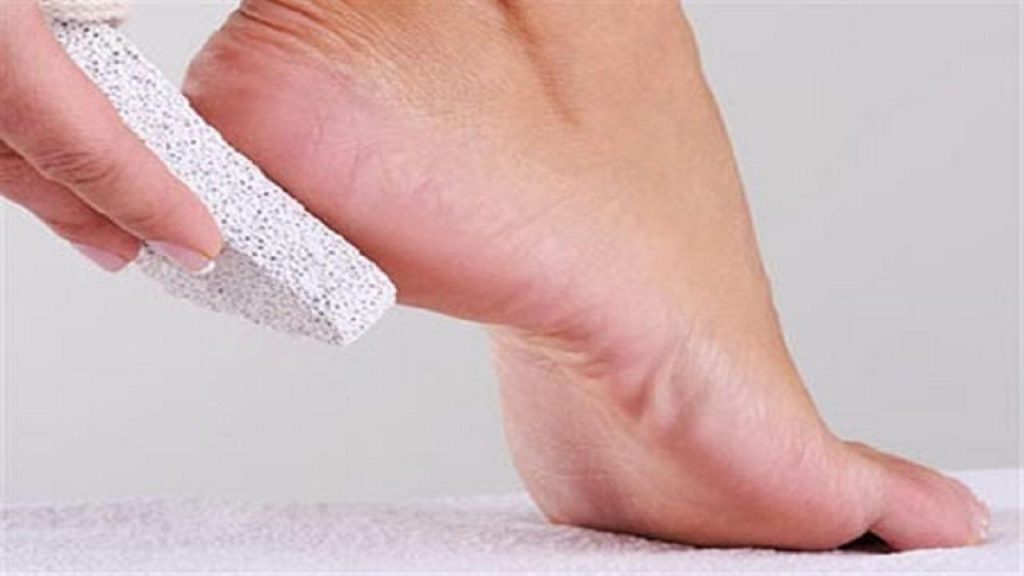
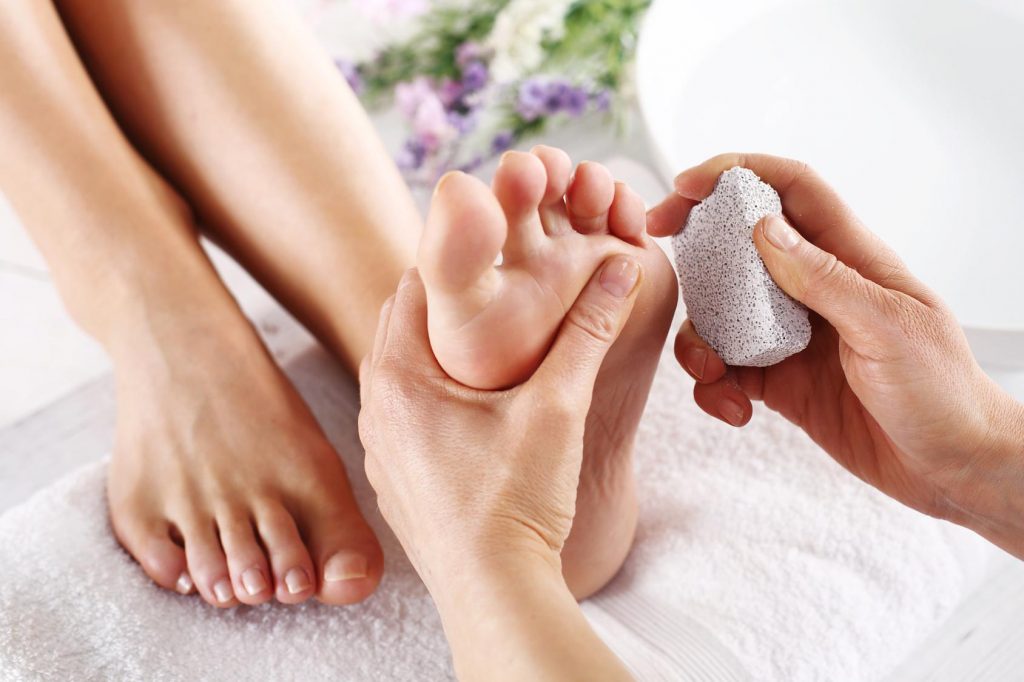
- Coarse abrasive file
- Scraper (spatula)
- Cotton napkins
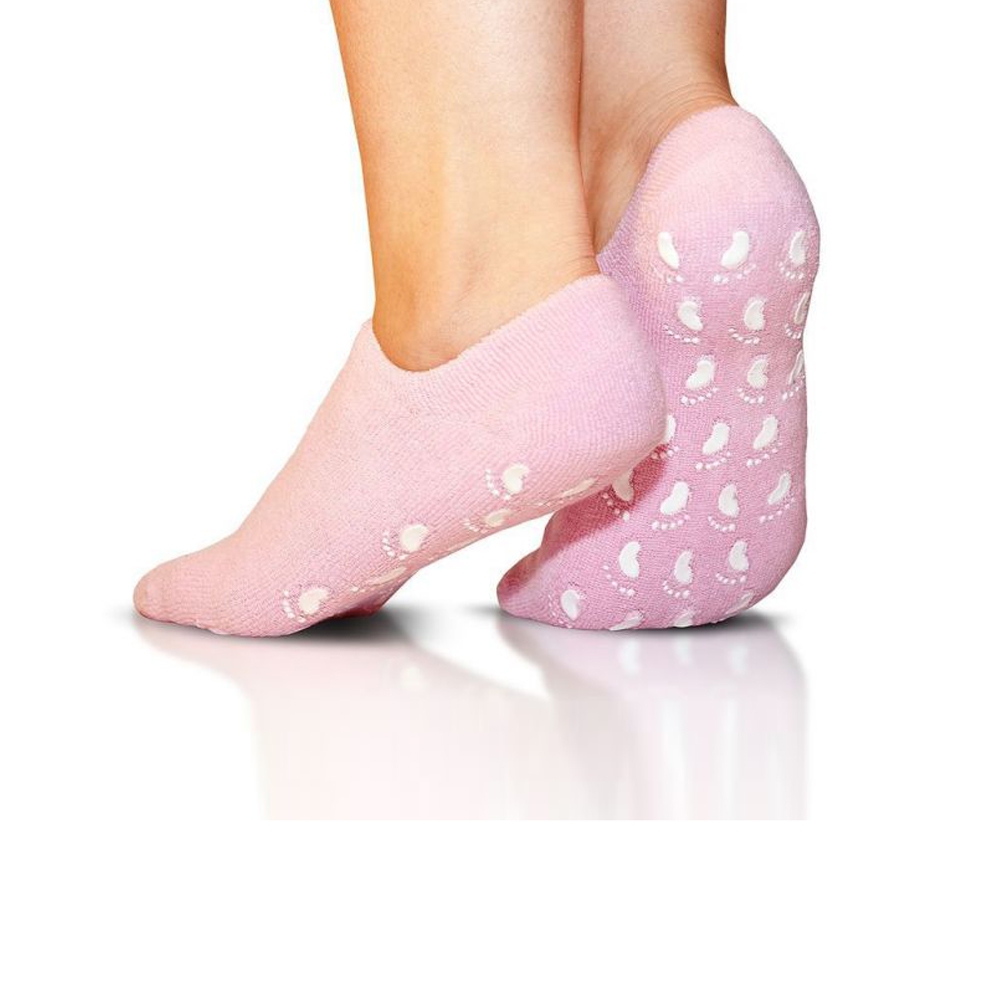
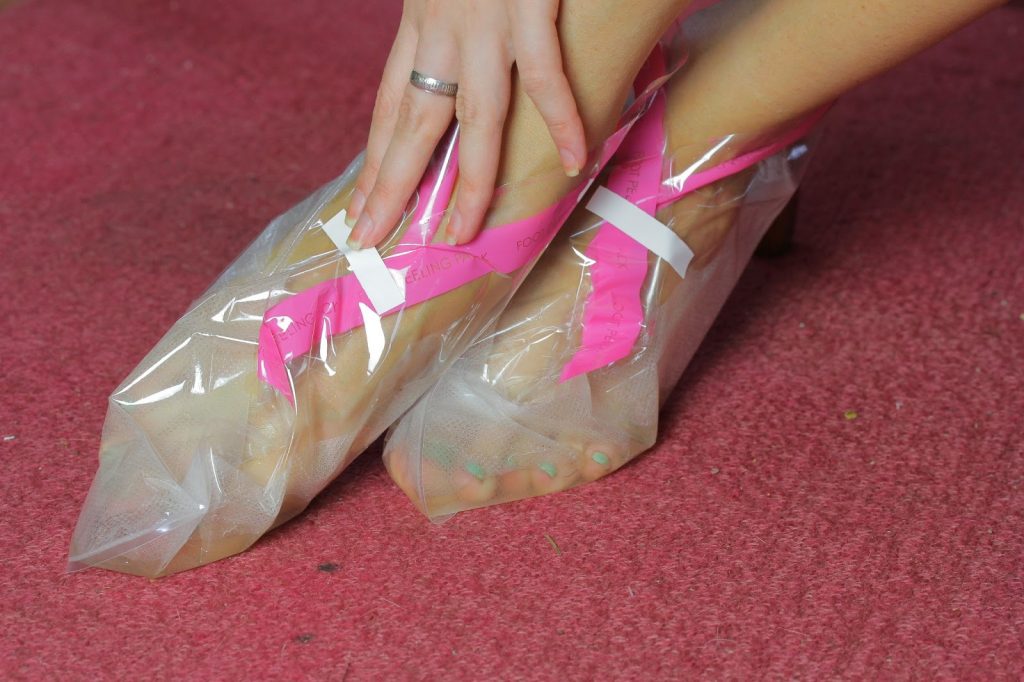
- Pedicure socks (film)
- Towel


Pros of Pedicure Liquid Blade
The most important feature of a pedicure with a liquid blade is that it does not harm healthy skin. Only dead skin is removed.
The skin after such a pedicure becomes moisturized and nourished.
Stages of conducting liquid pedicure
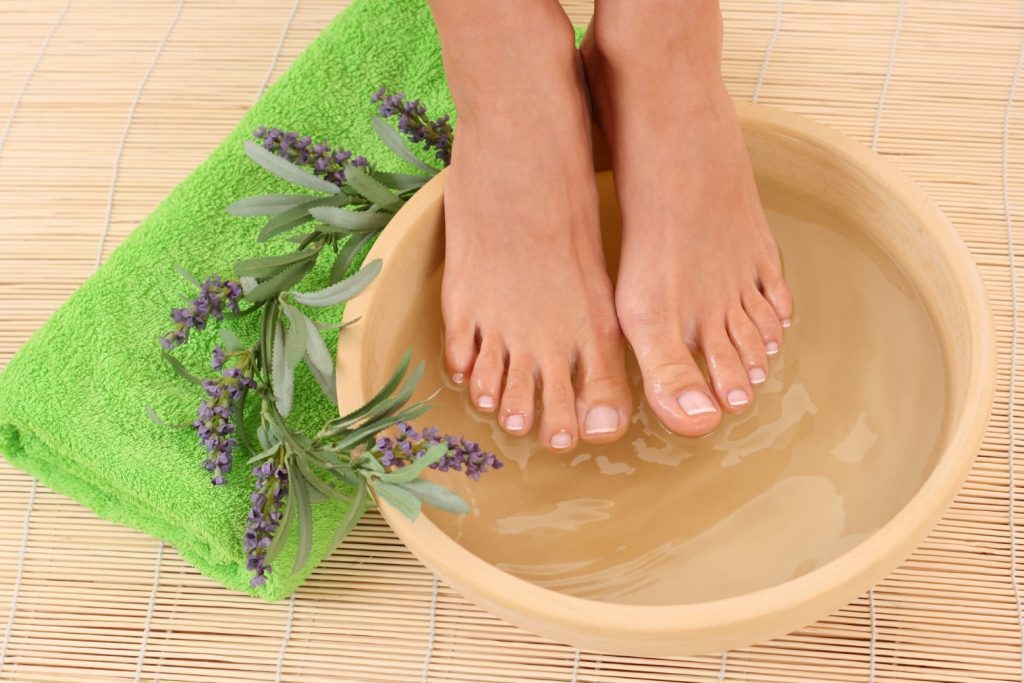
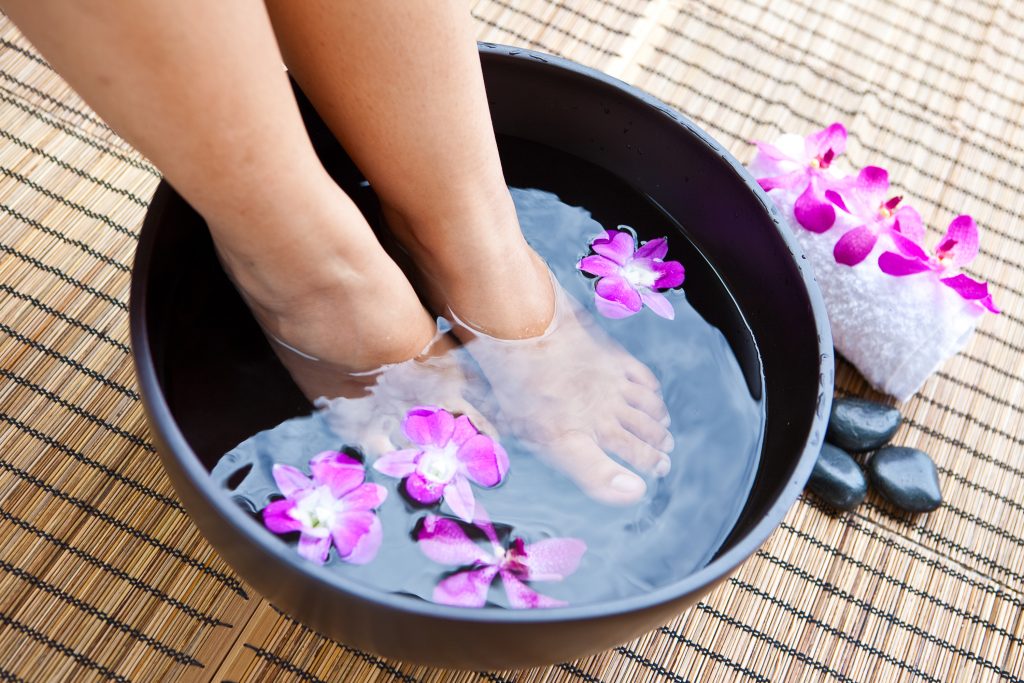
First step
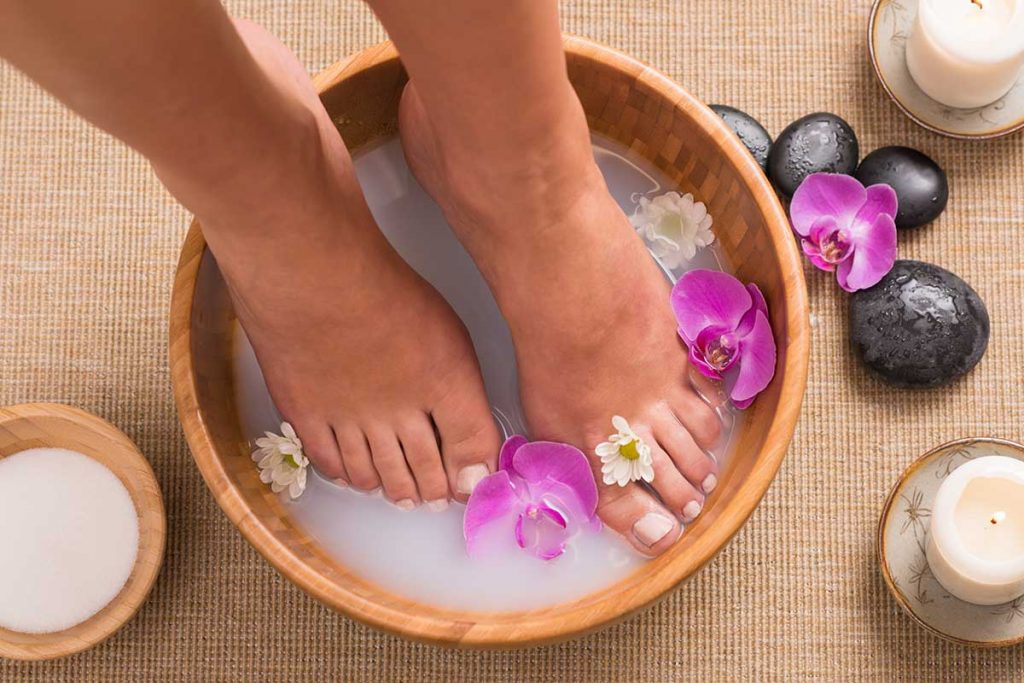
We clean and disinfect the skin of the feet. Next, proceed to the foot bath to properly steam them. It takes 10 to 15 minutes. The effect of the procedure will be better with steaming, but you can do without this step.
Second phase
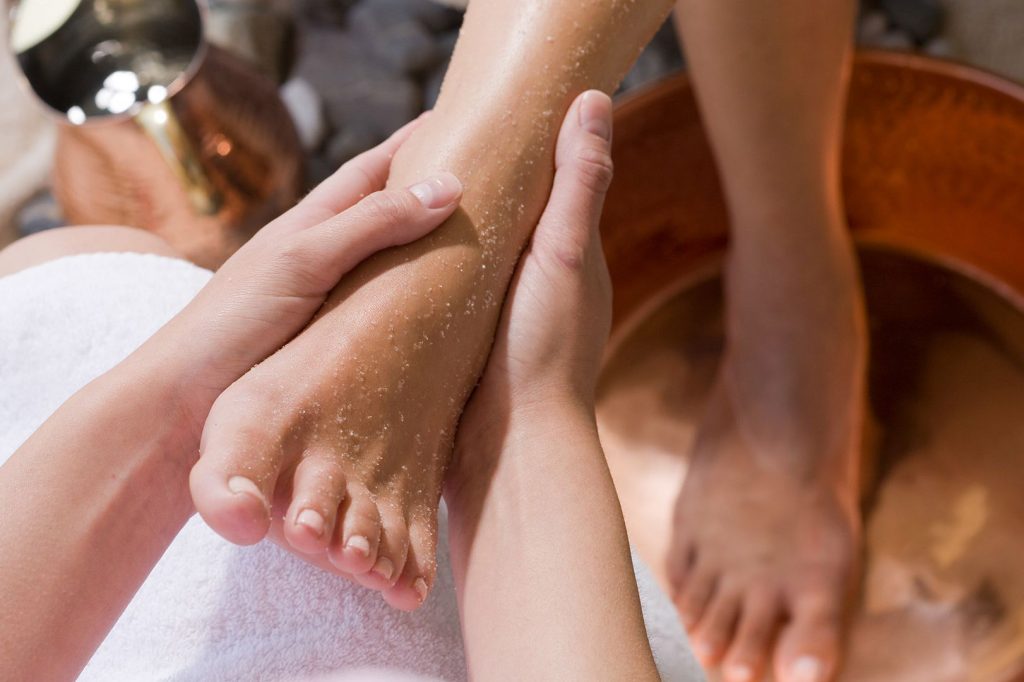
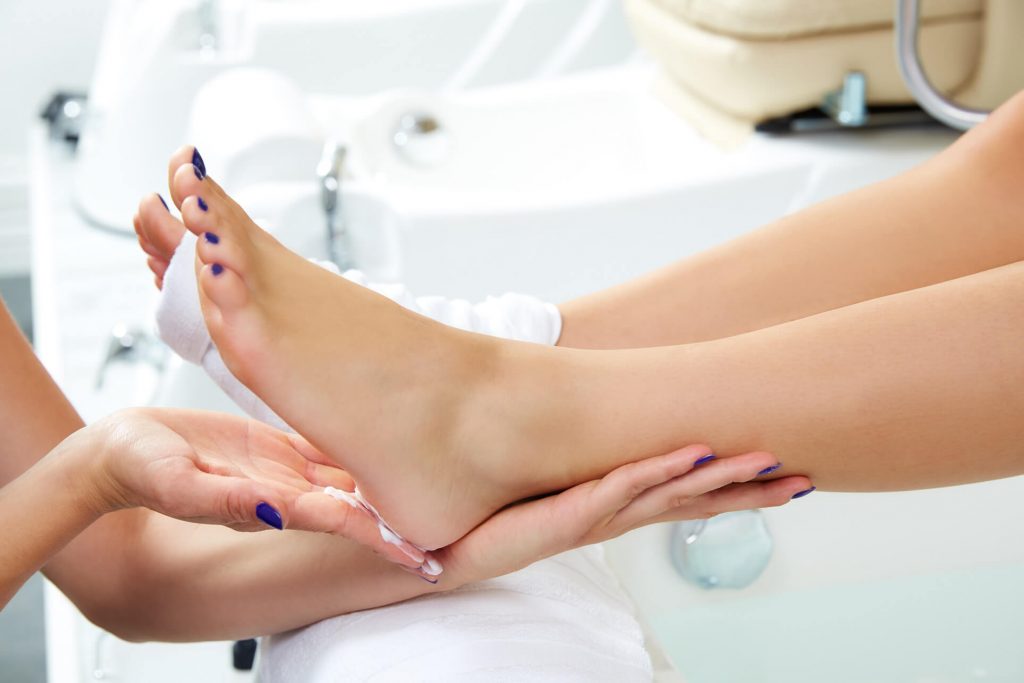
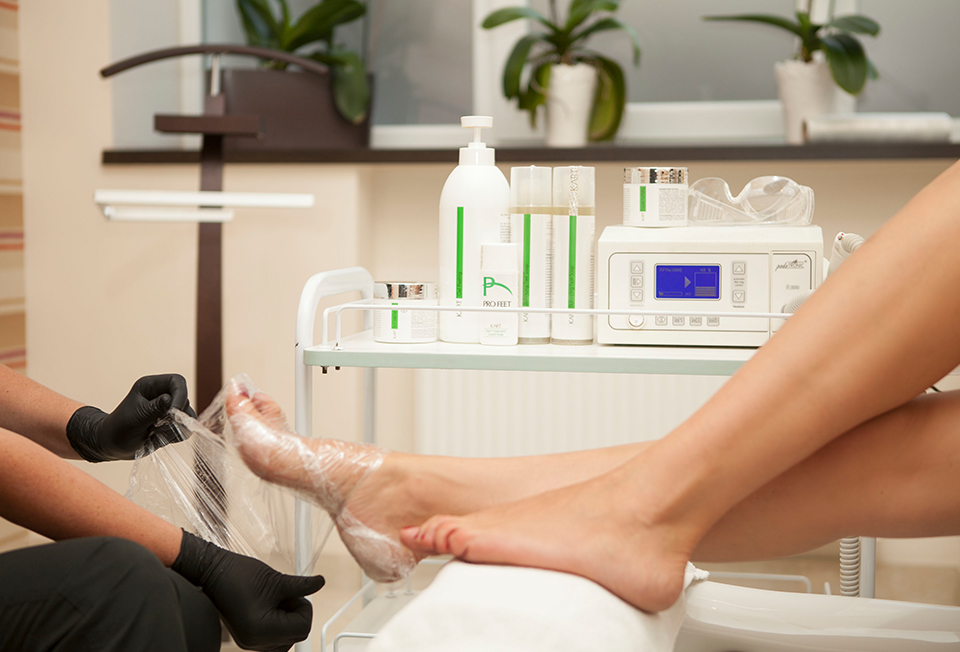
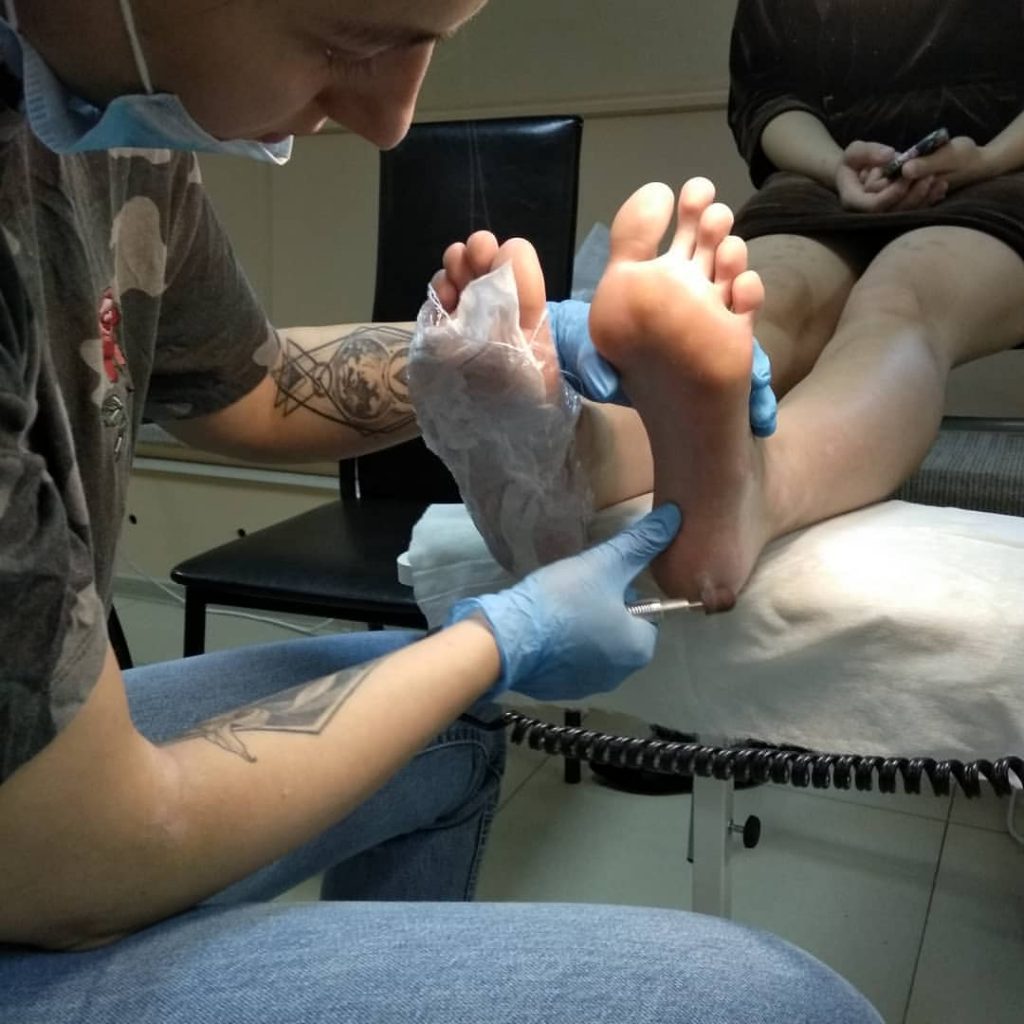
Next, we wipe our feet and examine the problem areas of the foot, in order to search for more roughened areas. We apply the foamy liquid blade first on a cotton napkin, and then wrap it in the foot. And if the liquid blade is in the consistency of the gel, then apply it once to the foot. Distribute with a brush, apply more to coarser areas.
Third stage
Now the legs need to create a thermal effect. For this you need special socks for pedicure or film. We place the feet in the film and so wait 10-15 minutes (read the instructions).
Fourth stage
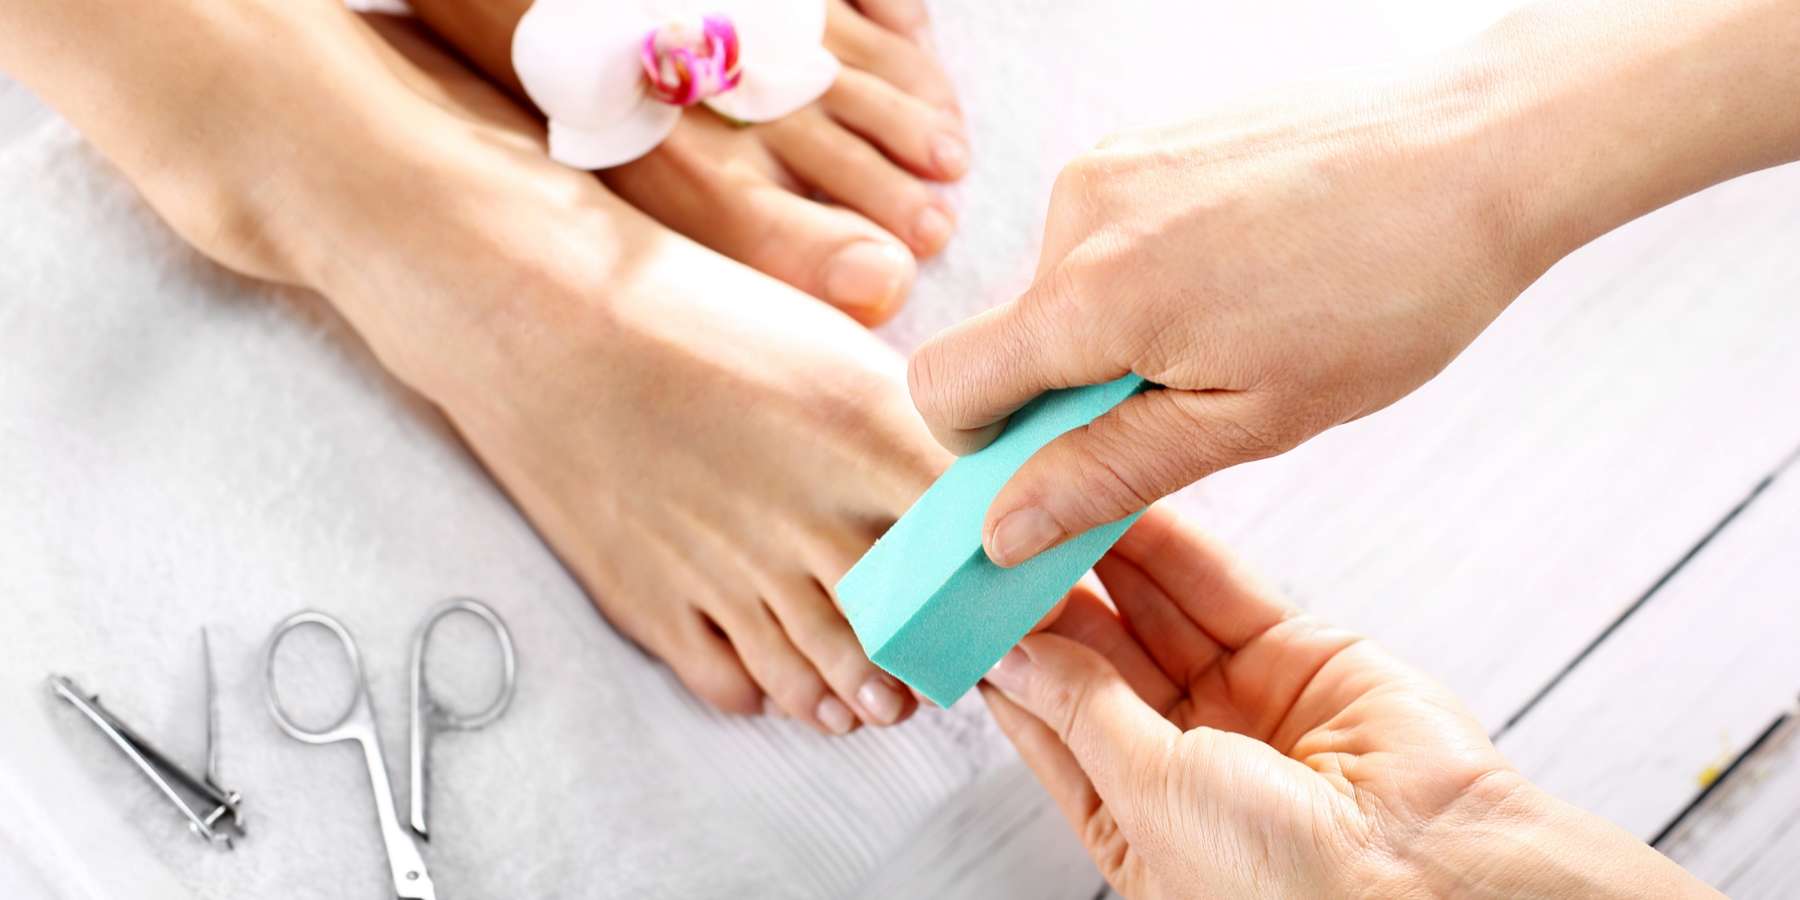
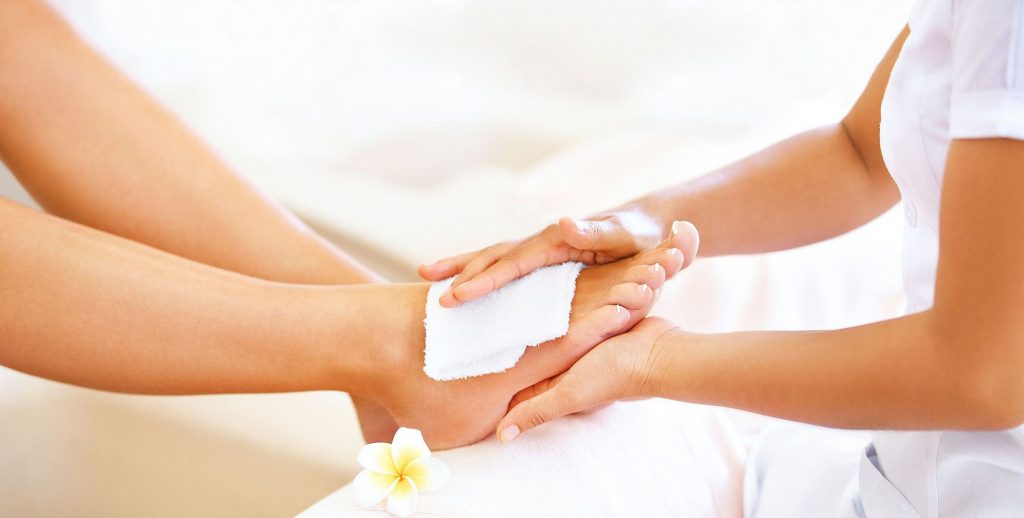
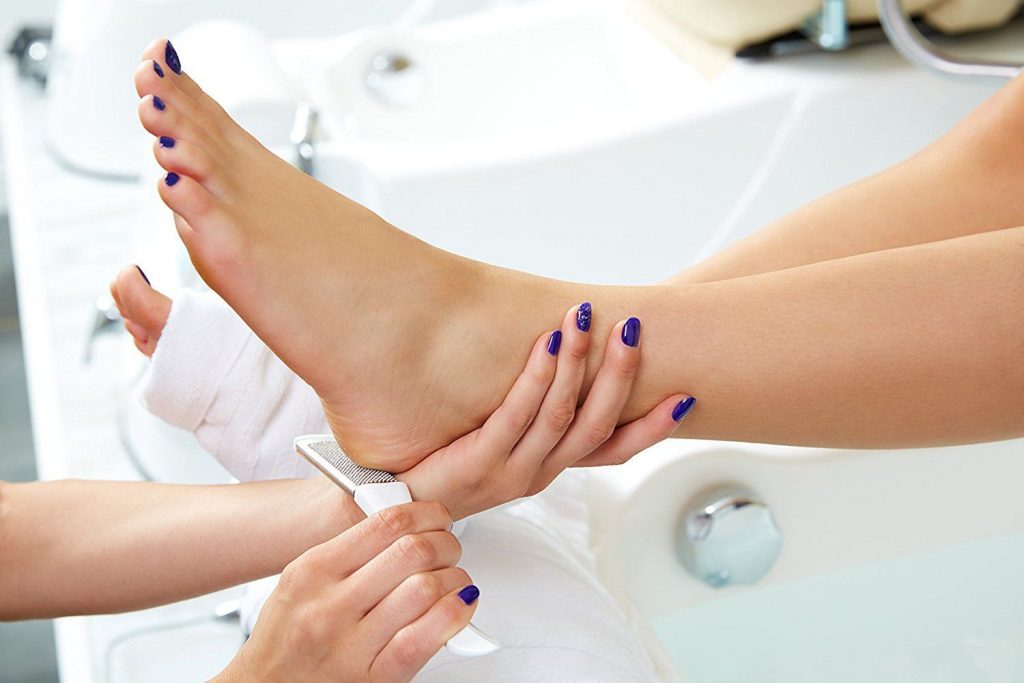
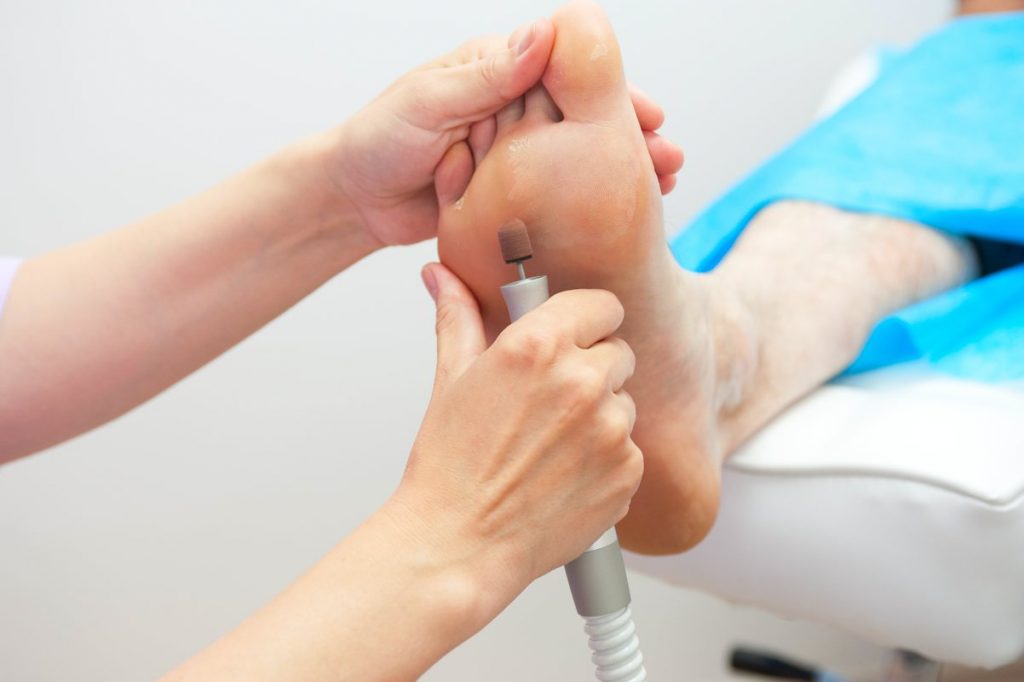
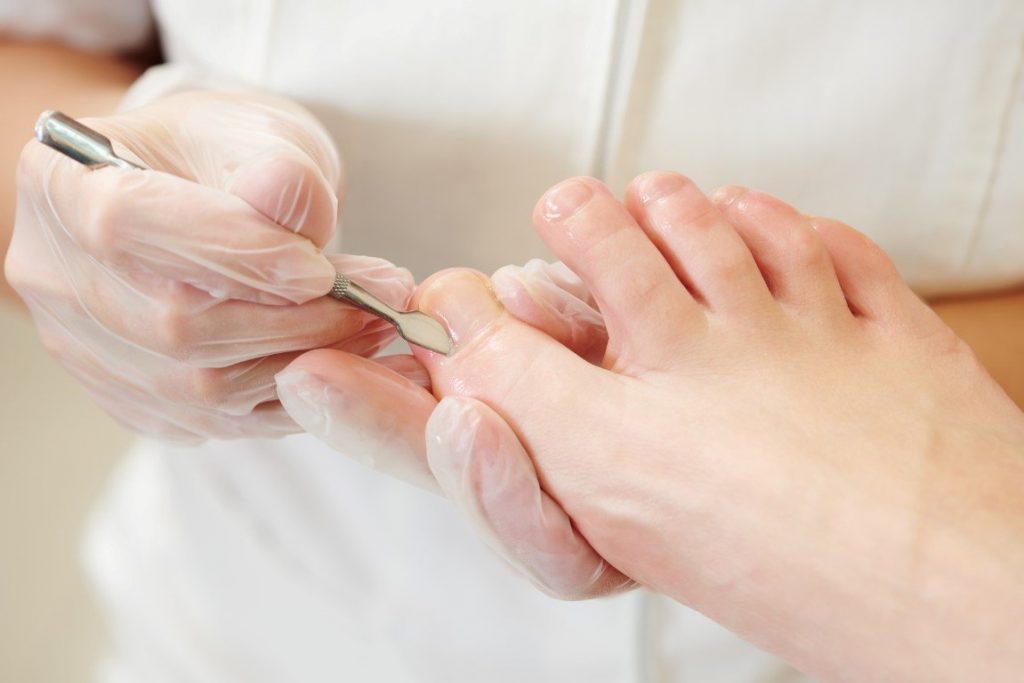
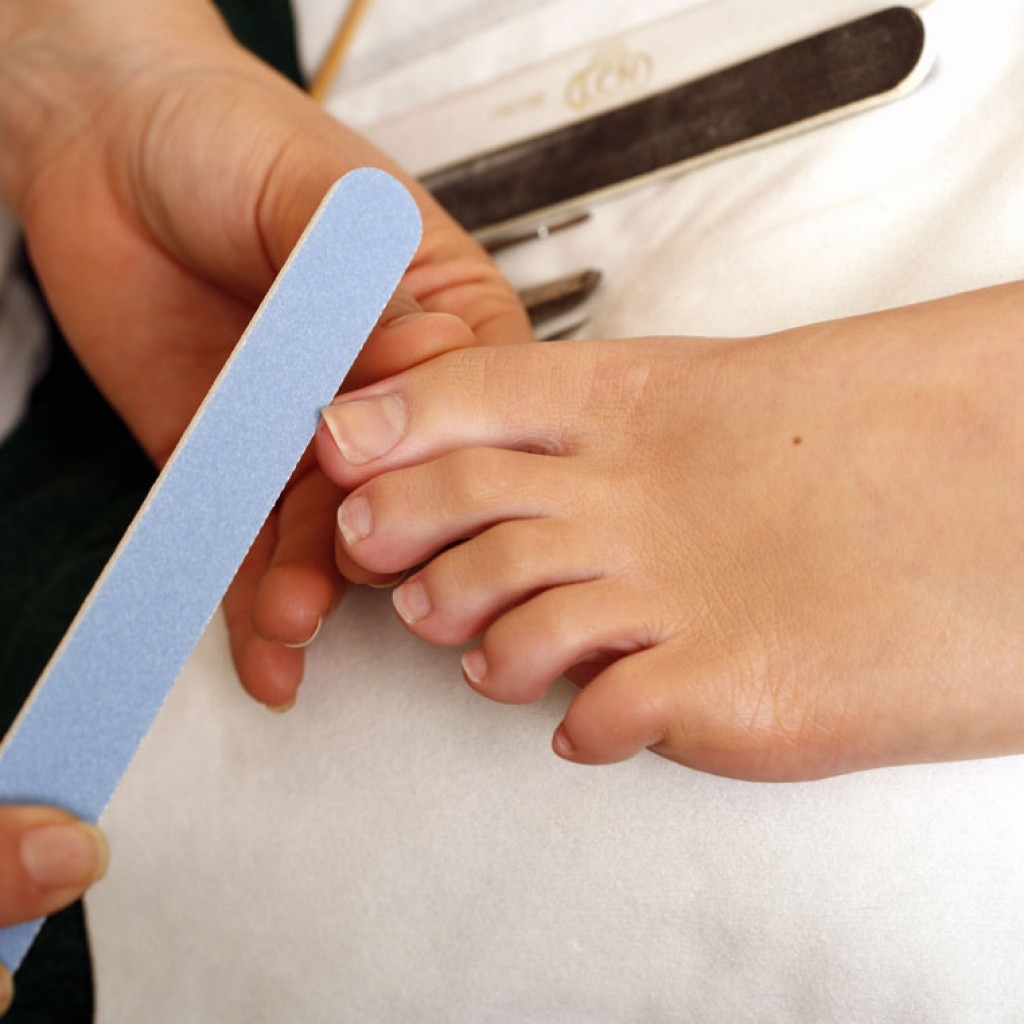
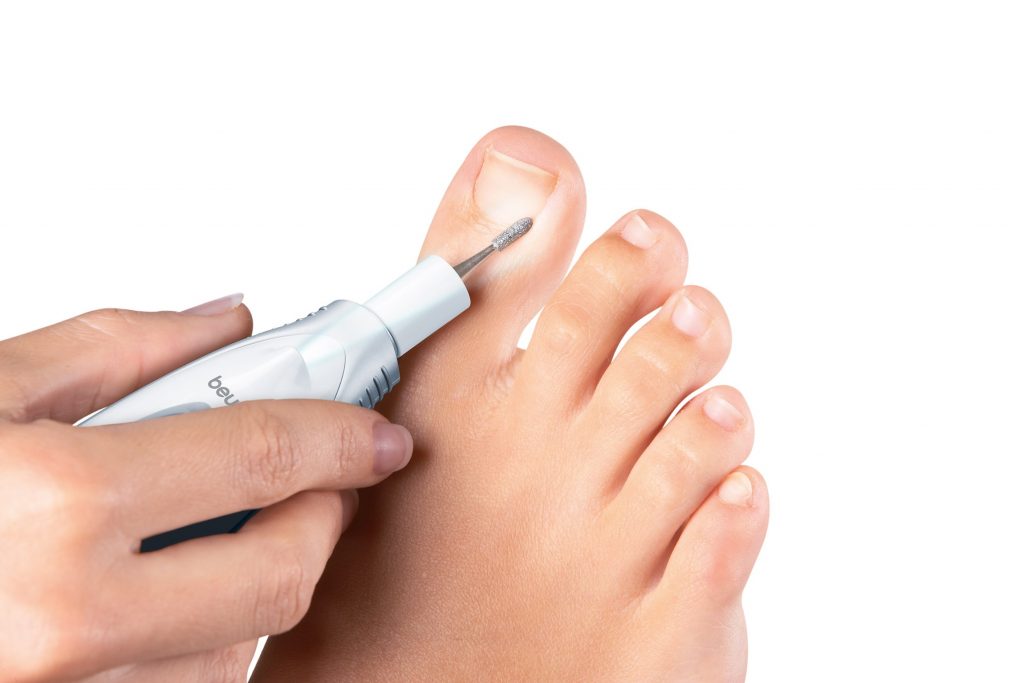
We remove the napkin or socks and treat the skin first with a rough, then with a small file. It is necessary to rub gently, in one direction. You will immediately see how dead skin will curl up in spools.
Fifth stage
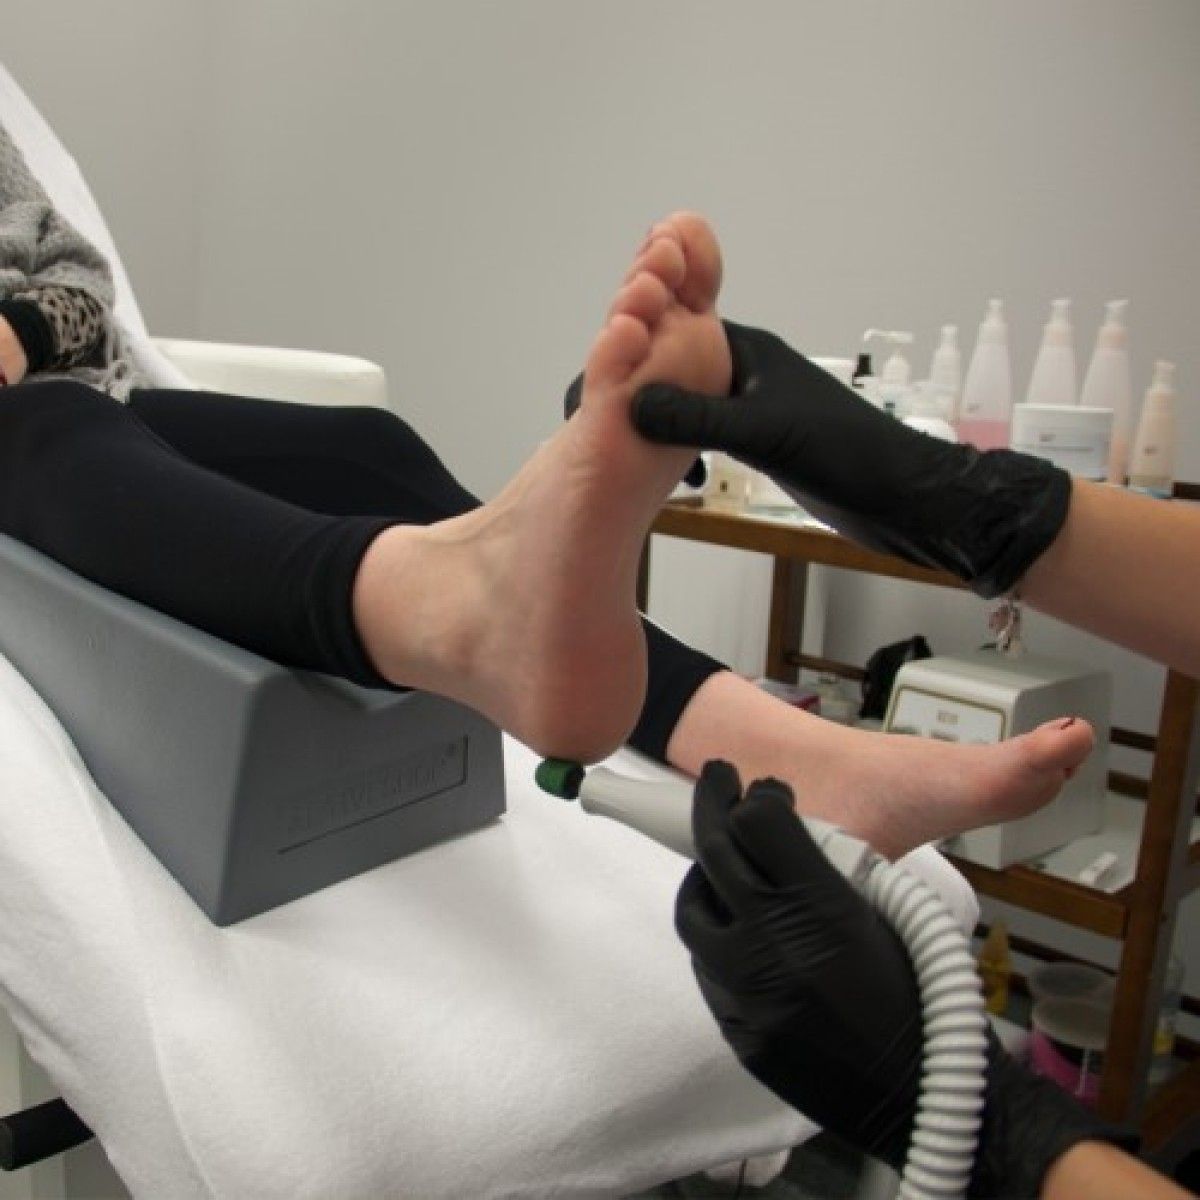
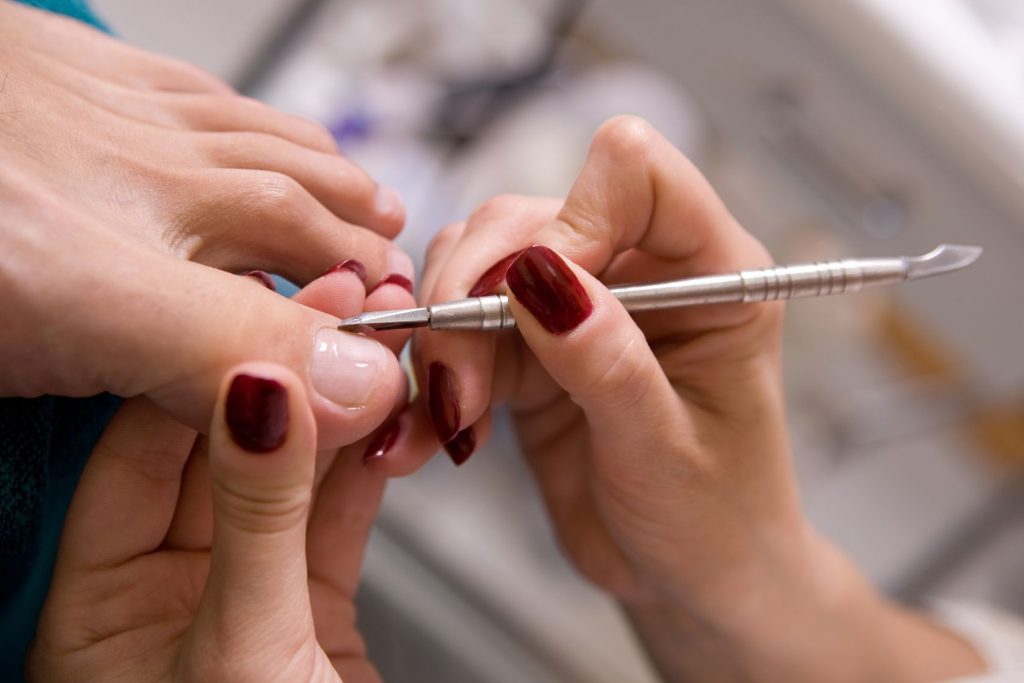
Then we proceed to the processing of cuticles and ingrown nails, if any. The procedure will perfectly soften all this and the treatment will not bring pain.

Sixth stage
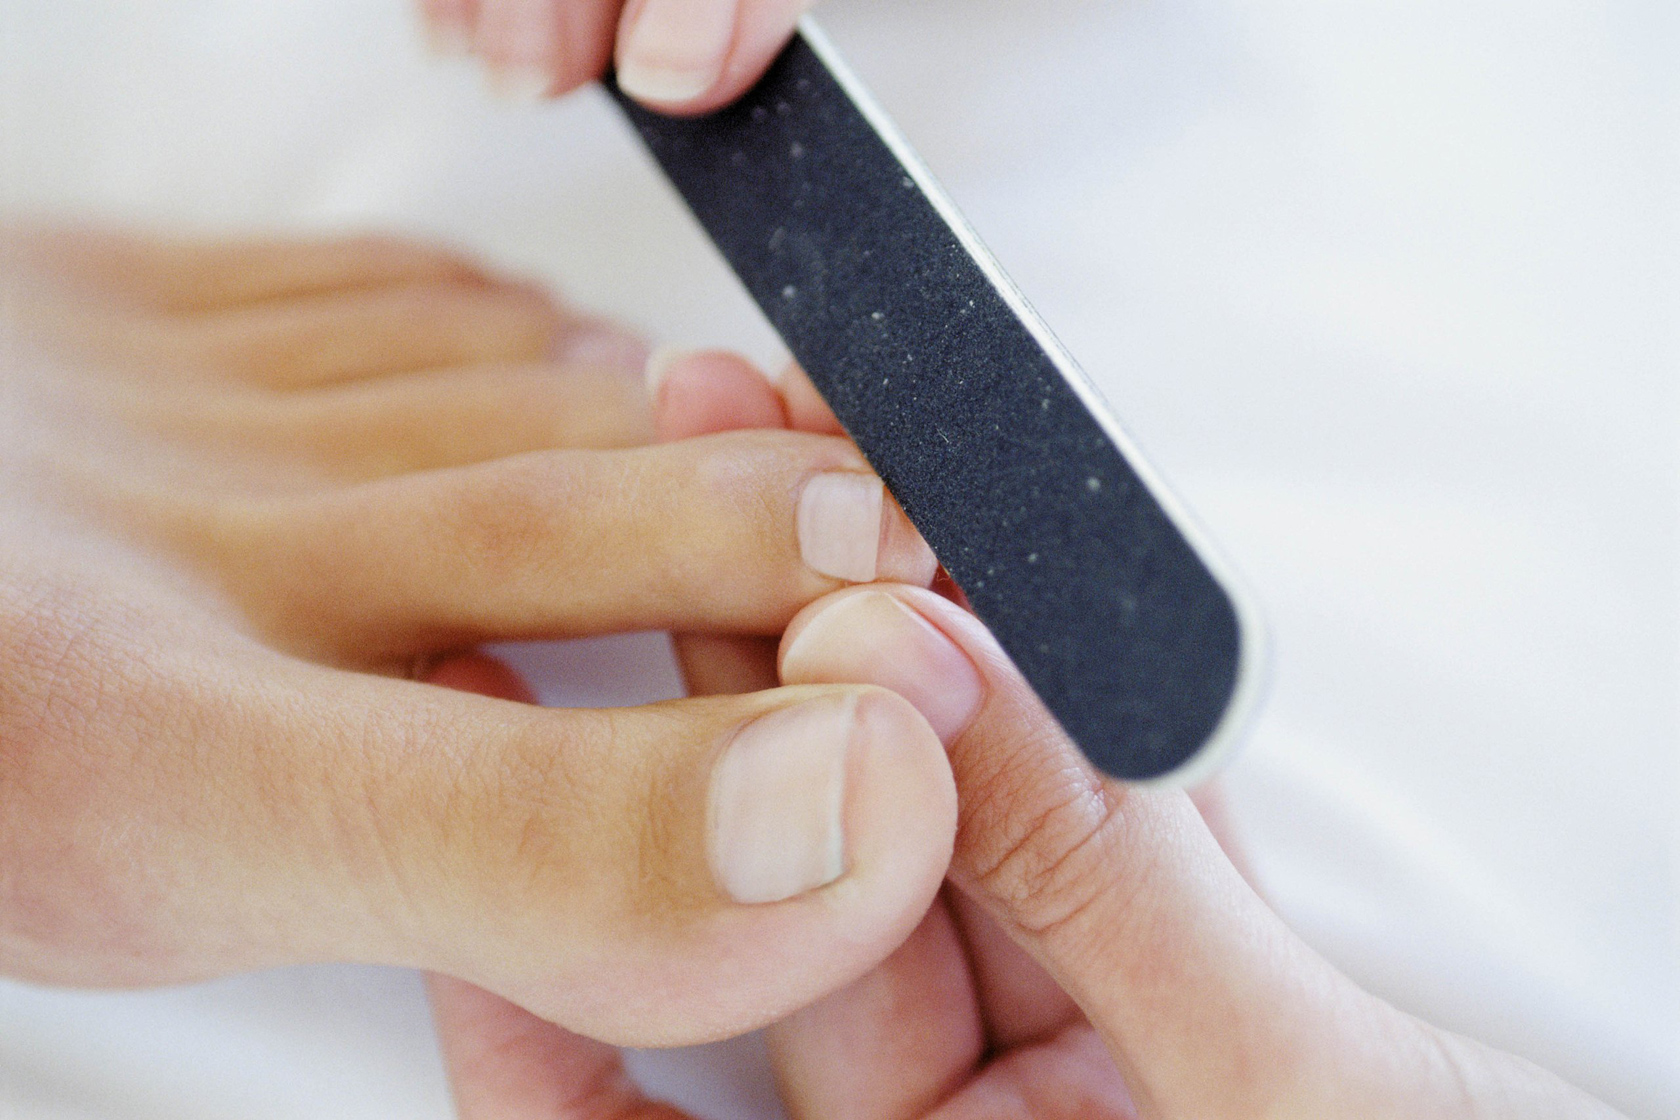
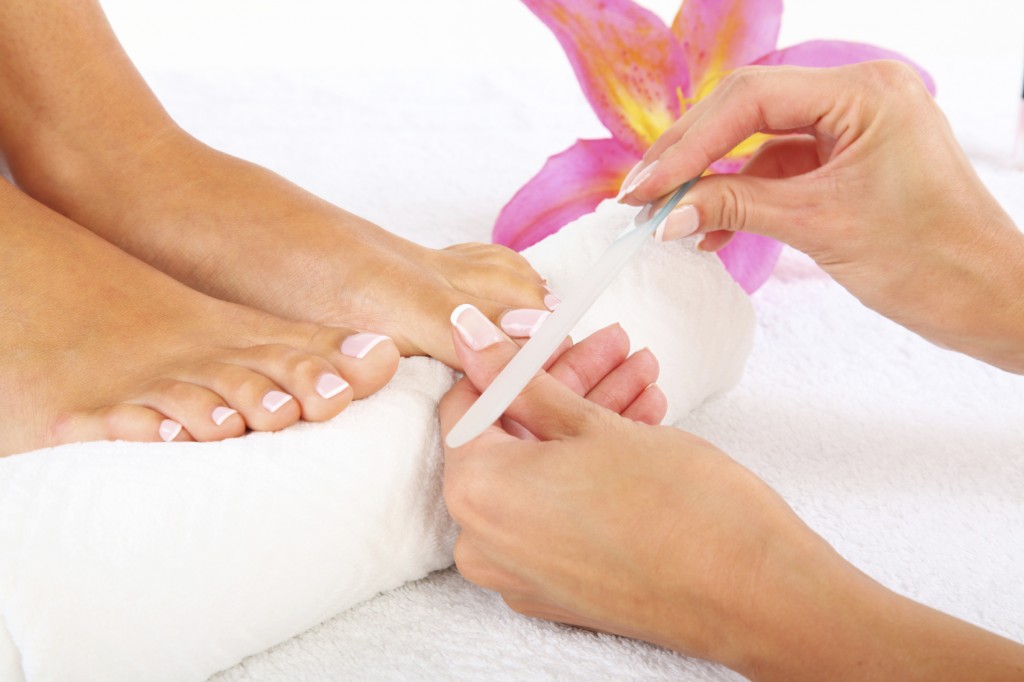
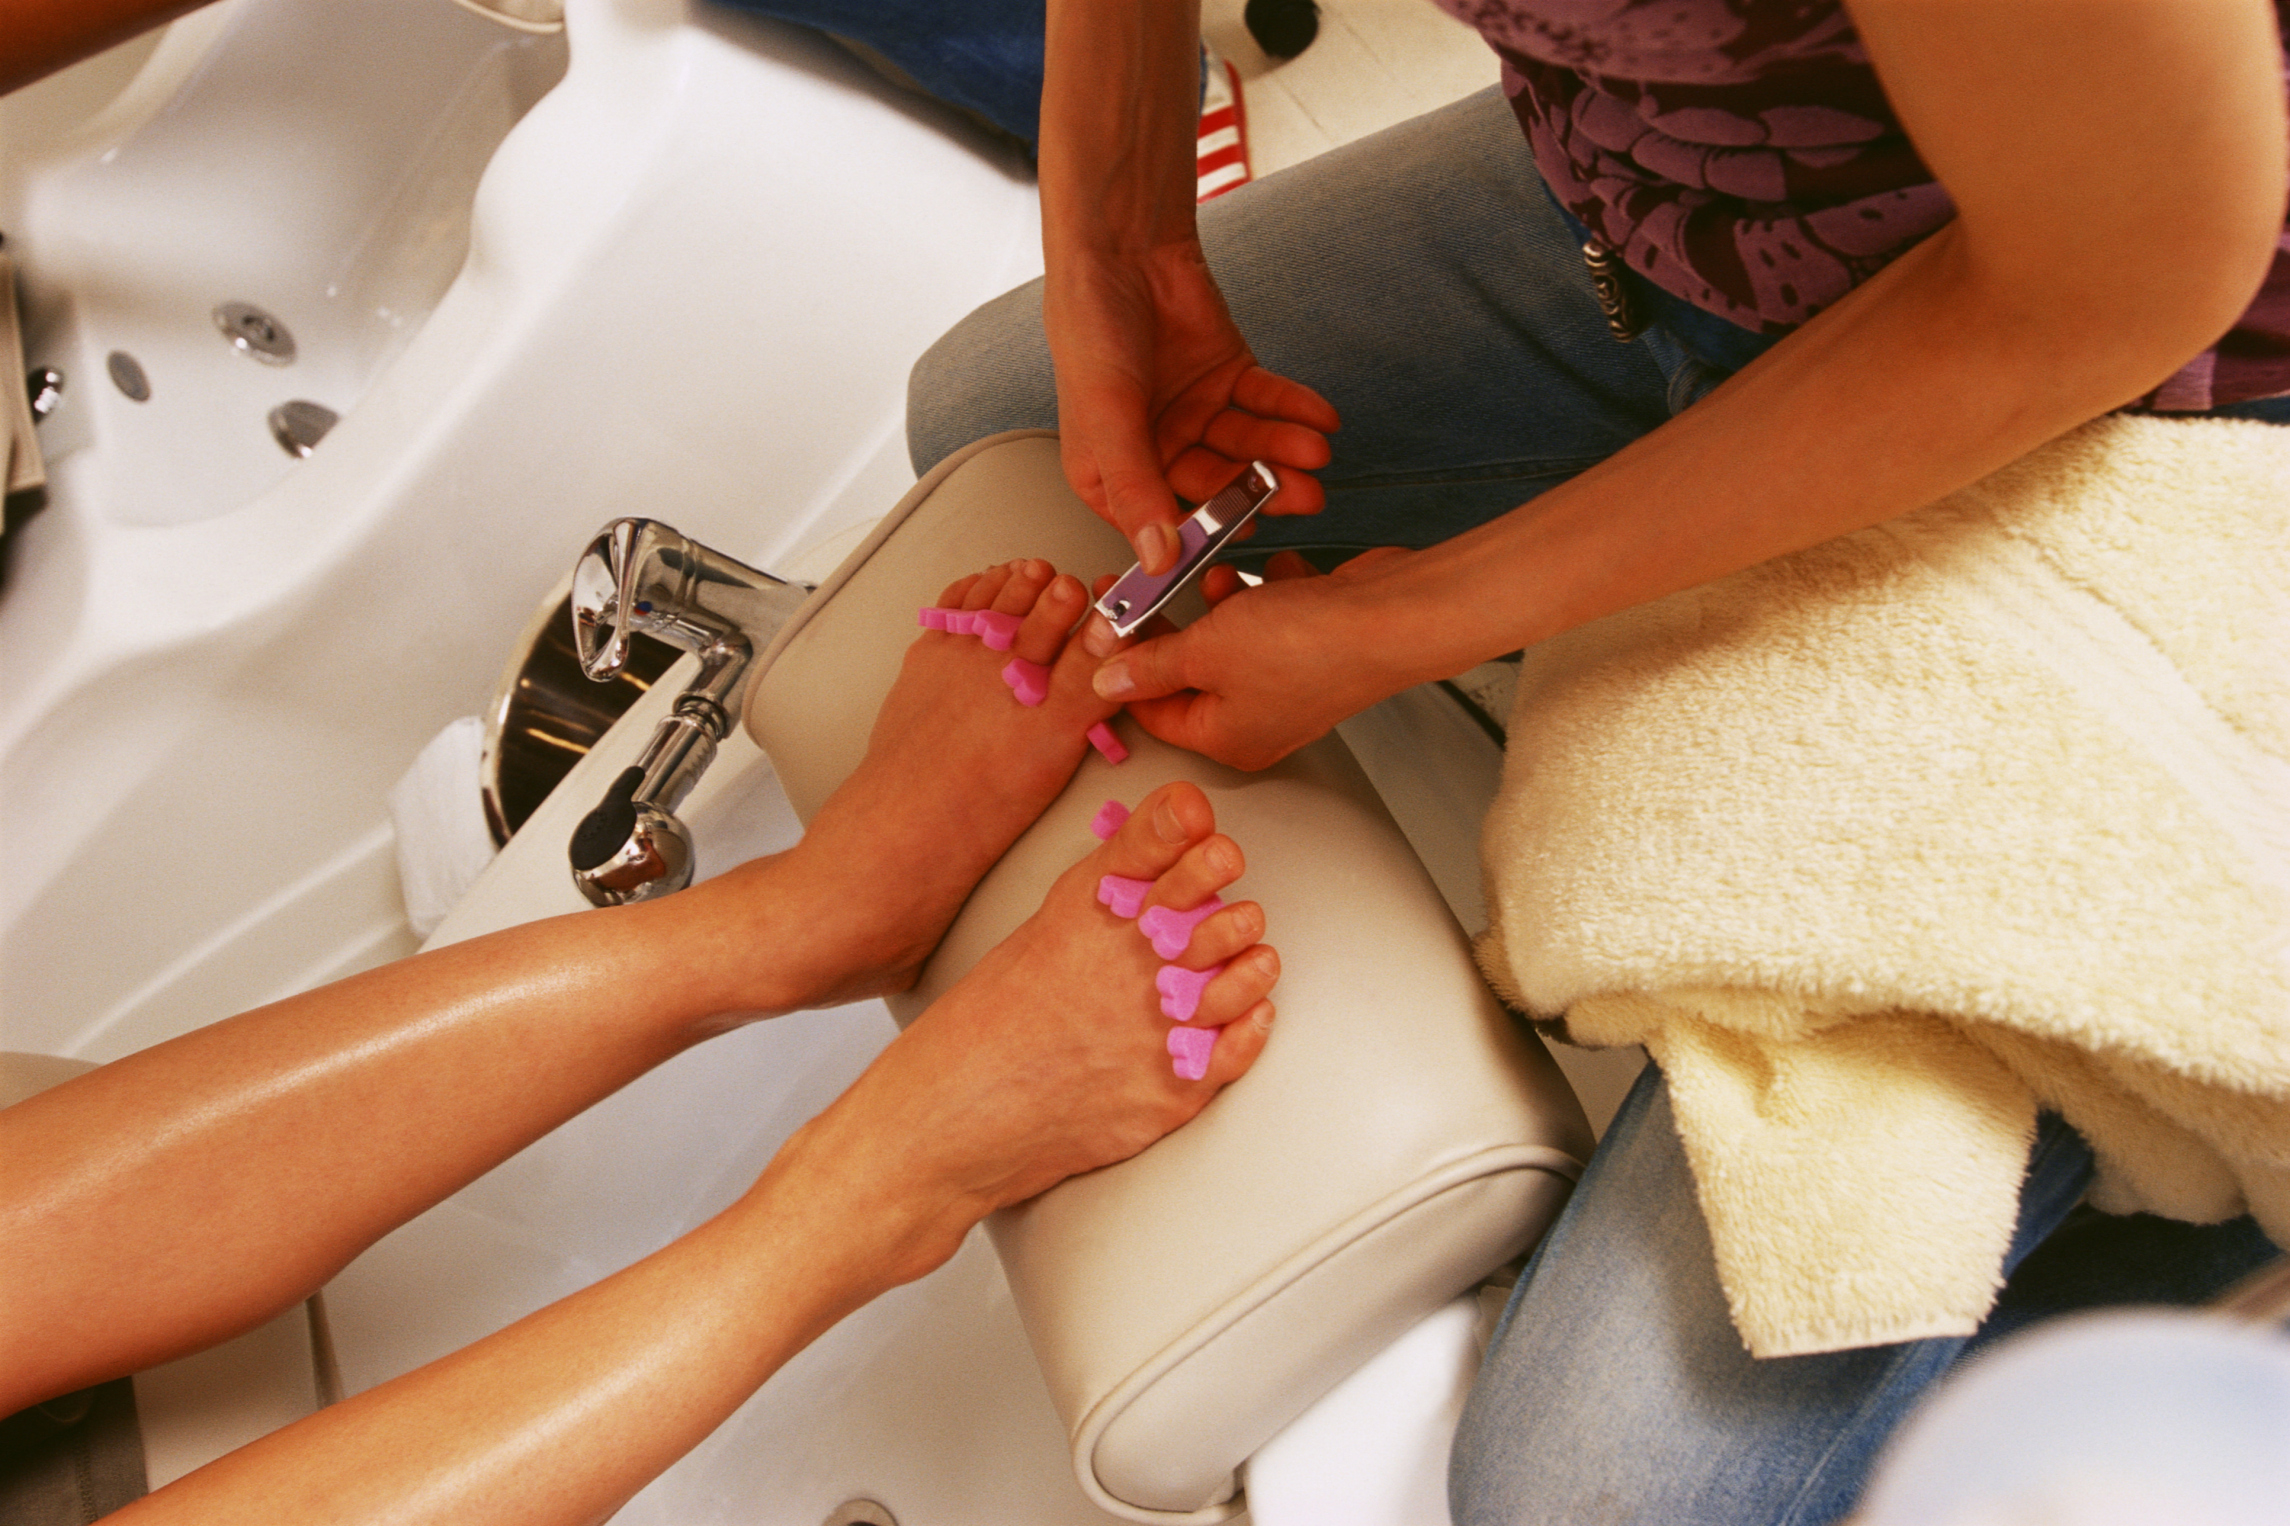
You can also give the nails the right shape. To do this, use nippers and a nail file.
Just do not forget that you can not cut the nail in different directions. Only from the edge to the center so that it does not exfoliate.


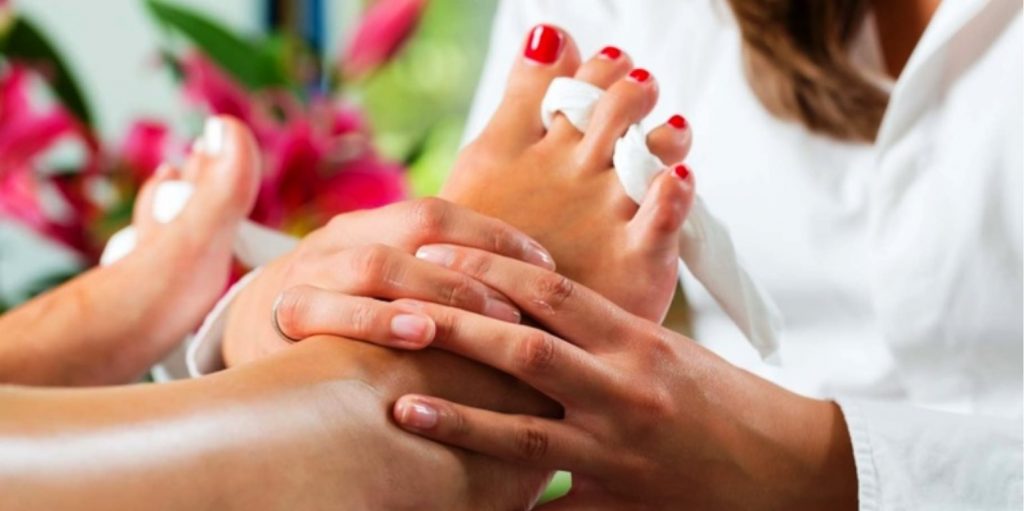
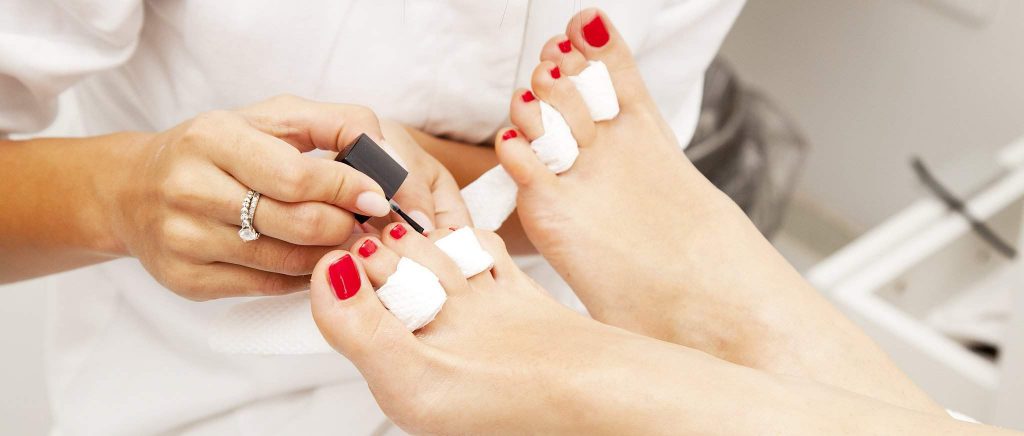
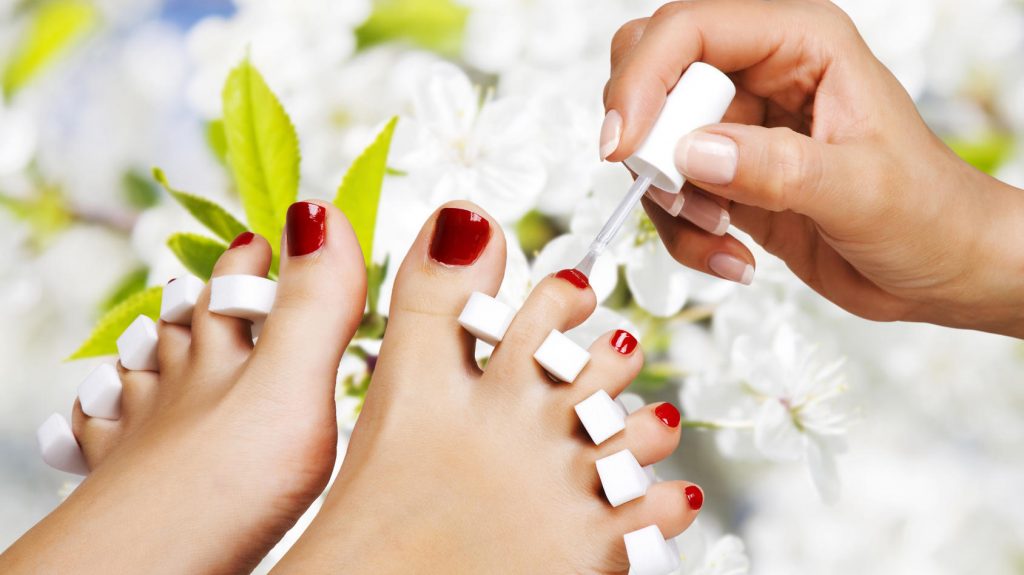
Seventh stage
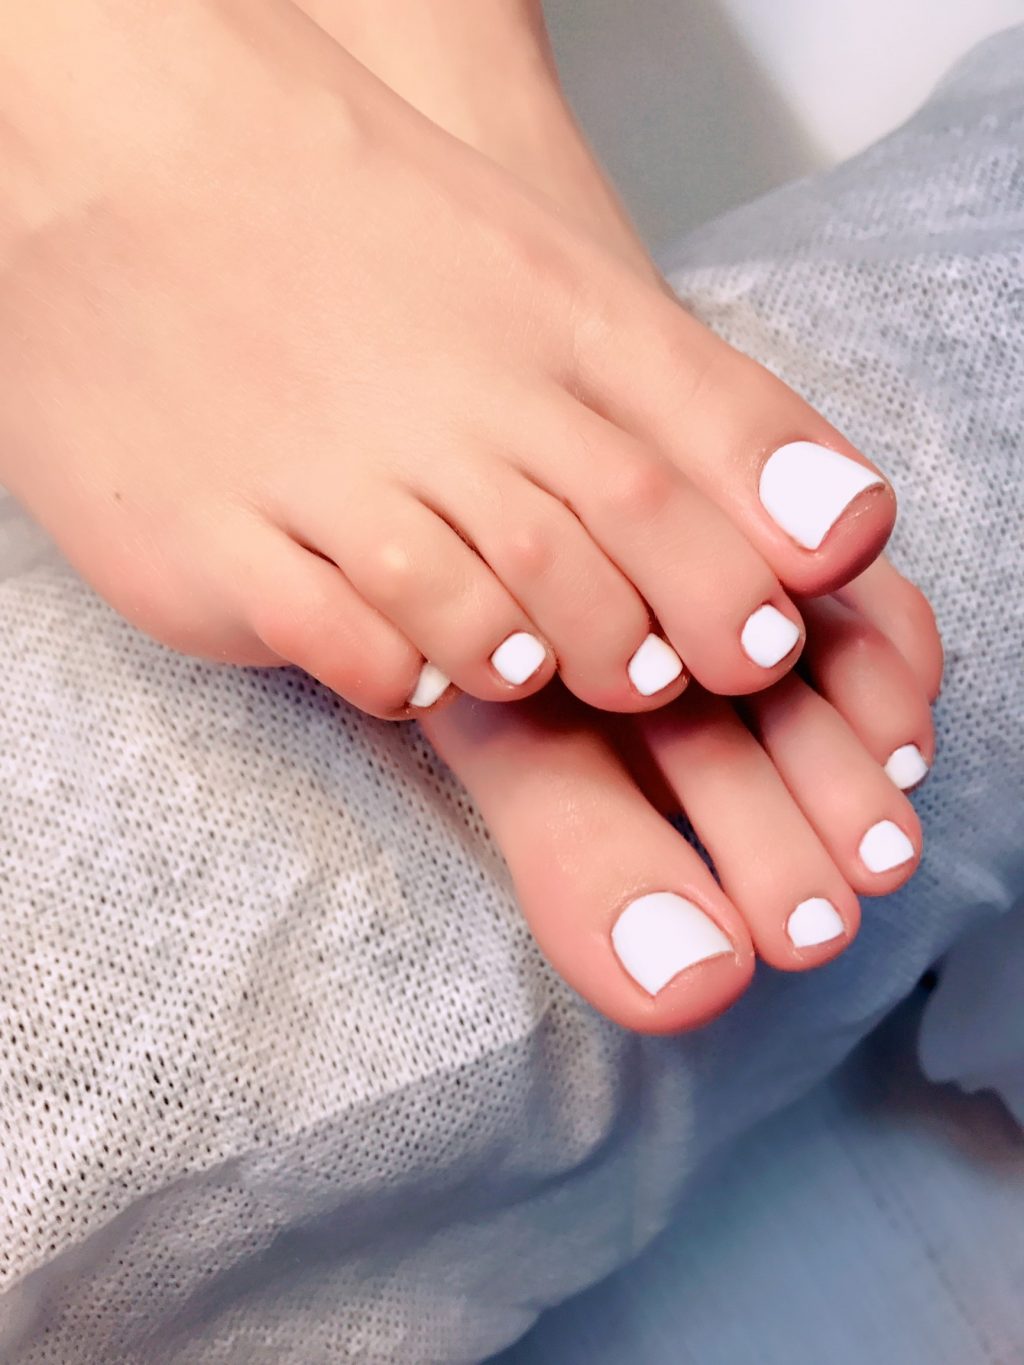
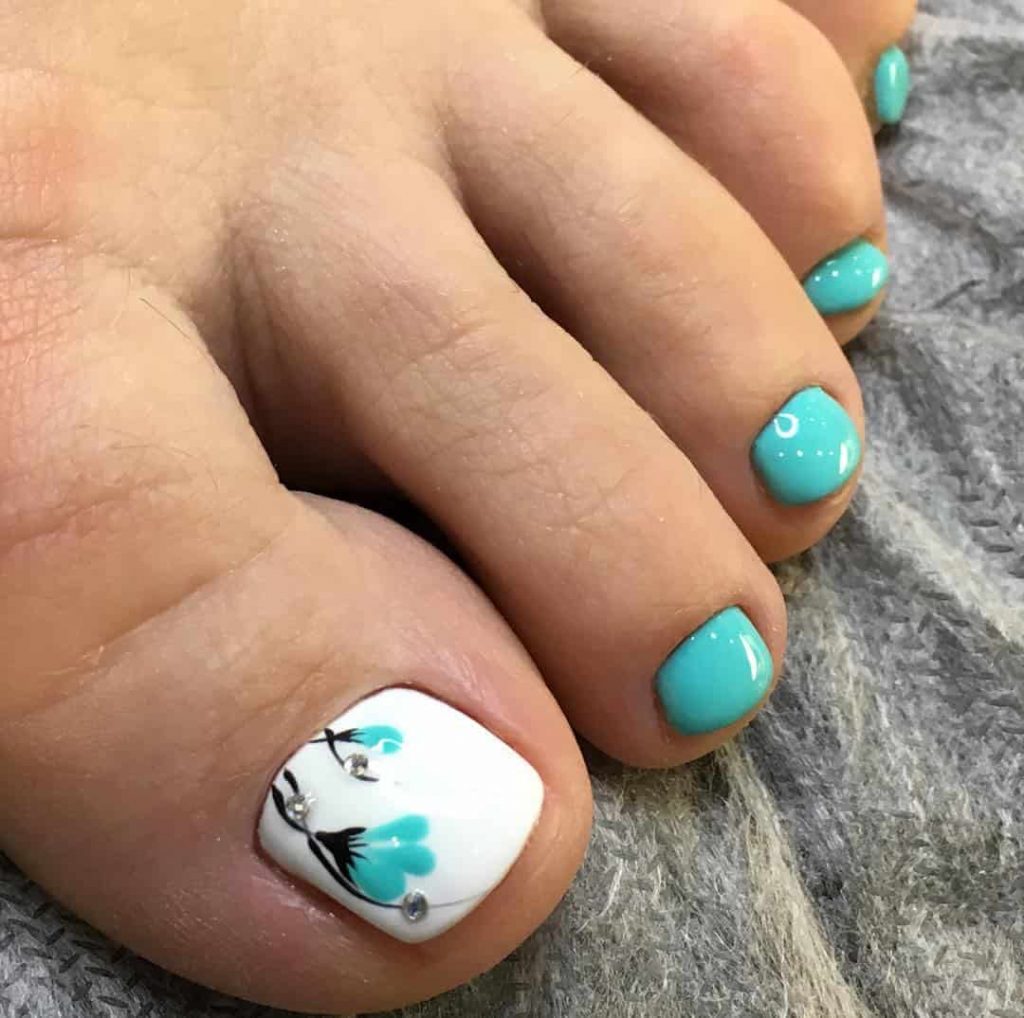
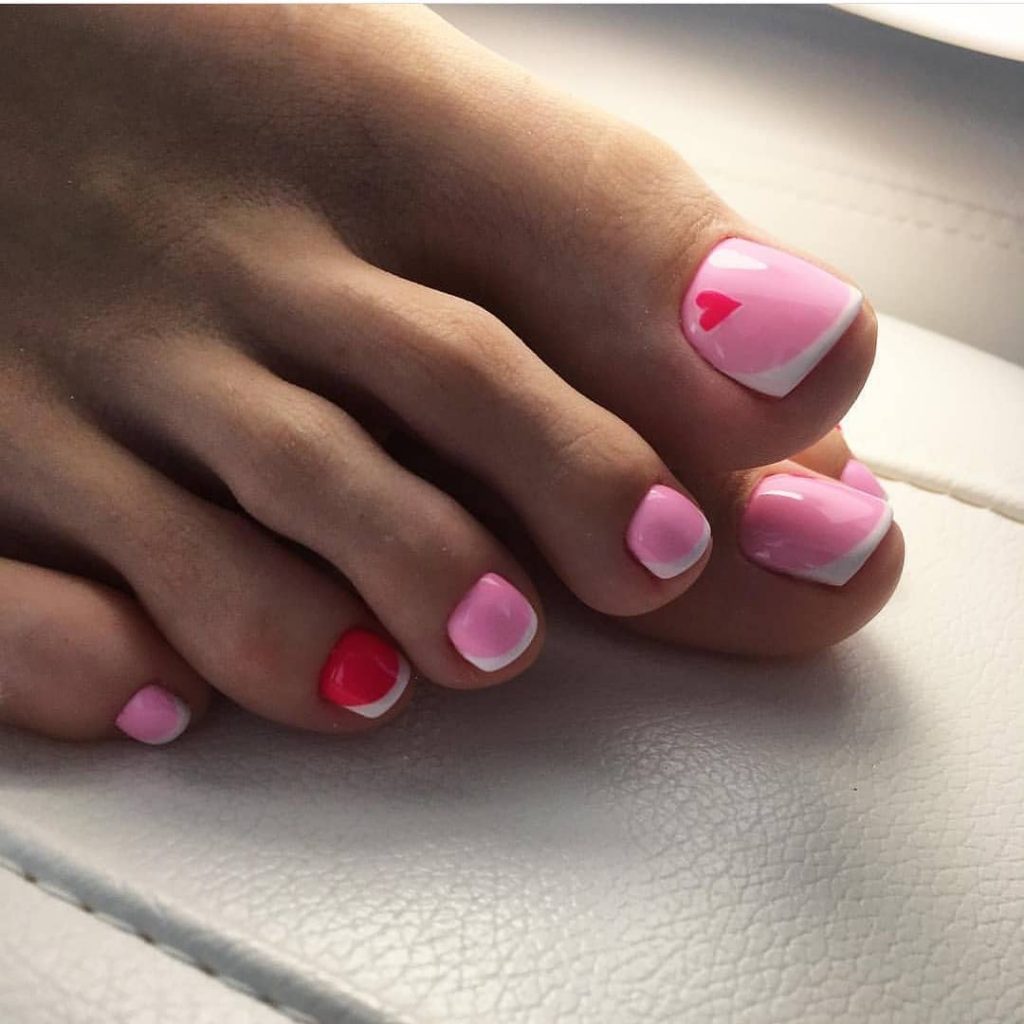
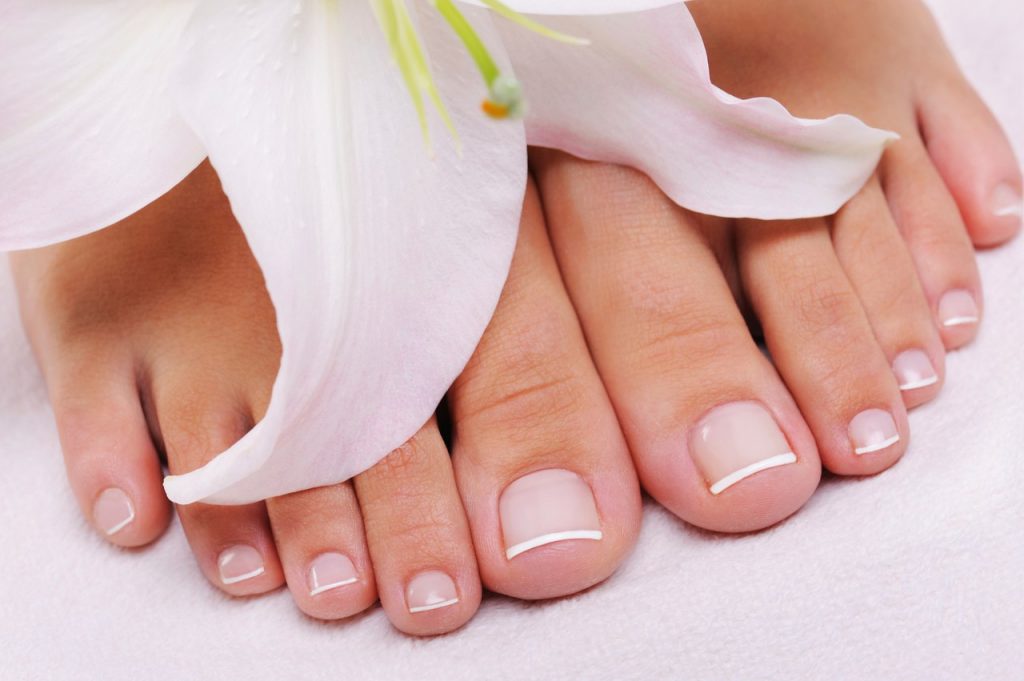
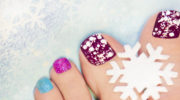
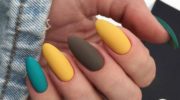
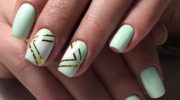
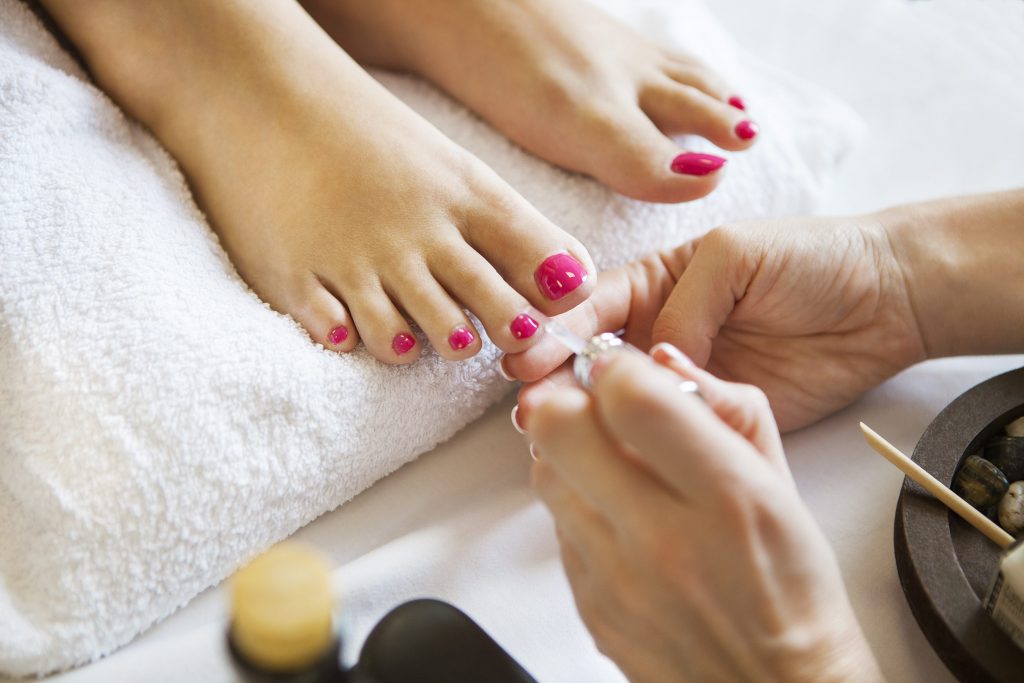
Well, now you can do your favorite thing. For a long time to choose the color of the future coating and then enjoy the beauty of its color.


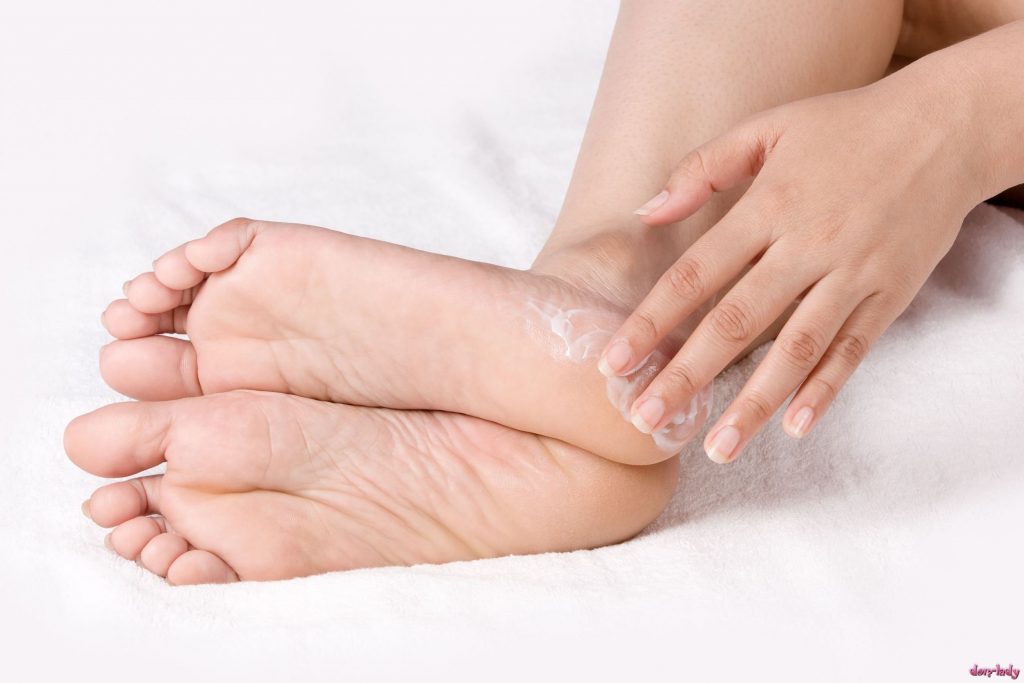
Eighth stage
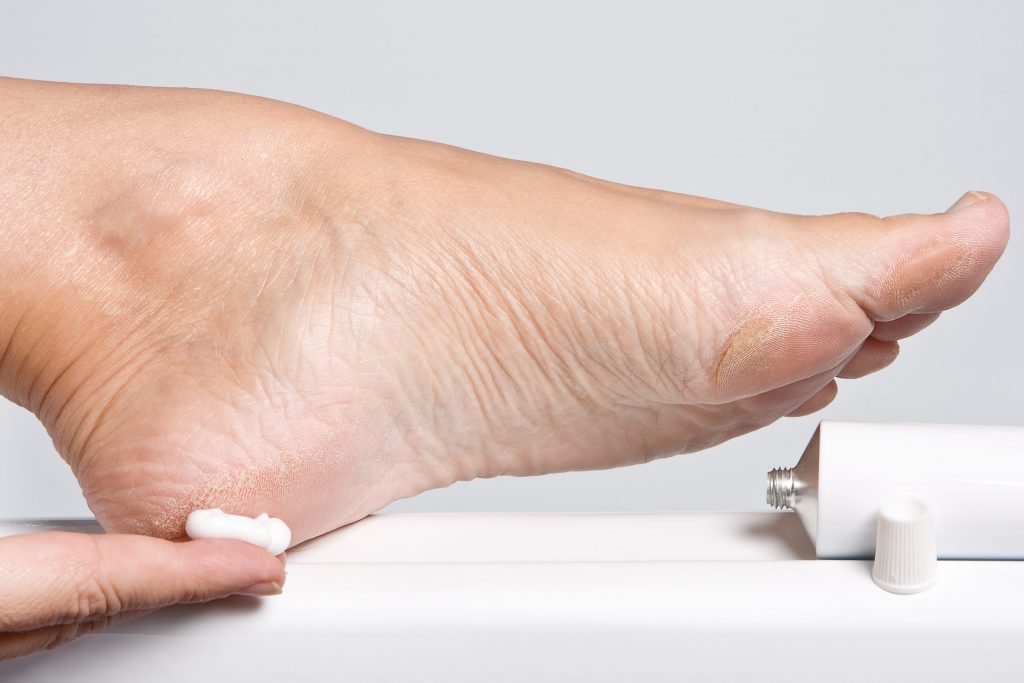
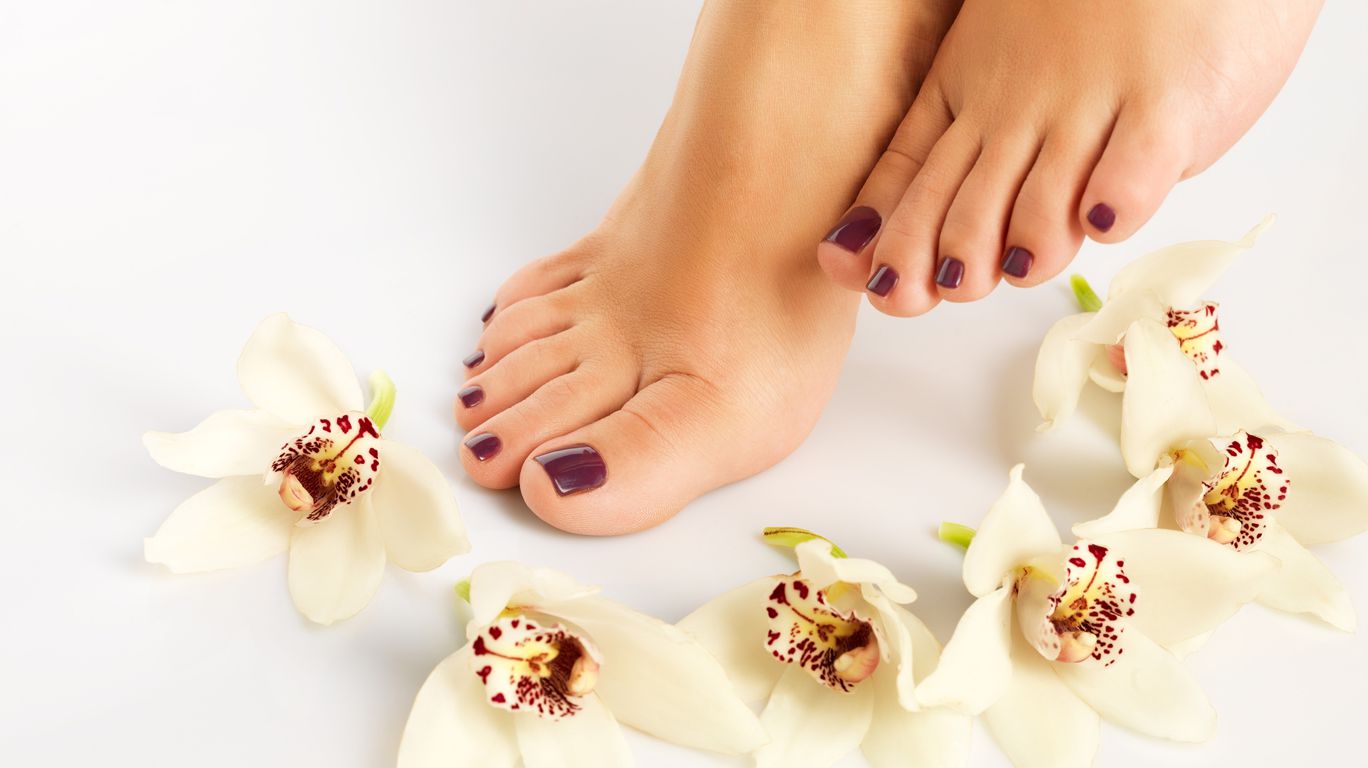
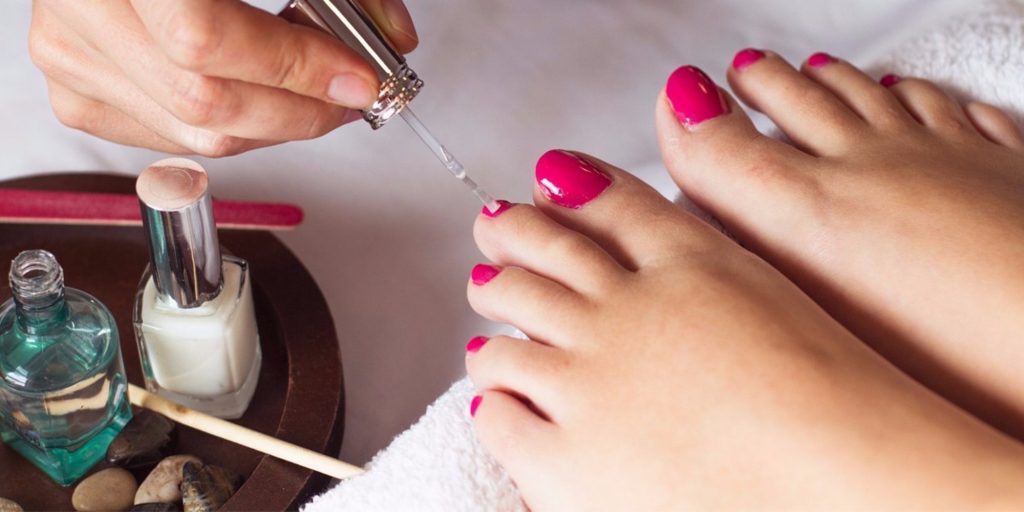
The end of the procedure is best completed by applying a nourishing cream and nail wax.