Any representative of the fair sex dreams of a beautiful and well-groomed manicure, but in the frantic pace of life there is not always enough time for an independent manicure at home or visiting a salon. In this case, a manicure with stickers comes to the rescue.

Basic principles
A manicure with stickers is considered easy to perform and does not require complex professional skills. An experienced craftsman can do it in a short time, but at home you just have to get the hang of it.
Each woman at home can perform a manicure with stickers, as the kit includes step-by-step instructions for applying.
Where to buy stickers for manicure?
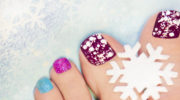
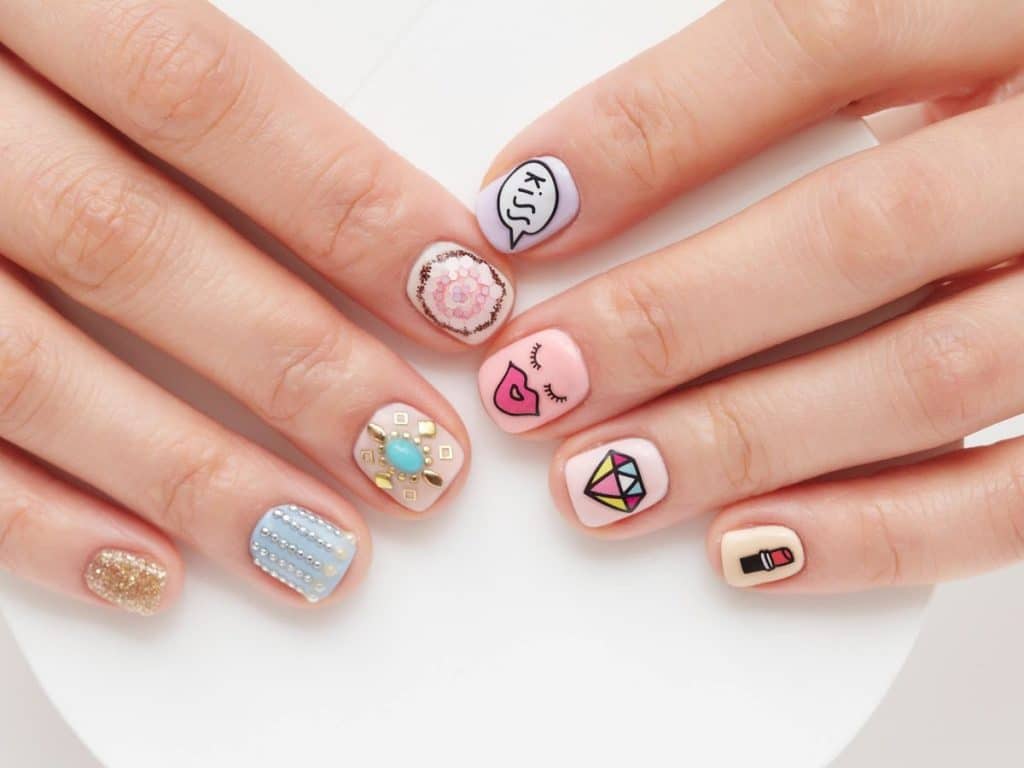
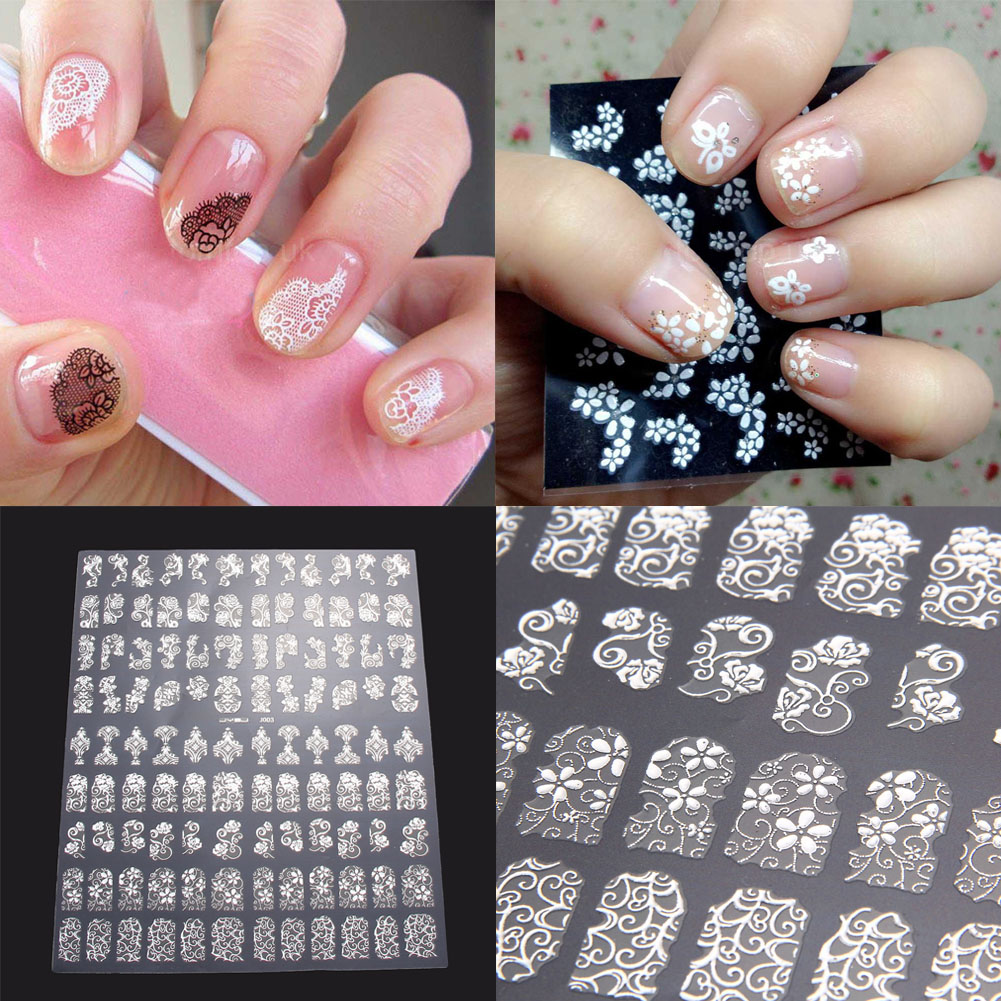
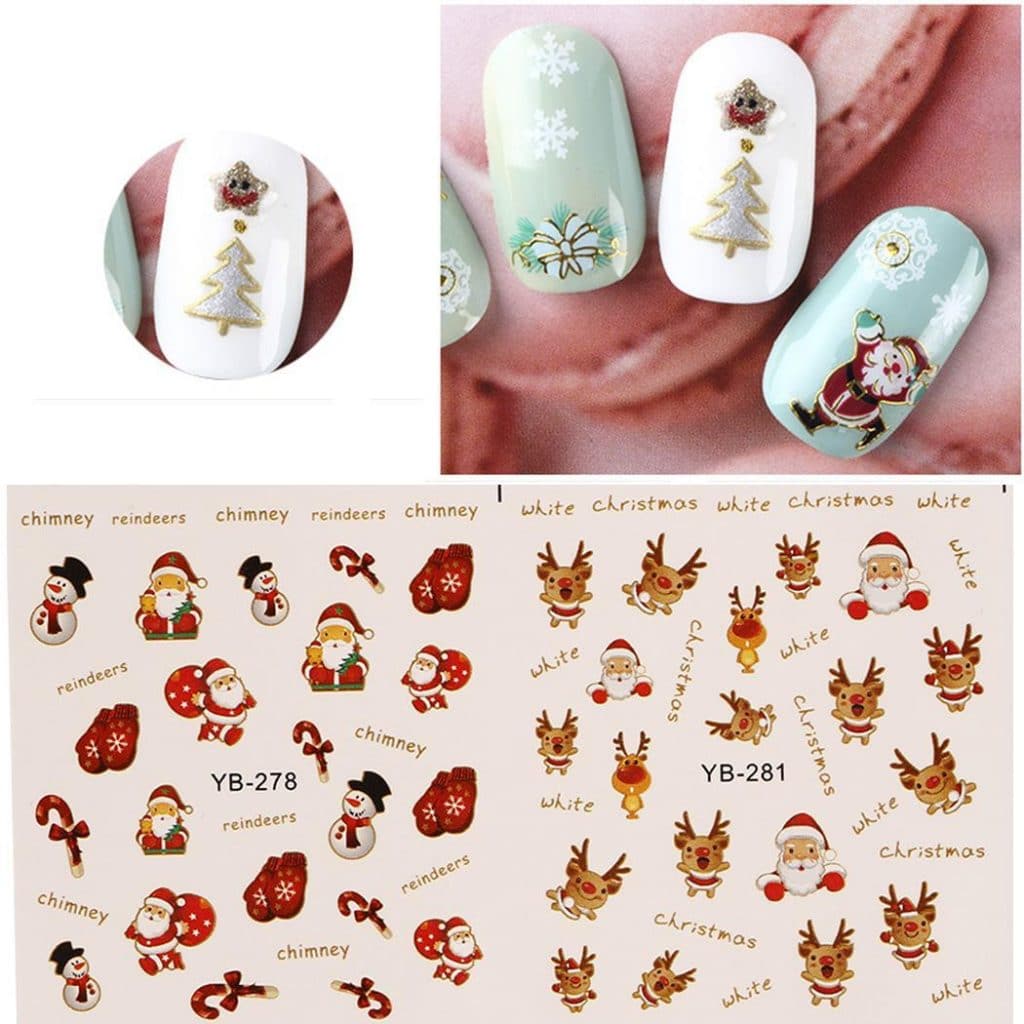
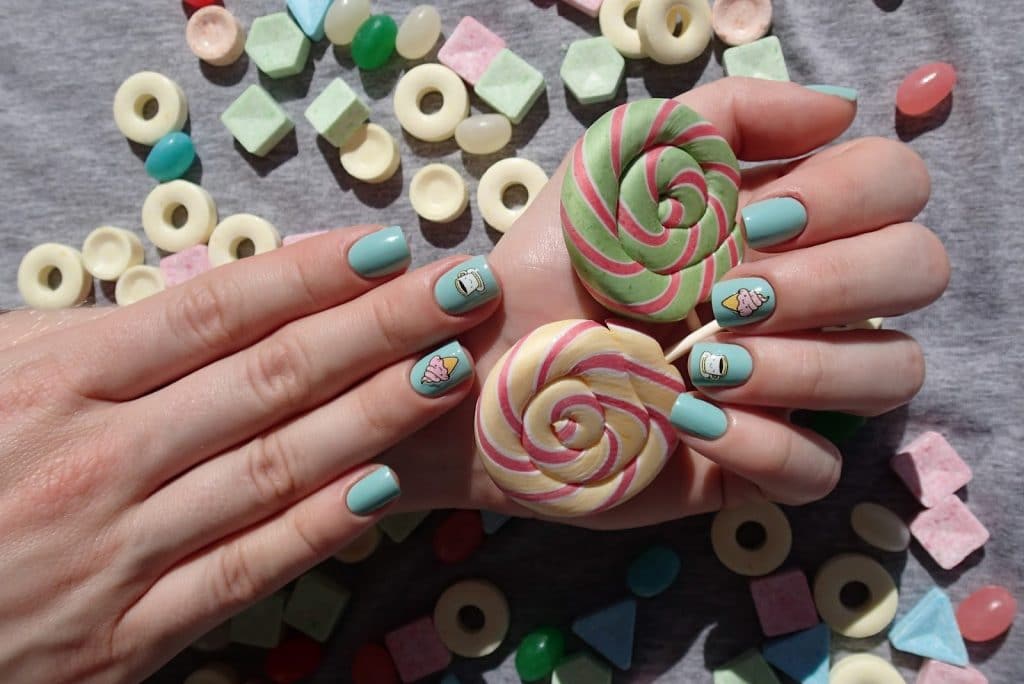
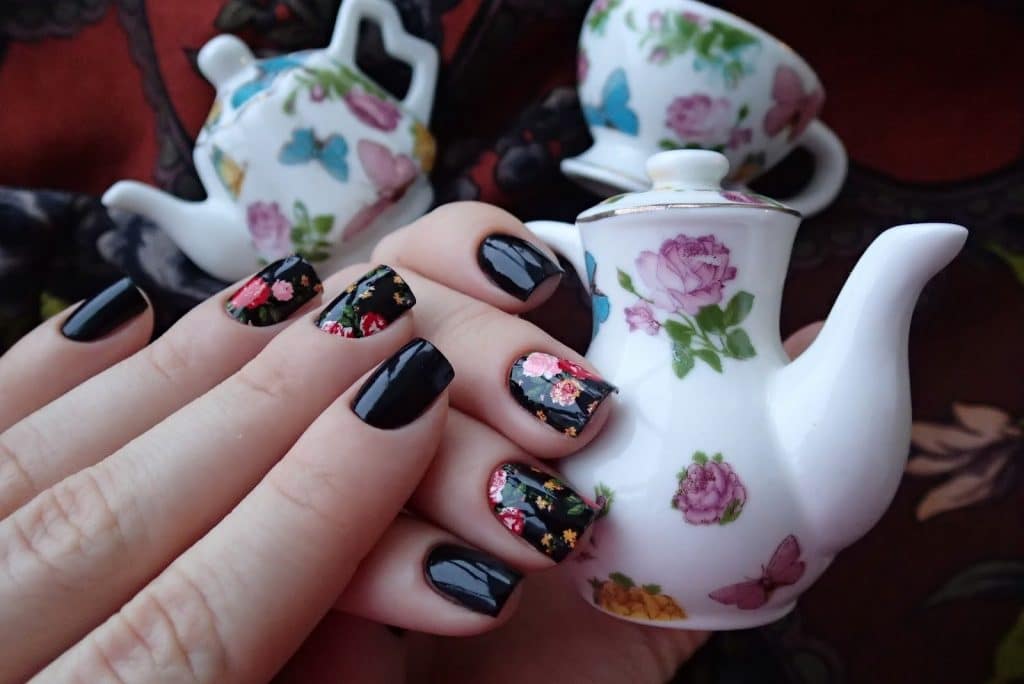
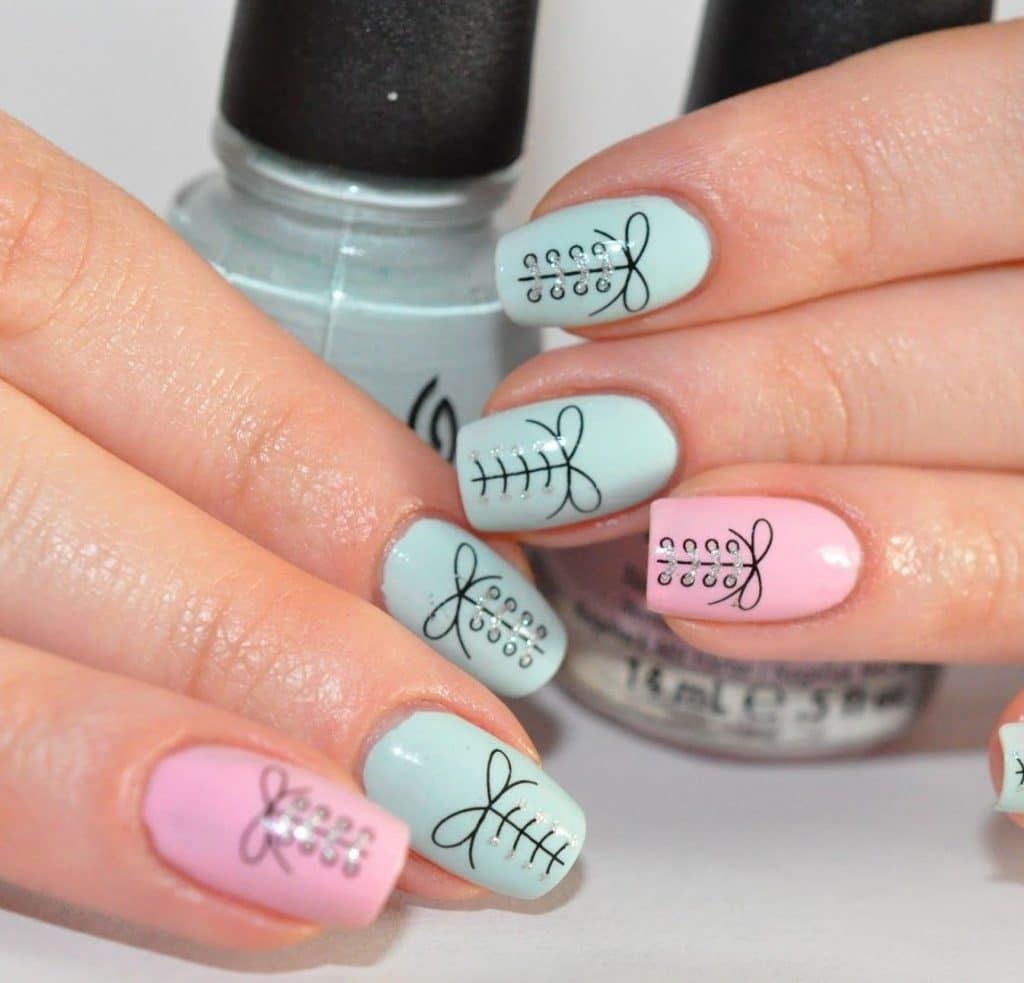
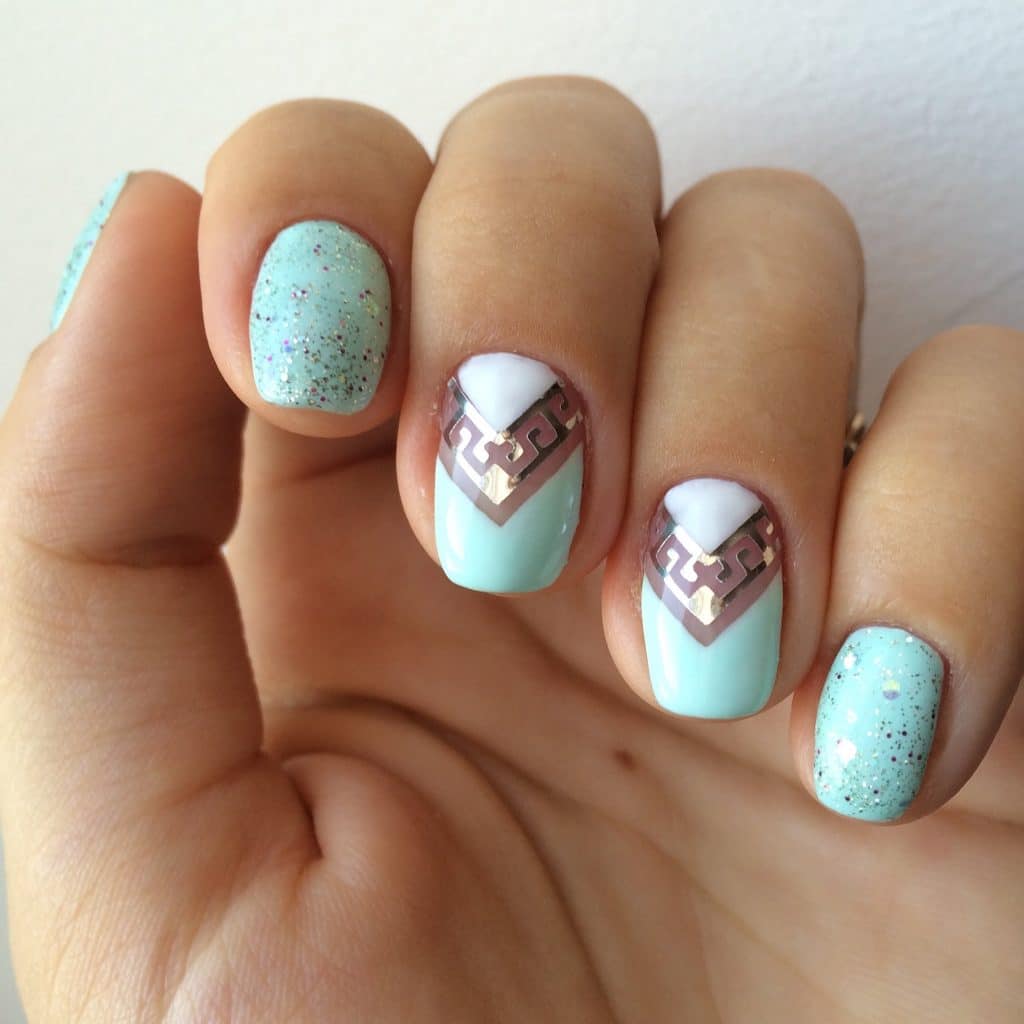
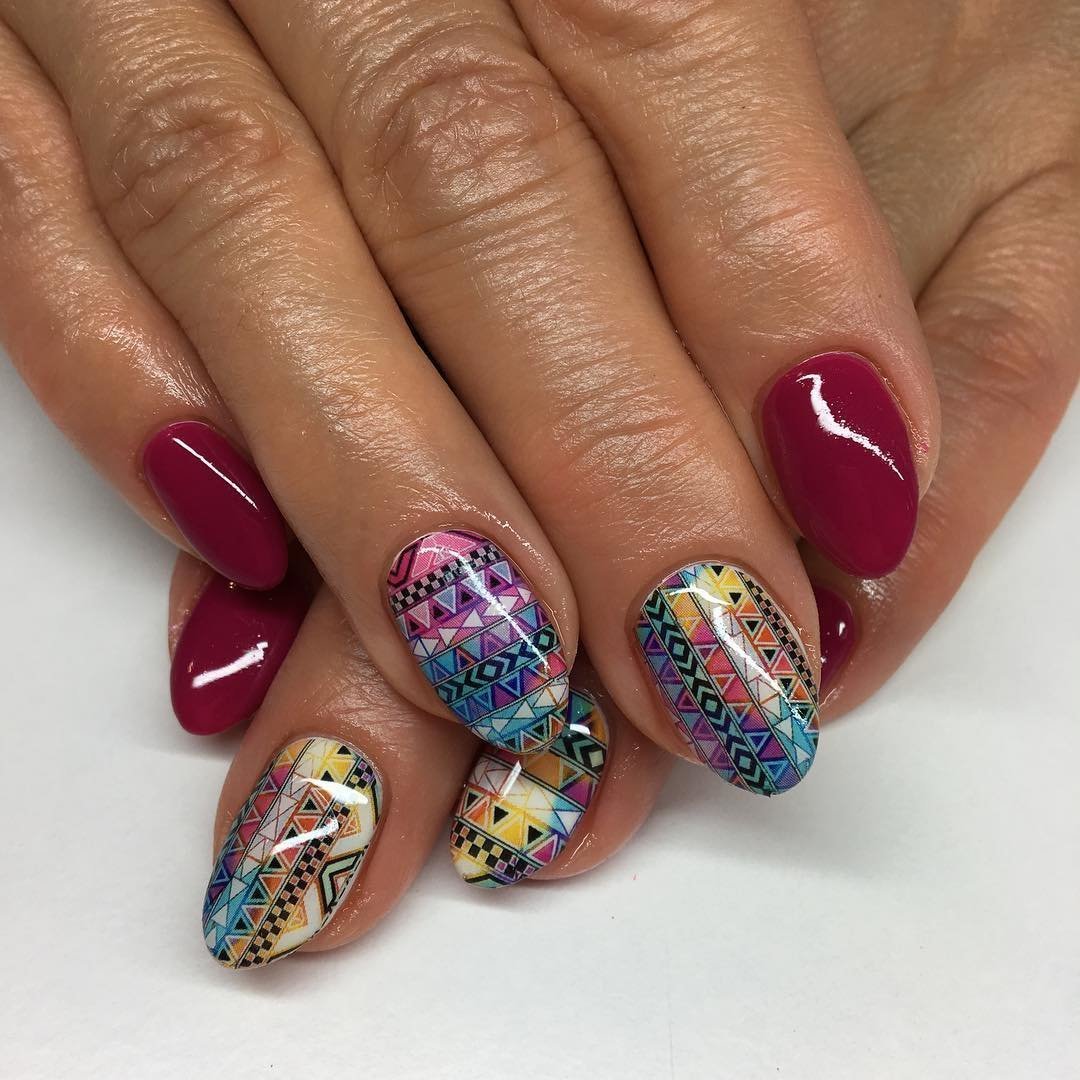
Stickers can be bought at specialized nail art stores or online stores. In the modern world, various types of stickers have been invented, from various animals, cartoon characters, flowers, words, hieroglyphs, characters, to stripes, monograms, dots and various geometric shapes.

The advantages of these stickers are also that they can be used both when coating nails with ordinary varnishes, and gel varnishes.
Types of stickers for manicure
For a flight of limitless imagination and ease of use, there are several types of stickers.
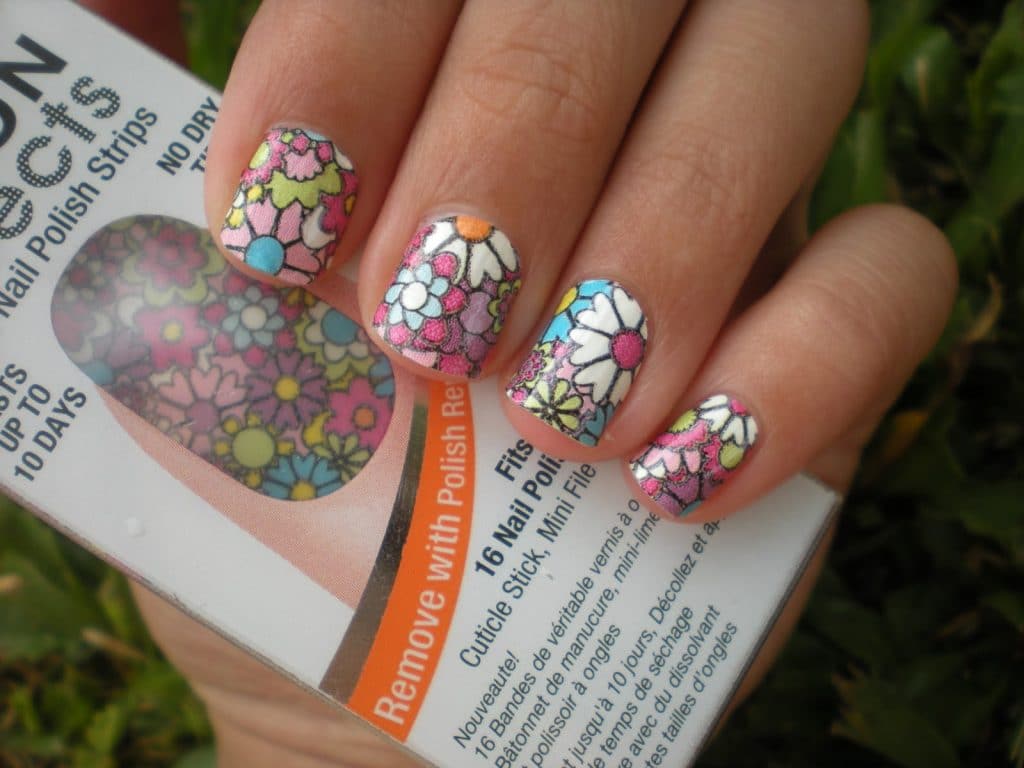
Self-adhesive stickers

The sticker is removed from the substrate with tweezers and secured to the nail.
The simplest type of stickers you can handle the first time.
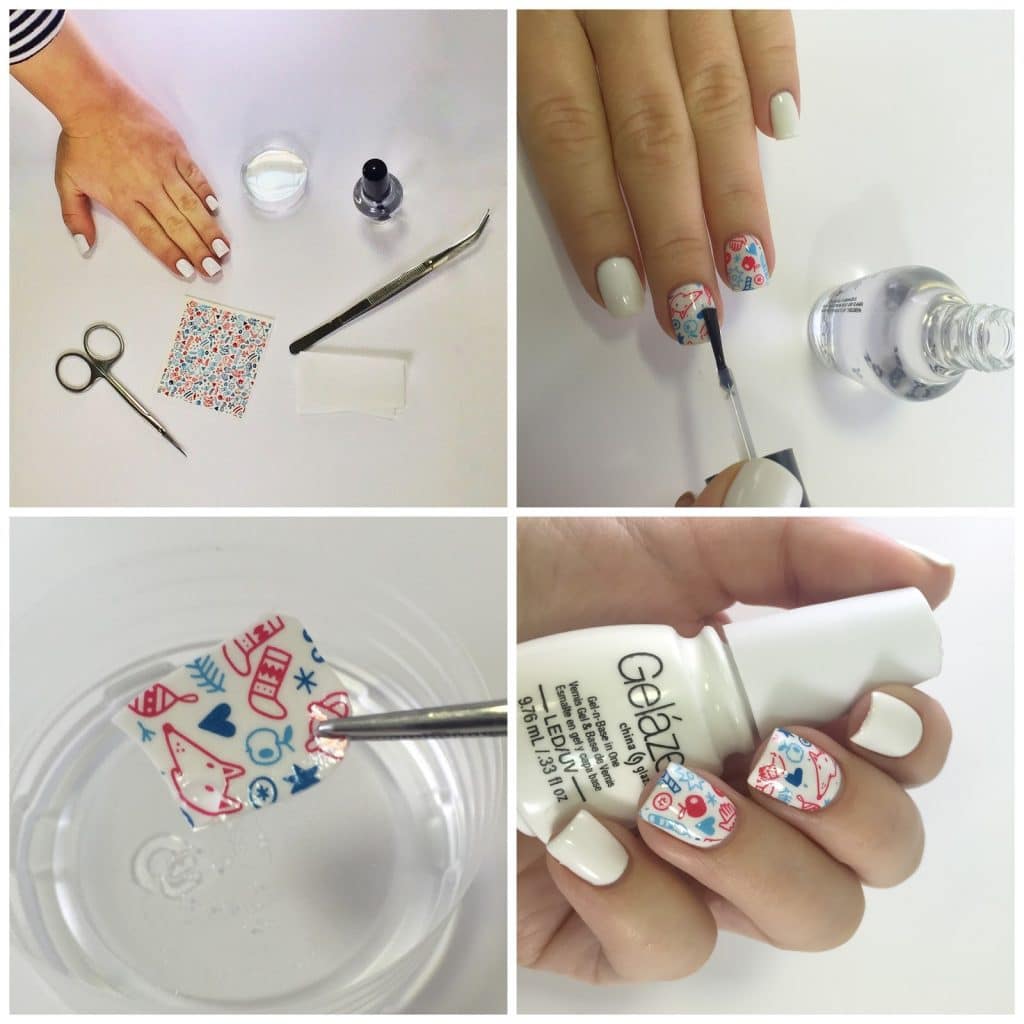
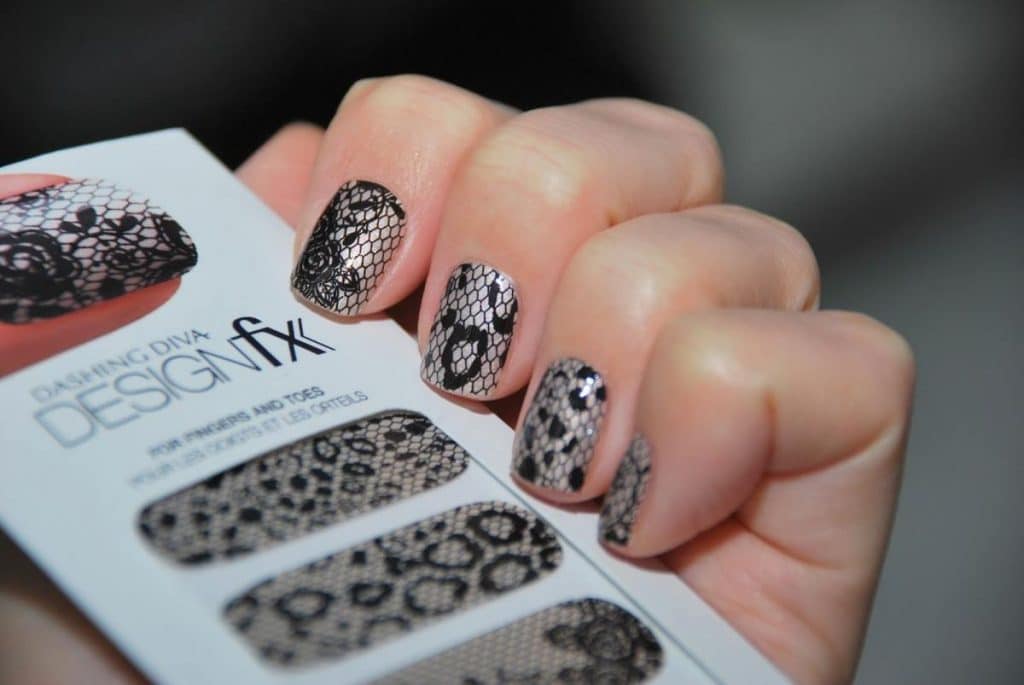
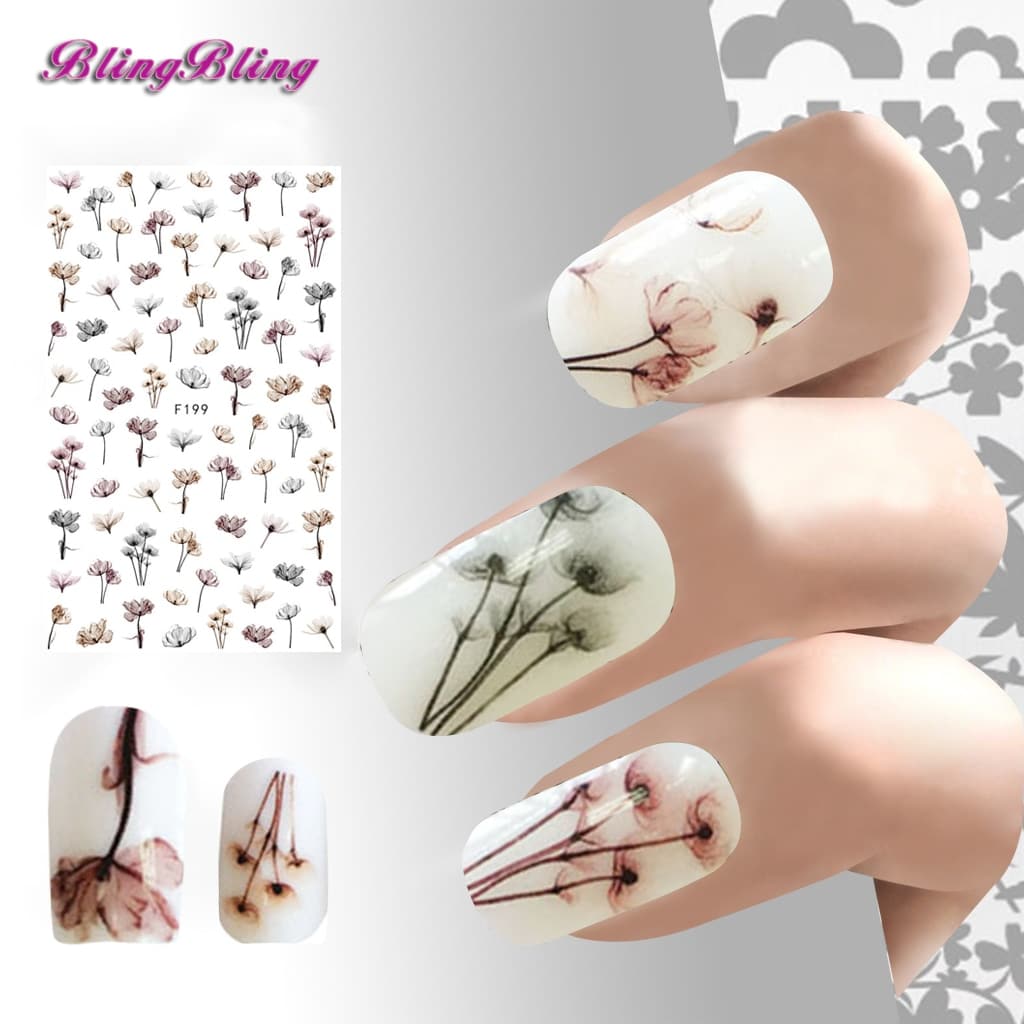
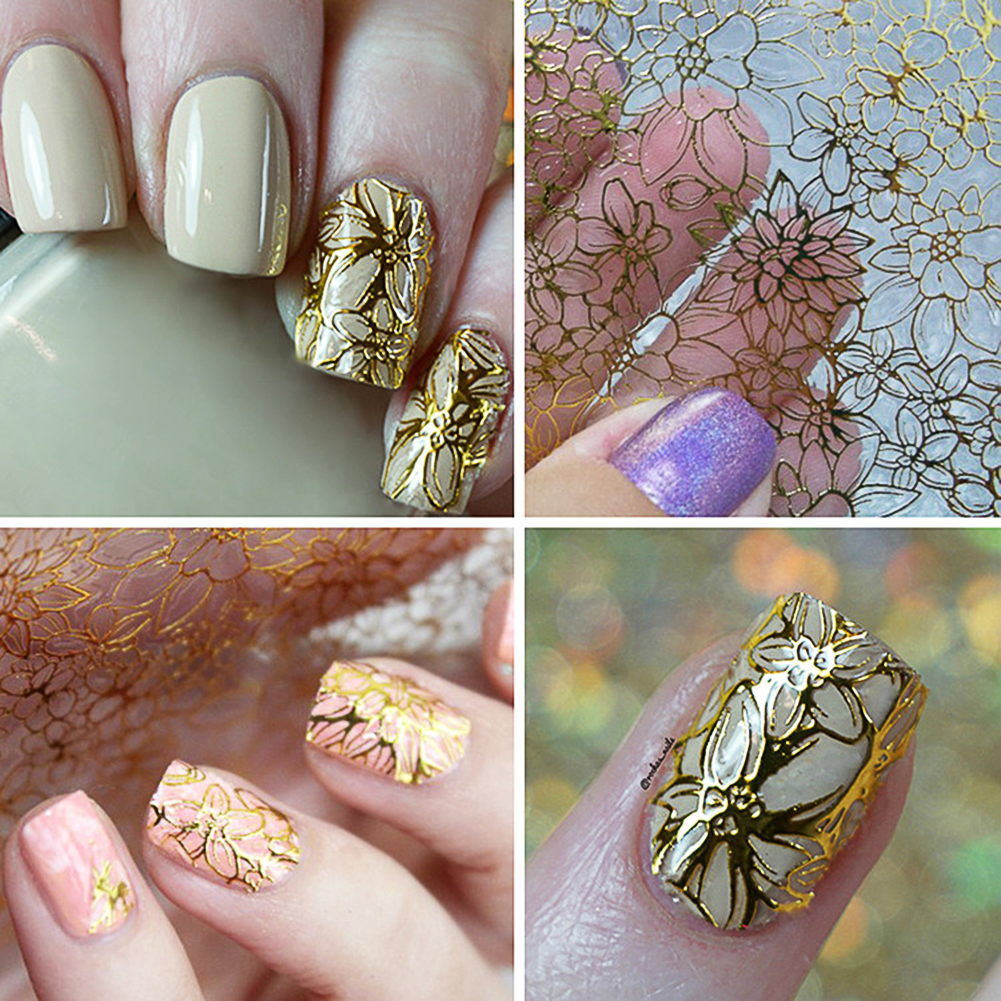
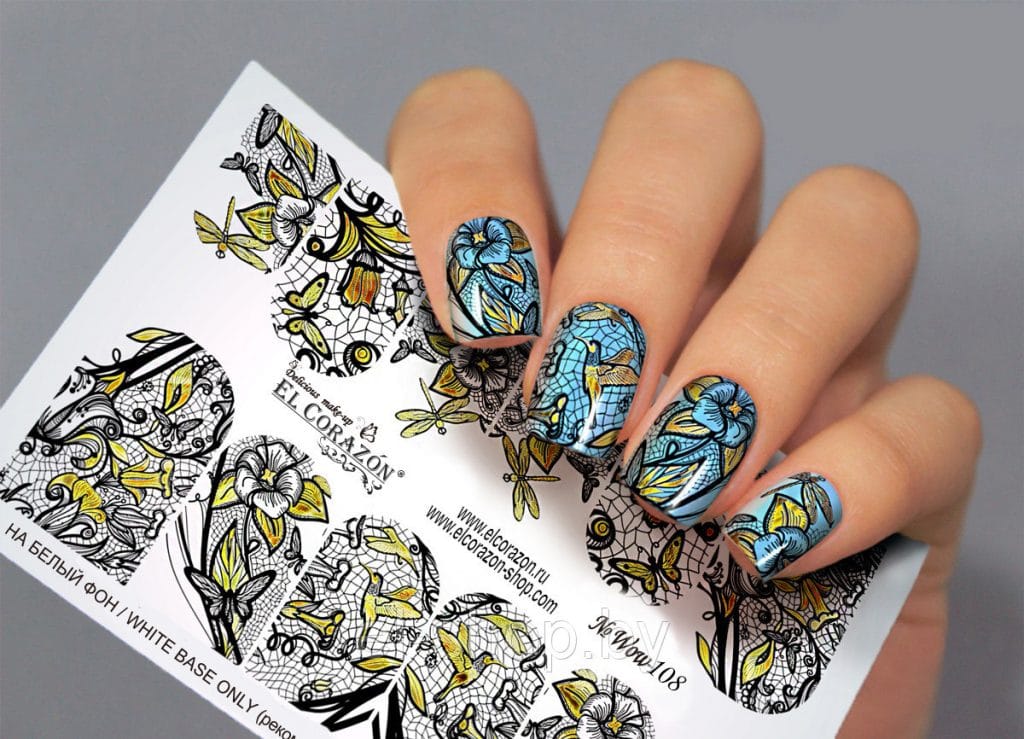
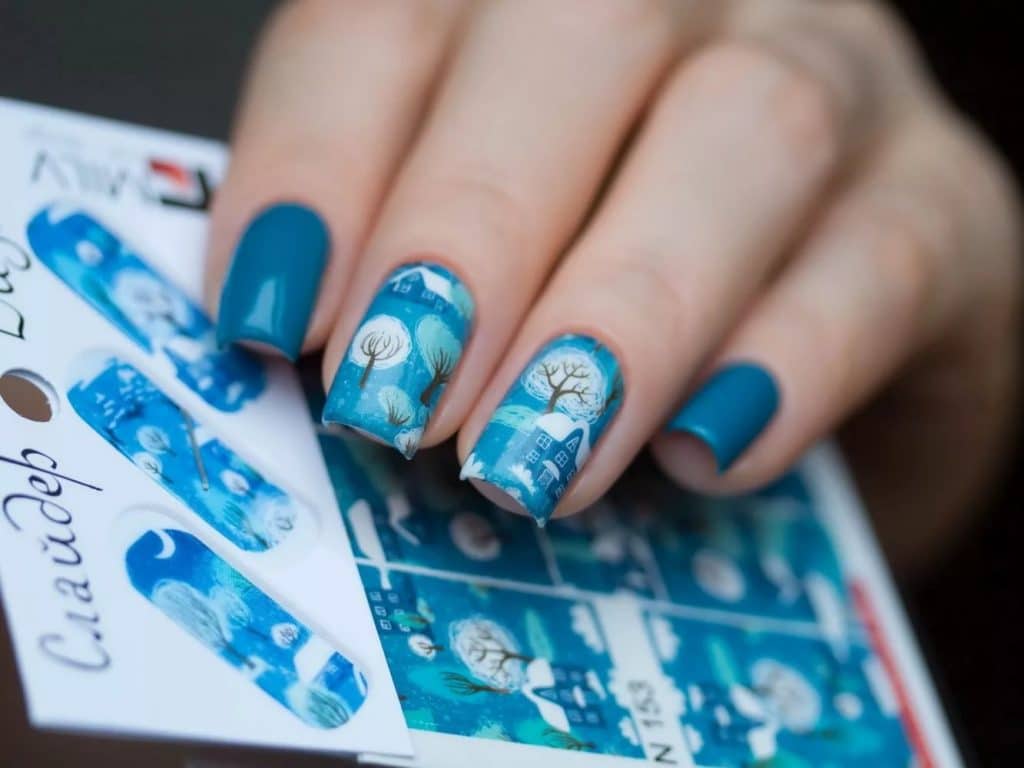
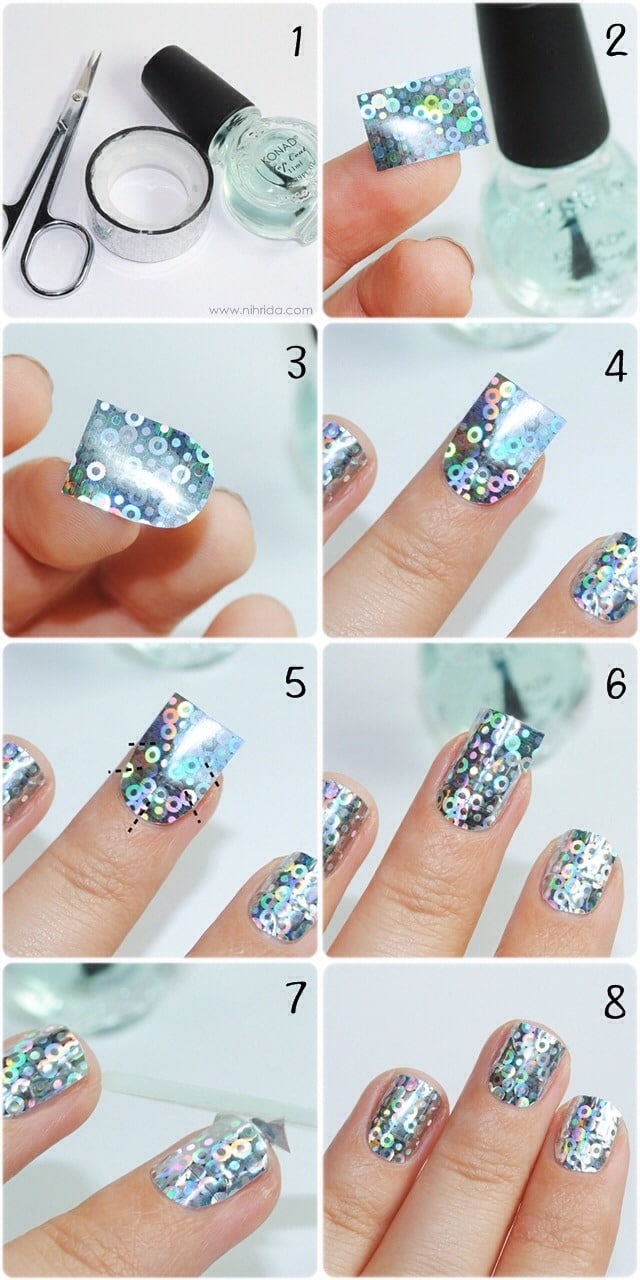
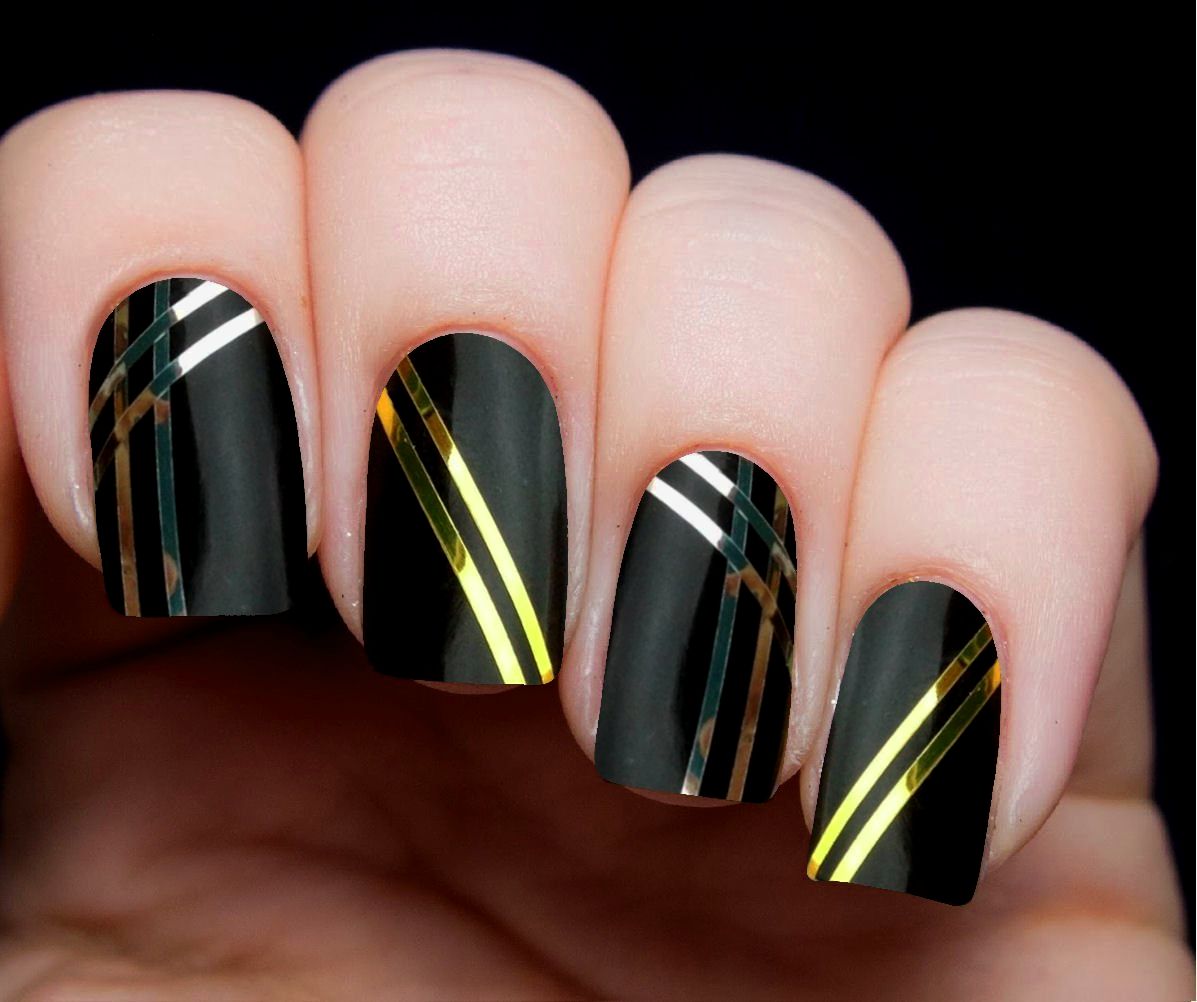
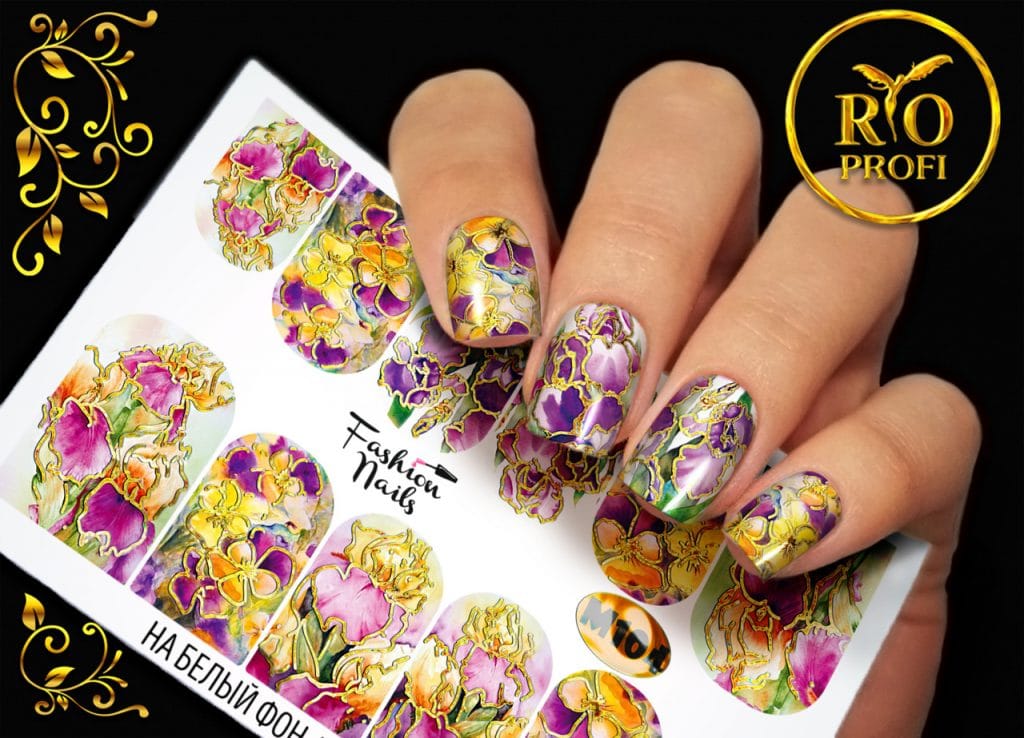
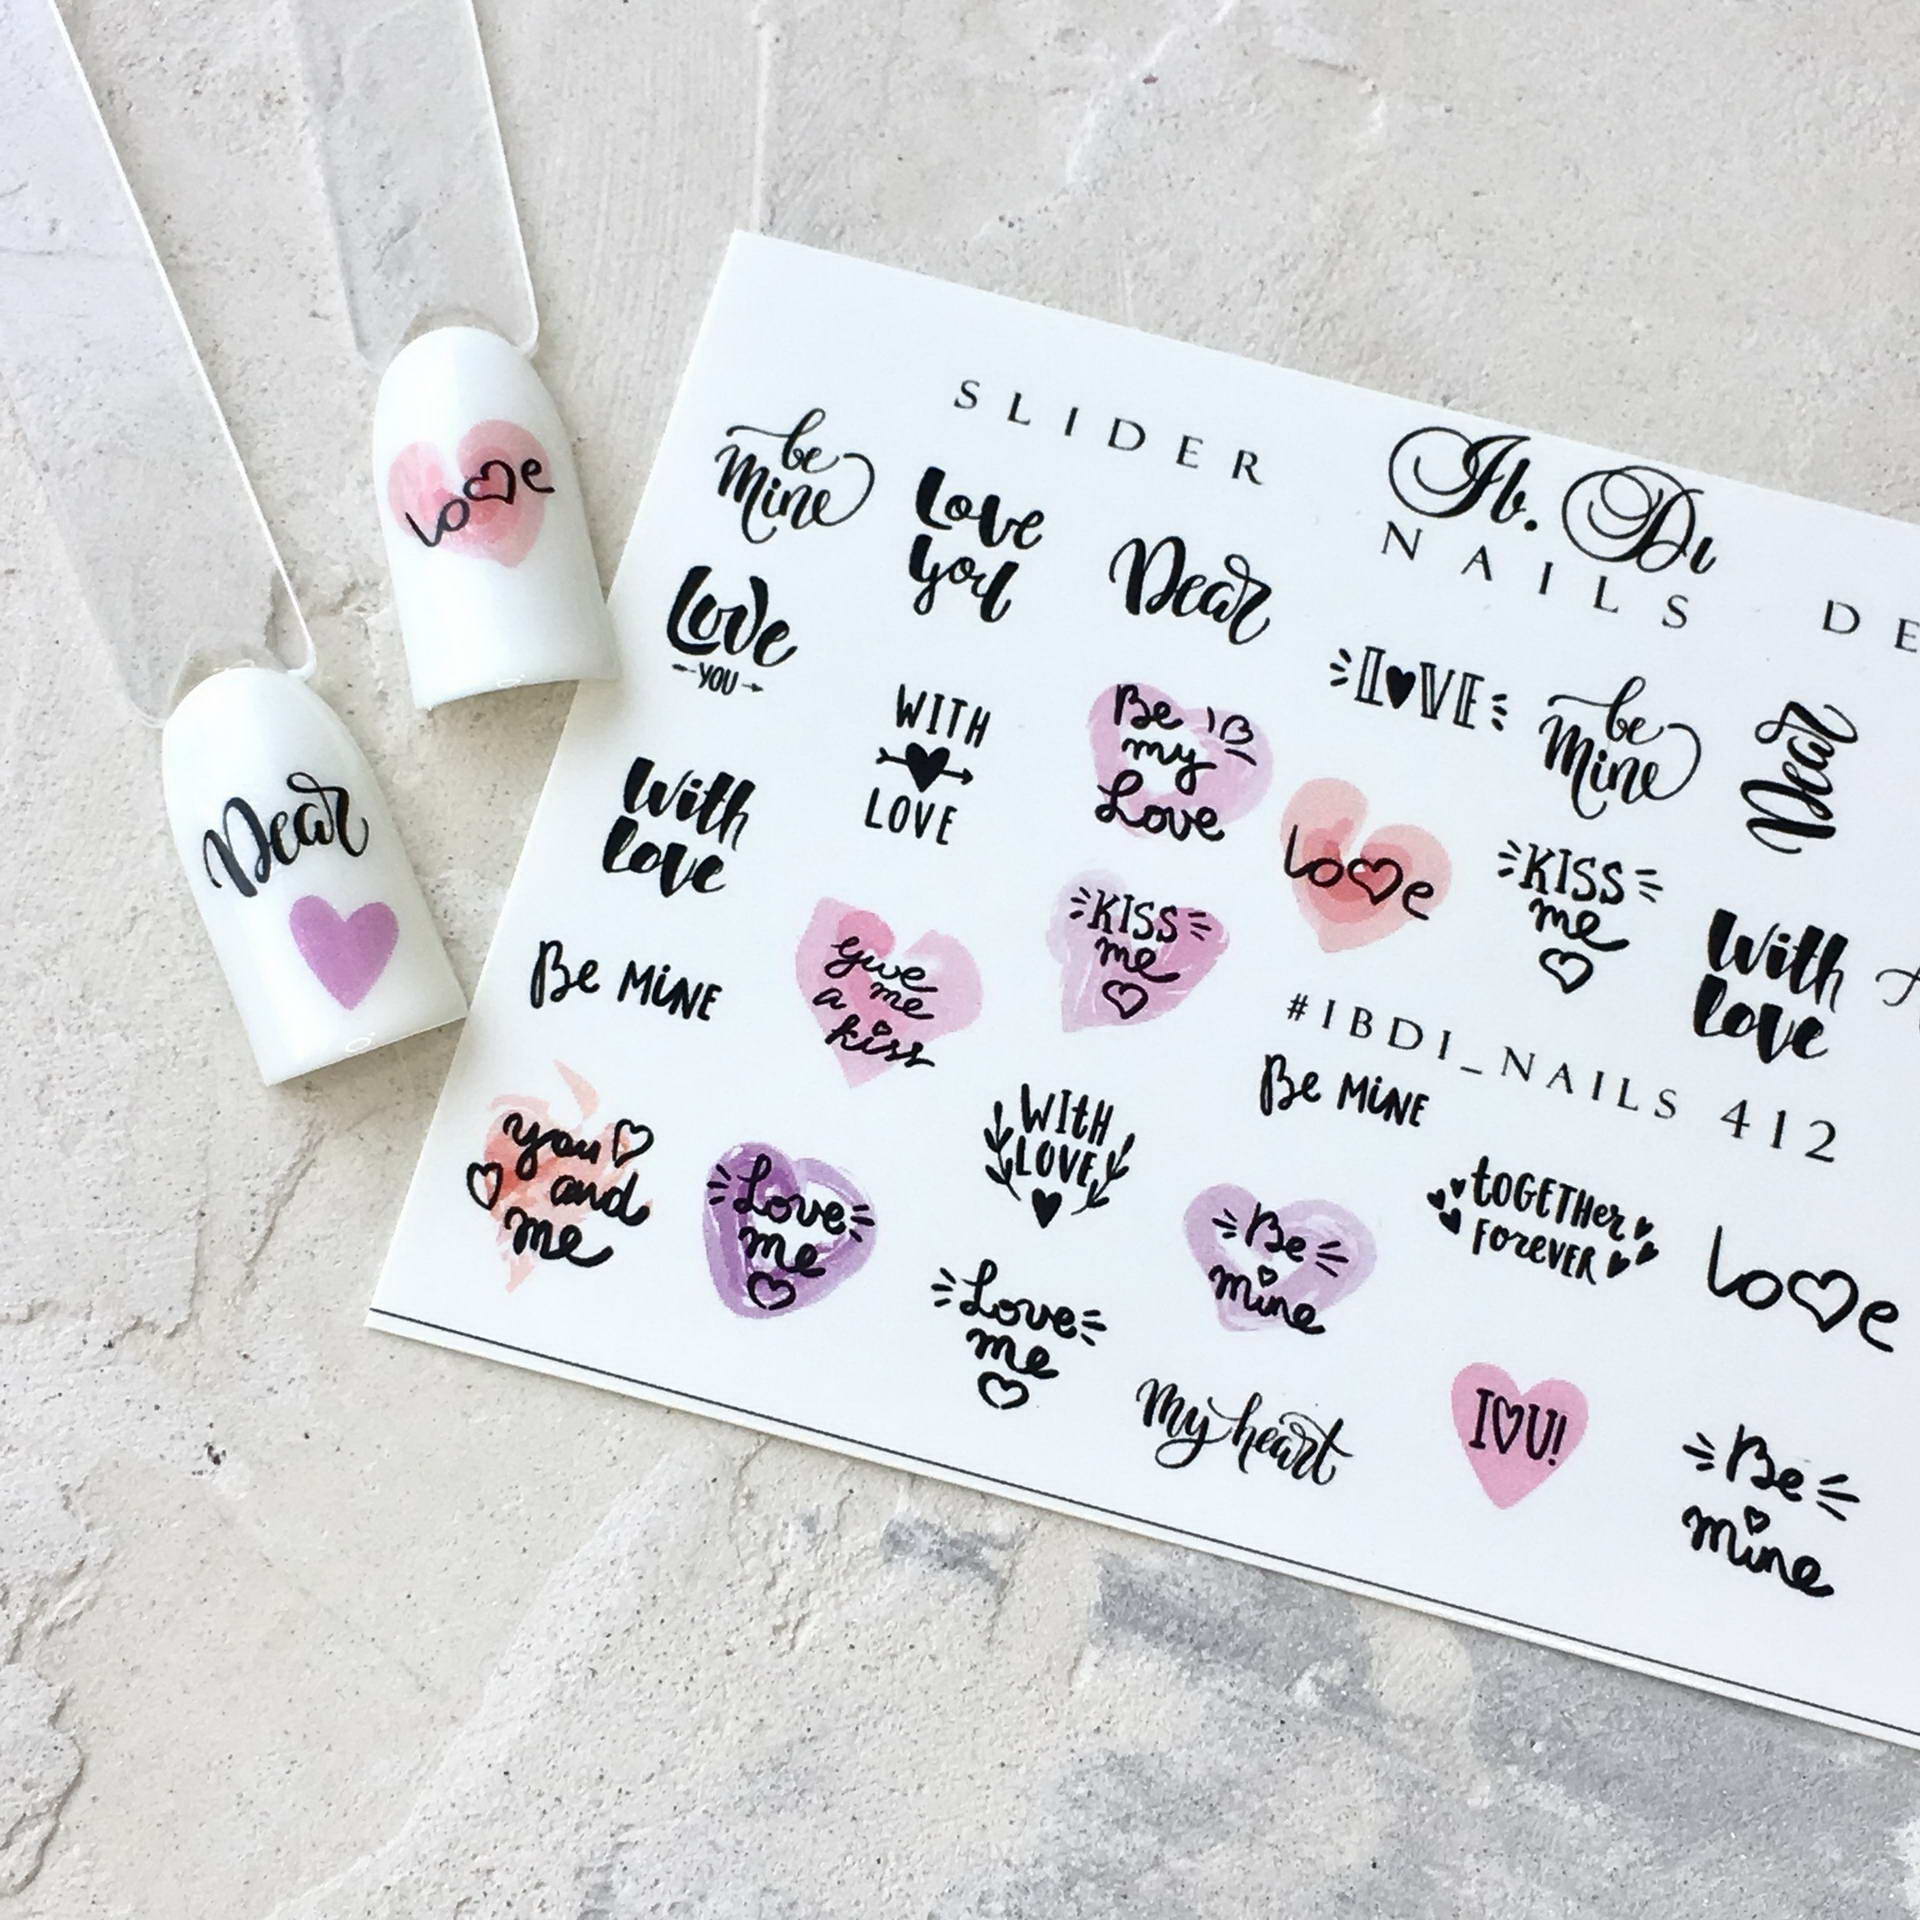
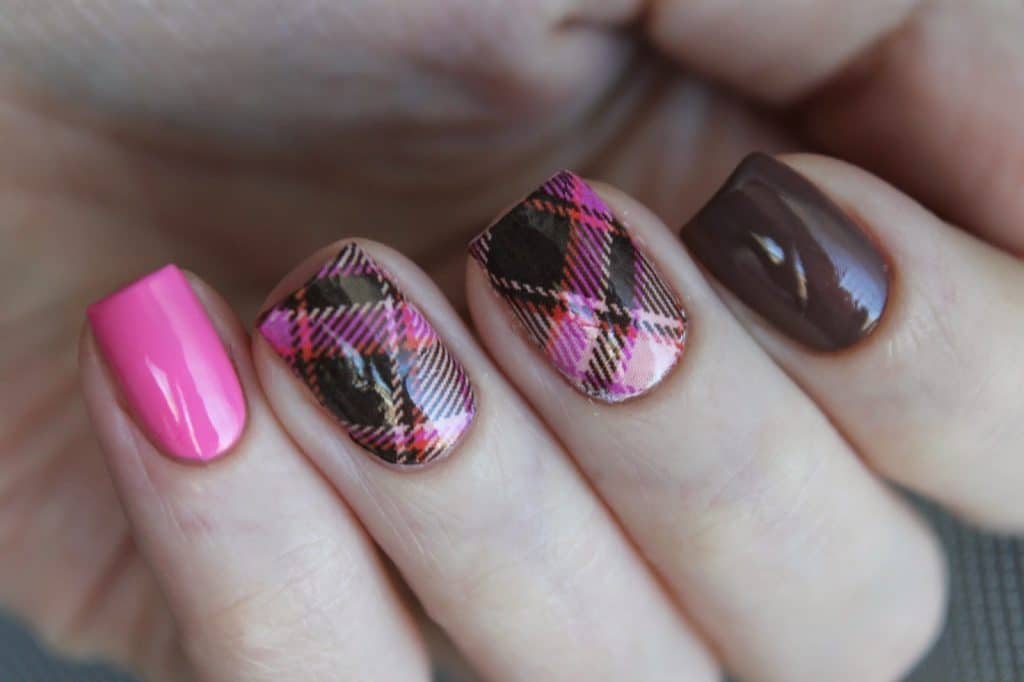
Water based stickers
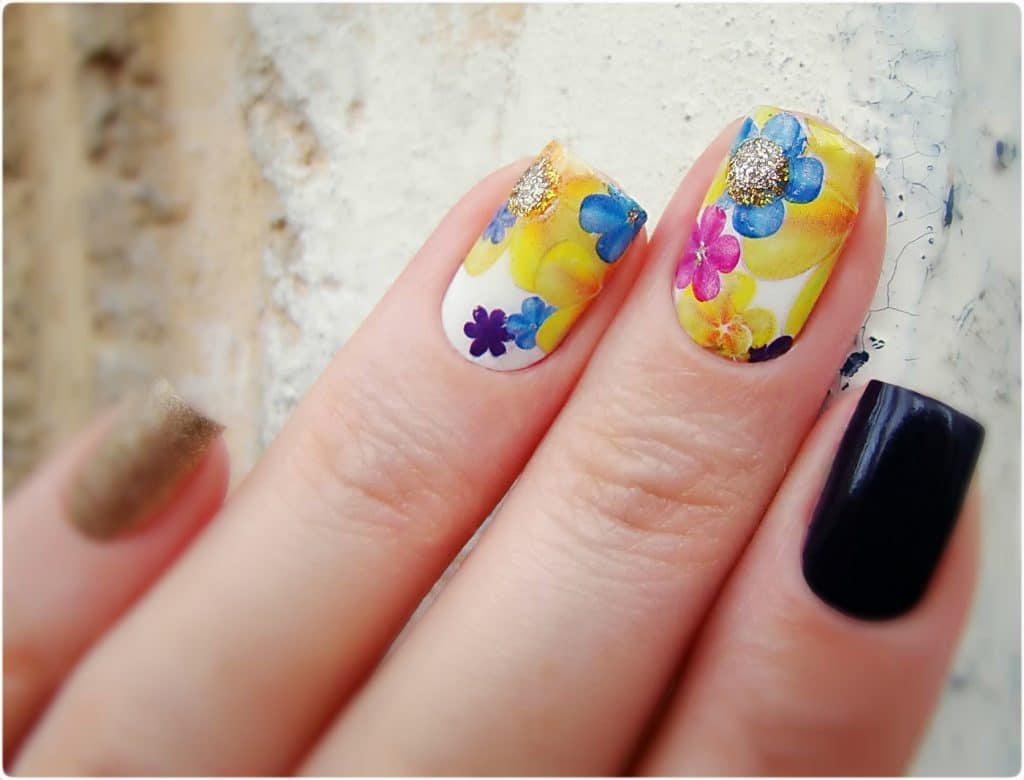
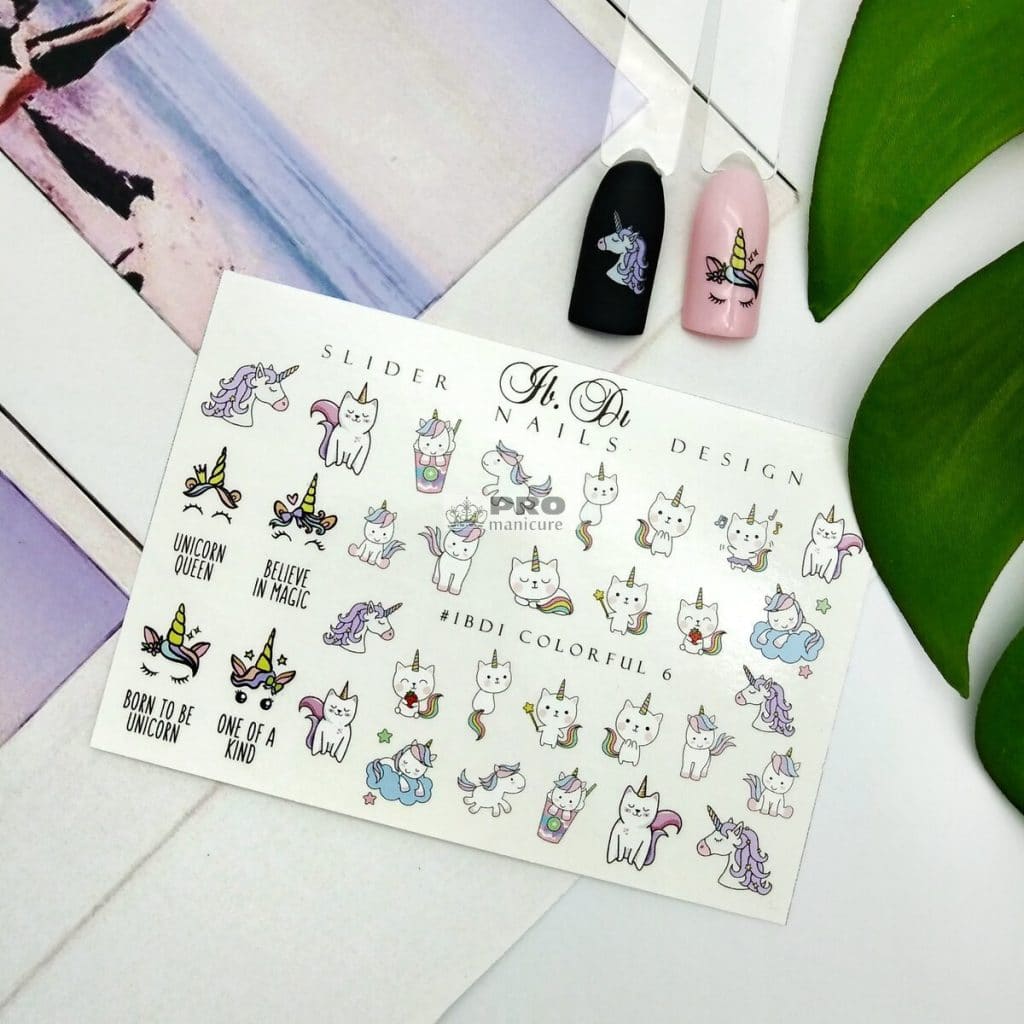
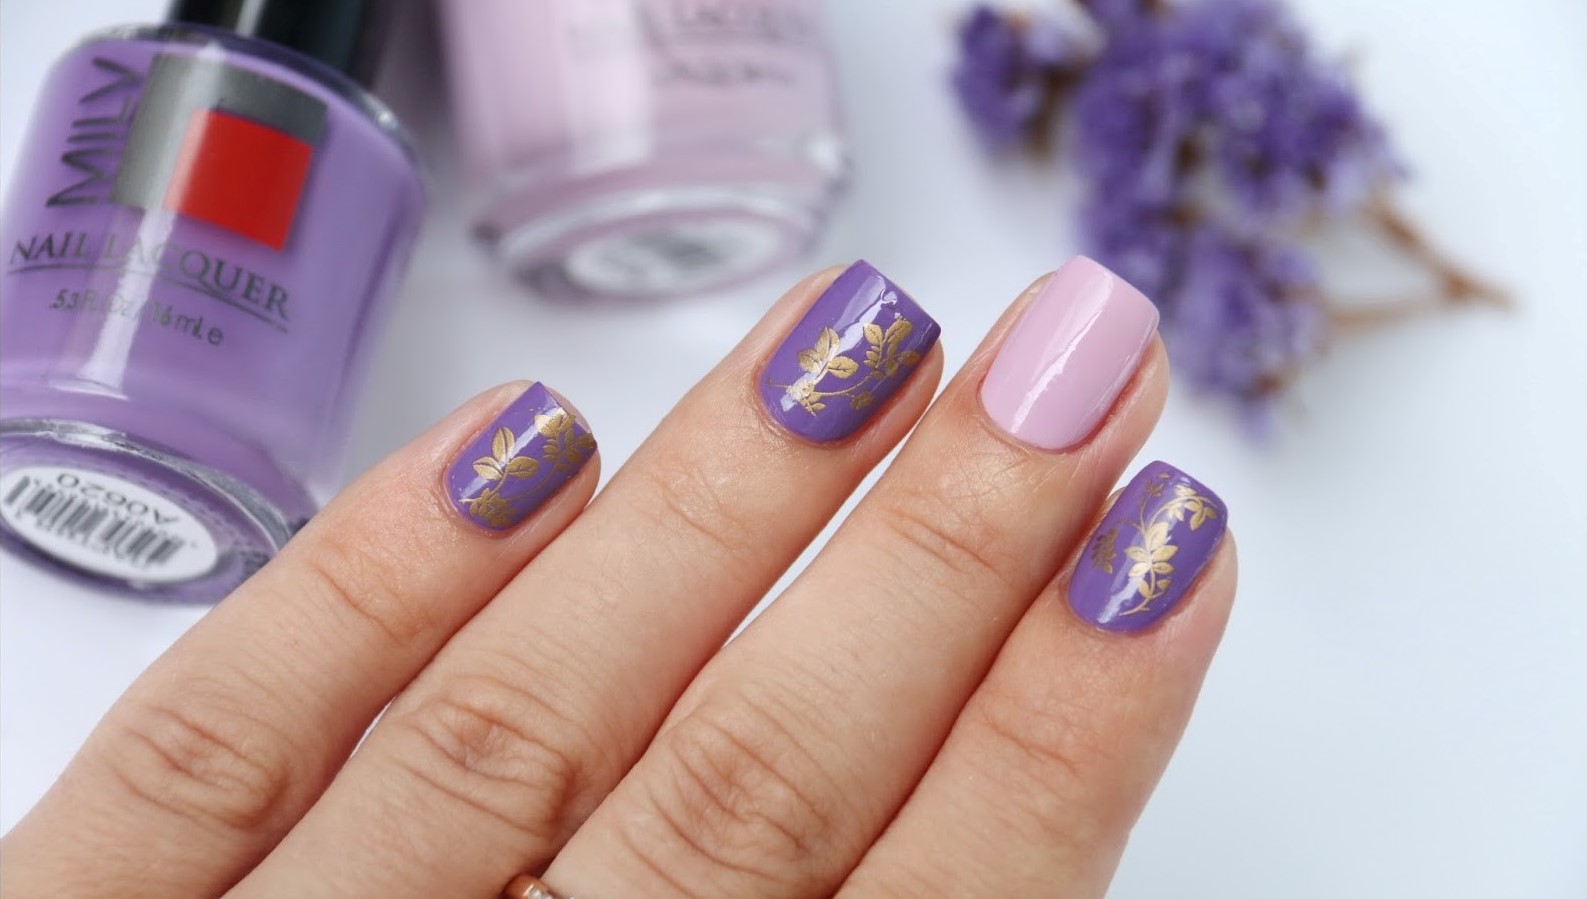
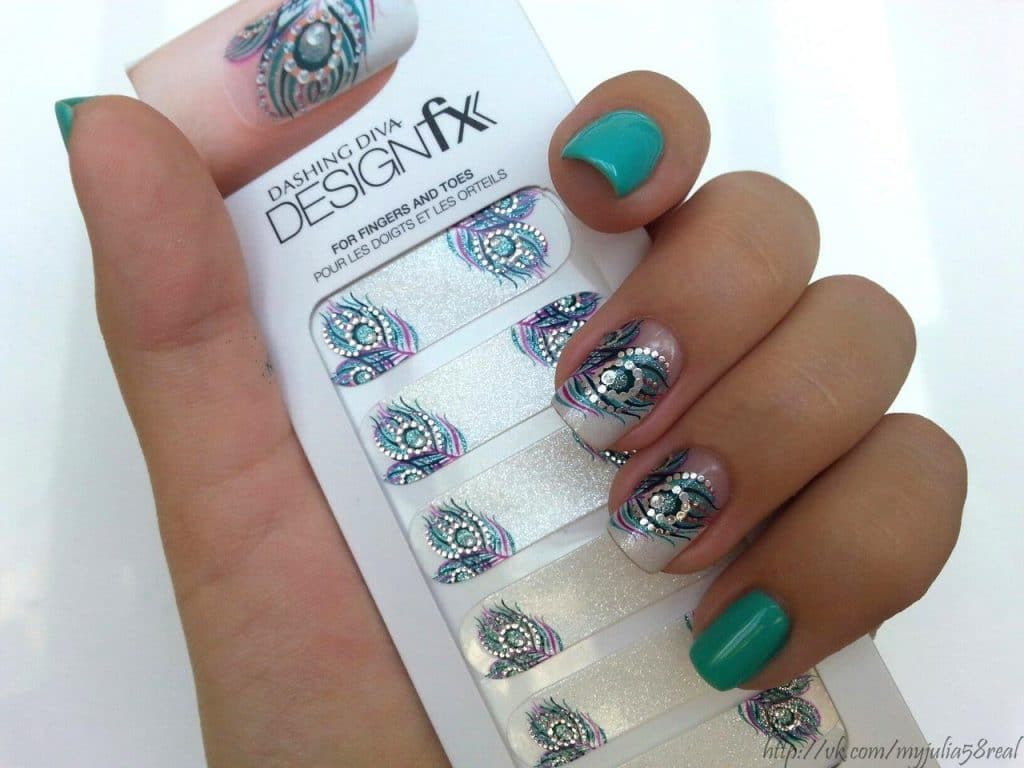
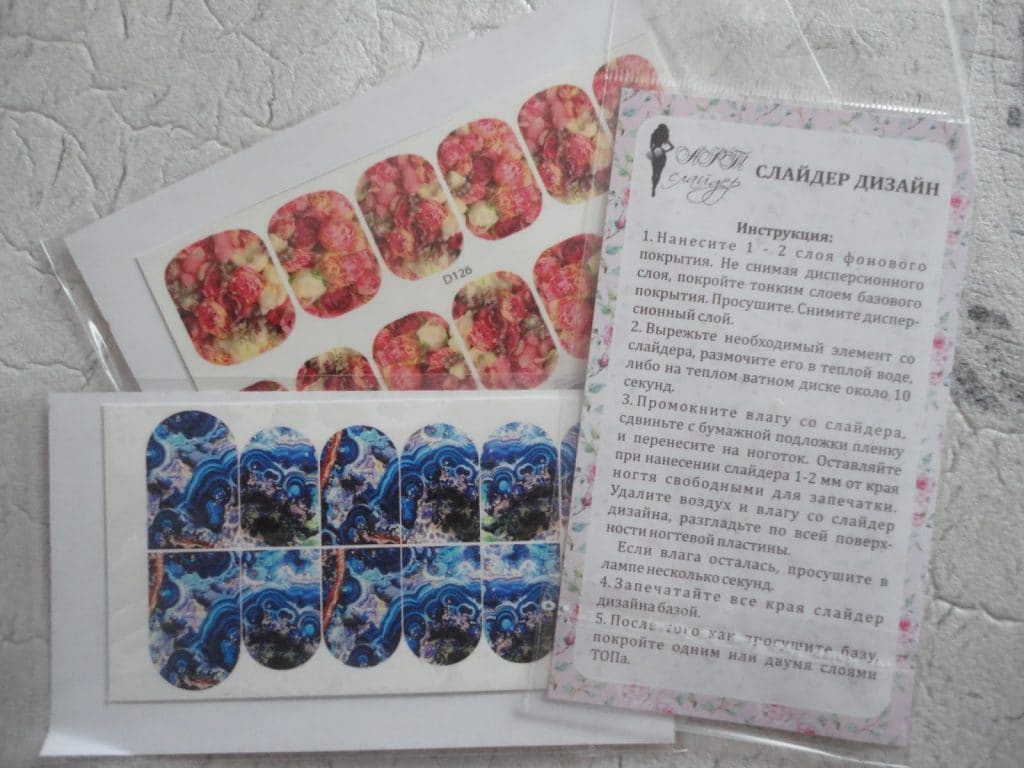
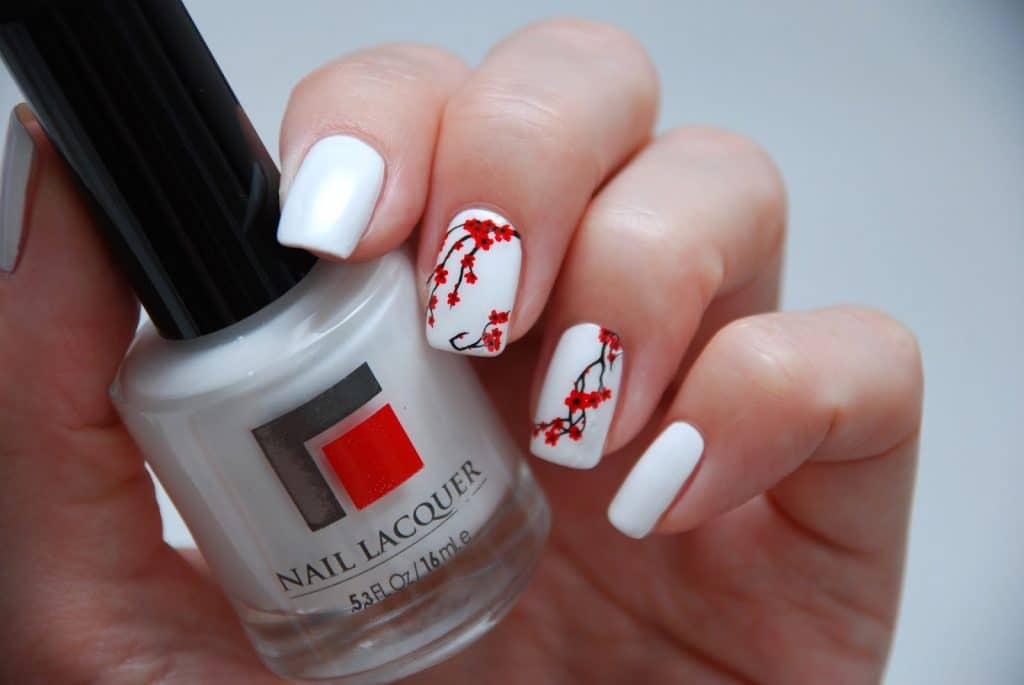
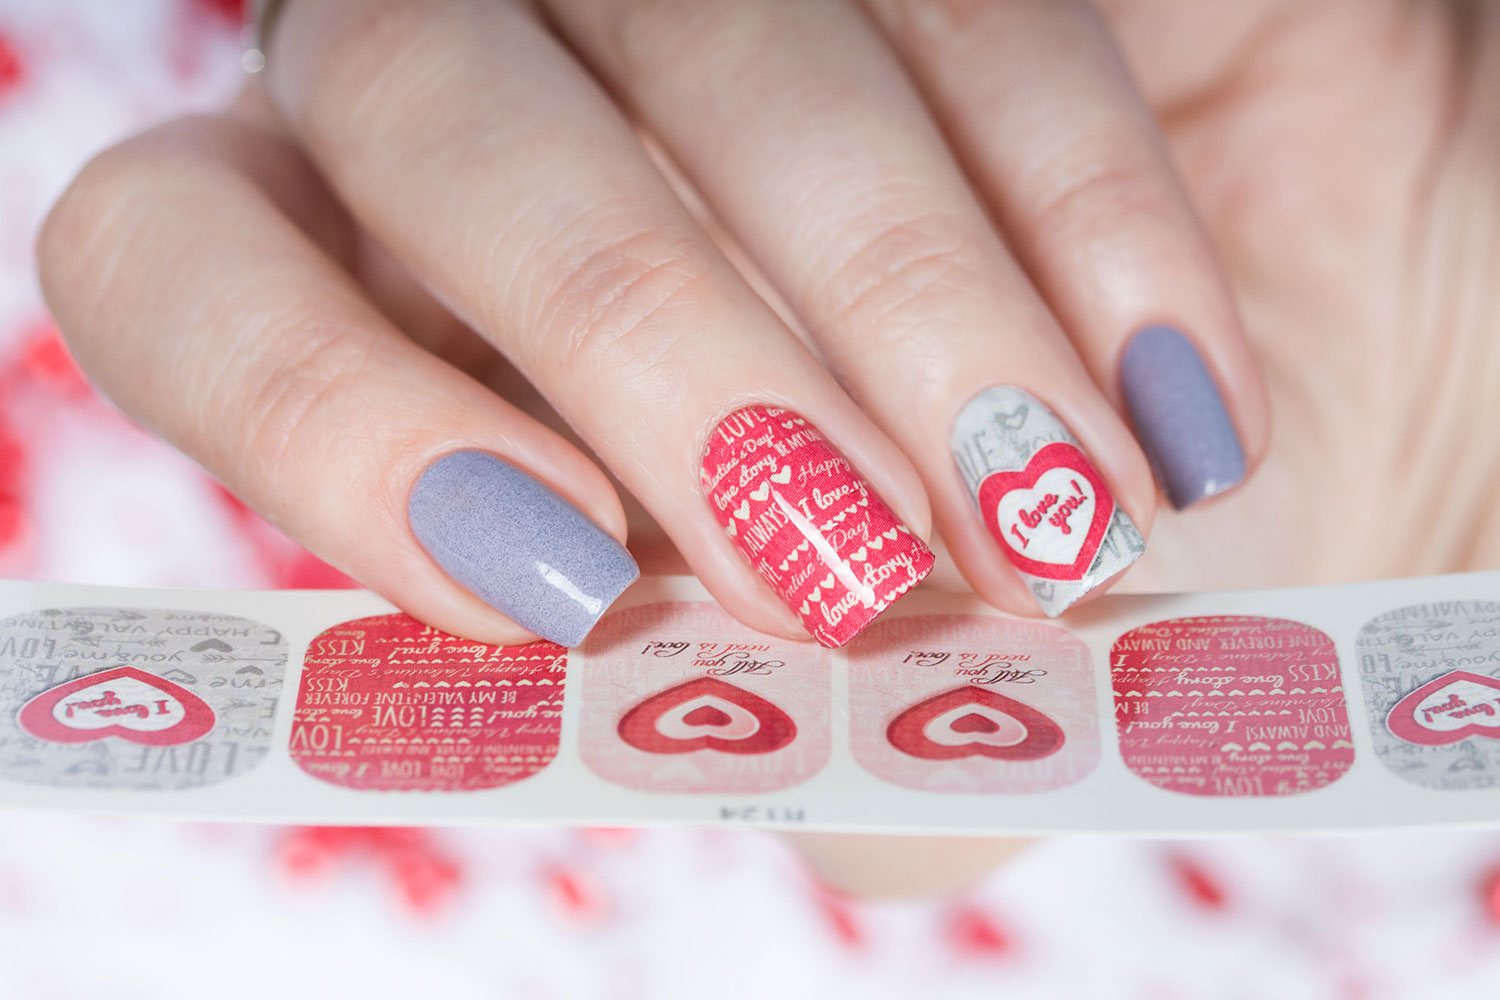
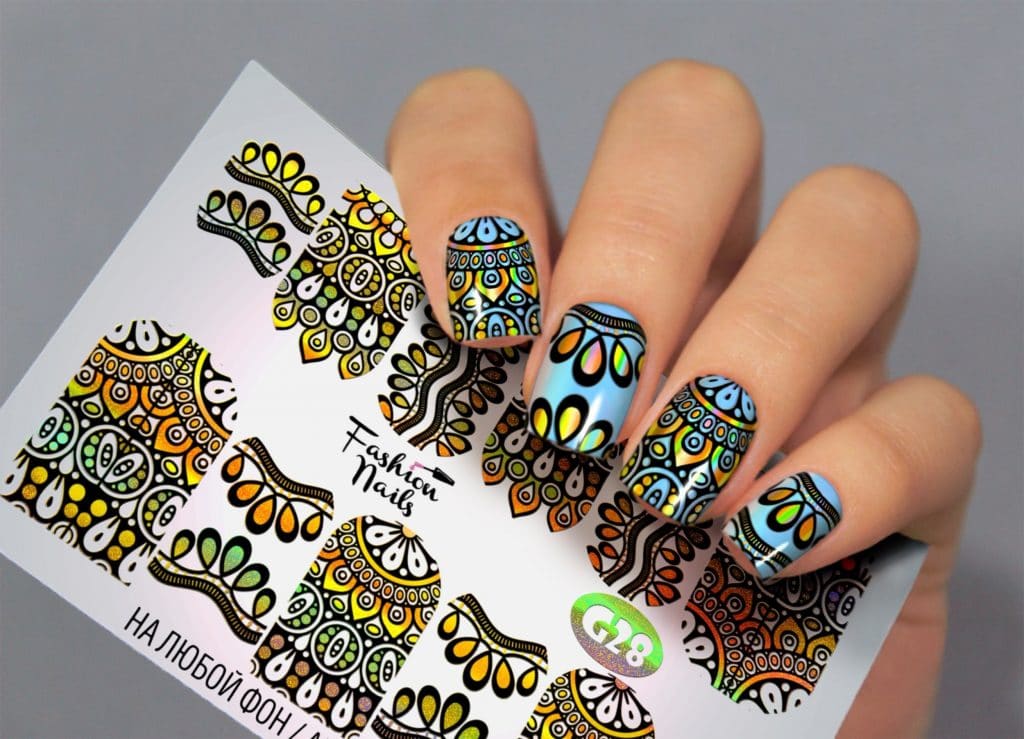
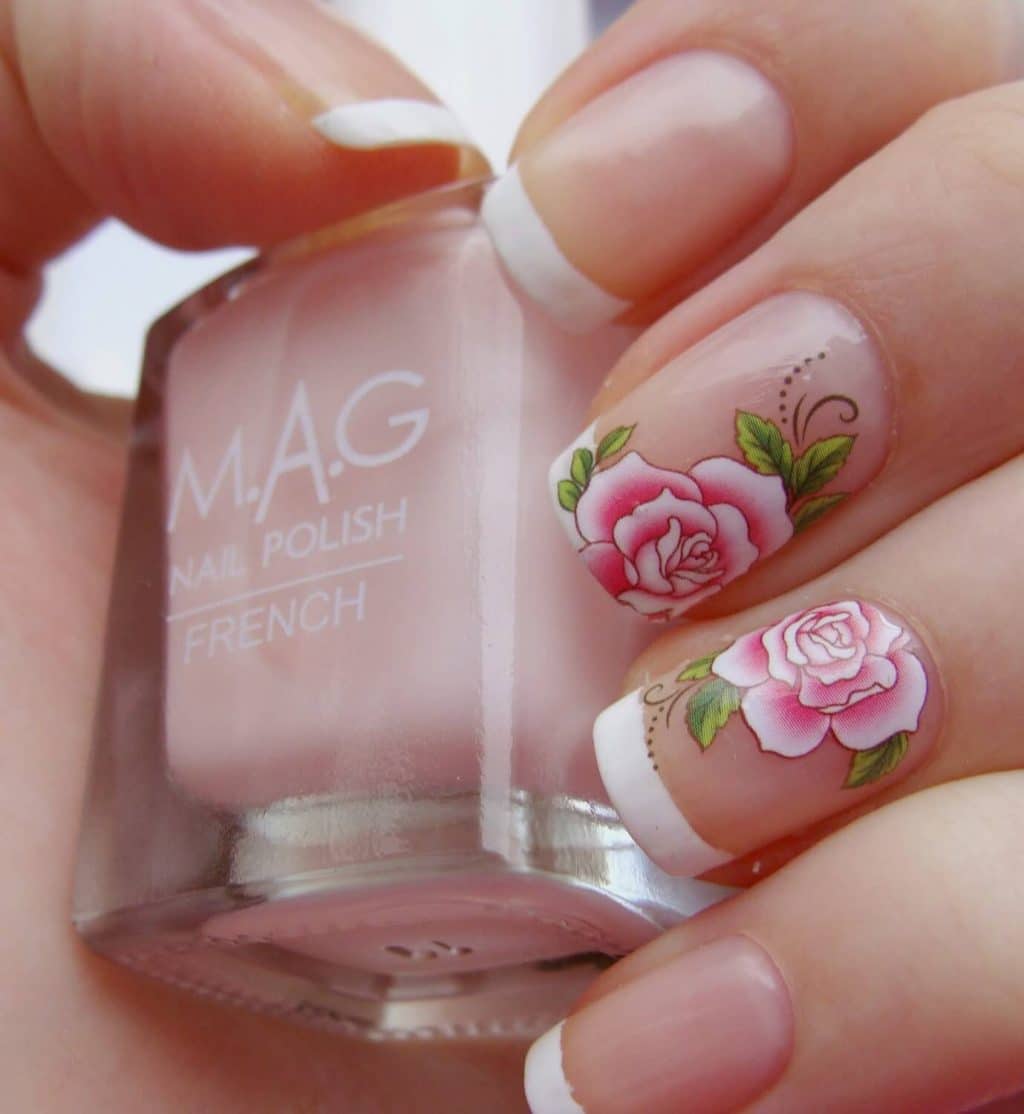
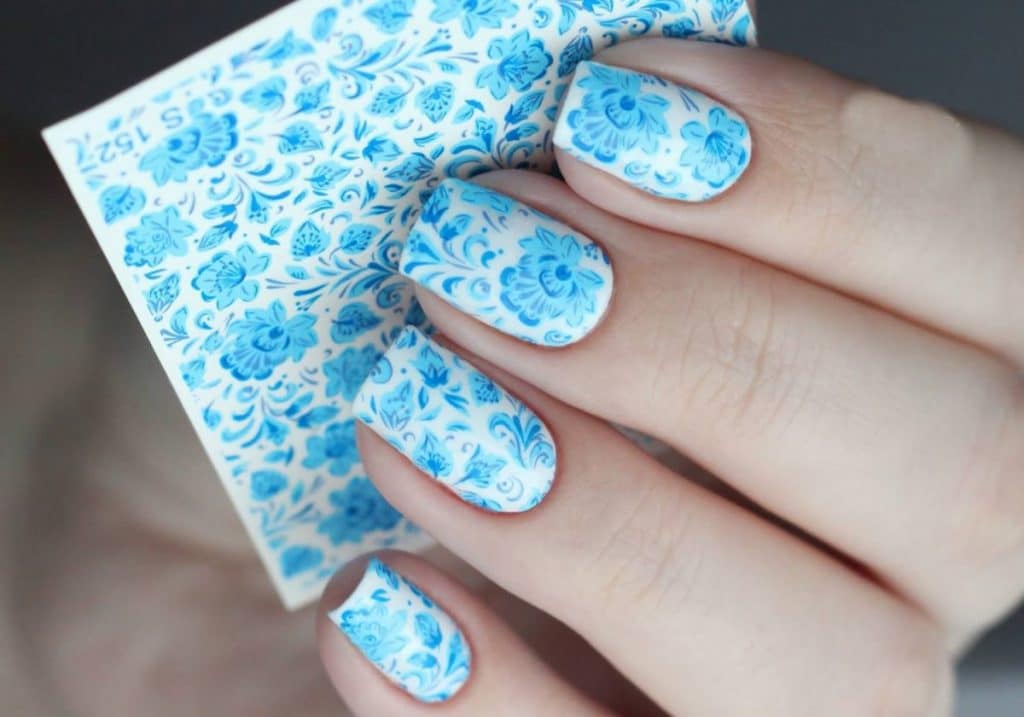
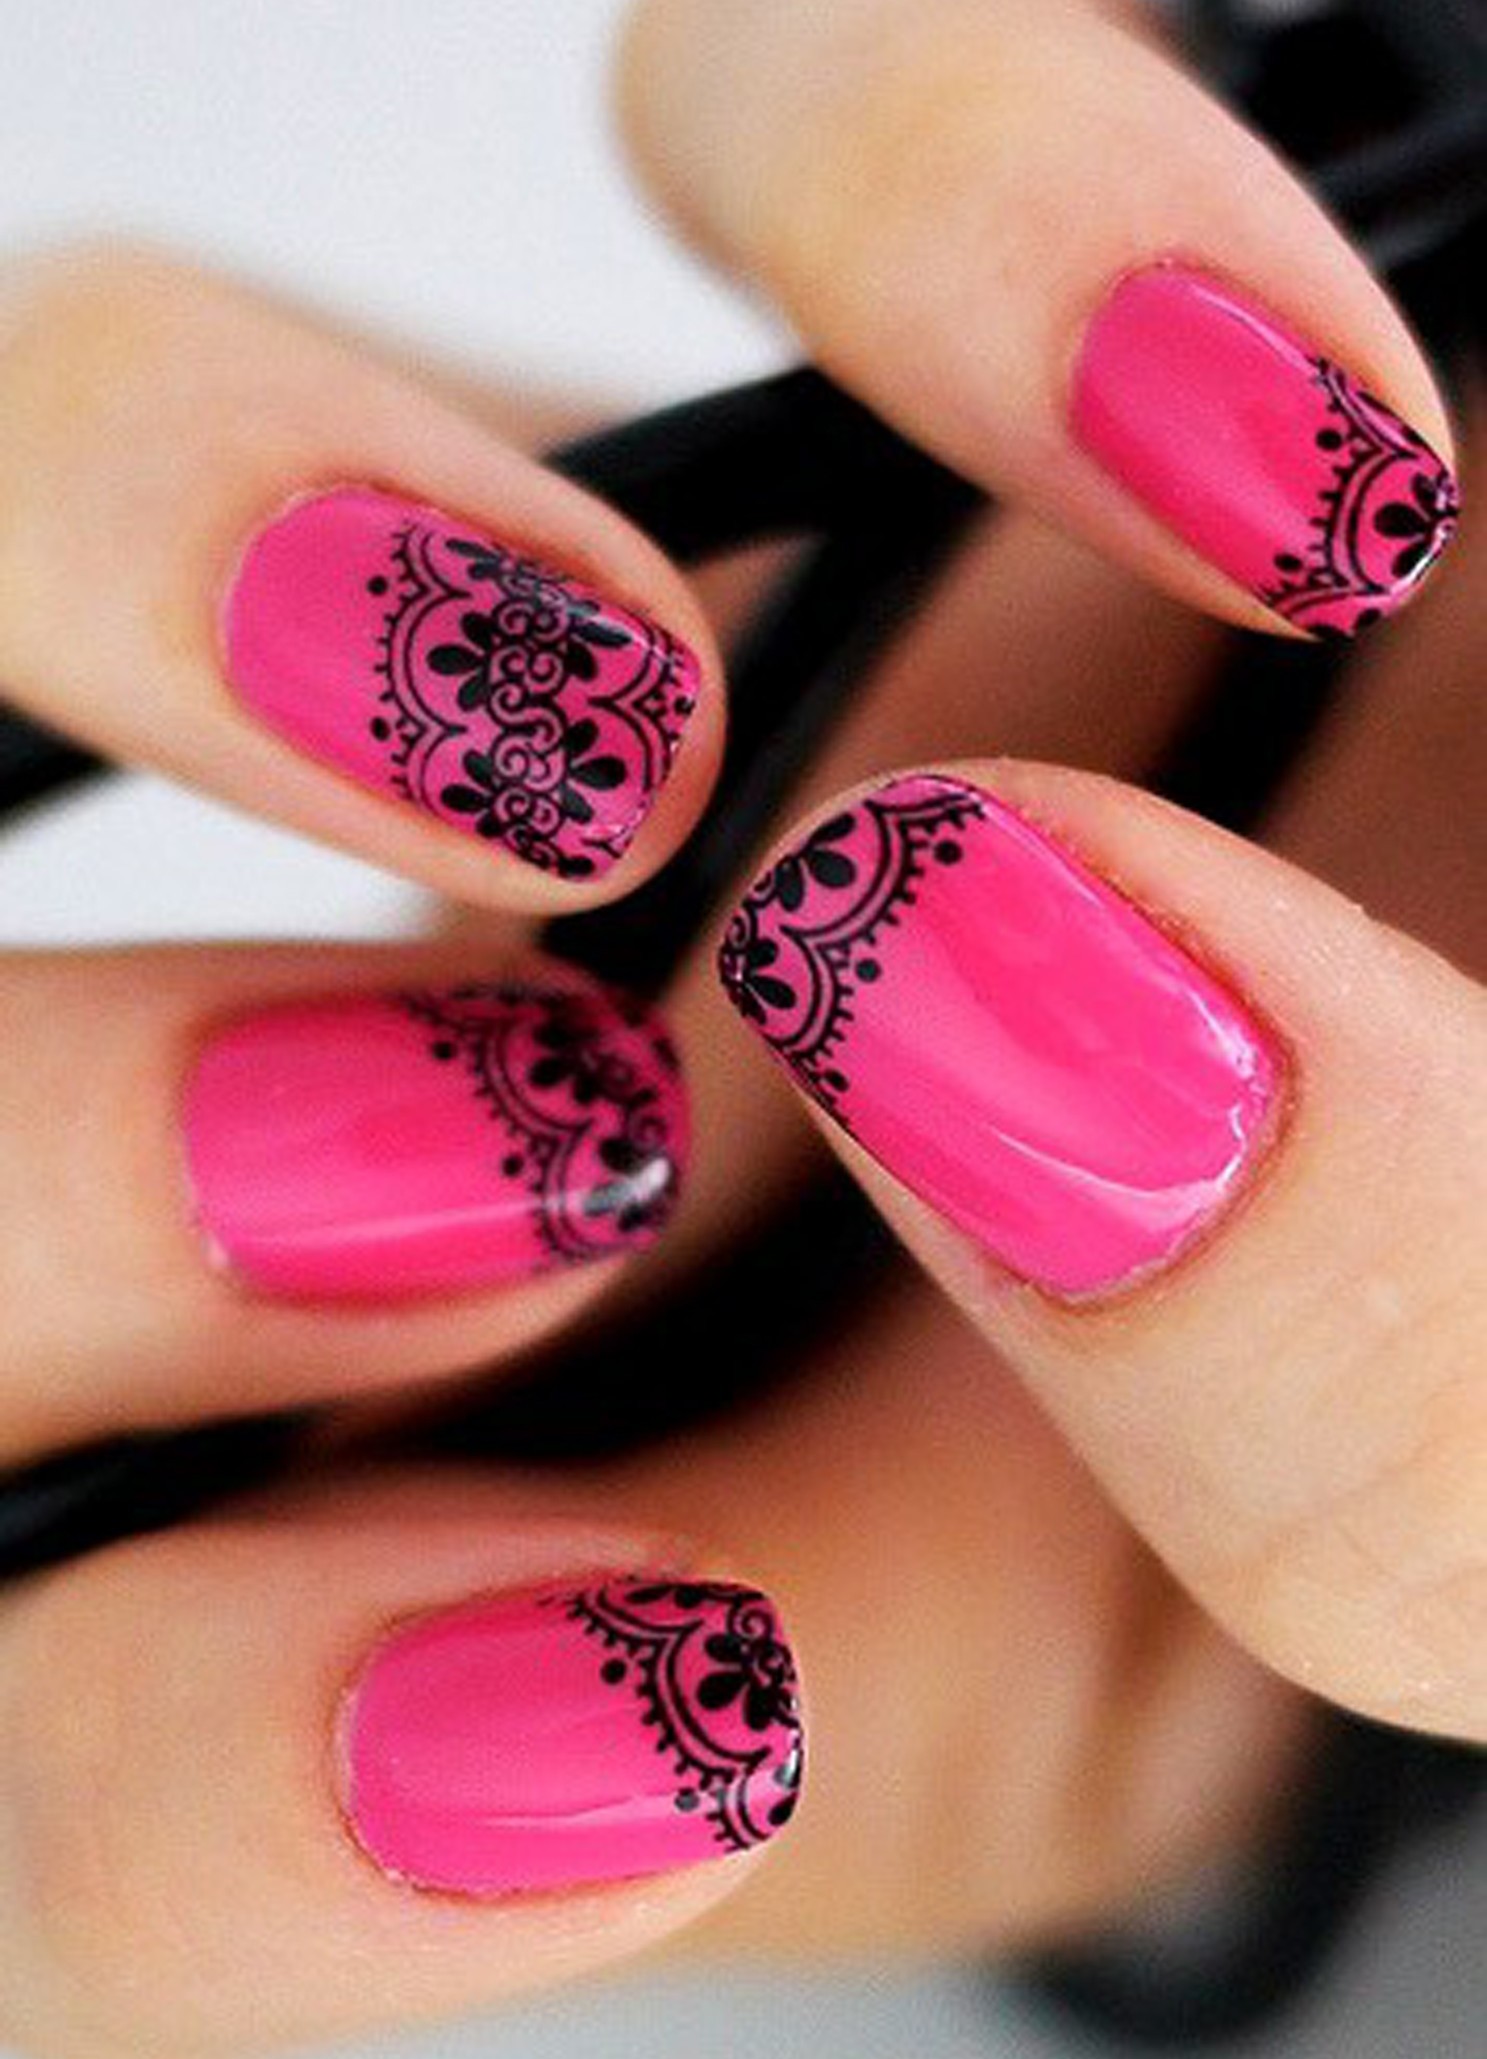
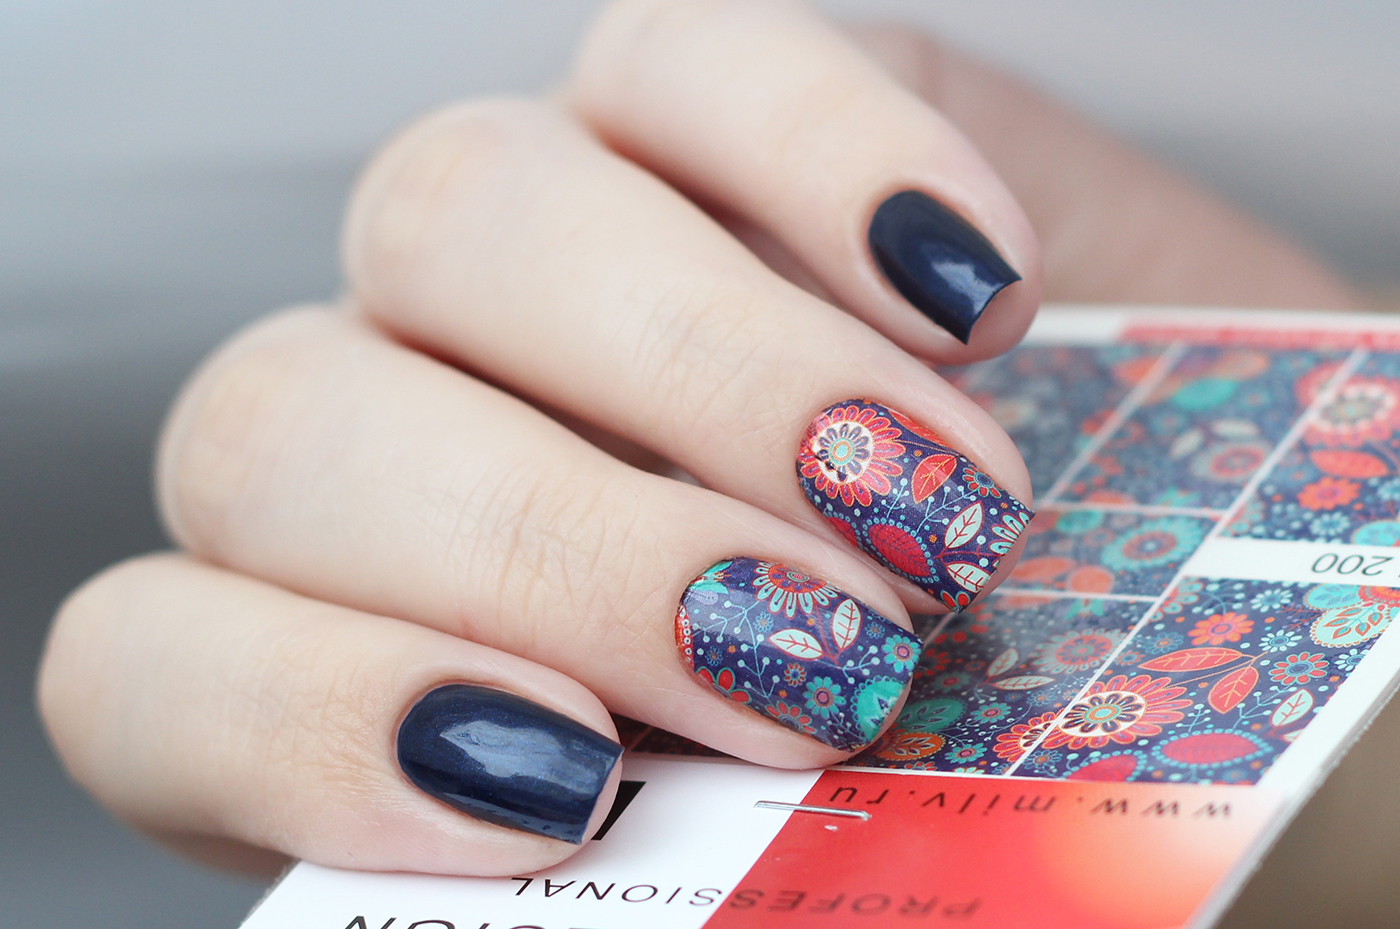
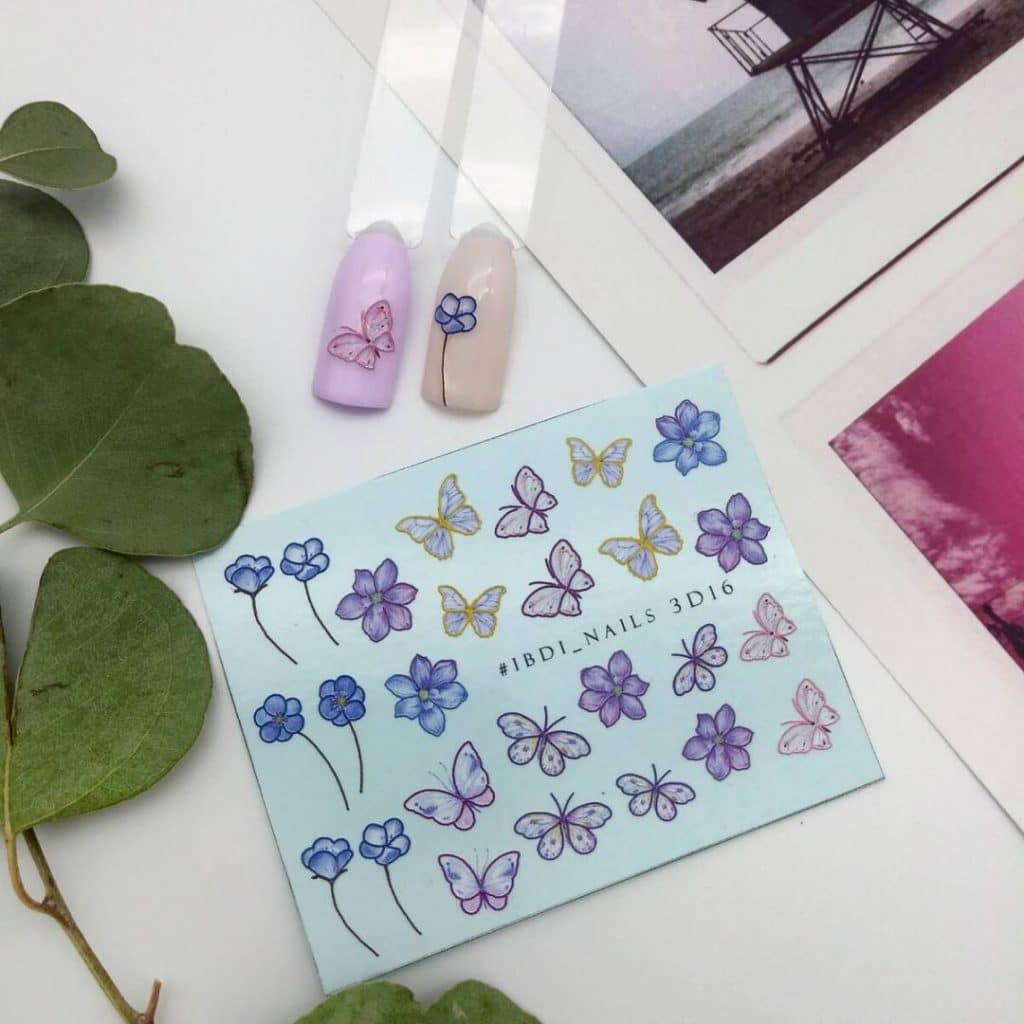
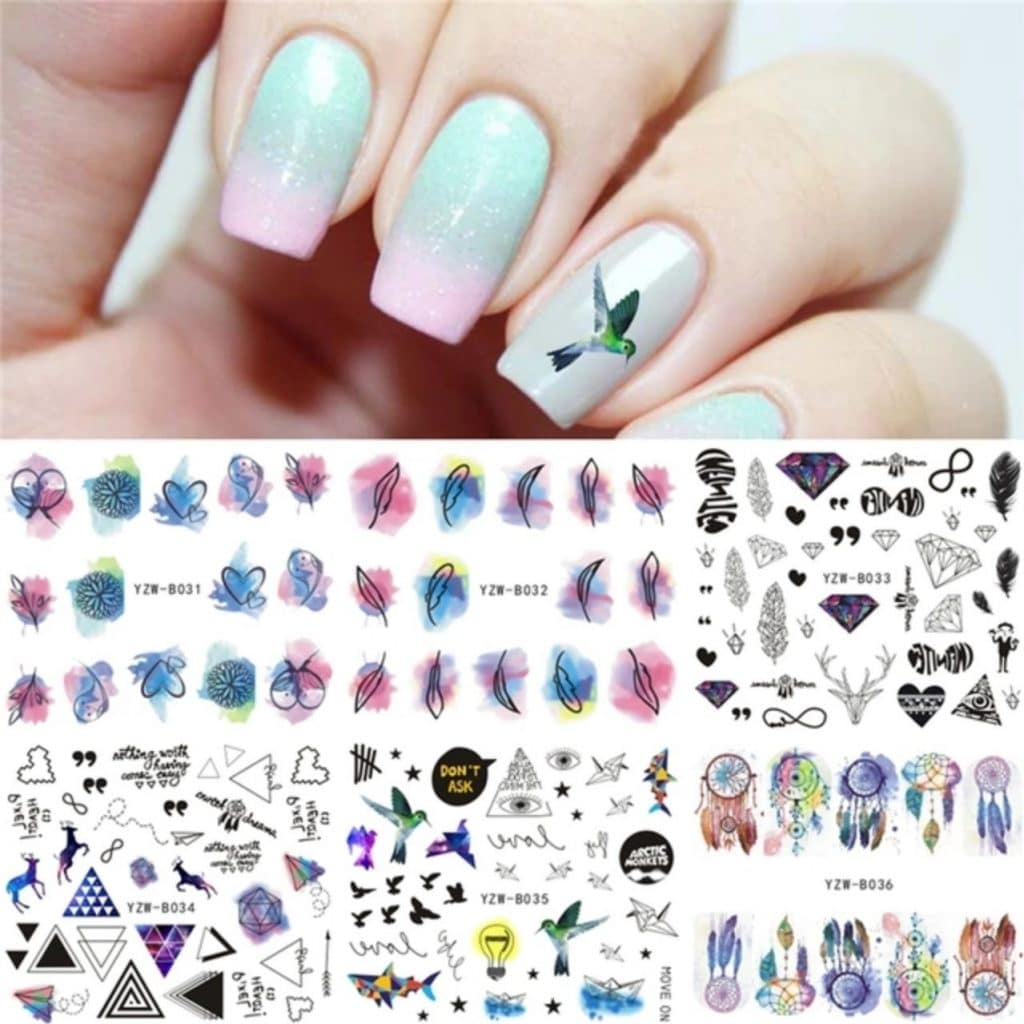
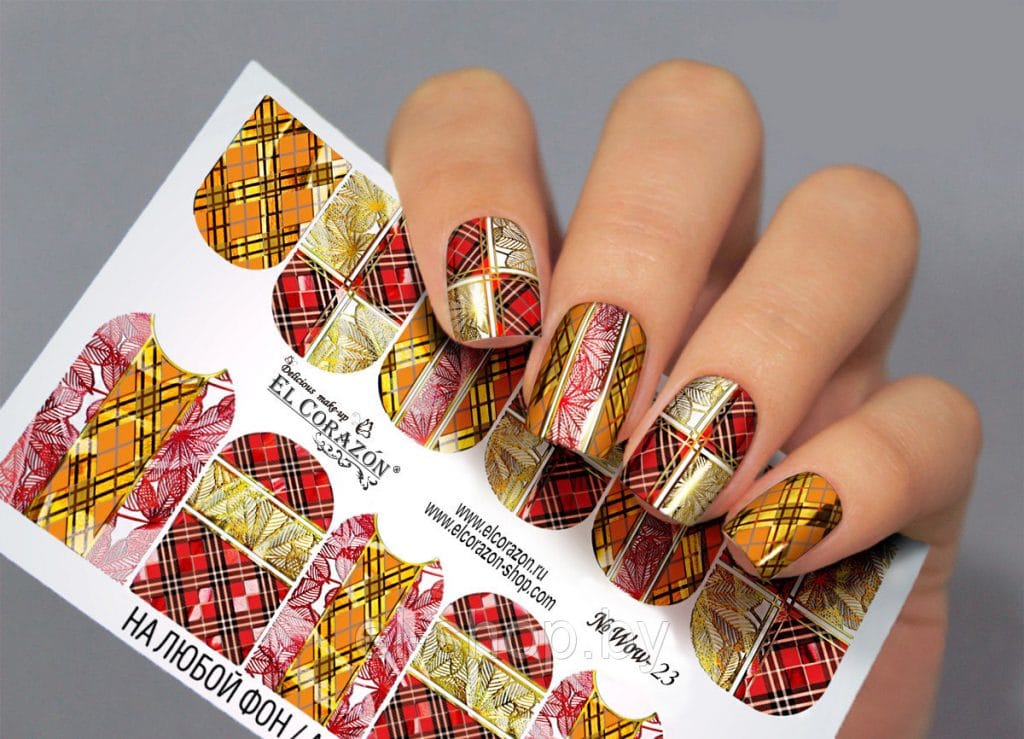
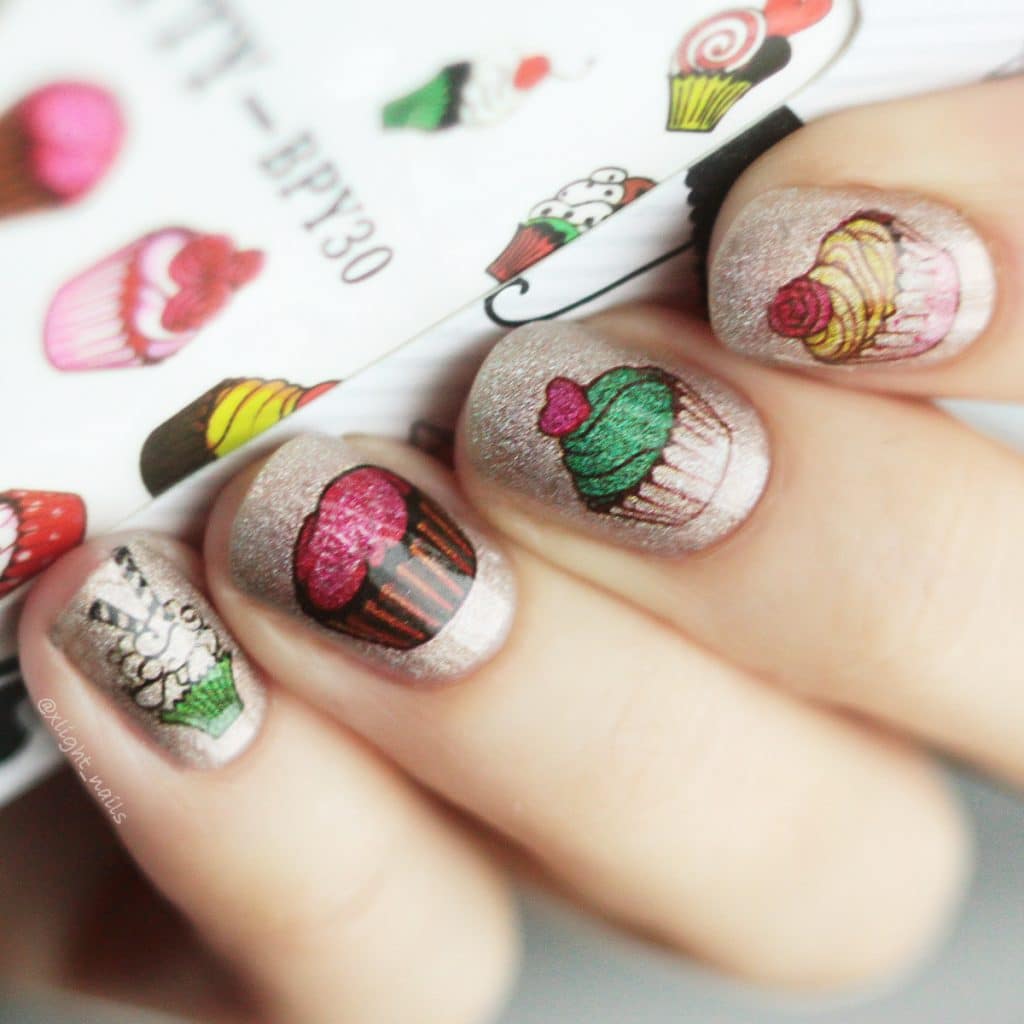
More often they are called slider designs. This term in translation from English means "to slide". These are special stickers, which are thin films with a pattern of various subjects. Thanks to the special composition, such films are firmly fixed on the surface of the nail plate. Such stickers are applied on several nails, most often, or on all nails, only your imagination decides here.

![]()
To work with such stickers for manicure is a little more difficult than with the previous ones, but the result is worth it. This kind of stickers is possible in different variations. This is a fragment covering the entire nail plate or a single design element, in the form of a flower, word, strip, etc.
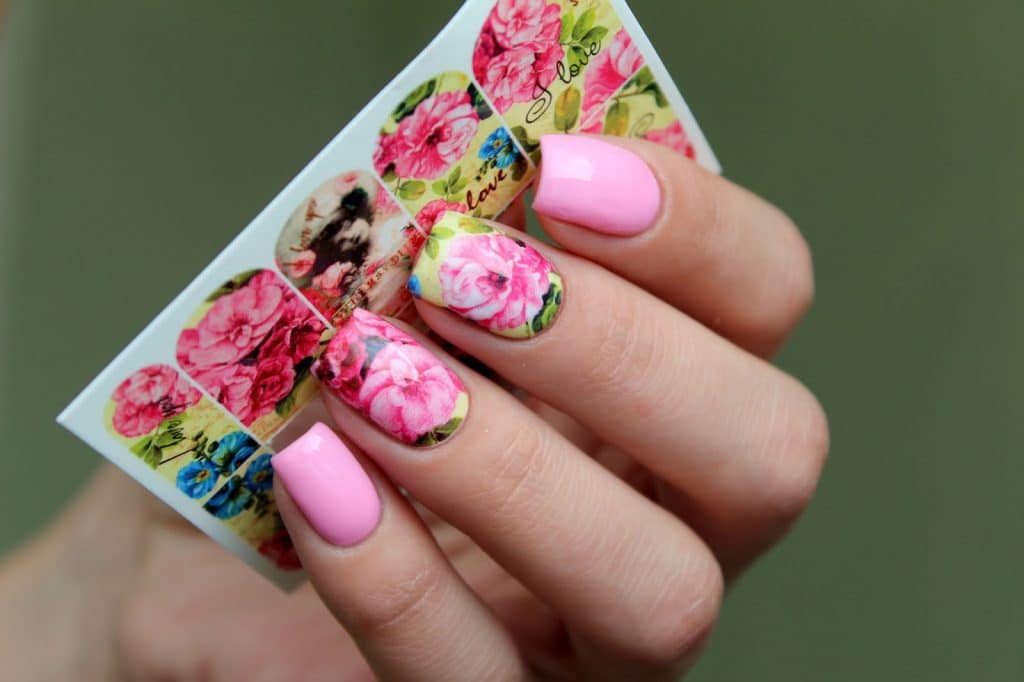
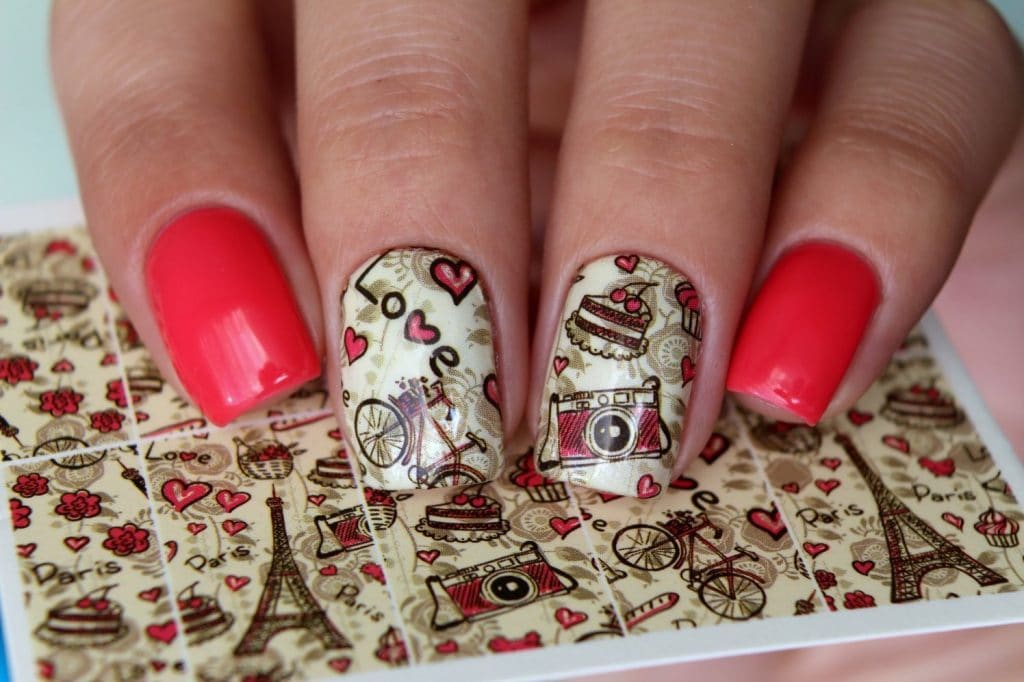
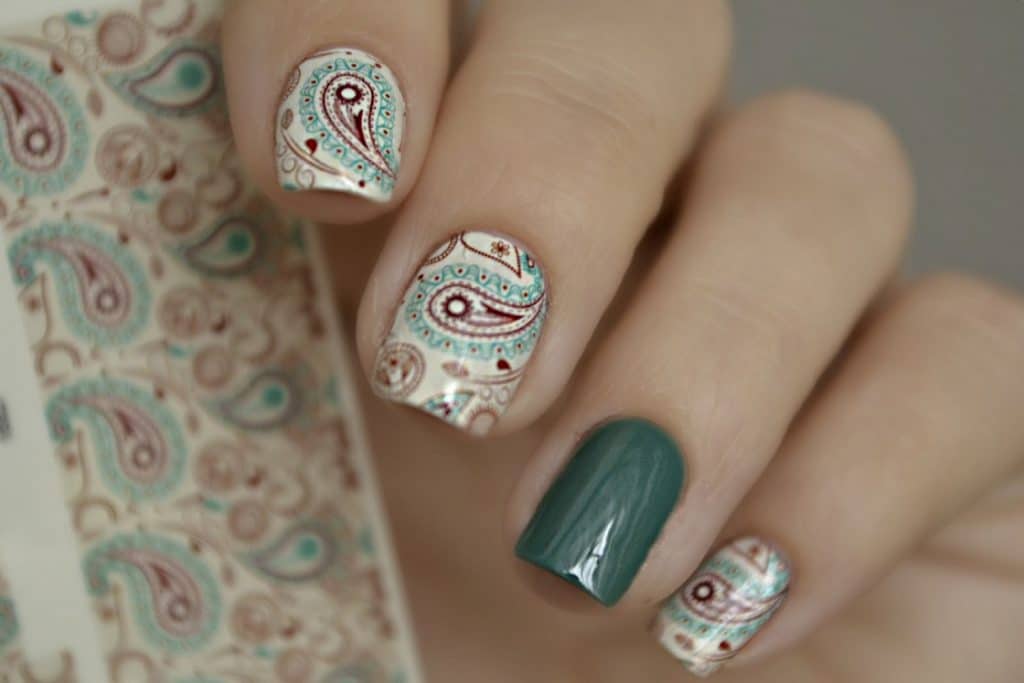

In order to transfer such stickers to the nail, you need to cut out the necessary part of the picture. Then lower it into warm water and gently sliding the picture from the substrate, apply to the prepared nail. If excess fluid is present, it must be removed with a lint-free cloth.
The secrets of applying labels to gel polish

- If the varnish glides, it is necessary to block the colored coating with the top.
- For easier traction, you can lightly gash your nail with a buff. After do not forget to degrease!
- There should be no sticky layer on the nail plate. You can remove it with a special liquid or cover your nails with a top without a sticky layer.
- One of the actual shades of gel polish for pictures is flesh and beige-pink tones. Thanks to light shades, the picture will not lose expression and will be clear.
- When choosing a contrasting background for the sticker, the main thing to consider is the color combination. The shade of gel polish should be a harmonious basis for the pattern.
- Slider designs are more convenient to apply on a thin layer of the base, thanks to it the slider moves easily on the nail, and your manicure will not suffer in case of a small error.
- The sticker should not be applied to the end of the nail plate so that it cannot peel off.
- To fully adhere the slider to the nail, an acid-free primer can be applied at the edges. The main thing to be careful, the primer can dissolve the film slider and it will tear.
- To complete manicure and long wear, it is necessary to cover with a finish in one or two layers.

Video