Content
Features of manicure gel polish
As we said earlier, manicure gel polish has a lot of advantages:
- Ease of application. Due to their structure, these varnishes are much easier to apply than regular varnishes.
- Drying speed. Of course, the gel polish dries with an ultraviolet lamp, but it is still much faster than drying a regular varnish. In addition, immediately after the manicure, you can do your usual business without fear of scratching or rubbing your nails.
- Ease. Gel polish is applied with a very thin layer, and even if there are several layers, it does not make the nails heavier.
- Spectacular appearance. This can mean a lot, firstly, even on short nails any manicure gel varnish looks amazing. And there is absolutely no need to grow anything. Secondly, gel polish retains shine much longer than ordinary varnish. The nails always look well-groomed, as if you just did a manicure yesterday.
- Durability. And of course, the main advantage of gel polish over conventional varnishes is their durability. Some gel manufacturers claim that their varnishes last on nails for up to four weeks !!! Of course, this is subject to a careful attitude and special care.
So, after talking about the main advantages of gel polish, you can proceed to the study of manicure techniques at home.
Step-by-step technique for performing manicure gel varnish for beginners at home
First you need to understand what tools we need.
List of materials and tools necessary to perform manicure gel varnish at home for beginners:
- nail file;
- buff - a small block of soft material for polishing the nail plate;
- orange stick
- Remover - cuticle remover;
- degreaser;
- a primer;
- topcoat - top;
- ultraviolet lamp;
- cuticle oil;
- gel polish of the desired color.
As we see the set is quite extensive. And newcomers will have to fork out a bit to purchase this entire list.
So, having prepared all the necessary tools, you can proceed to the manicure.
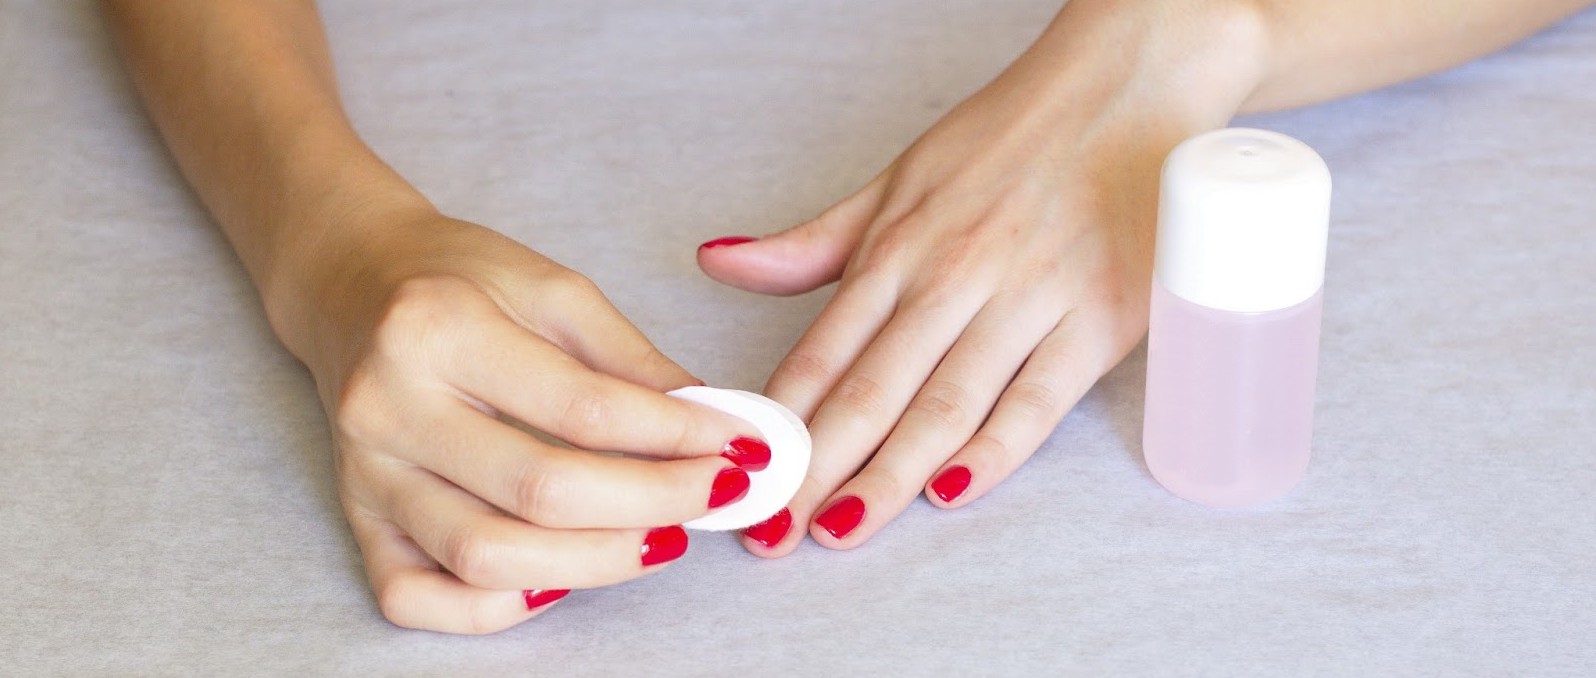
- Nail preparation. If there is an old coating, then it must be removed.
- Next gently with an orange stick push back an overgrown cuticle and apply a remover to it.

- Wait a couple of minutes (it is best to see how much the product acts on the package). Then again very carefully remove softened cuticle an orange stick.

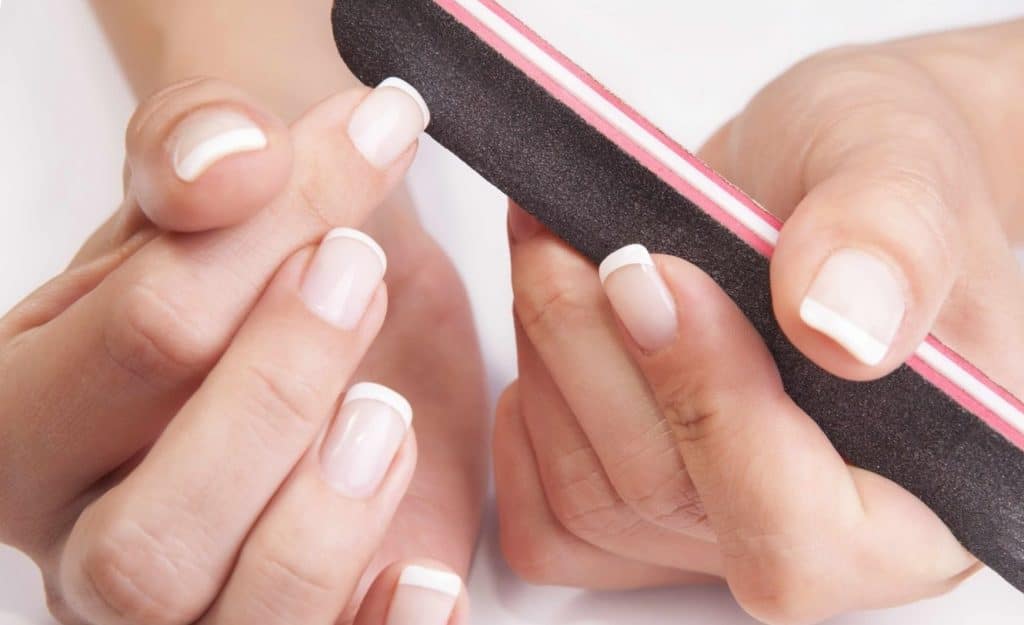
- The next step is to nails shape using a nail file.
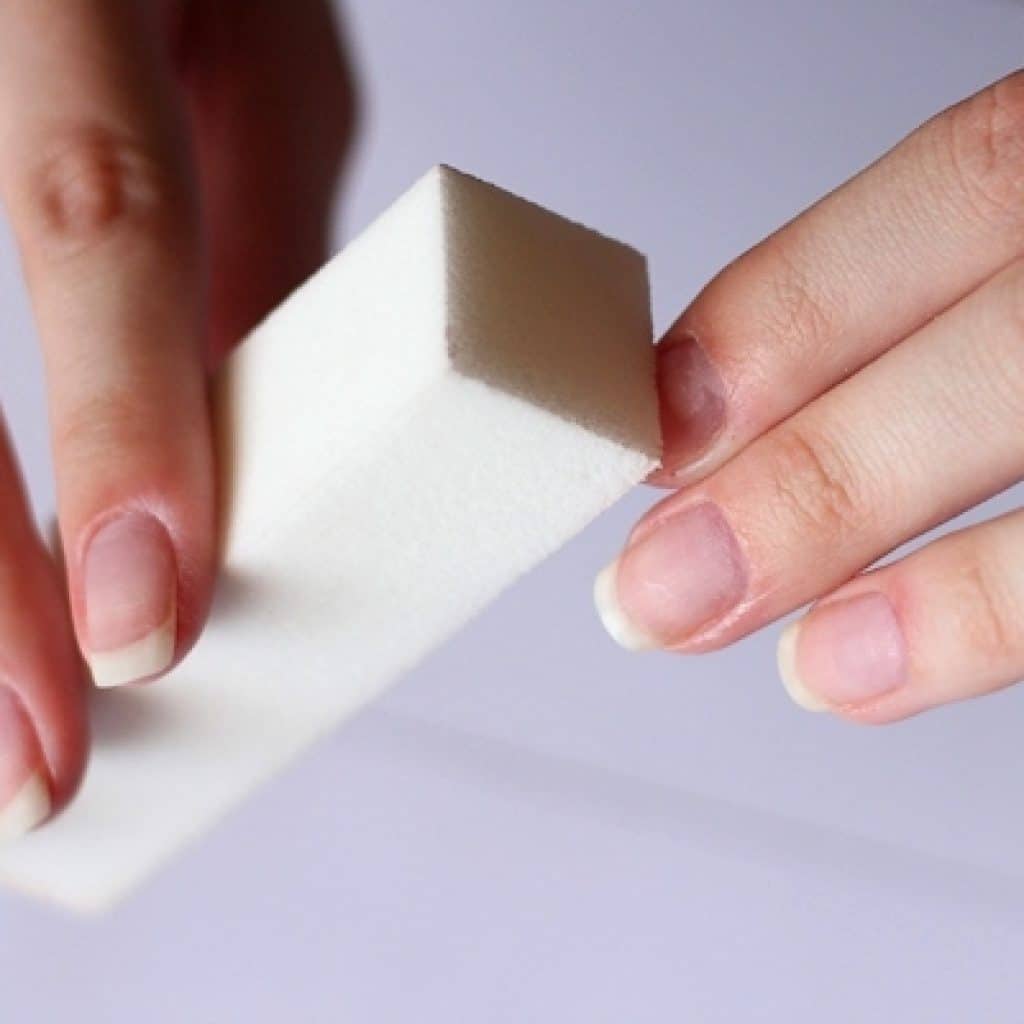
- After that polish the nail plate with buffso that they become even and smooth. So gel polish will be better applied.
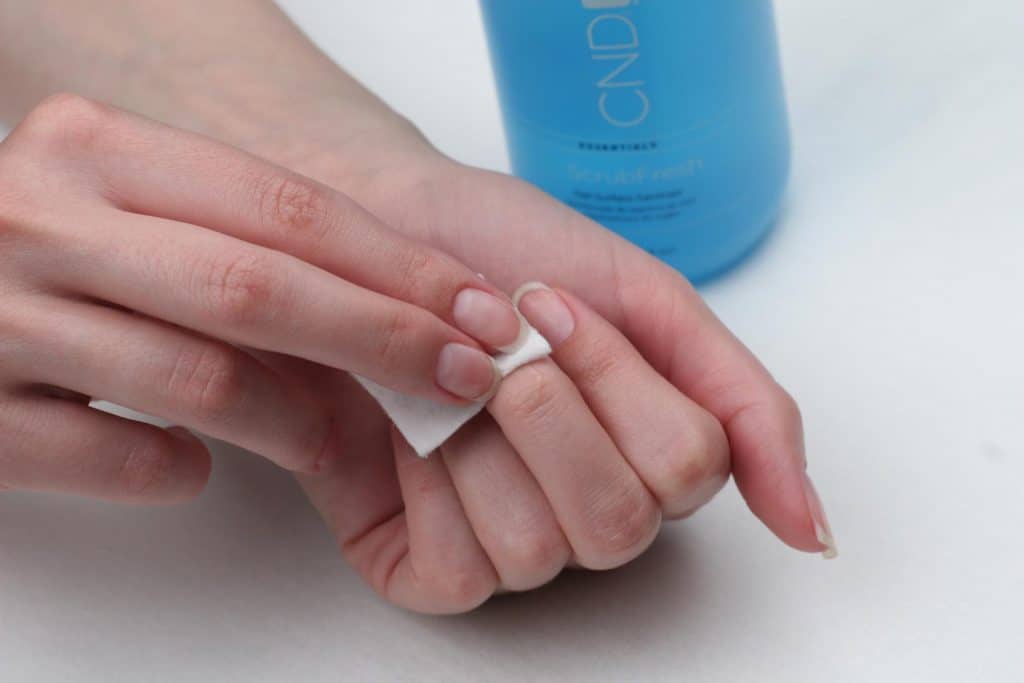
- Coating. Before coating nails must be degreased.
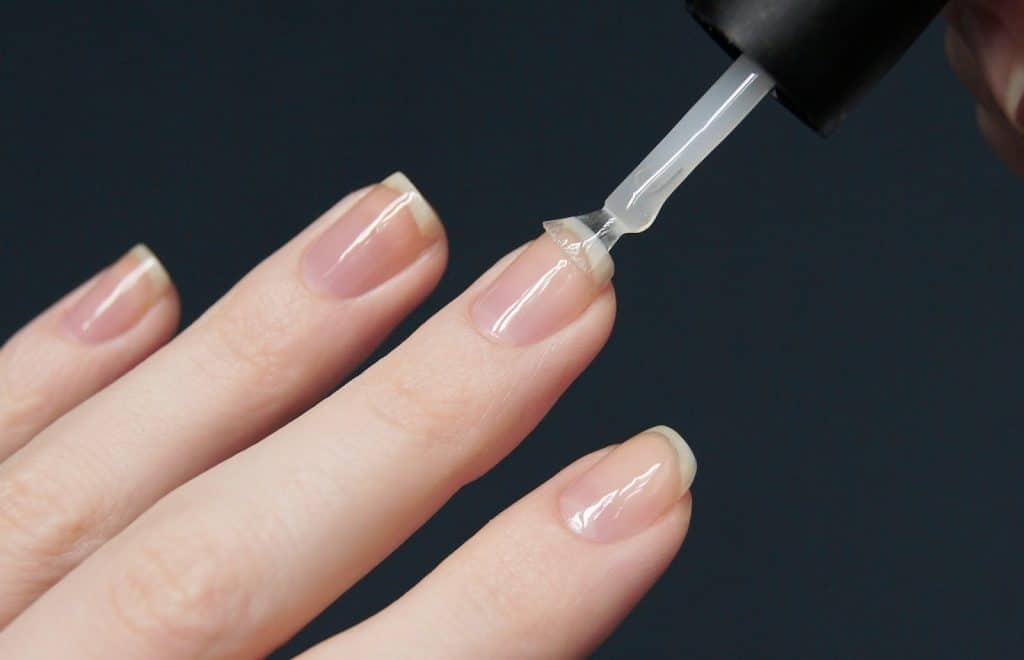
- Then primer is applied - starting coating, and the nails go dry in the lamp for about 2 minutes. It should be borne in mind that the drying time for different manufacturers of gel varnishes is different. You can see it again on the packaging or on the website of the gel manufacturer.
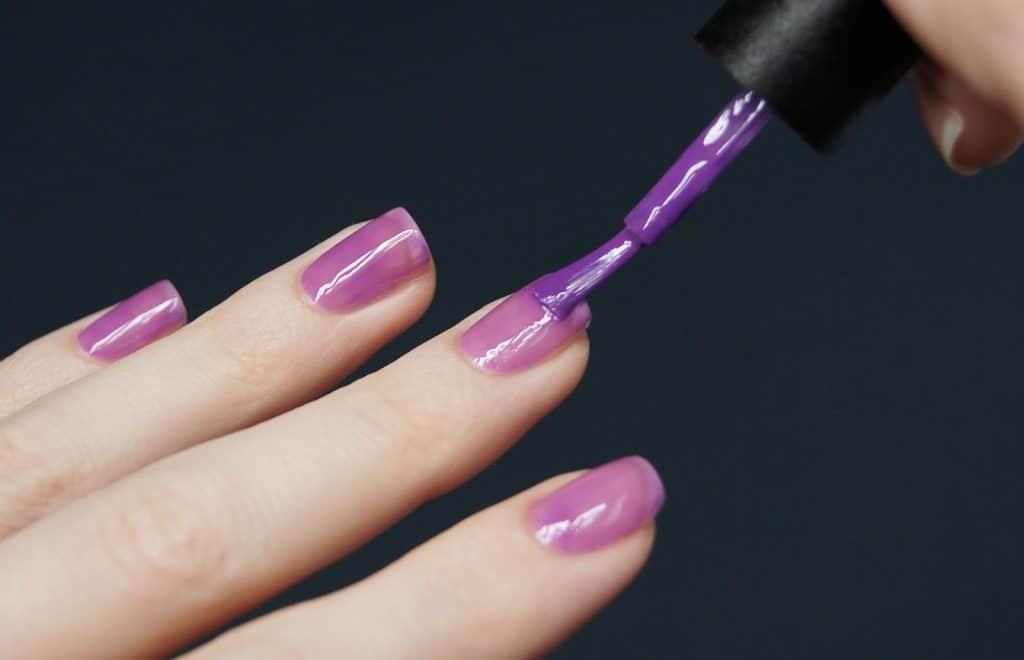
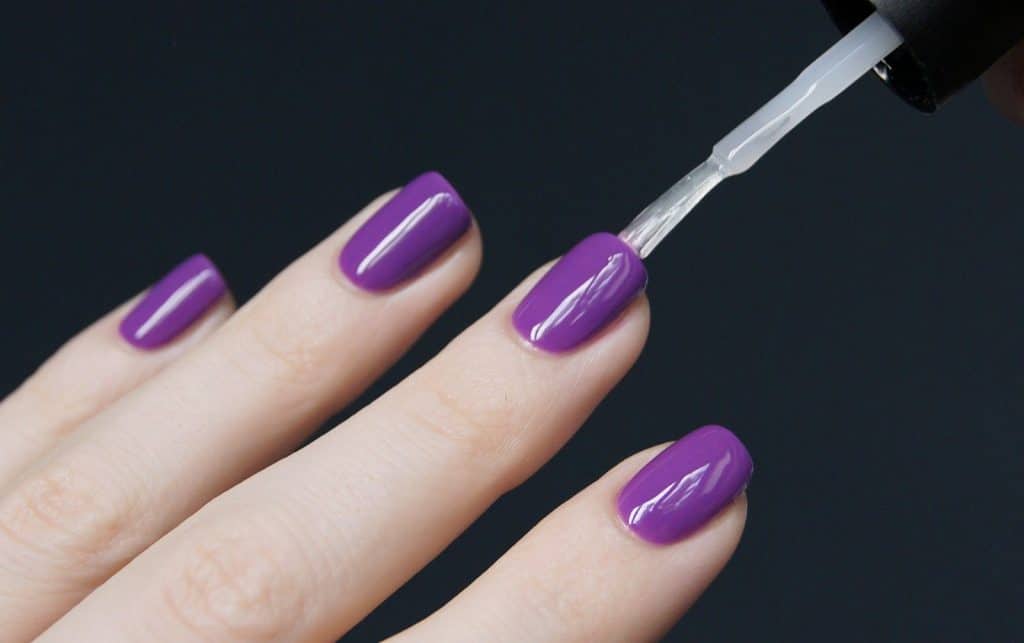
- After primer color coating applied. Very carefully paint over the end of the nail so that the coating lasts longer. It is best to apply color gel in 2 layers. Each layer is pre-dried in an ultraviolet lamp for about 2 minutes.
- And in the end topcoat applied to consolidate the result. The fixative is also dried in a lamp.
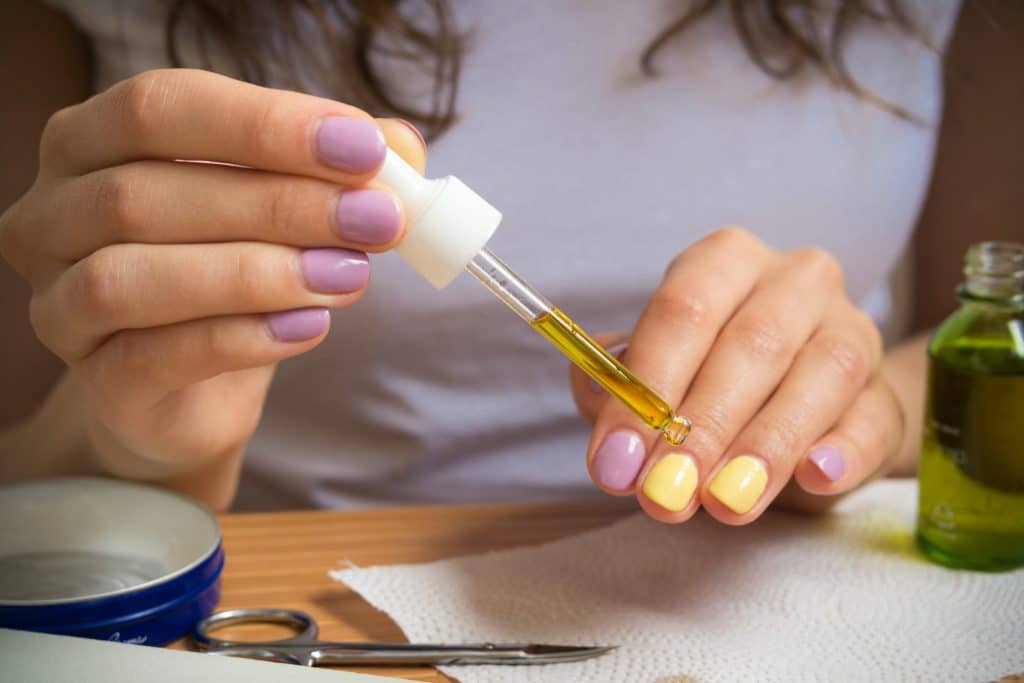
- Well, at the very end on the cuticle special moisturizing oil is applied.
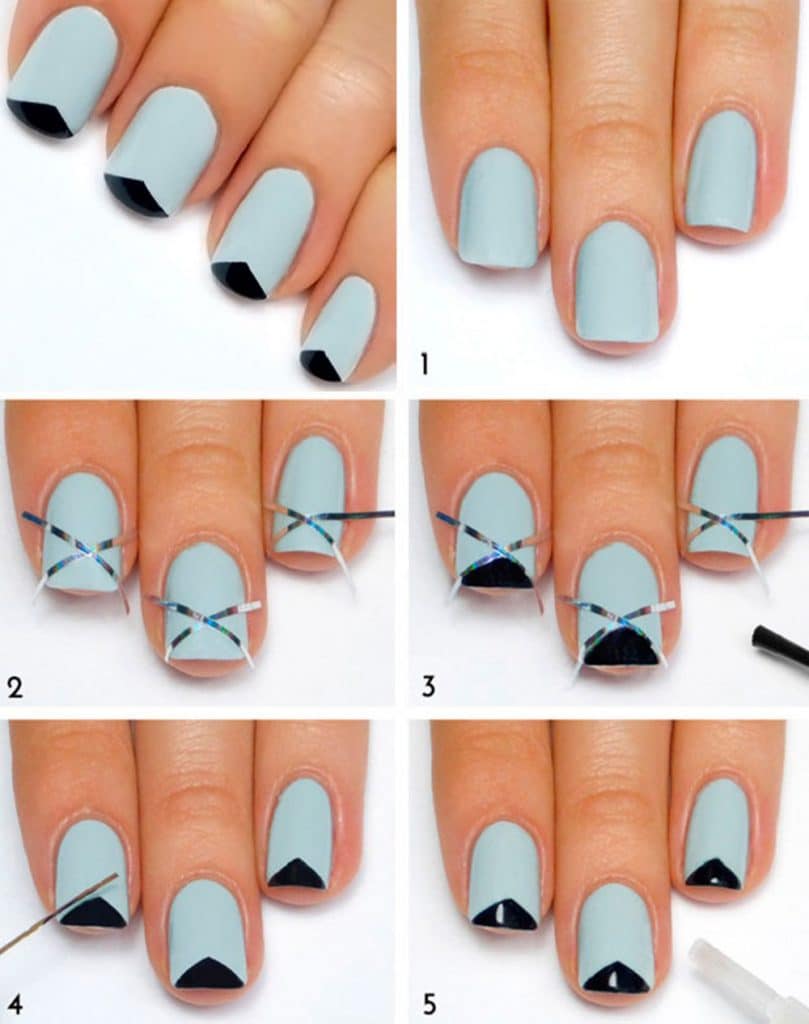
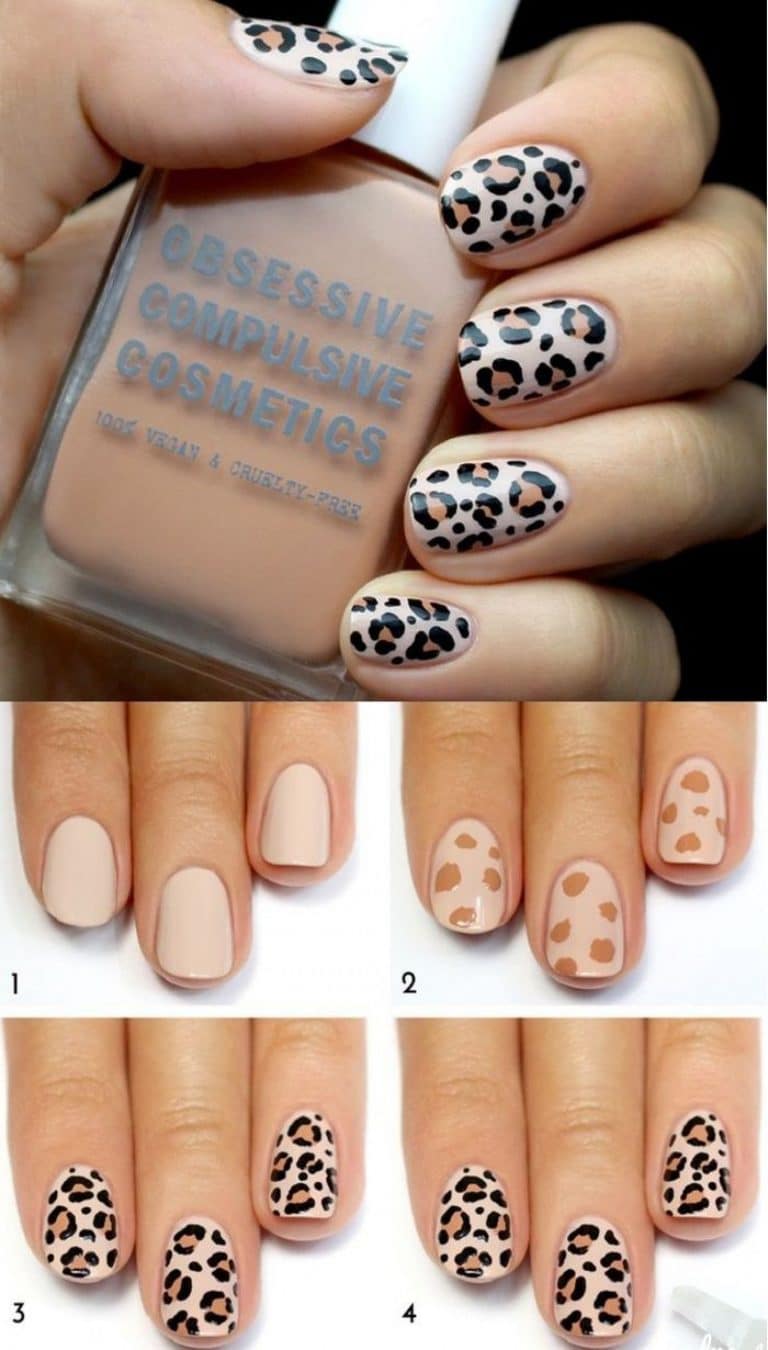
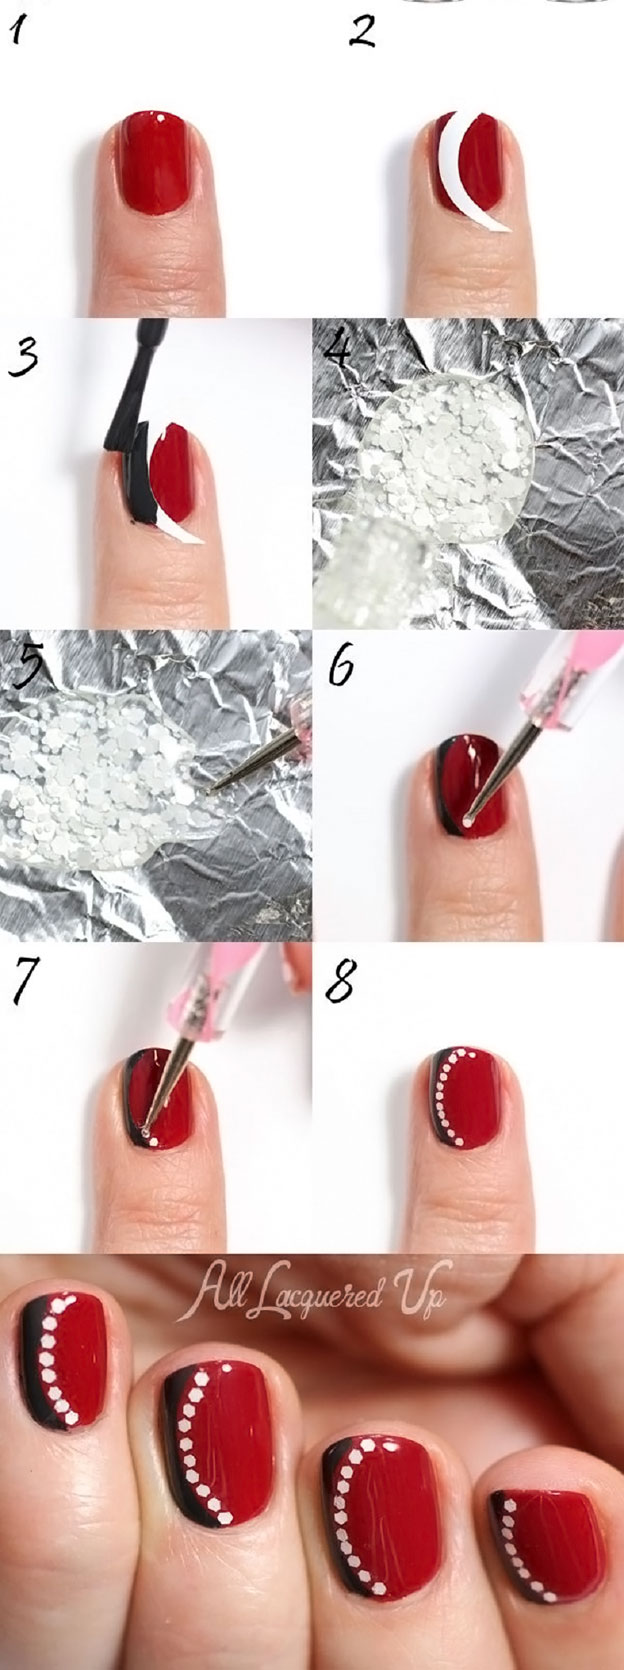
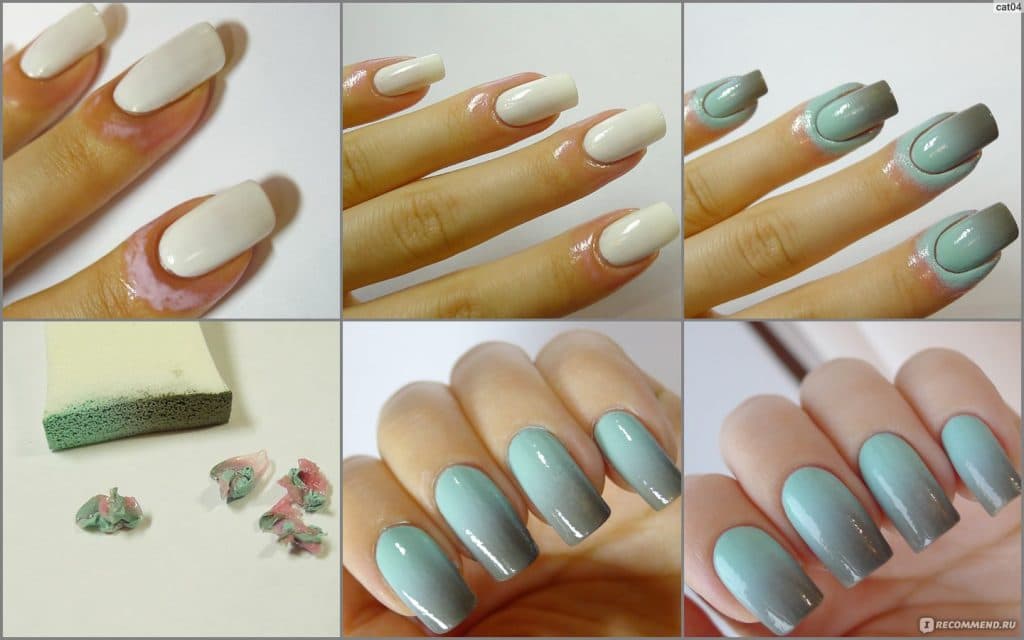
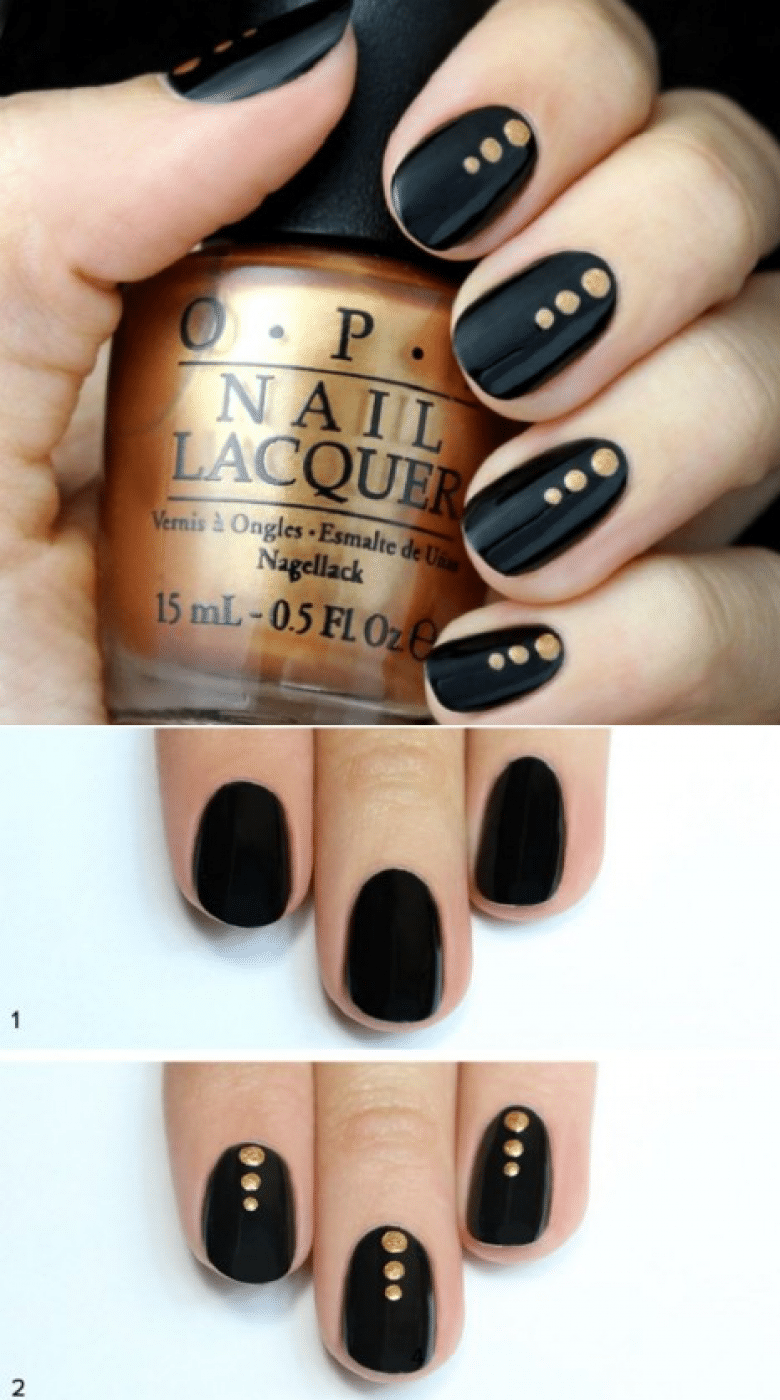
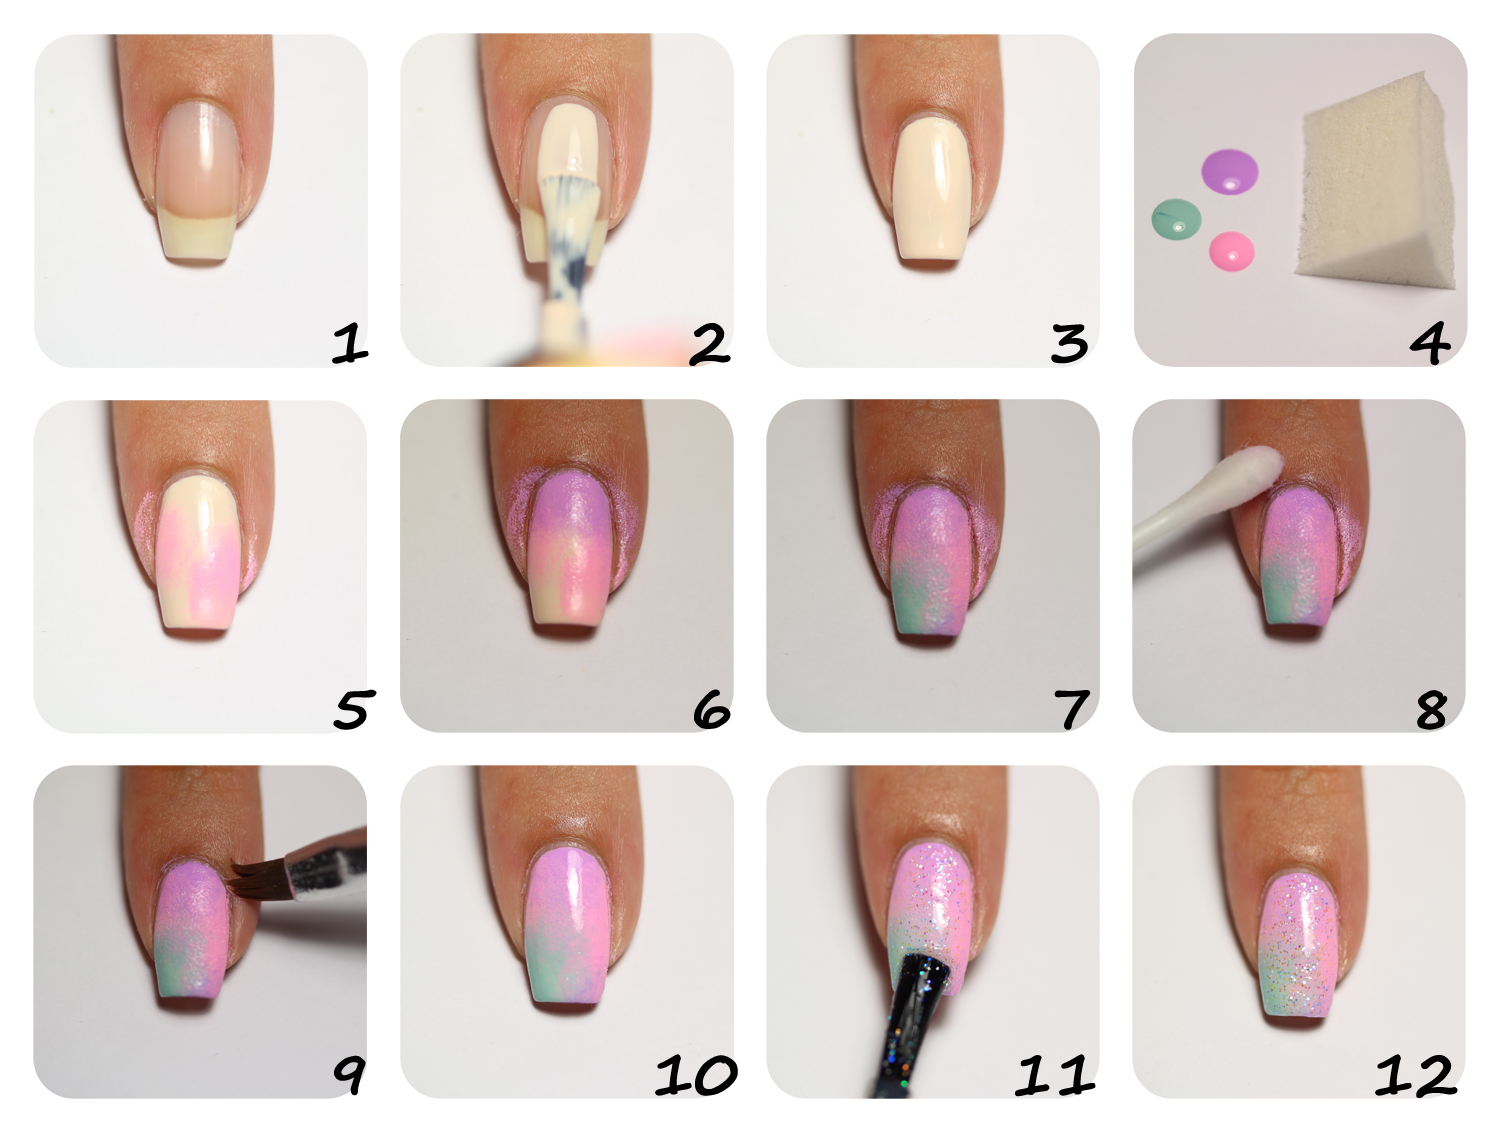
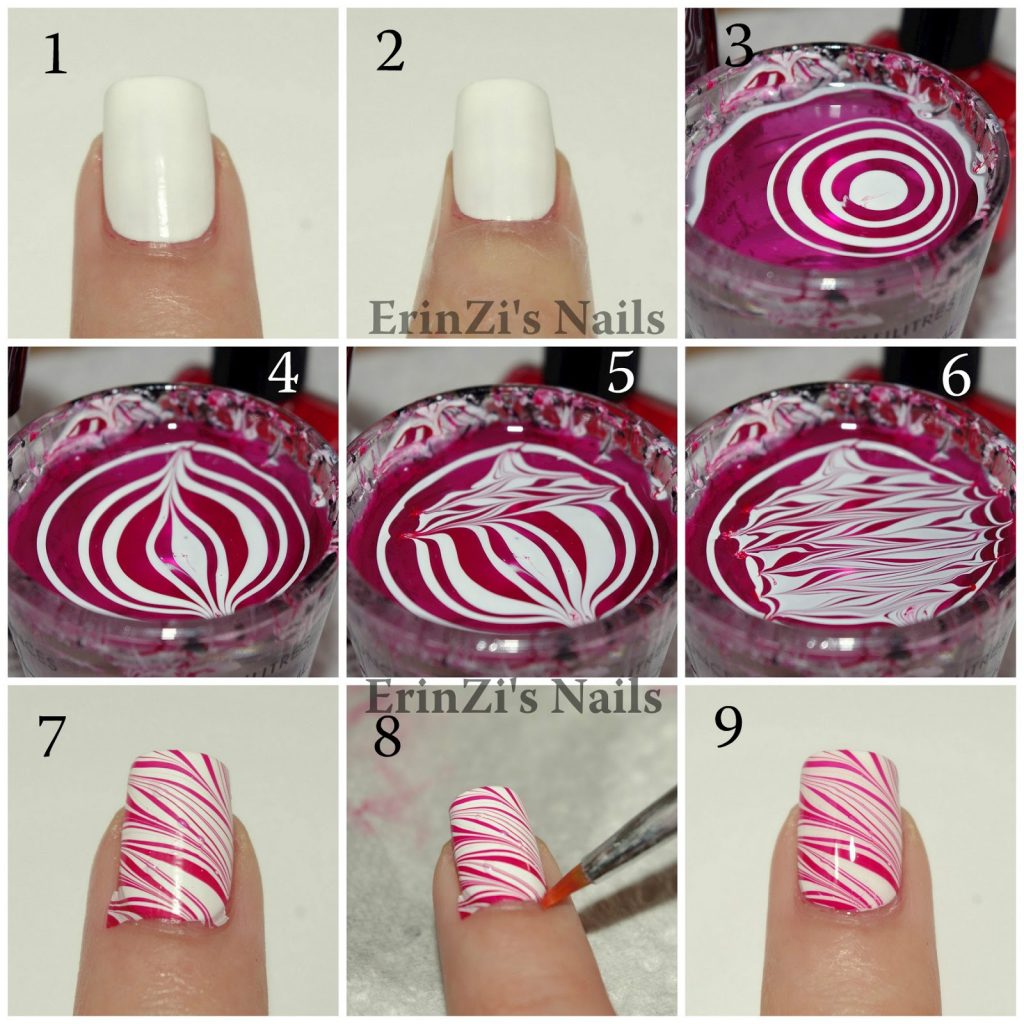
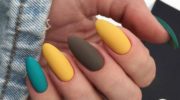
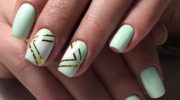
Simple ideas for manicure gel polish
And here you can see some simple ideas for manicure gel polish for beginners.