Today we will consider a relatively new trend in the nail art "Marble Manicure". The beautiful texture is very similar to marble, and in combination with various soft shades and sparkling veins creates a noble appearance on the nails of the owner.
A relatively young direction attracts ladies of different ages and life directions. Great for casual and holiday bow. With this nail design, nothing will stop you from feeling up to par!
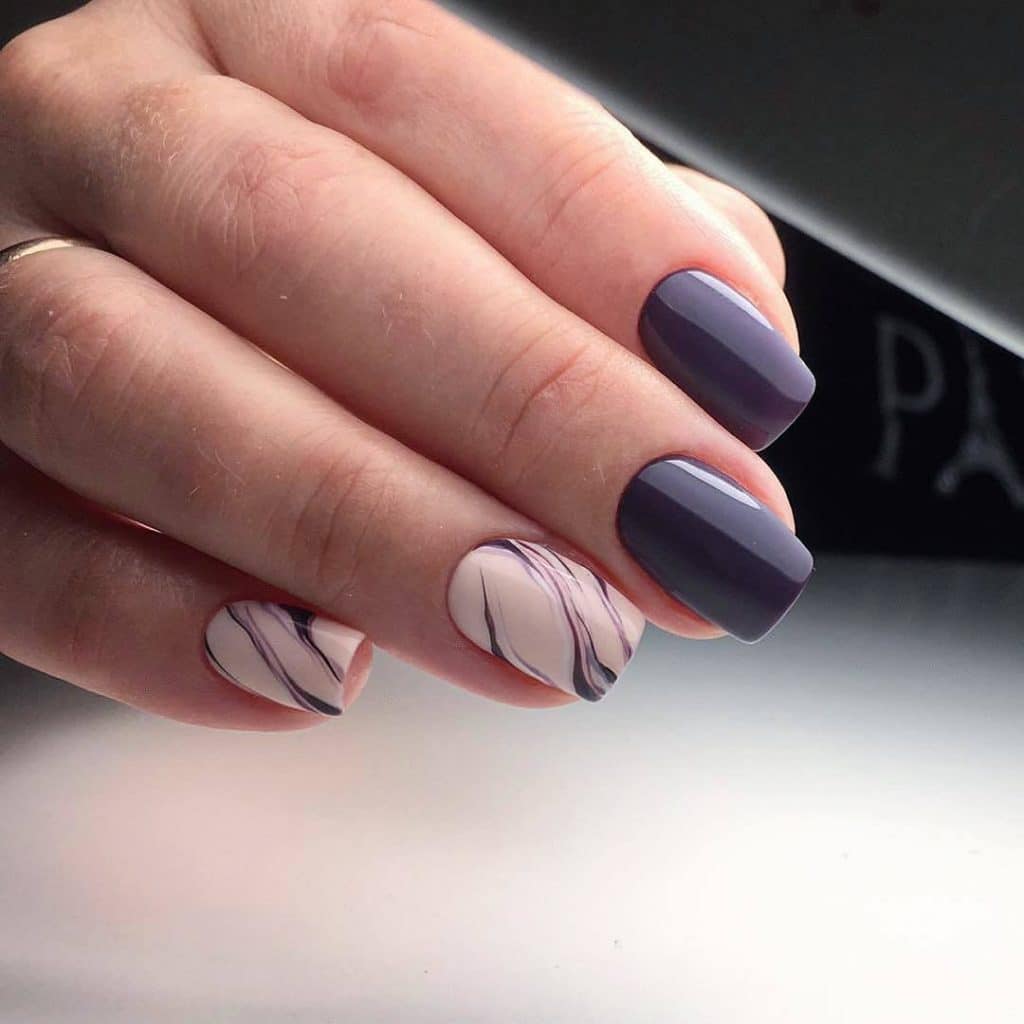
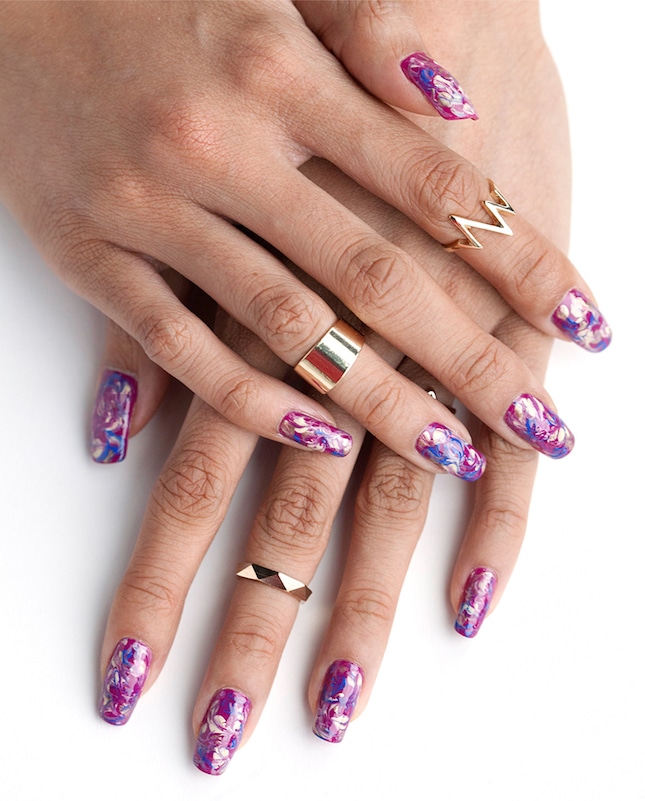
- Marble manicure - color schemes.
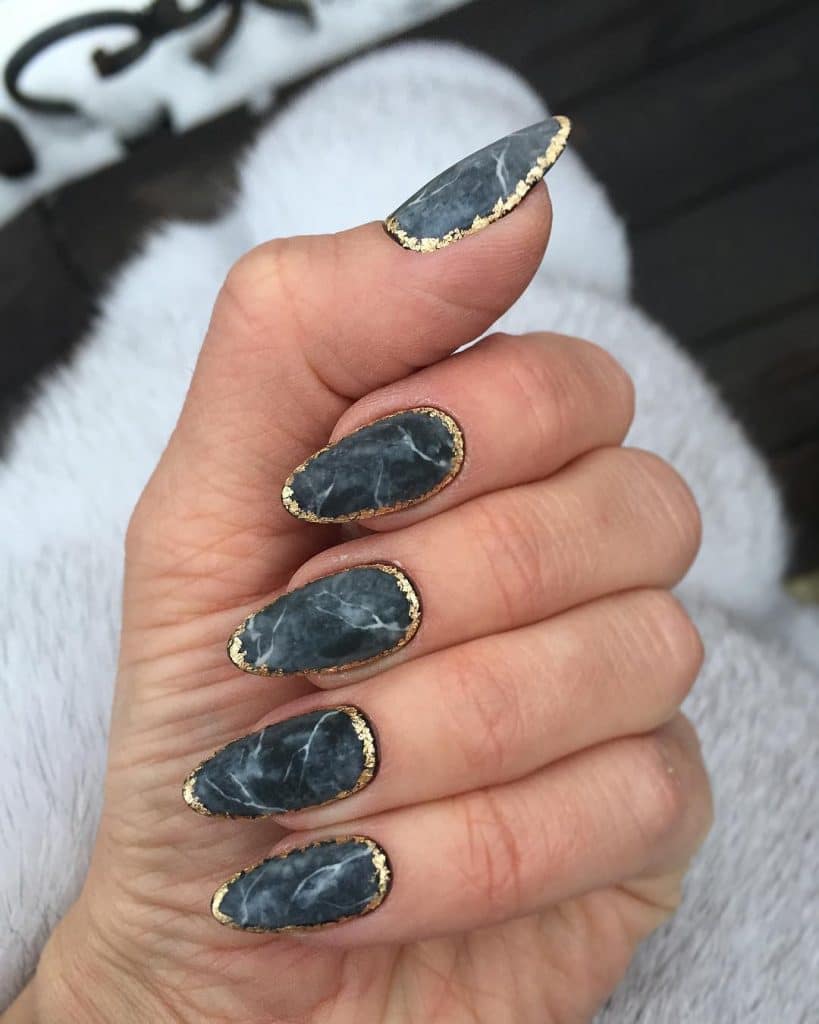
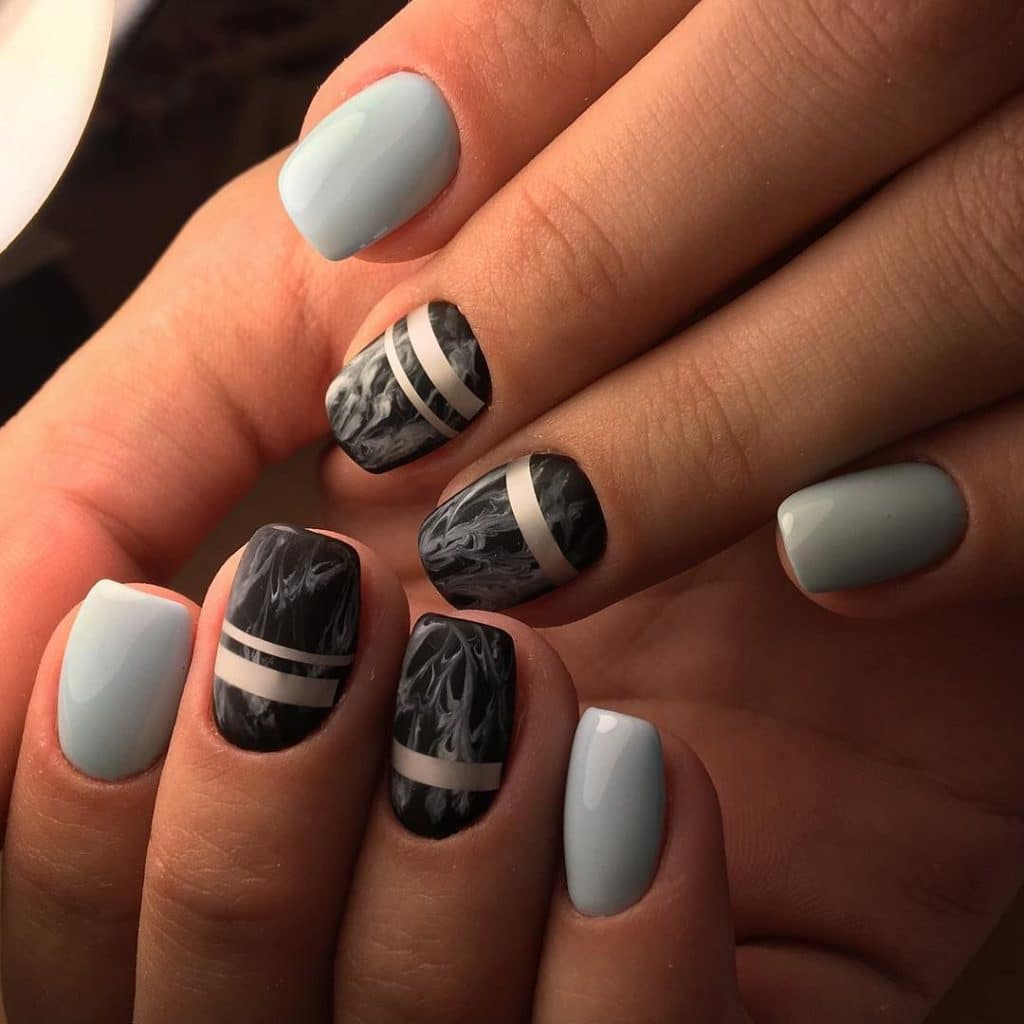
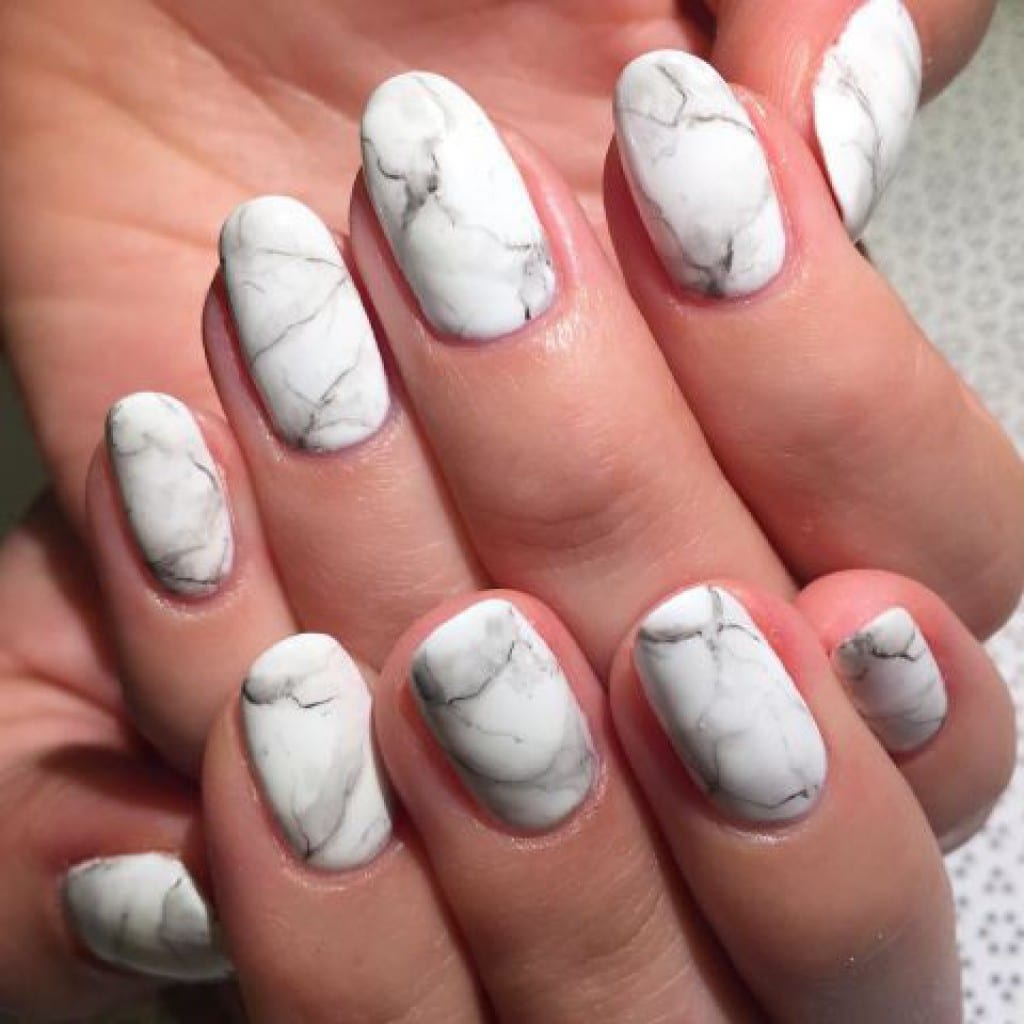
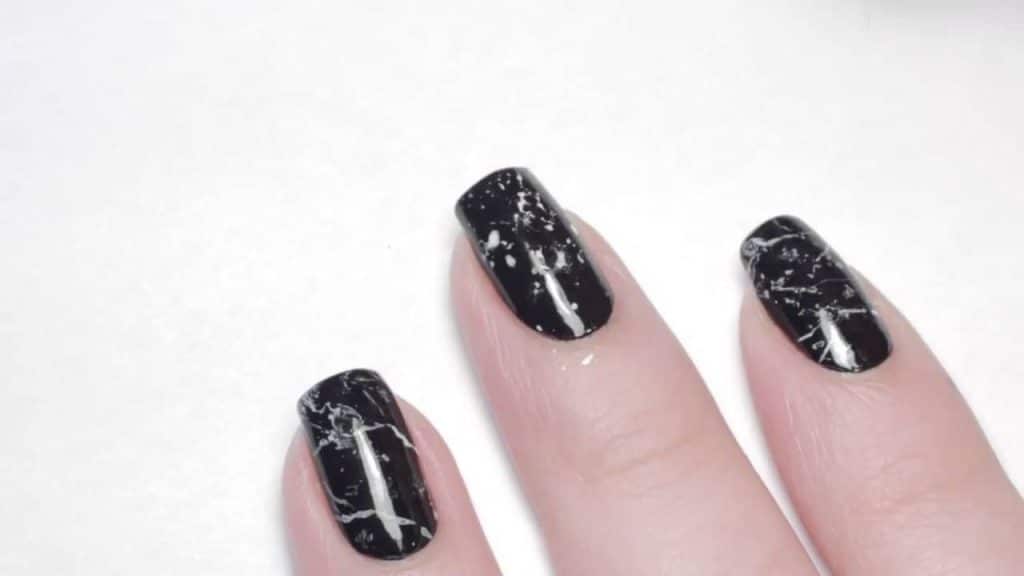
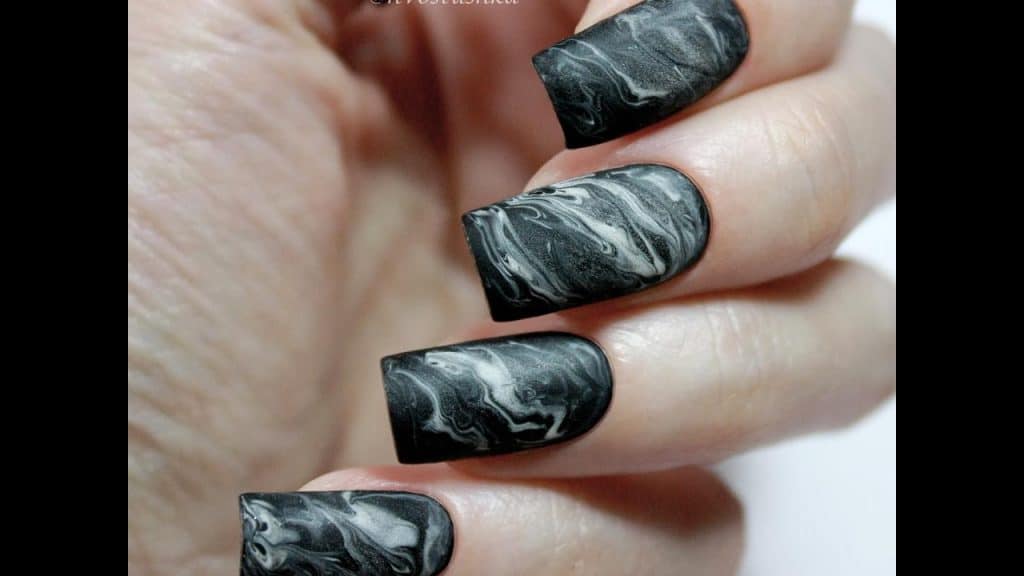
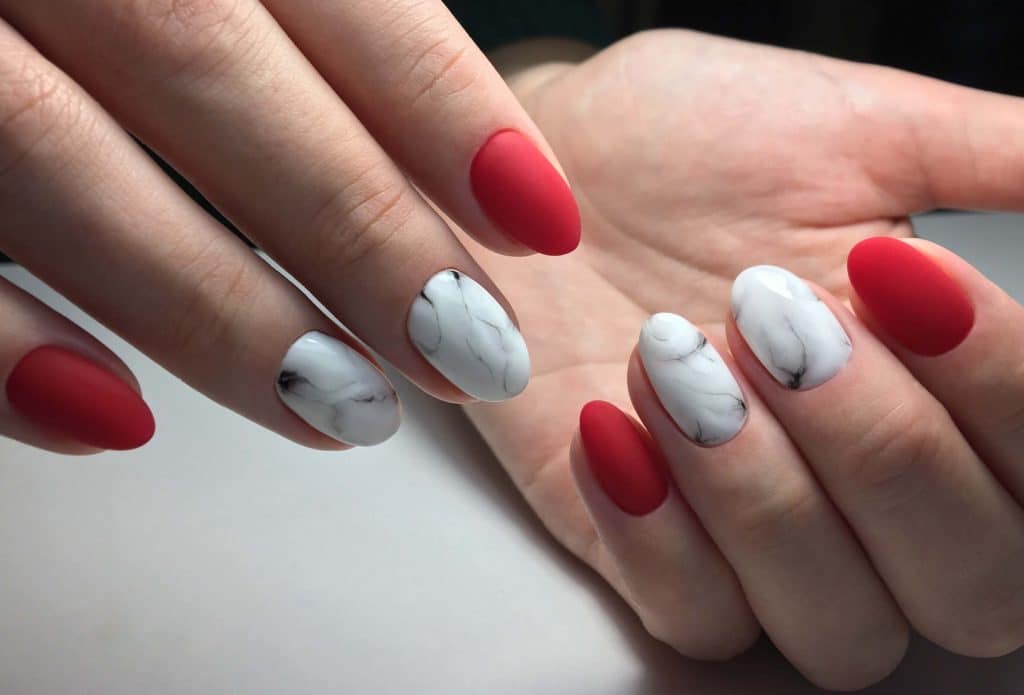
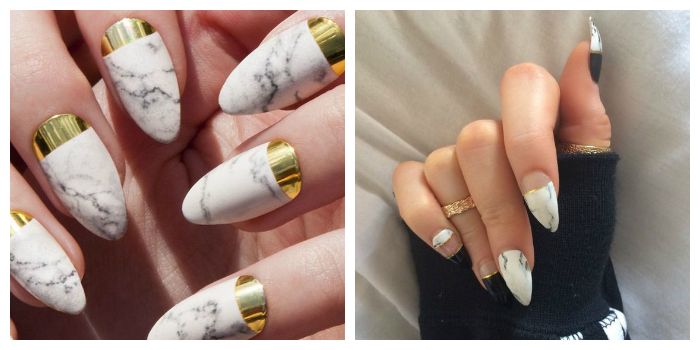
- Options for black, white and beige marble manicure.
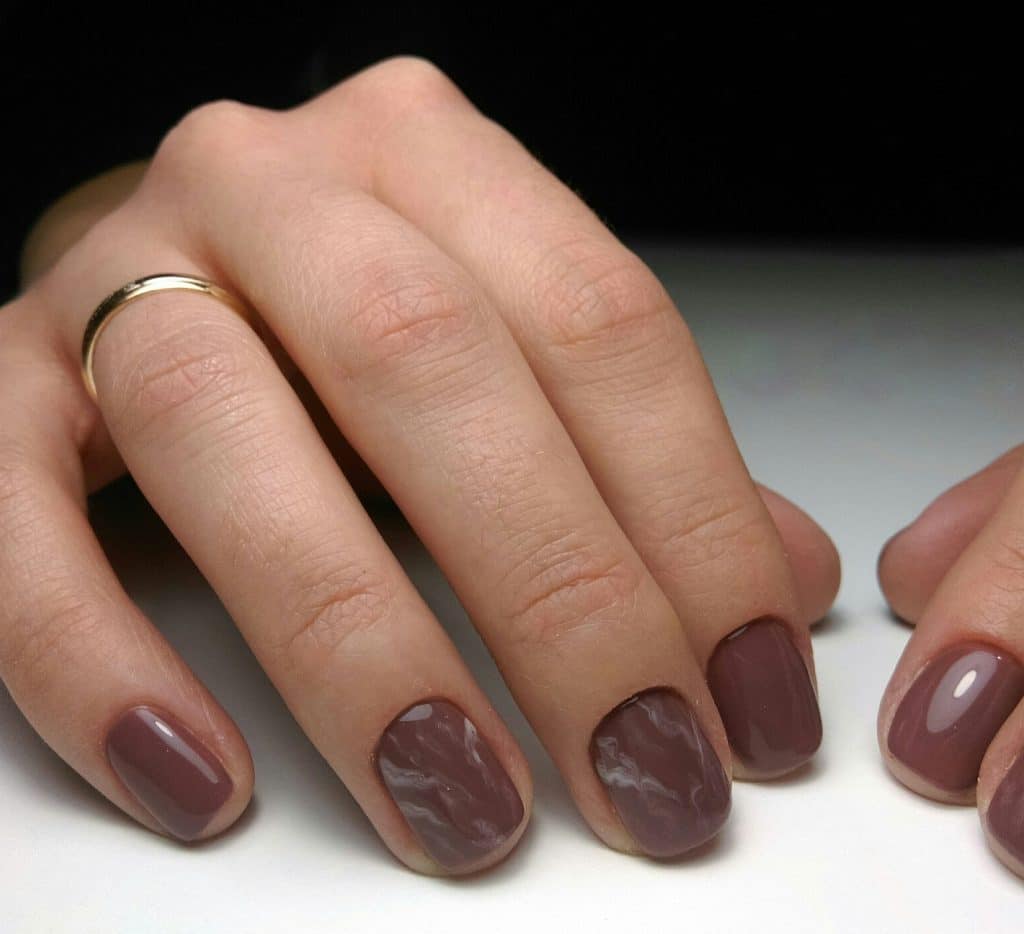
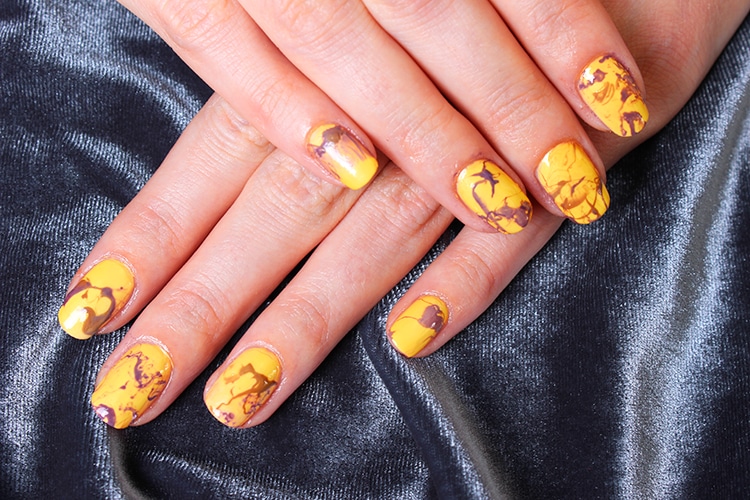
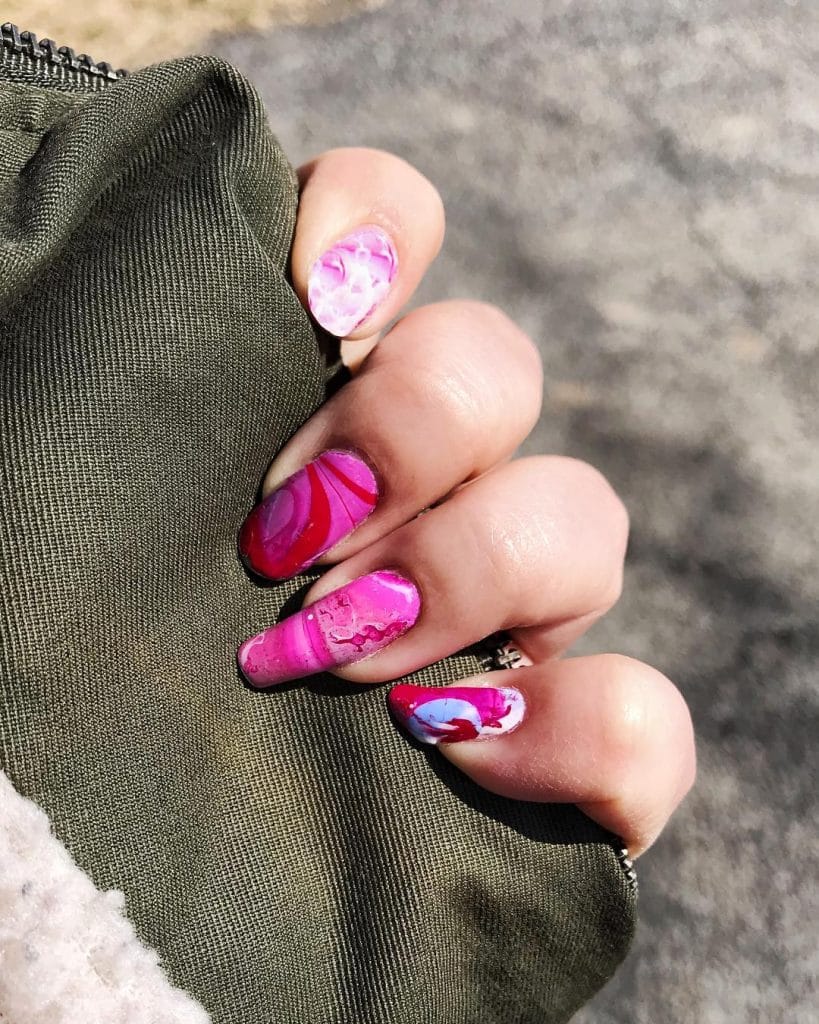
- Coffee and pink ideas.
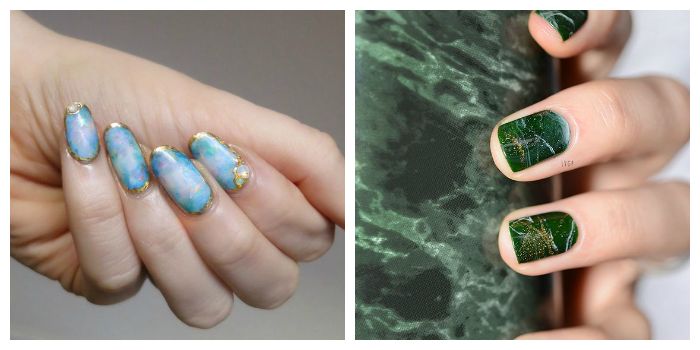
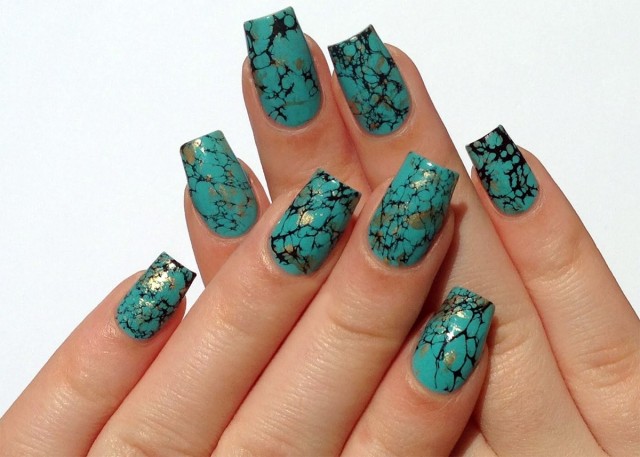
- Blue and turquoise marble manicure.
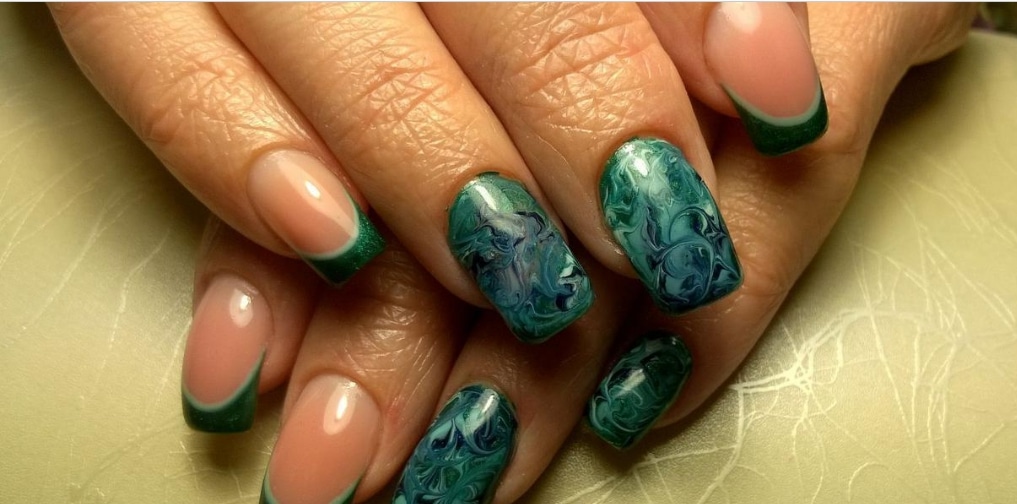
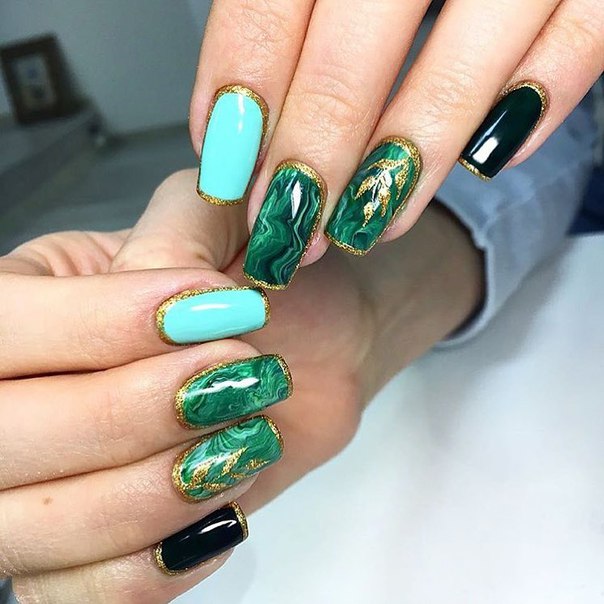
- Variations of green marble manicure.
- Seasonal ideas of marble manicure.
- Combination with different techniques and design materials.
- Marble manicure at home.
- The first option is water.
- The second option is film.
- The third option is most suitable for gel polish.
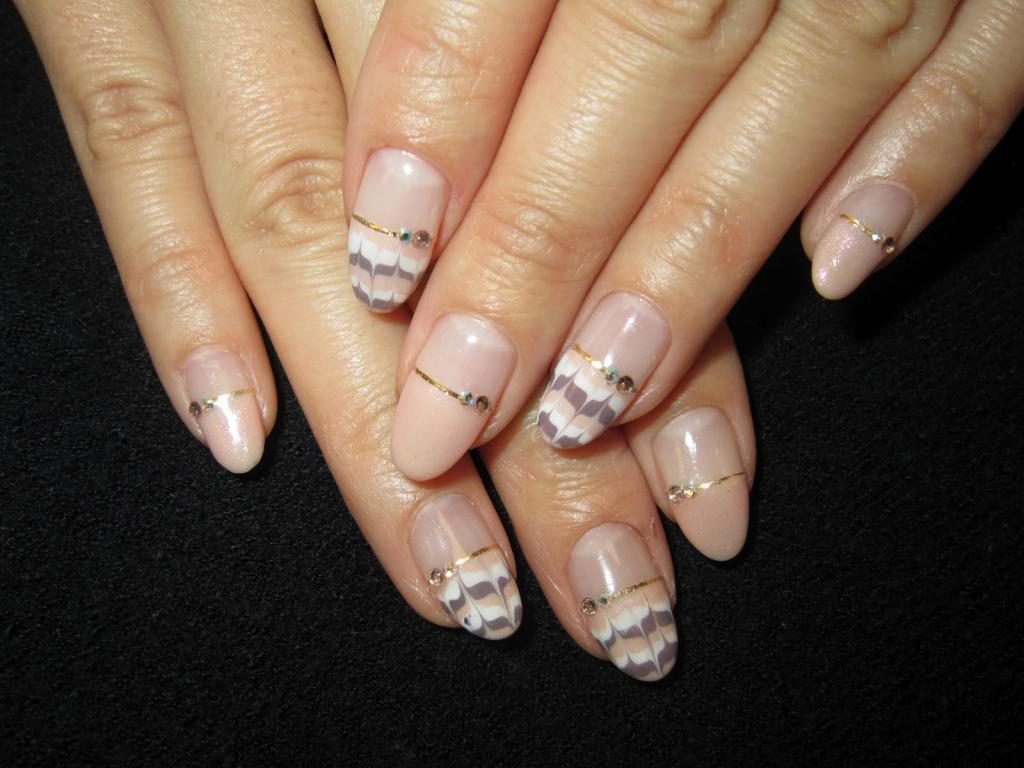
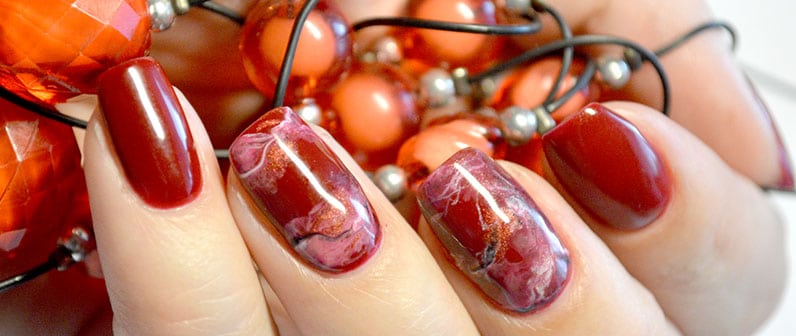
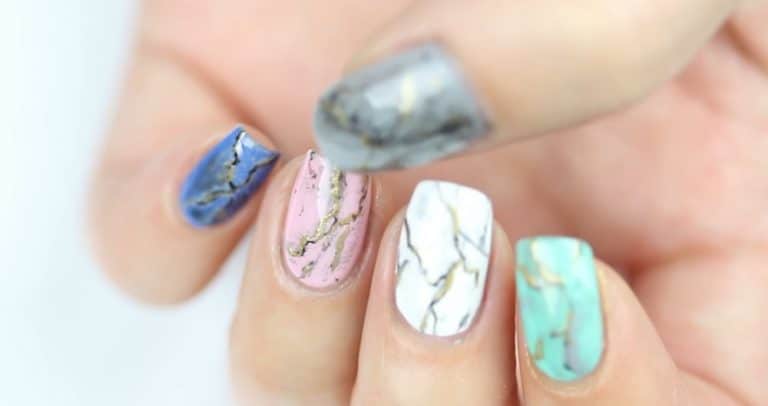
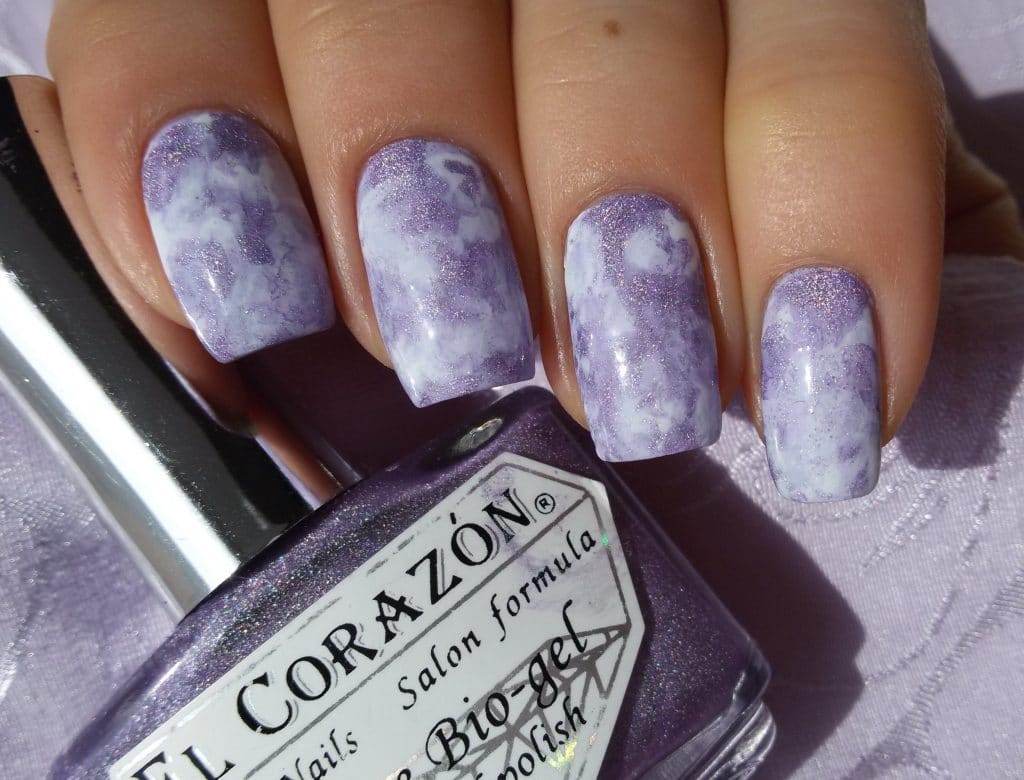
- Photo ideas "Marble manicure"
Marble manicure - color schemes.
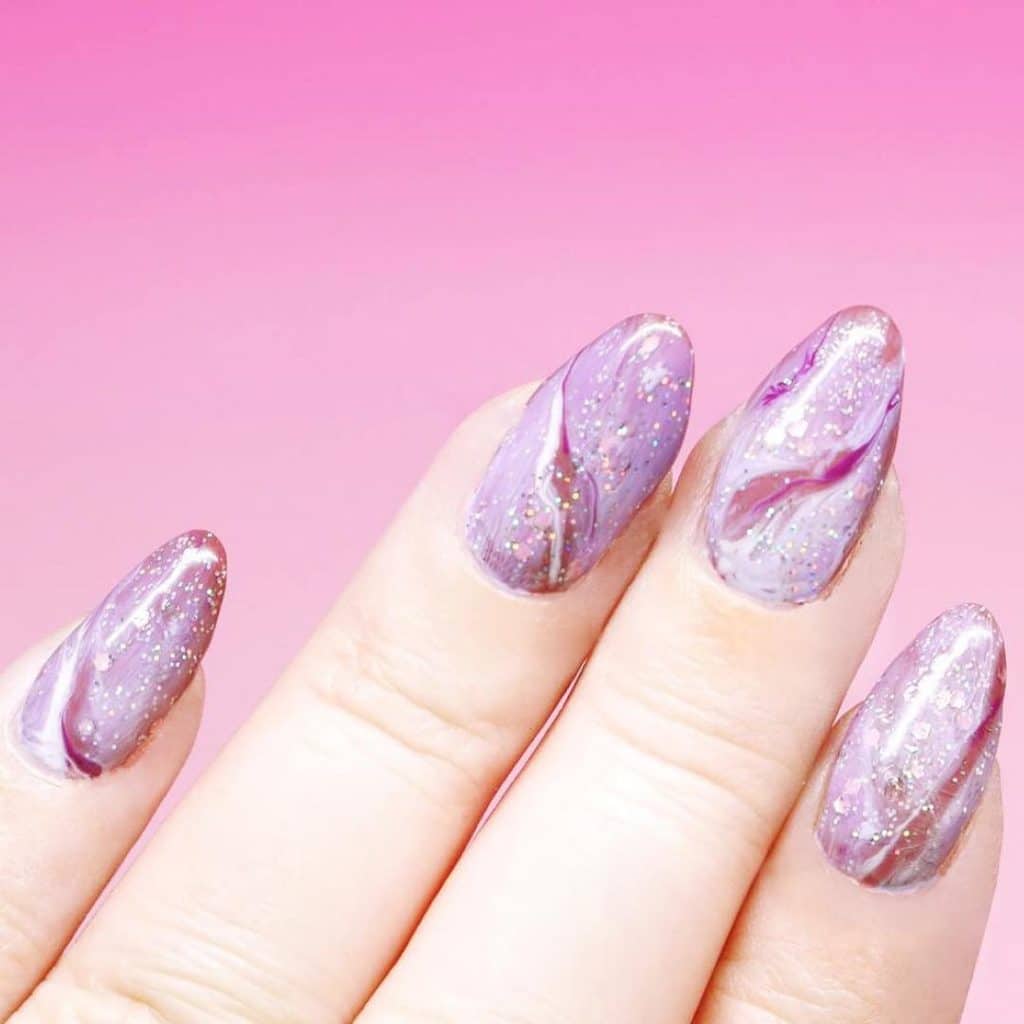
Most often, this manicure is performed in basic colors - black, white, beige. Favorably looks in coffee, pink, blue, turquoise, green shades. But the range is constantly expanding due to seasonality and customer wishes.
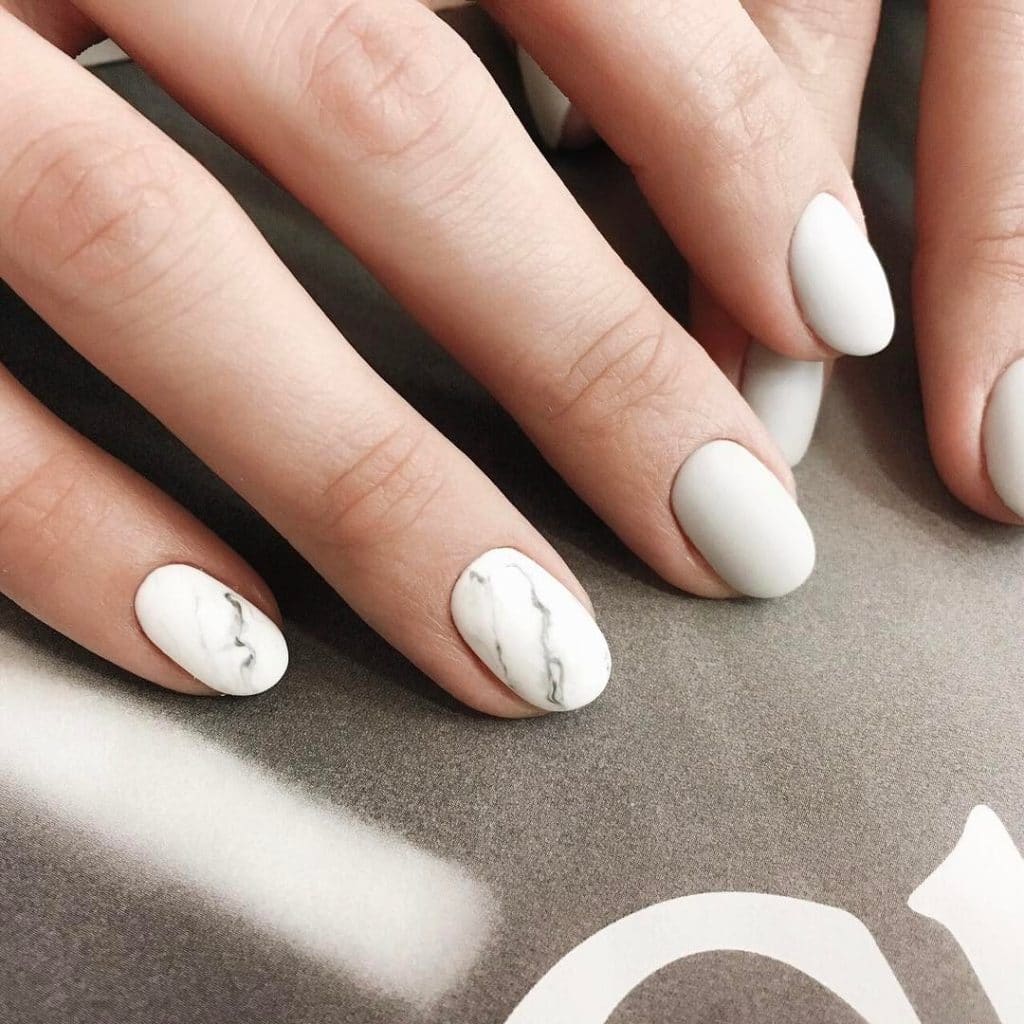
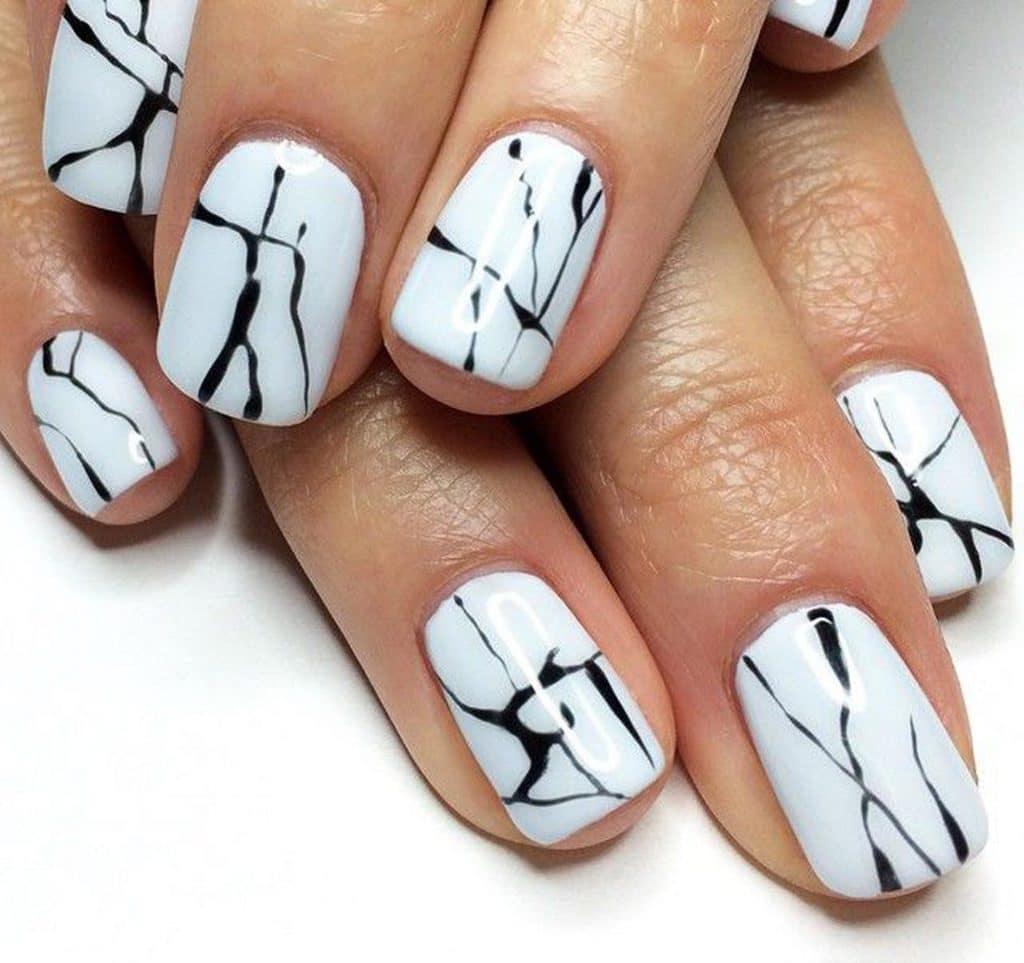
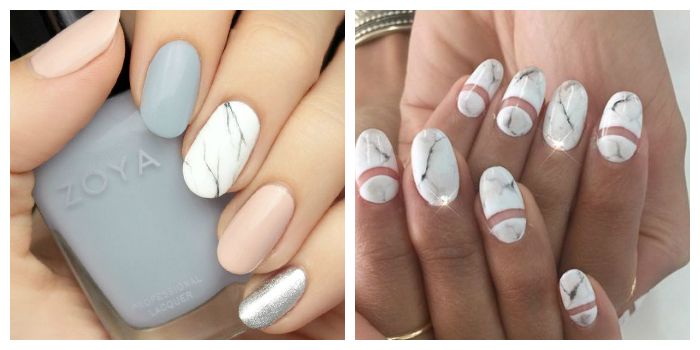
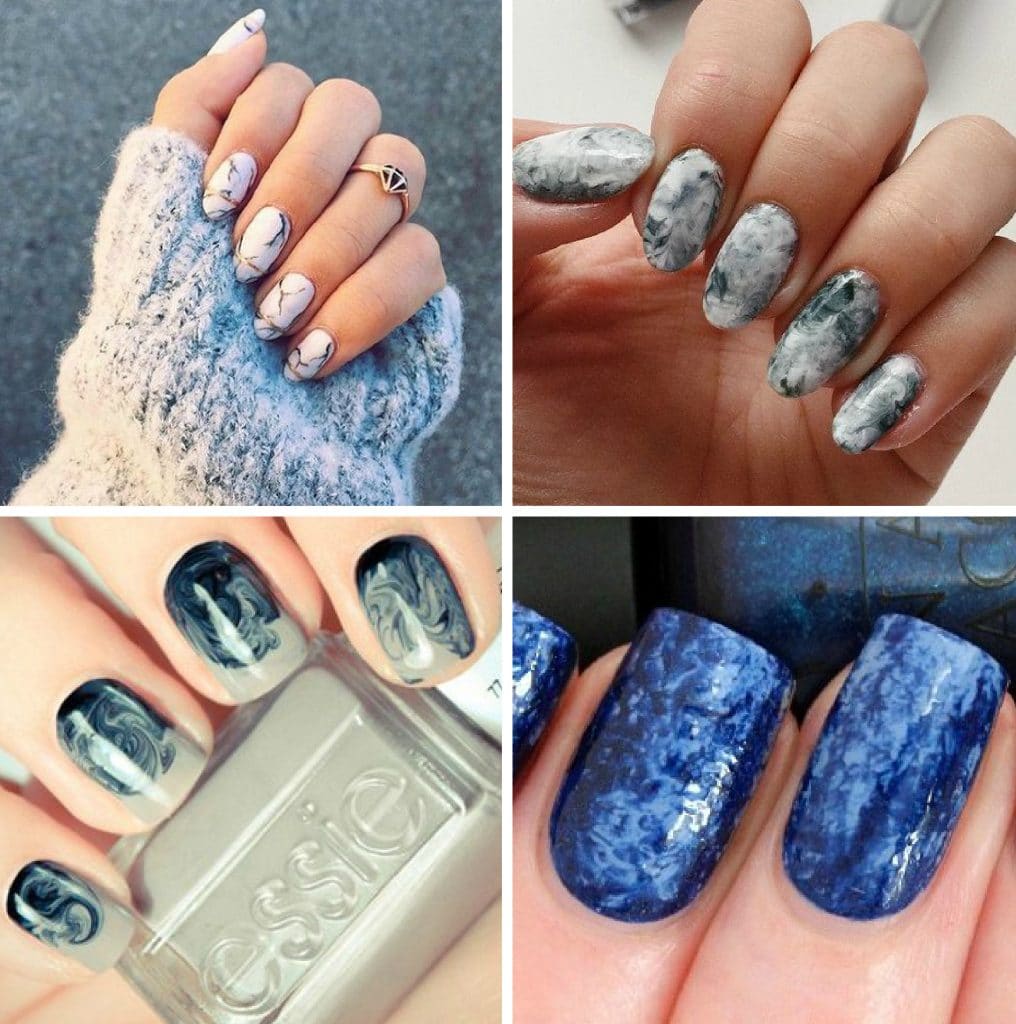
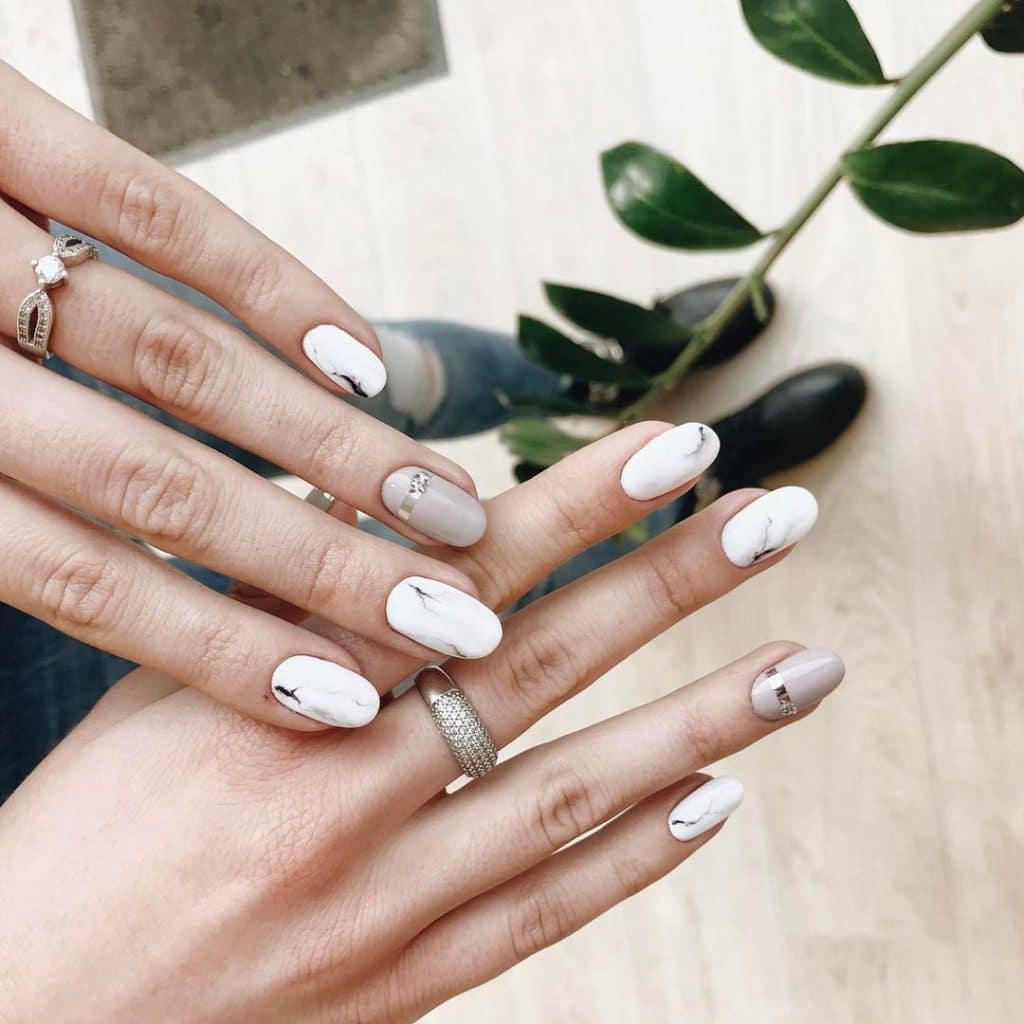
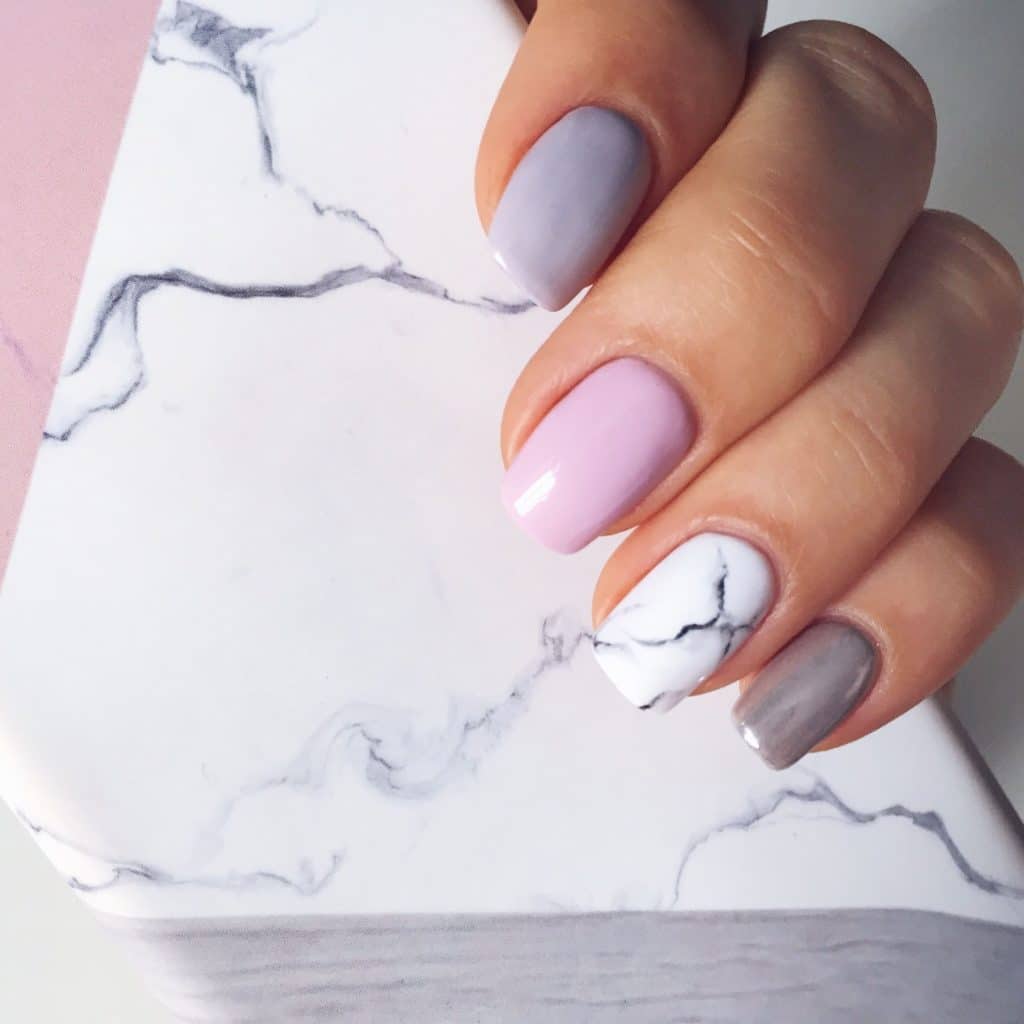
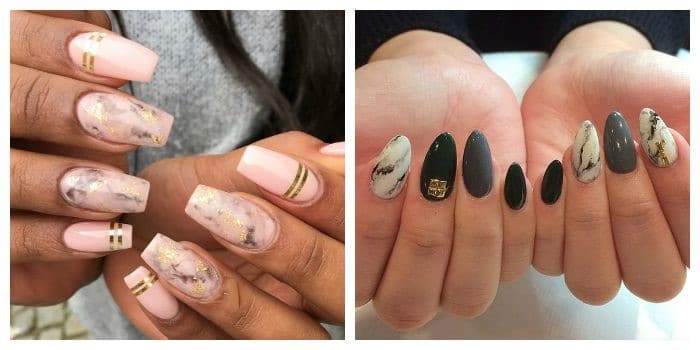
Options for black, white and beige marble manicure.
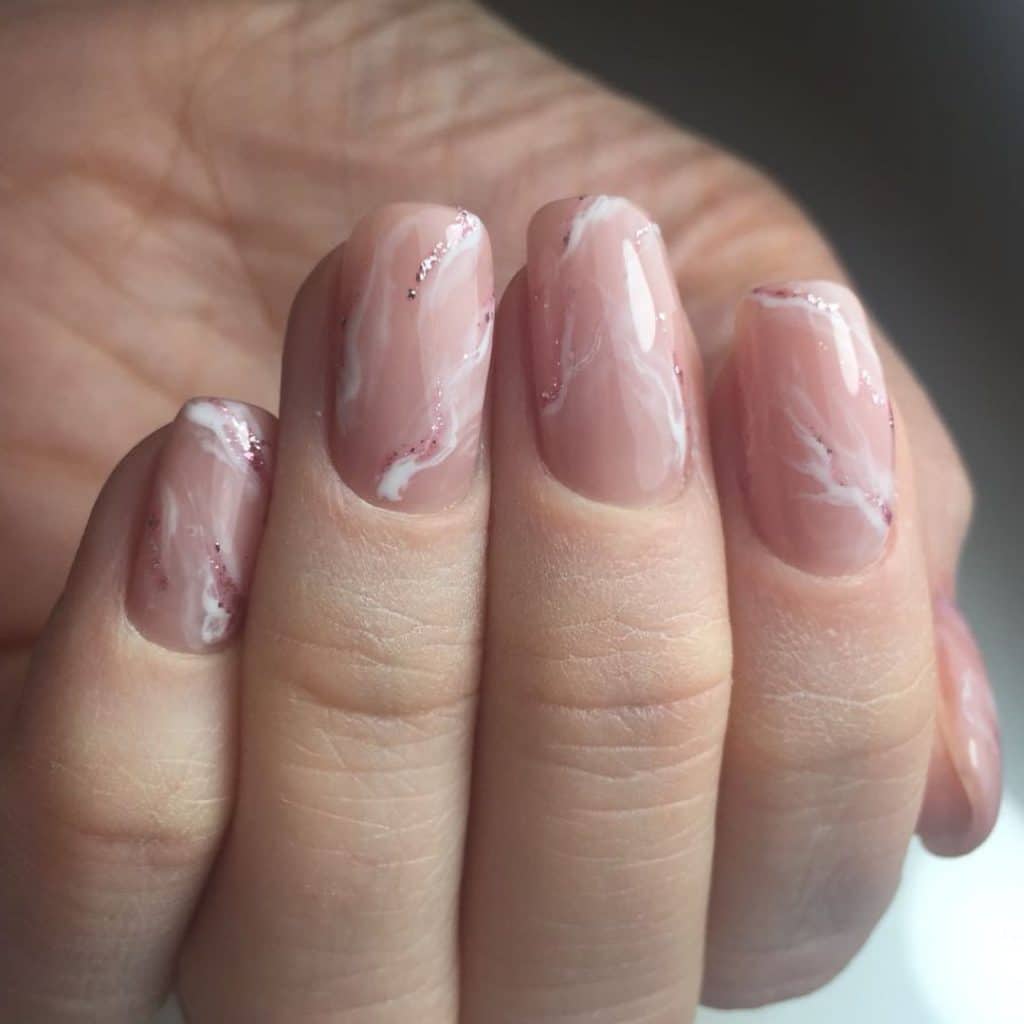
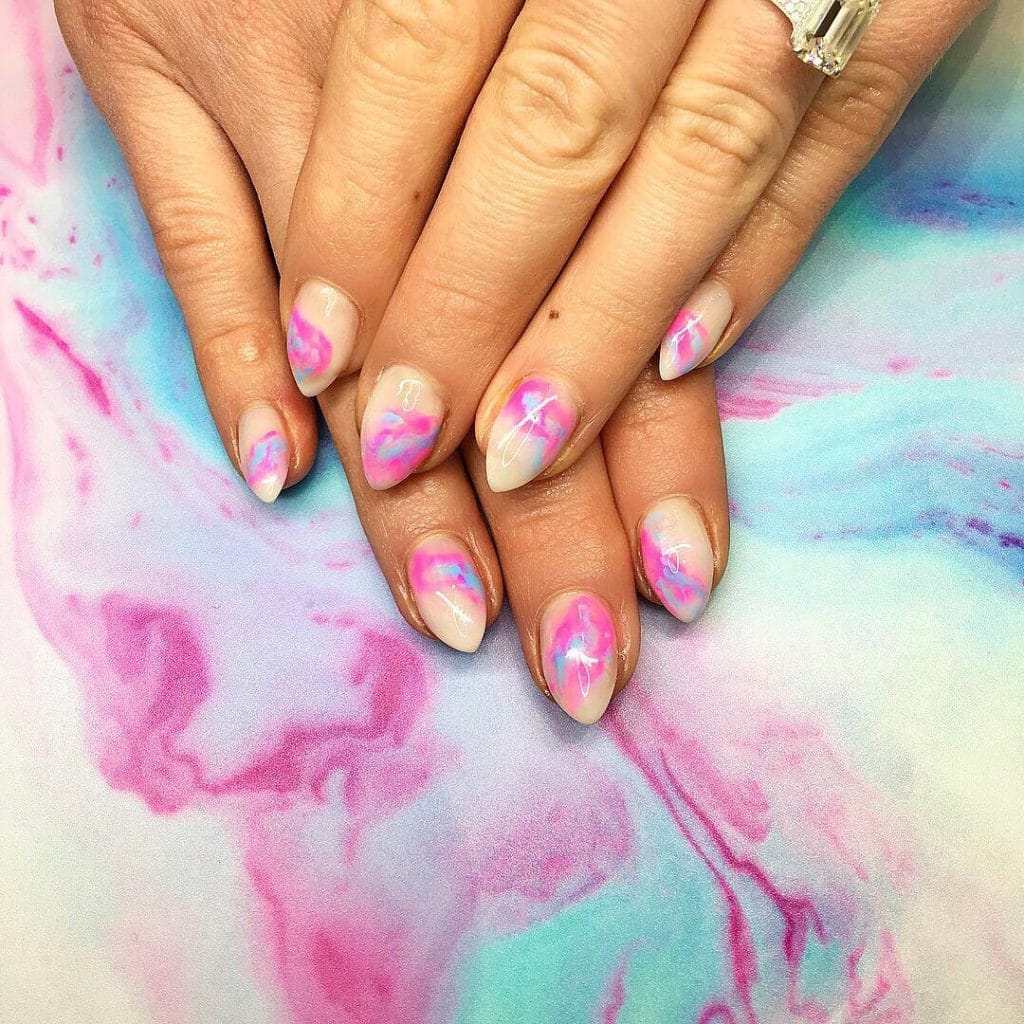
Coffee and pink ideas.

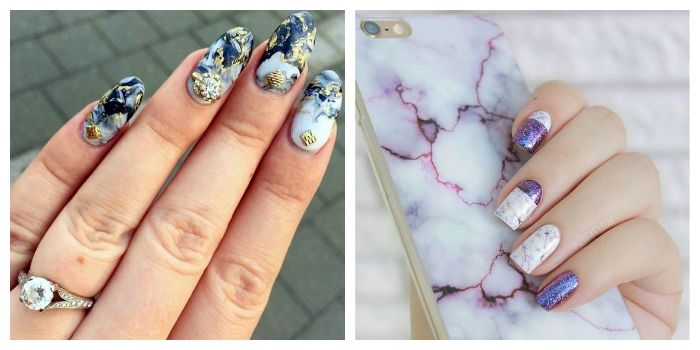
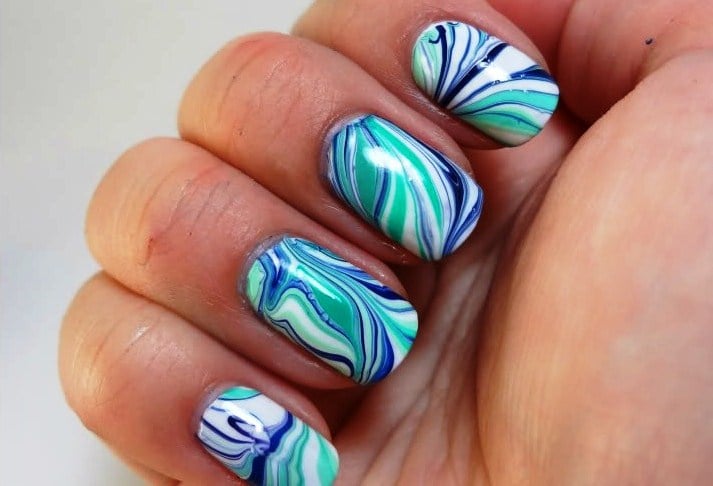
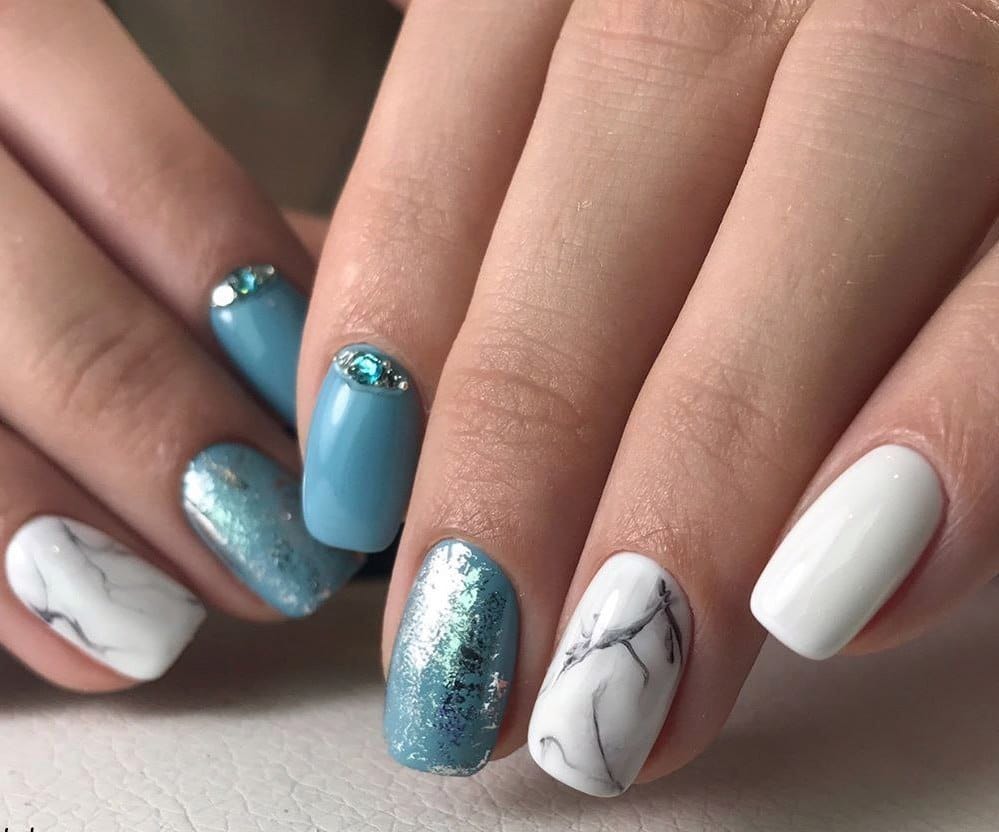
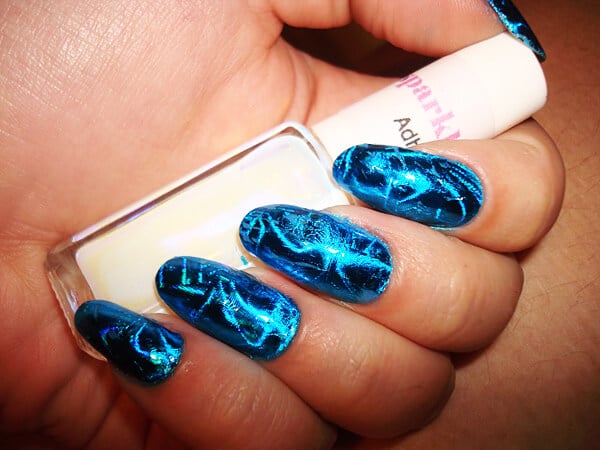
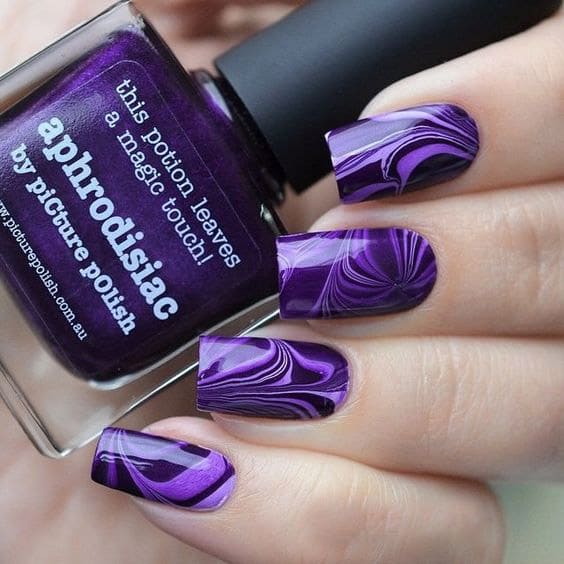
Blue and turquoise marble manicure.

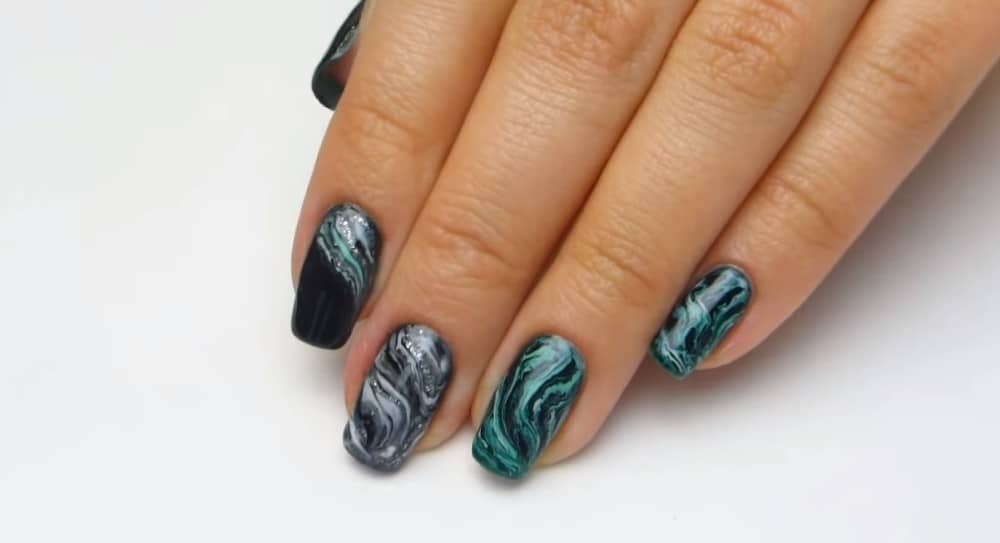
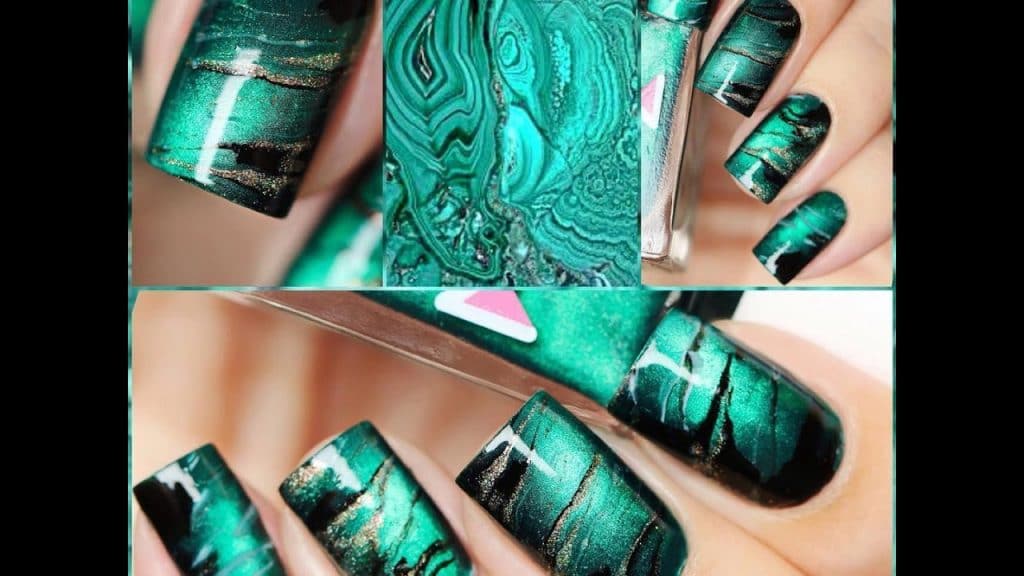
Variations of green marble manicure.

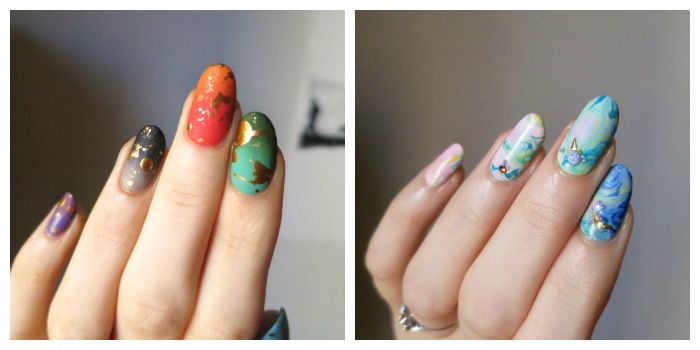
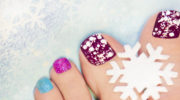
Seasonal ideas of marble manicure.
Spring - light tones and soft transitions are perfect!

Summer - brightness, lightness and enthusiasm!

Autumn - leaves, sky, chocolate ...

Winter - white open spaces and shining stars in the cold snowy sky.
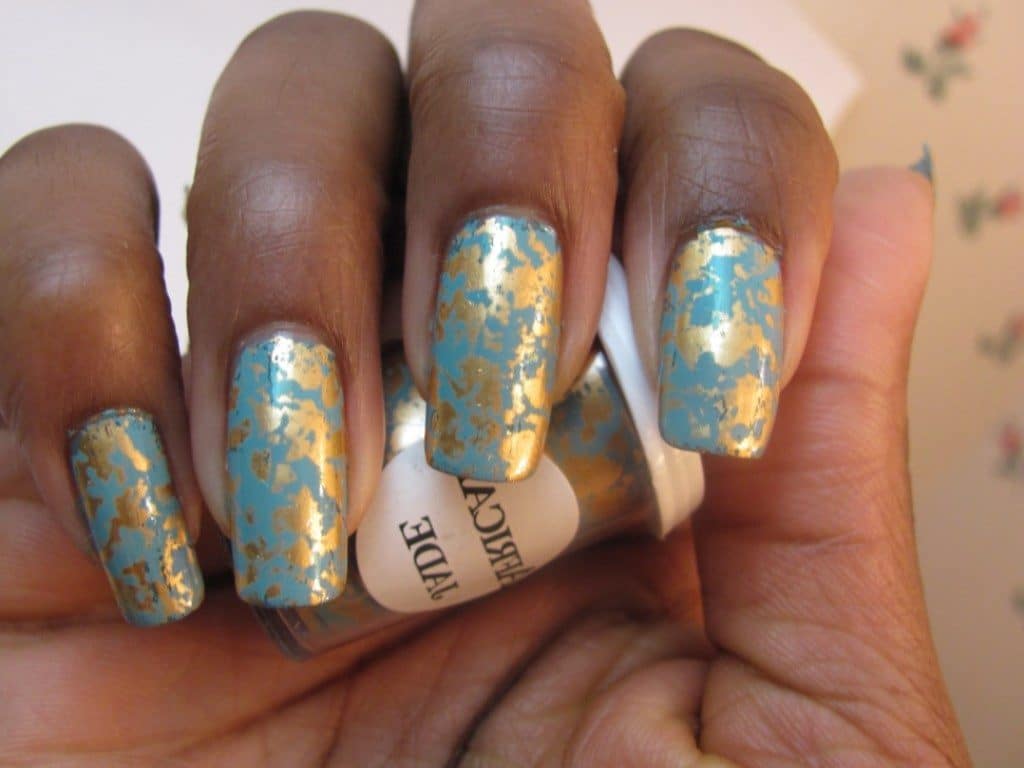
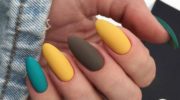
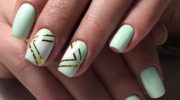
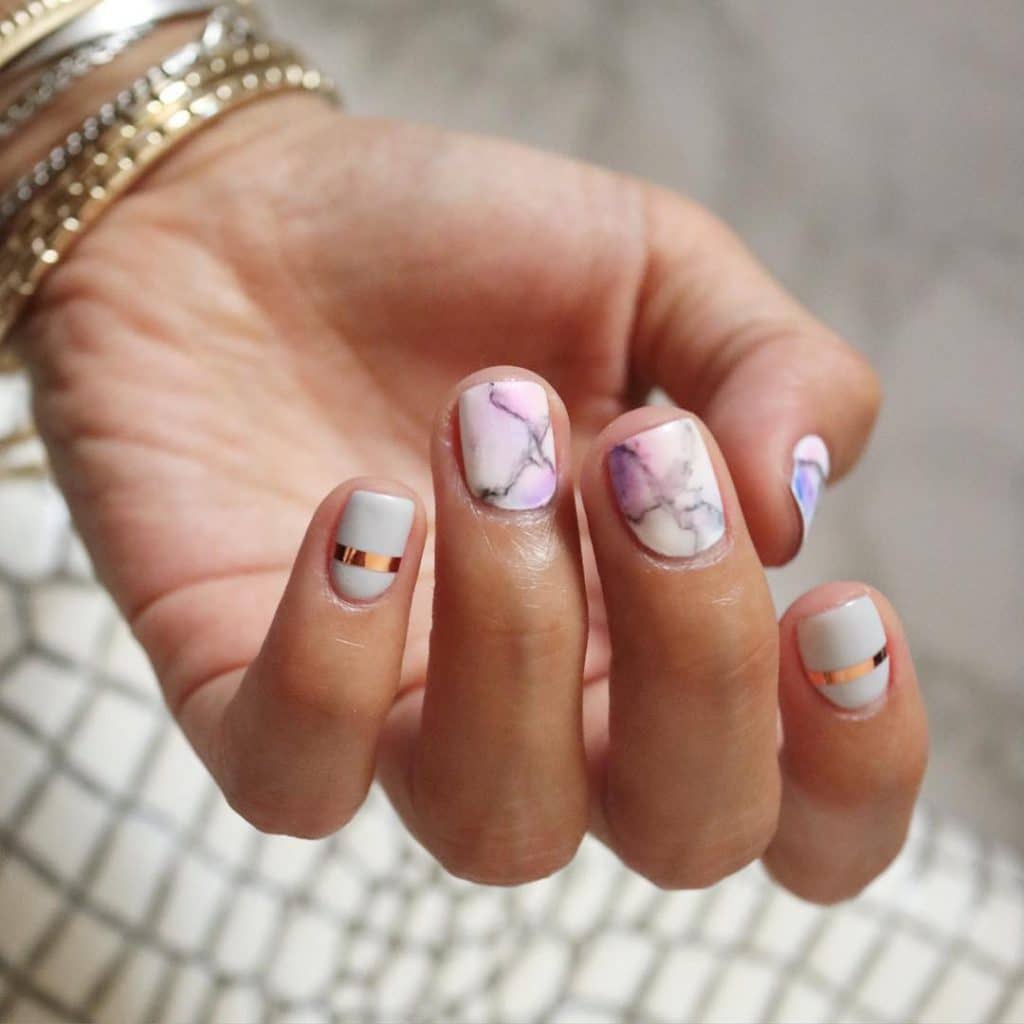
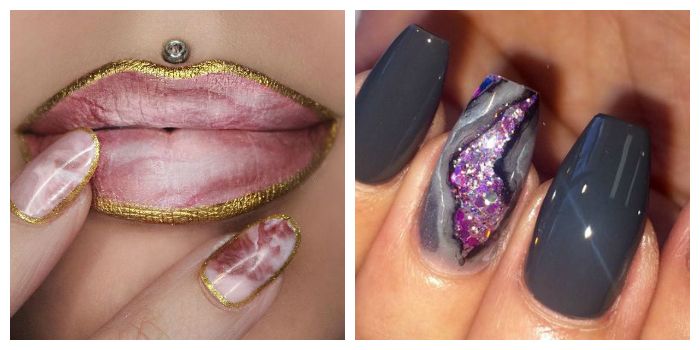
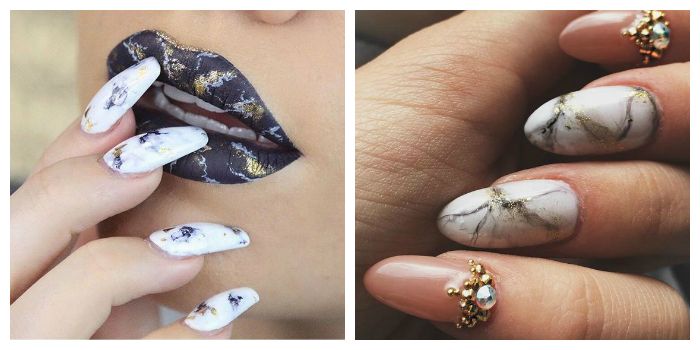
Combination with different techniques and design materials.
Although this area is quite conservative, the demand market gives rise to ever new options for marble manicure. Masters of nail art gently introduced new techniques and design into it. Supplemented with rhinestones, glitter, rubbing, foil. Also played a role seasonal customer needs. Let's consider some options.

Marble manicure at home.
This technique is available for home use. You can use both regular varnish and gel polish. We will consider several options for varnish and the most popular for gel polish.
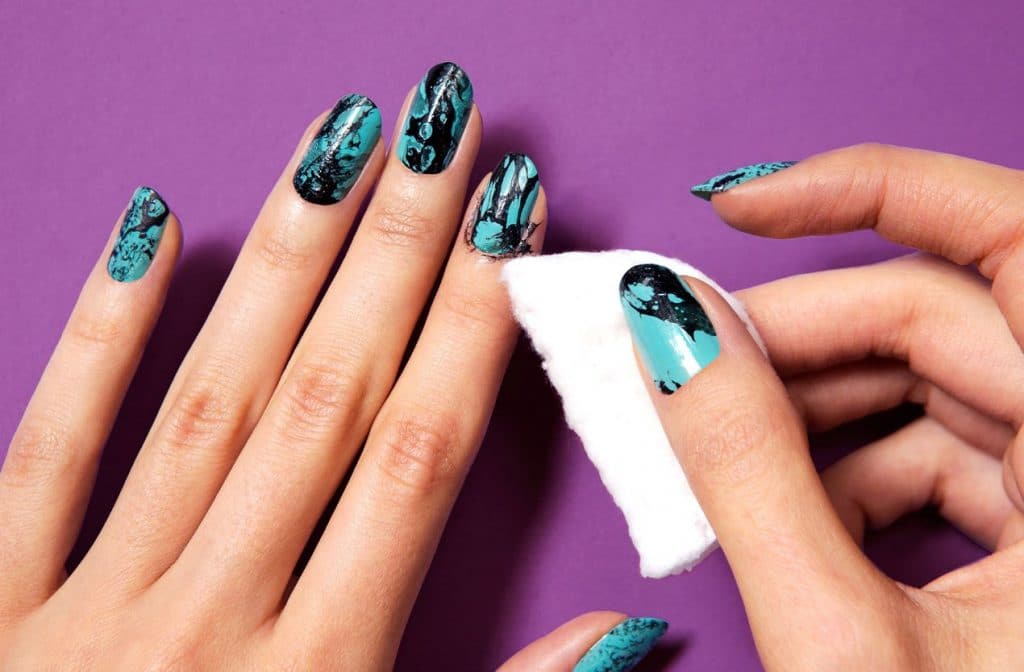
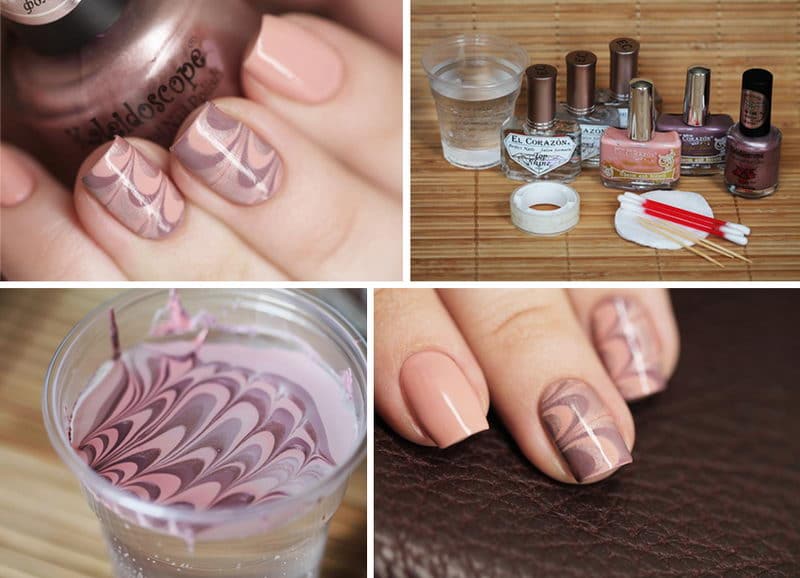
The first option is water.
We prepare the nails and apply the base color. In a container of water with a room of temperature, alternately drip several varnishes chosen by us. Using a toothpick we create the desired pattern. Next, in turn, lower each finger into the mixture. The area around the nail can be protected with tape, greasy cream, or use a liquid tape for manicure. If there is nothing at hand, simply clean with a cotton swab dipped in acetone.
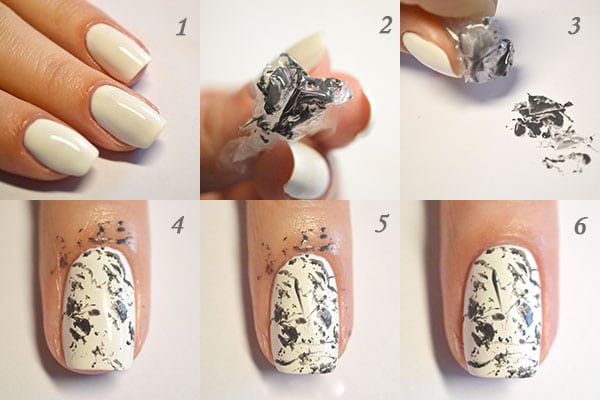
The second option is film.
On the prepared nails, apply the main color, allow to dry. Next, apply the second layer of varnish of a different color and gently crumpled a piece of film with abrupt movements, soak the top layer. The oiled part of the varnish will open the base layer - this is what we need! We remove the film, clean the side rollers and fix the resulting pattern.
The third option is most suitable for gel polish.
We clean the nail plate with a buff and apply a primer. After we apply the base, dry and stain it in the main color. On the second layer of colored varnish we drip a small amount of varnish and with the help of a thin brush we draw curves, but smooth lines. Lines can be blurred with tops for more reliable copying of the pattern on marble. The resulting pattern is dried in a lamp and fixed with a top.
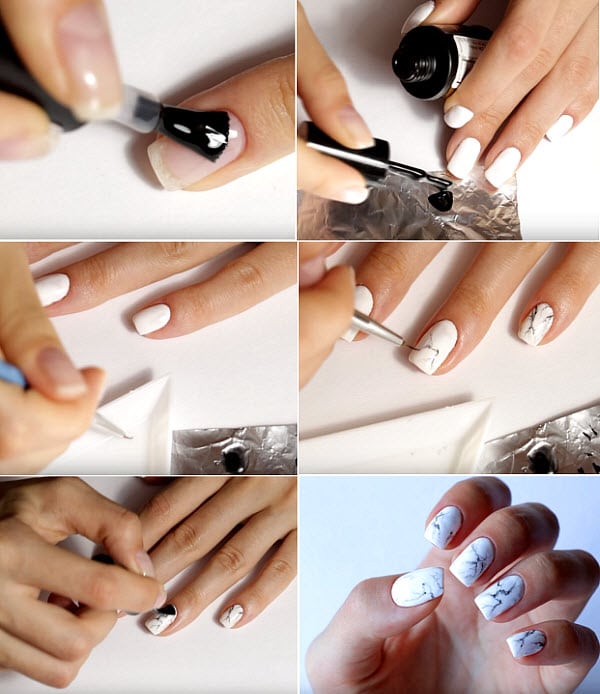
All of the above options are used for regular varnish and gel polish. But the third is the most economical in relation to gel polish.
Photo ideas "Marble manicure"
If you don’t like any of the above methods, then we offer you a photo of the idea of marble manicure, which you can choose and make with your nail-master.