Beautiful well-groomed hands are the key to success of any woman. The modern pace of life sets its own conditions in which it is not always possible to find time to visit a beauty salon. And sometimes the prices in these stores are just cosmic and, unfortunately, not everyone can afford it. For those who want to always have a beautiful manicure and do not waste time and money visiting the master, we have prepared this article. In it, we will talk about how to make a beautiful manicure at home simply and quickly.
Features and types of manicure at home
Manicure at home is good because you do not need to rush anywhere and spend a huge amount of money. In beauty salons, you can pay an impressive amount for a quality manicure with gel polish.
If you decide to go for a manicure to a friend of your acquaintance who makes him at home in the kitchen, be prepared for the fact that later you will have to disentangle the consequences of this act. All tools for any type of manicure should be carefully processed, and in some cases there should be the use of disposable tools. It’s difficult to find a good master at home, so be careful!
You can become the best master for yourself if you master all the subtleties of home manicure.
So, there are 3 main types of manicure:
- Edged manicure.
- Hardware manicure.
- European manicure.
Each of them has its own advantages and disadvantages, its own characteristics and nuances. Let's look at each of them in more detail.
Trim manicure
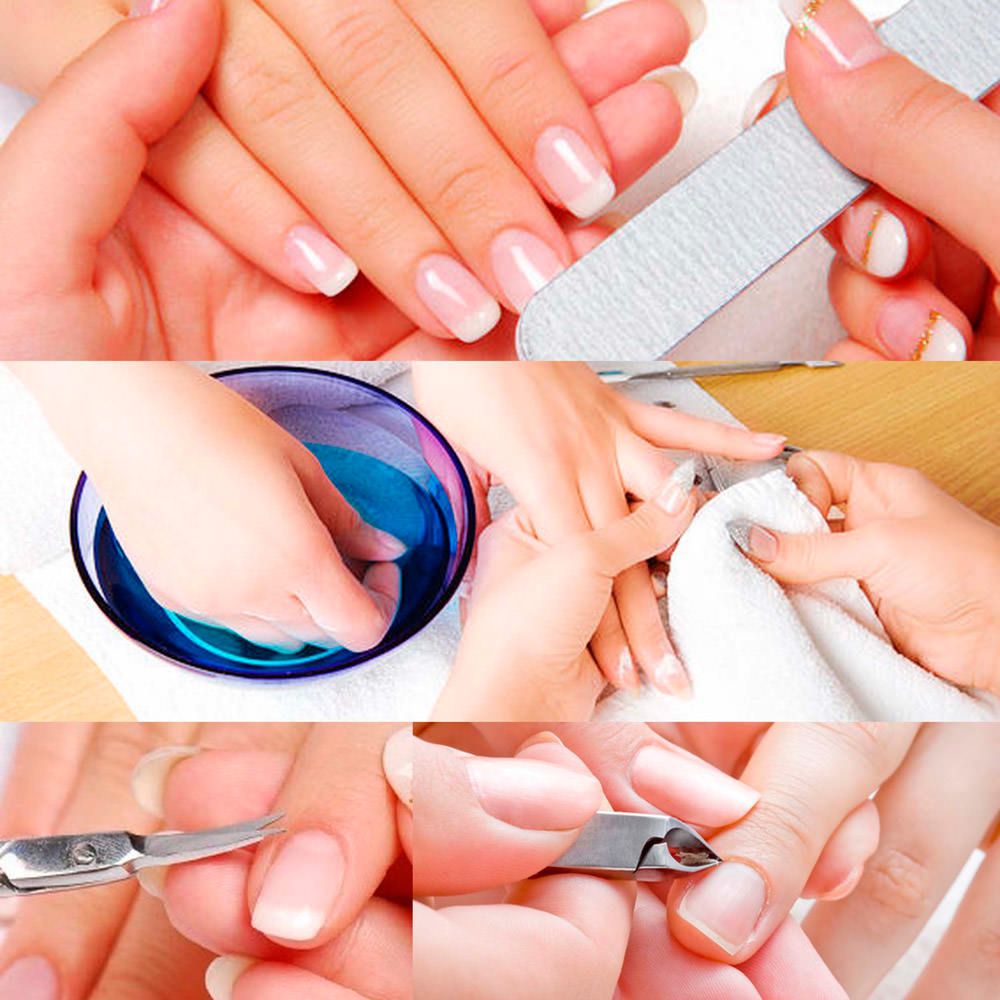
Perhaps the most popular type of manicure at home. With it, you can carefully process the nail plate, cuticle and create a truly beautiful manicure.
So, trim manicure is performed in the following sequence:
- The first step is to remove the old coating, if it is of course available. About how to properly remove the gel polish coating we will describe below.
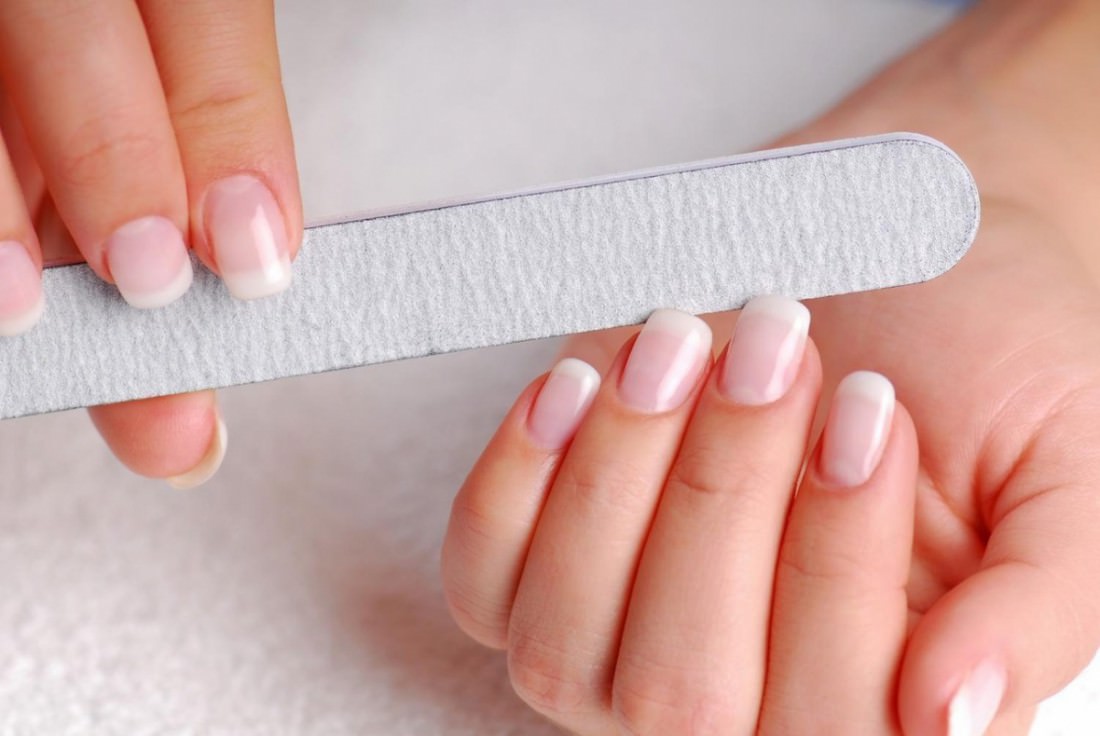
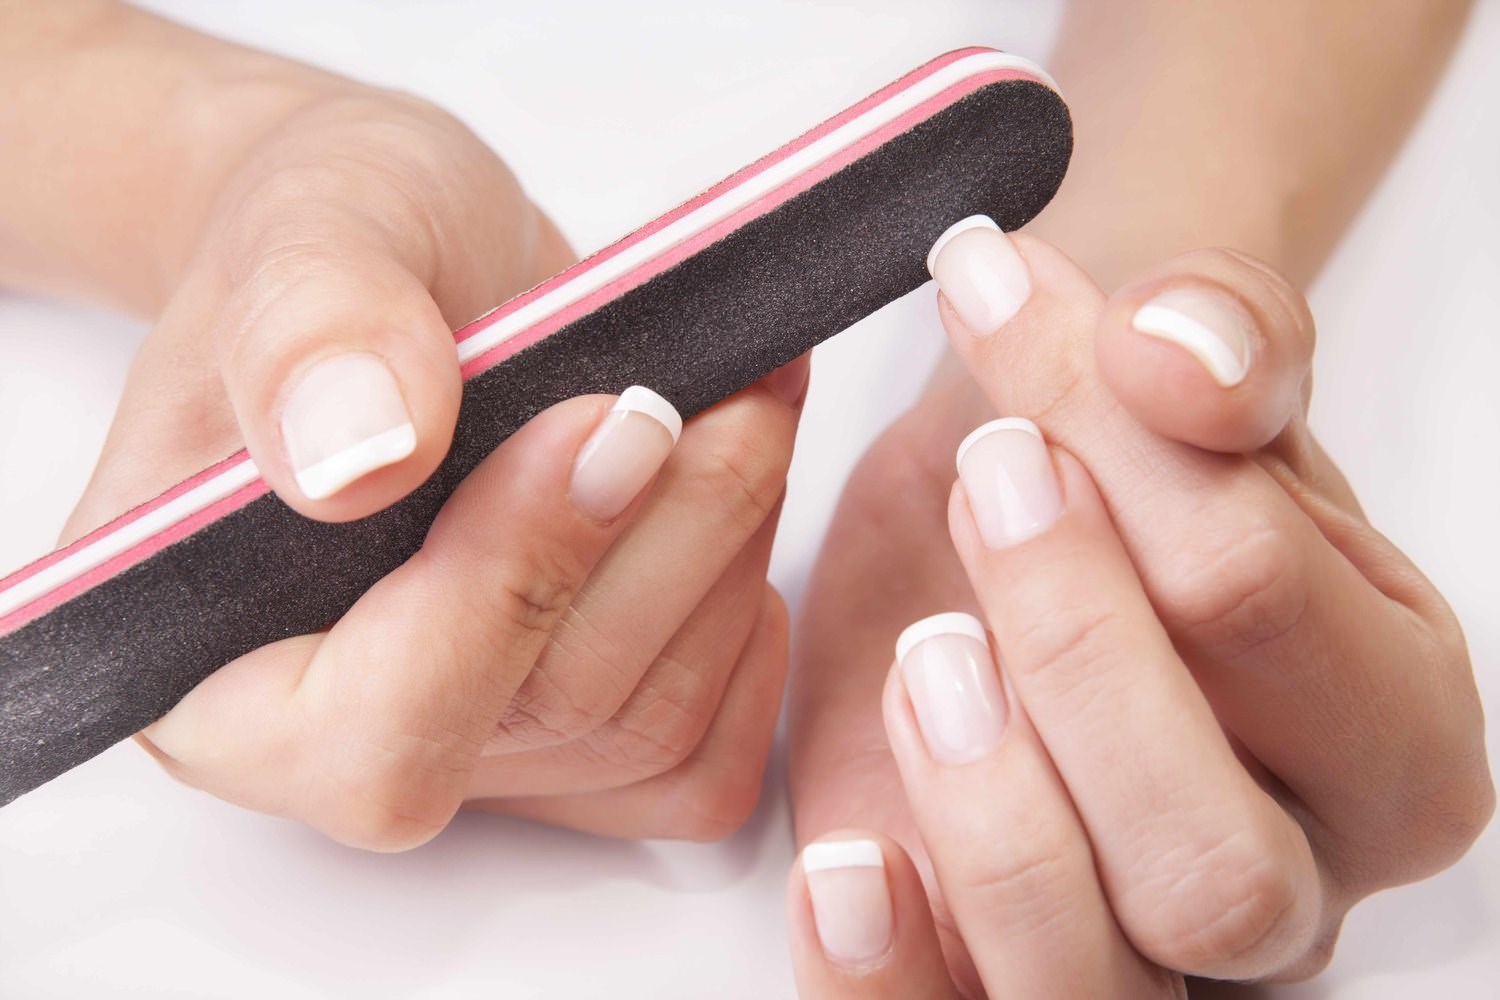
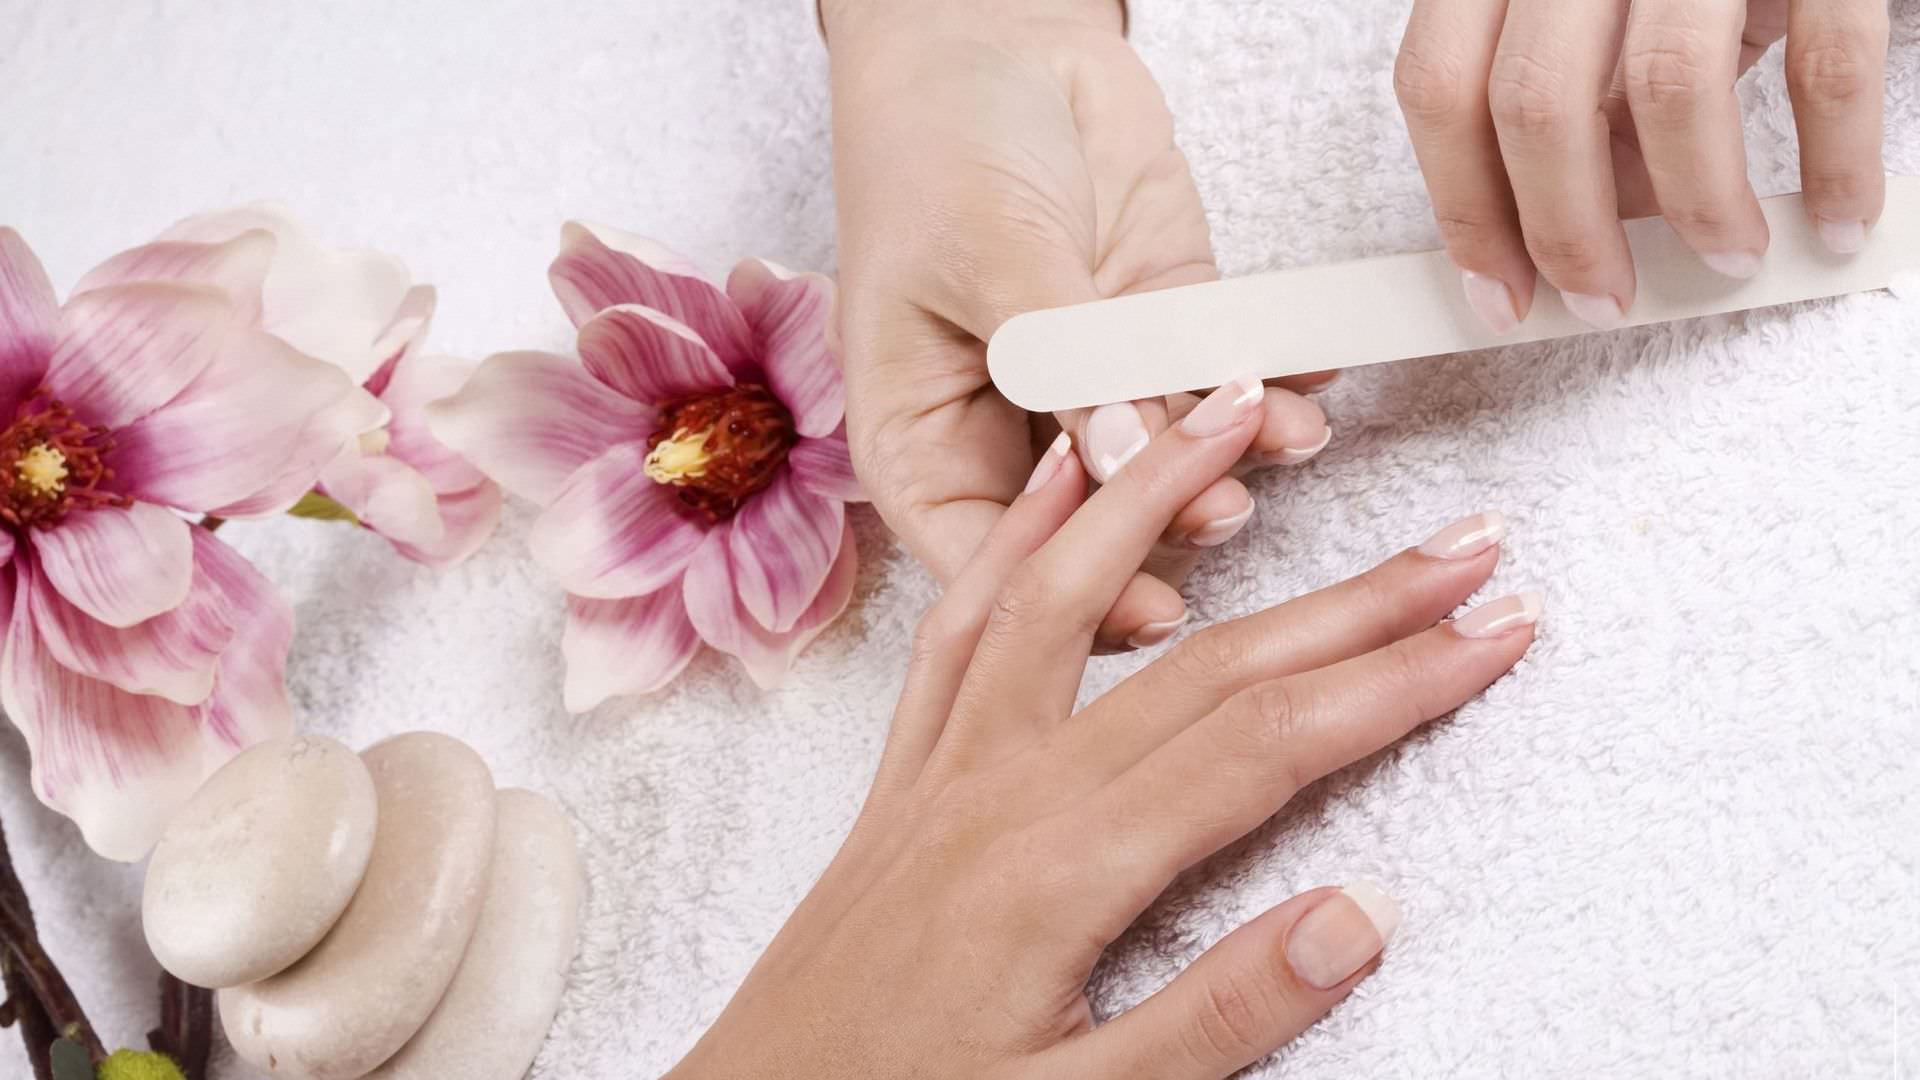
- After removing the old coating, you can proceed to shaping the nails. Using a nail file, carefully grind our nails to the required length and shape.
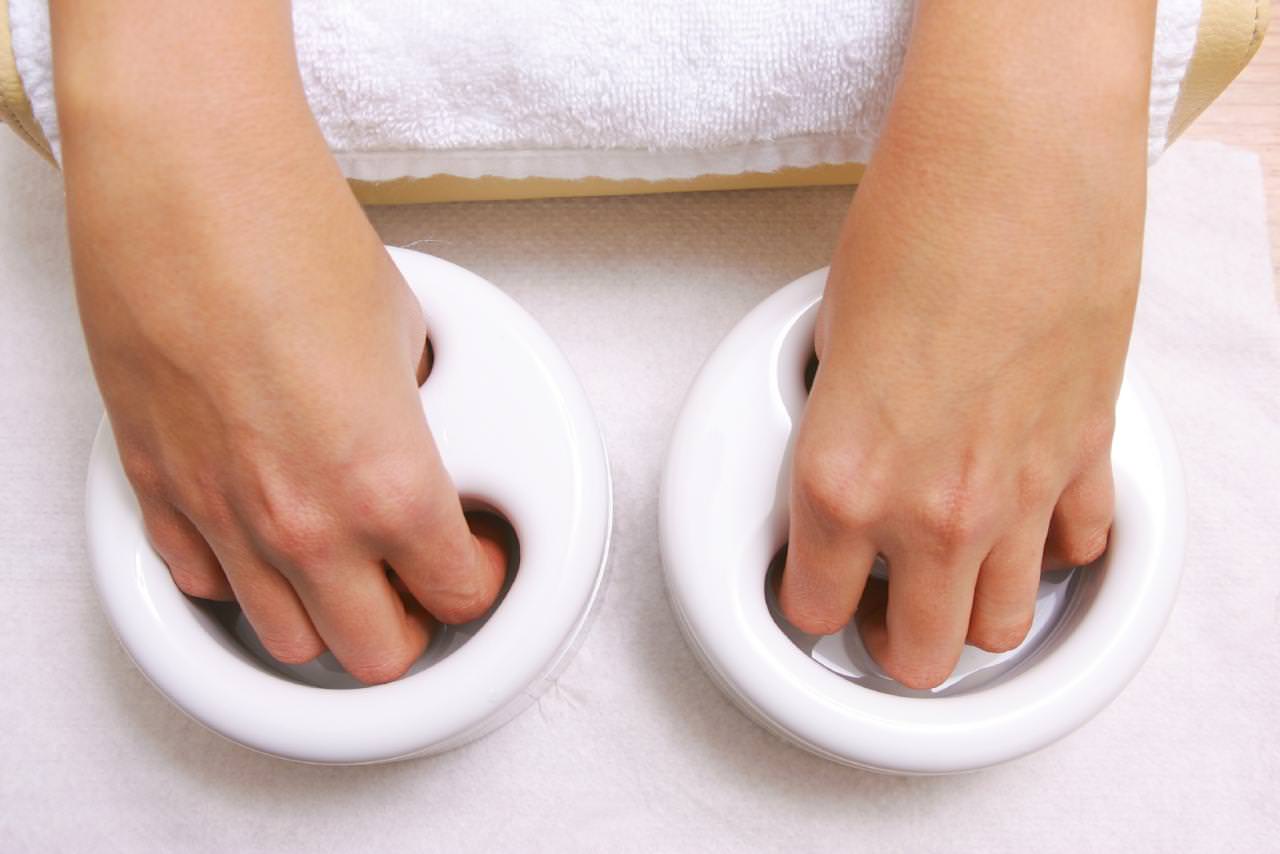
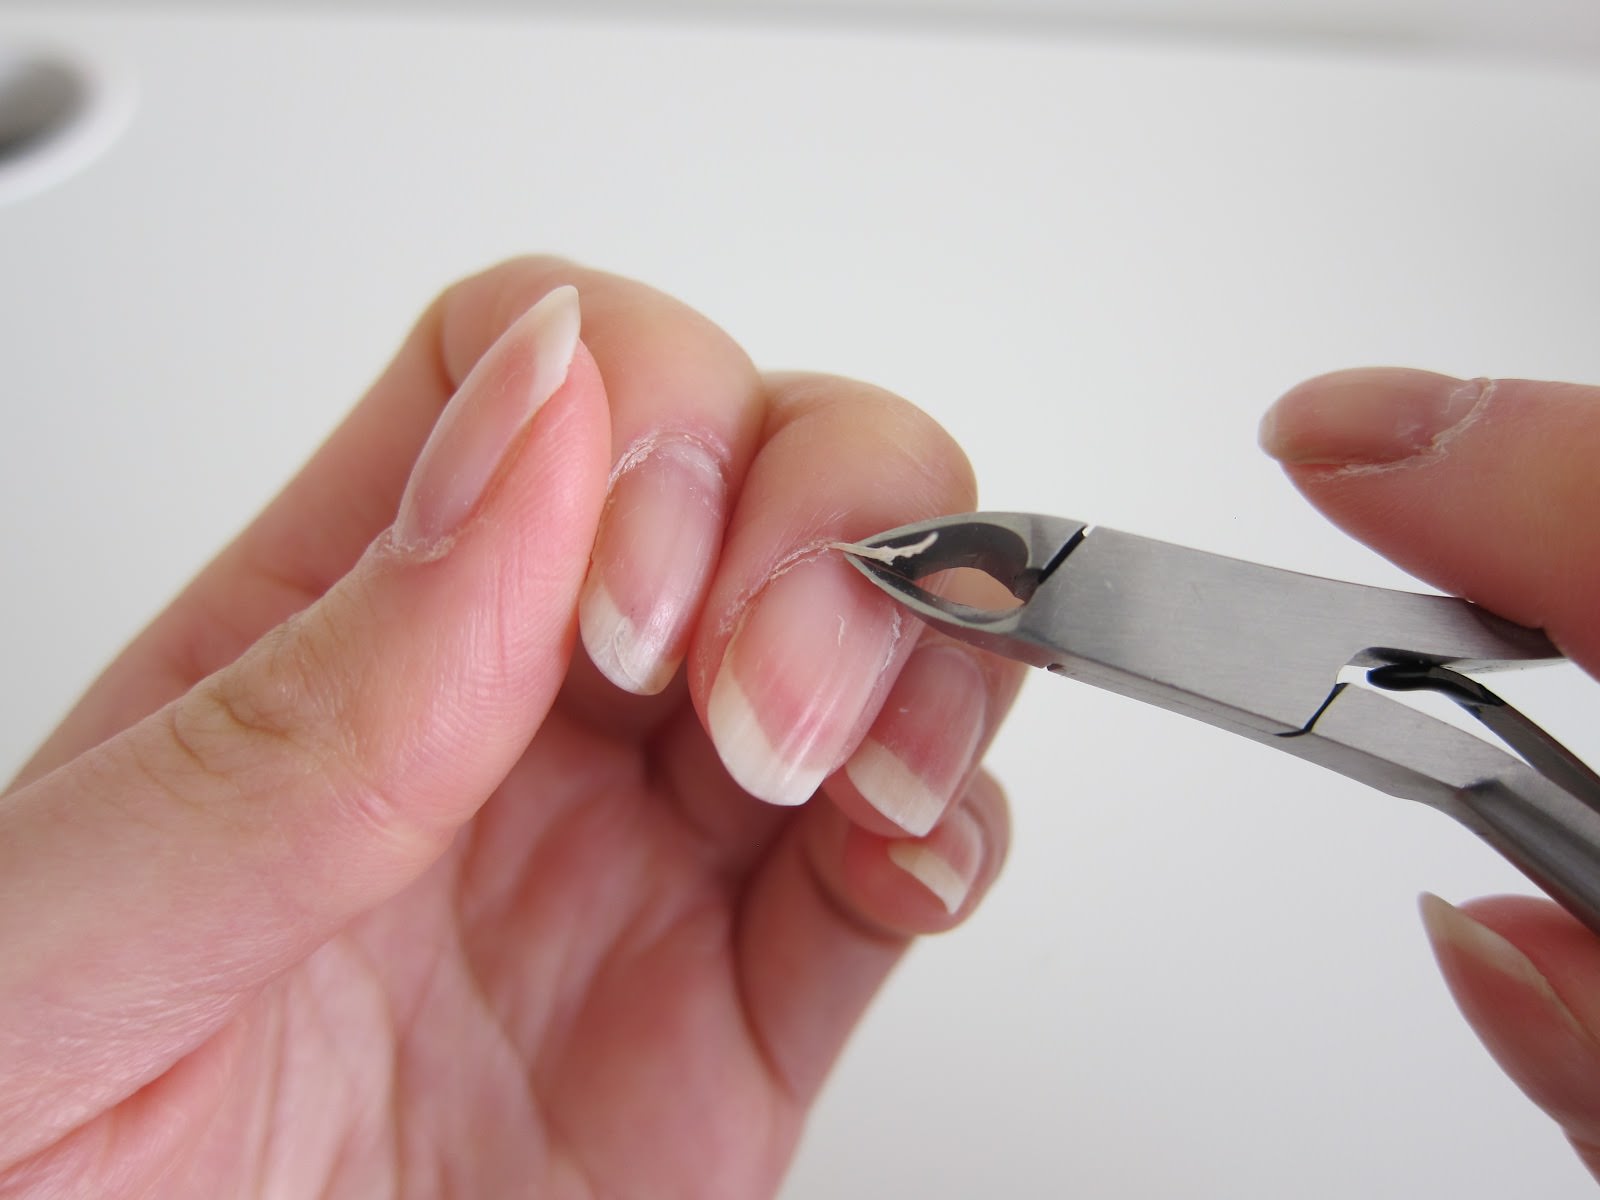
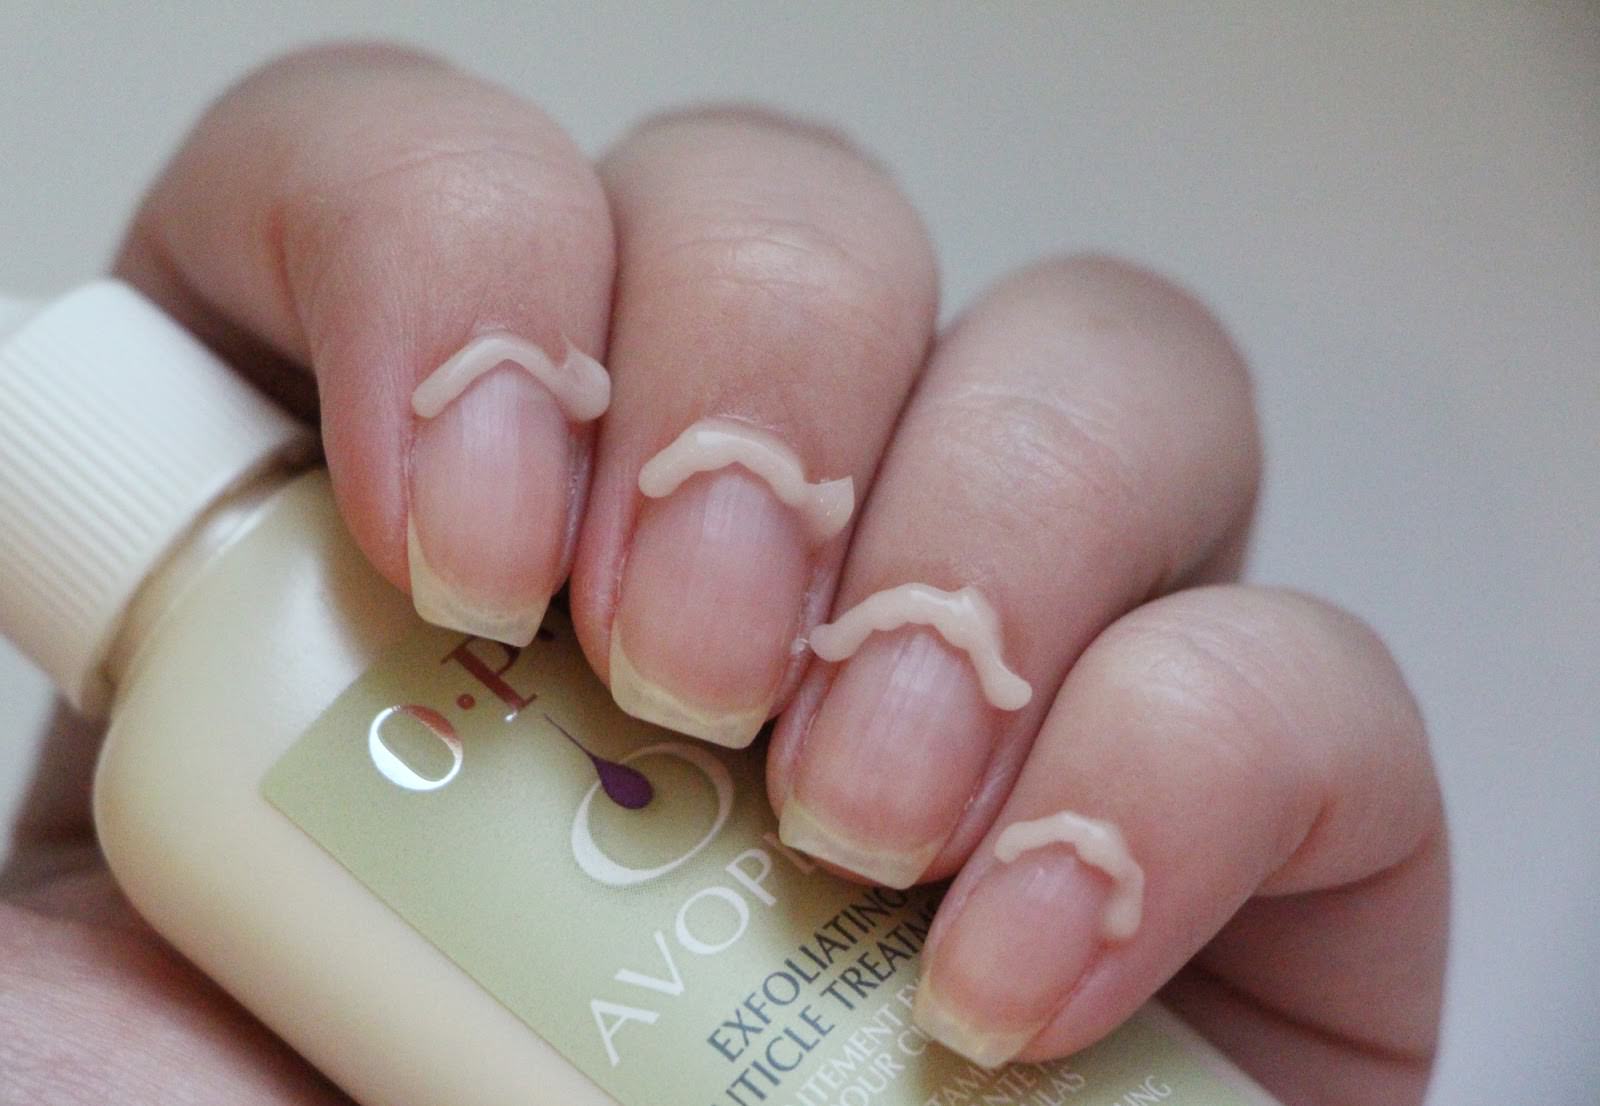
- Next, we proceed to the processing of the cuticle. We prepare a hot bath, apply a remover to the cuticle and lower our handles into this bath. In water, you can add essential oils or squeeze from medicinal herbs. We hold the handles in the bath for 5-7 minutes and proceed to processing.
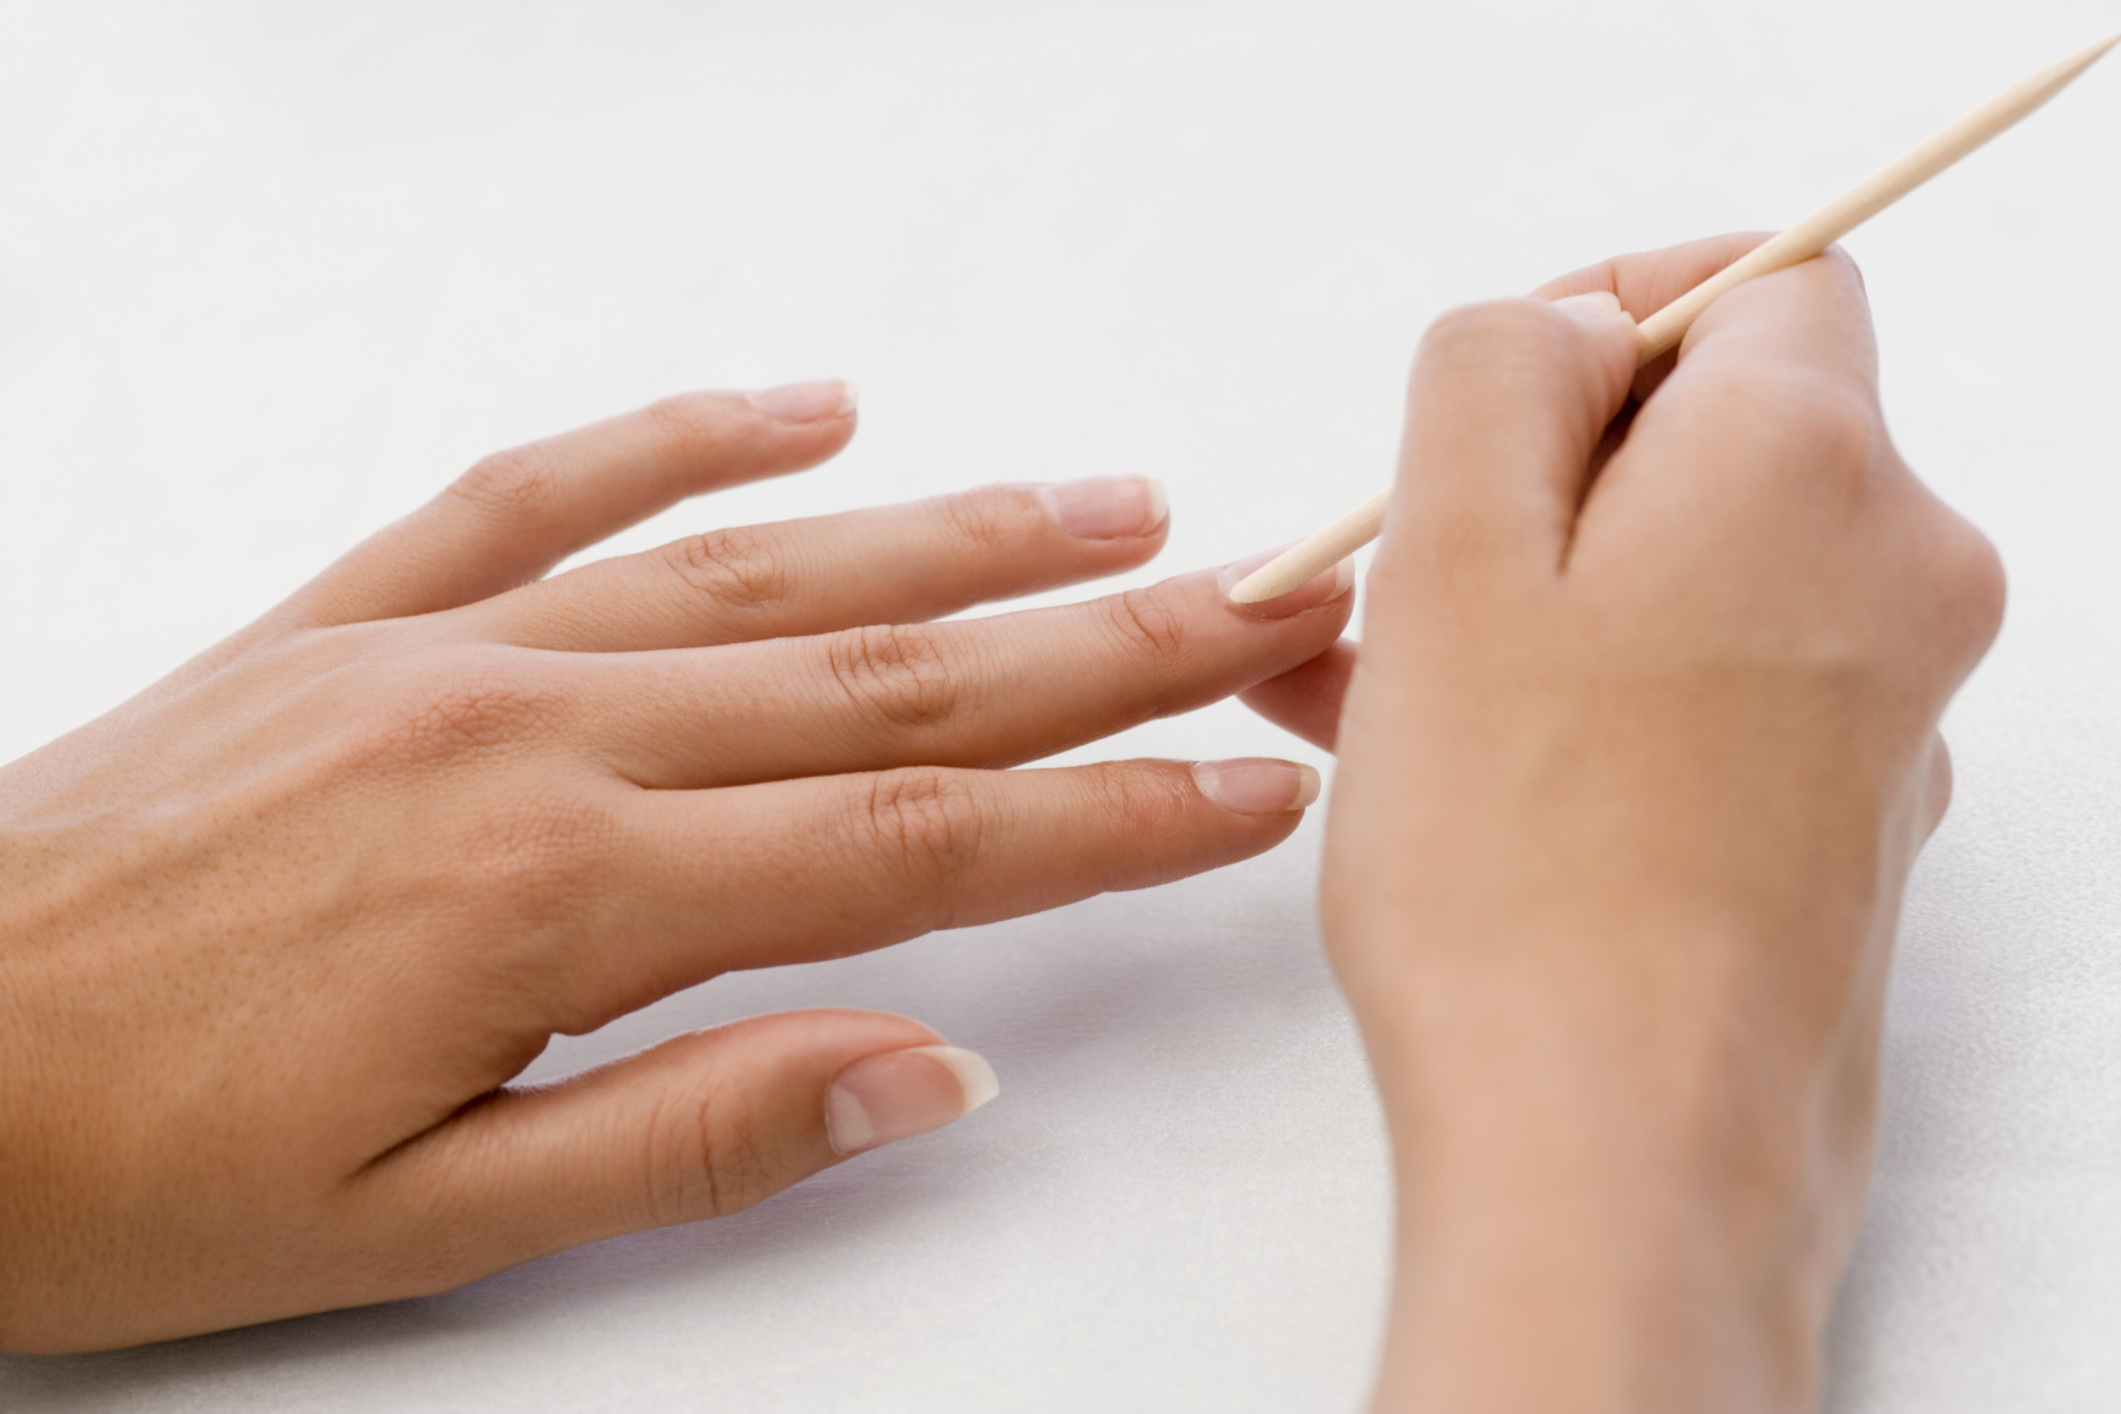
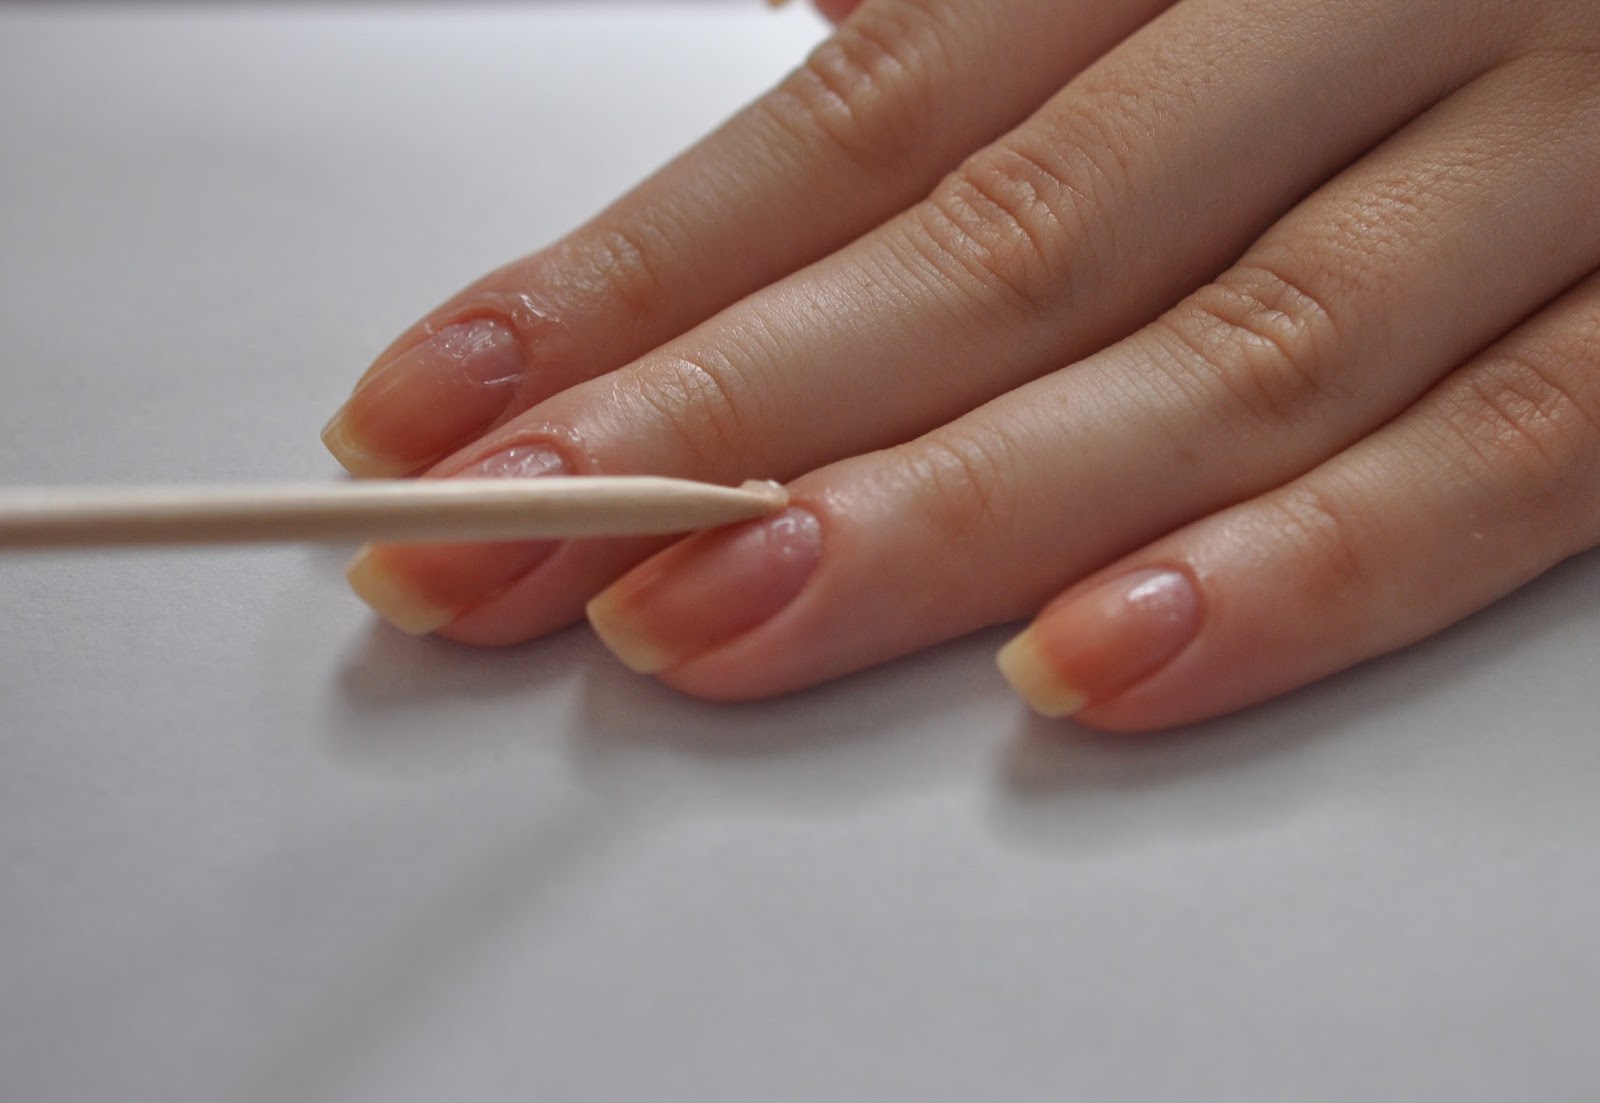
- An already softened cuticle can be easily moved away from the nail with an orange stick or pusher.
- The next step is to carefully cut the moved cuticle with metal nippers or nail scissors. After we clean the side zones.
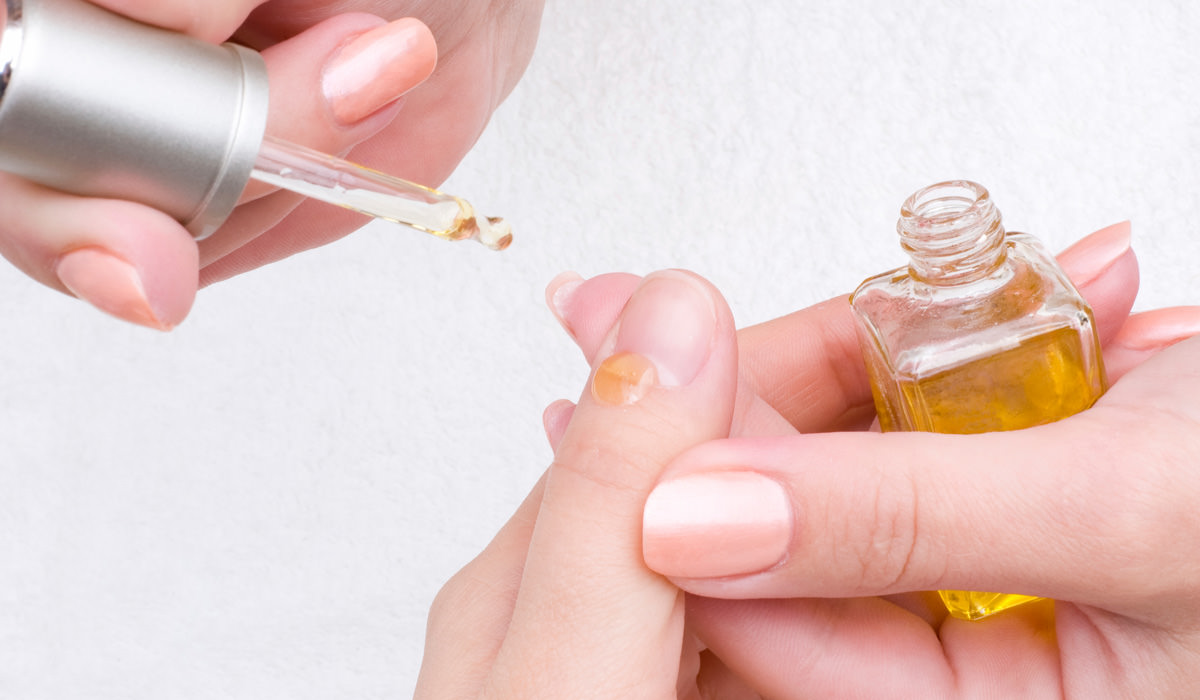
- Next, apply nutritious oil or cream to the treated areas and rub it with massage movements.
- After all the procedures, you can proceed to the coating.
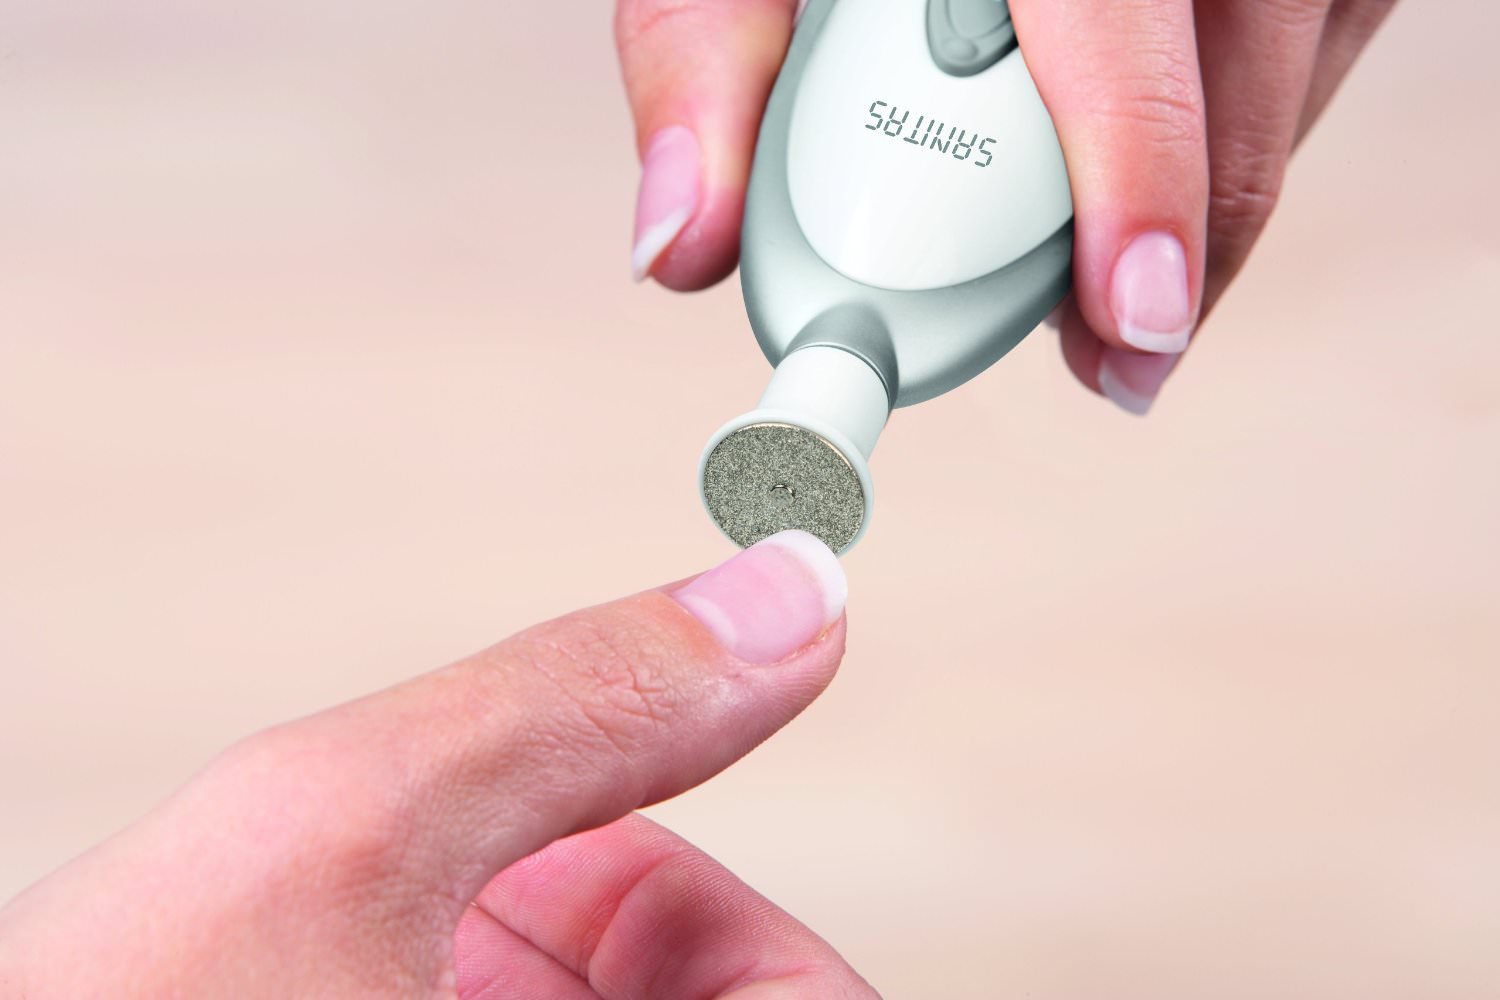
Hardware manicure
Recently, hardware manicure is gaining more and more popularity among women, in view of the fact that it is performed much faster than the same trimmed manicure.
It is worth remembering that hardware manicure is much more difficult to master. There is a risk of injury to the nail or skin if you are not careful and squeeze the nozzle.
In addition, it is worth remembering that hardware manicure is performed only on dry skin. Regarding the speed of rotation of the cutters, for beginners it is better to use low speeds.
If you still decide to master this type of manicure, then working with it consists of the following steps:
- Again, the first thing to do is remove the old coating.
- Next, we treat the skin of the hands with a special antiseptic liquid.

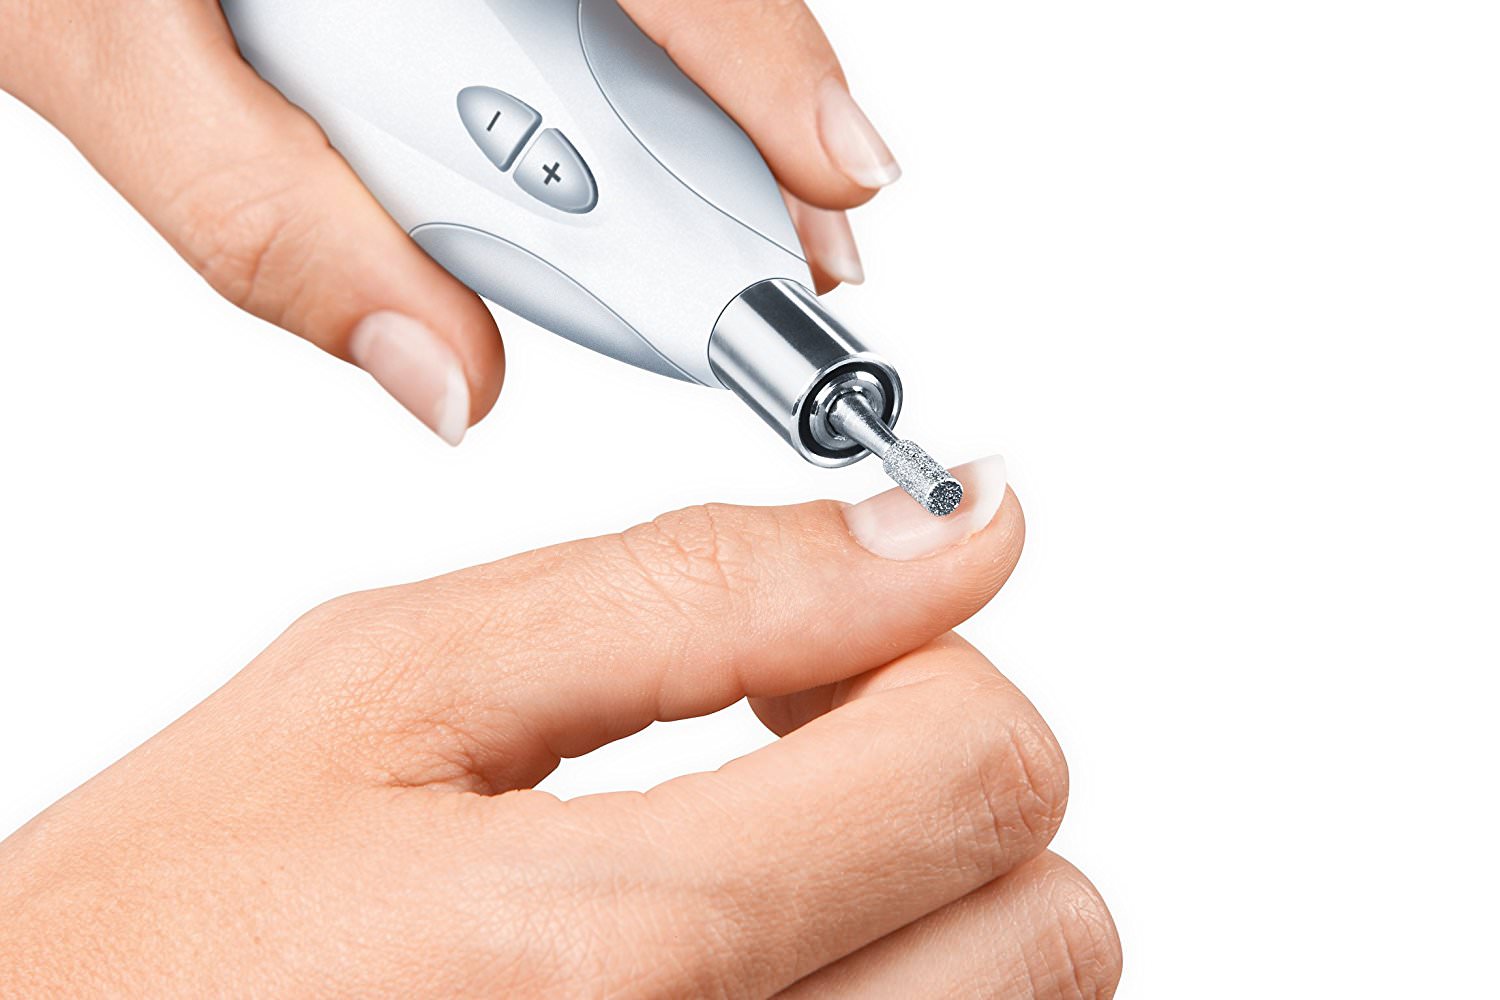
- Slightly pushing the cuticle with an orange stick, remove it with a cone-shaped nozzle. We move smoothly without sharp movements from left to right. The cutter is not strongly pressed.
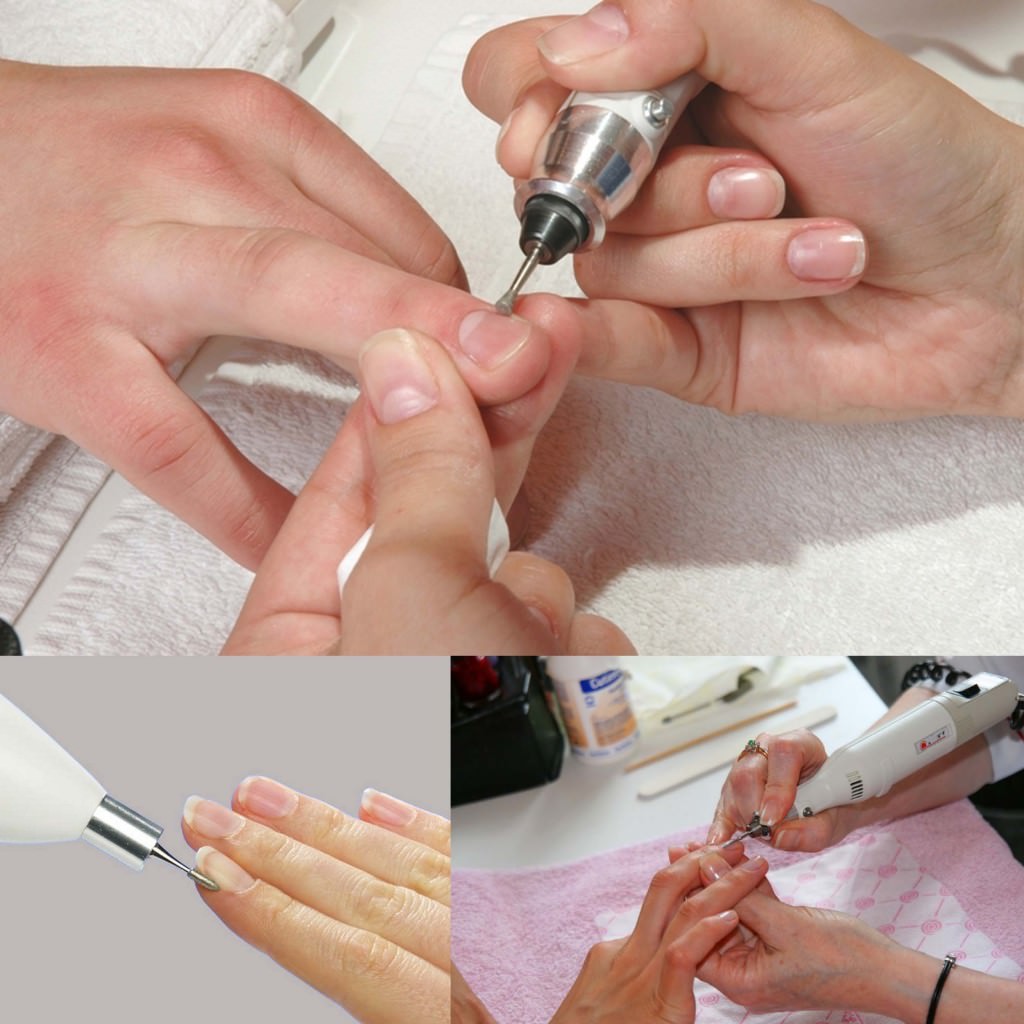
- Using the disk nozzle, we give the nails the appropriate shape.
- Gently blow off all the dead particles and proceed to the coating.
European manicure
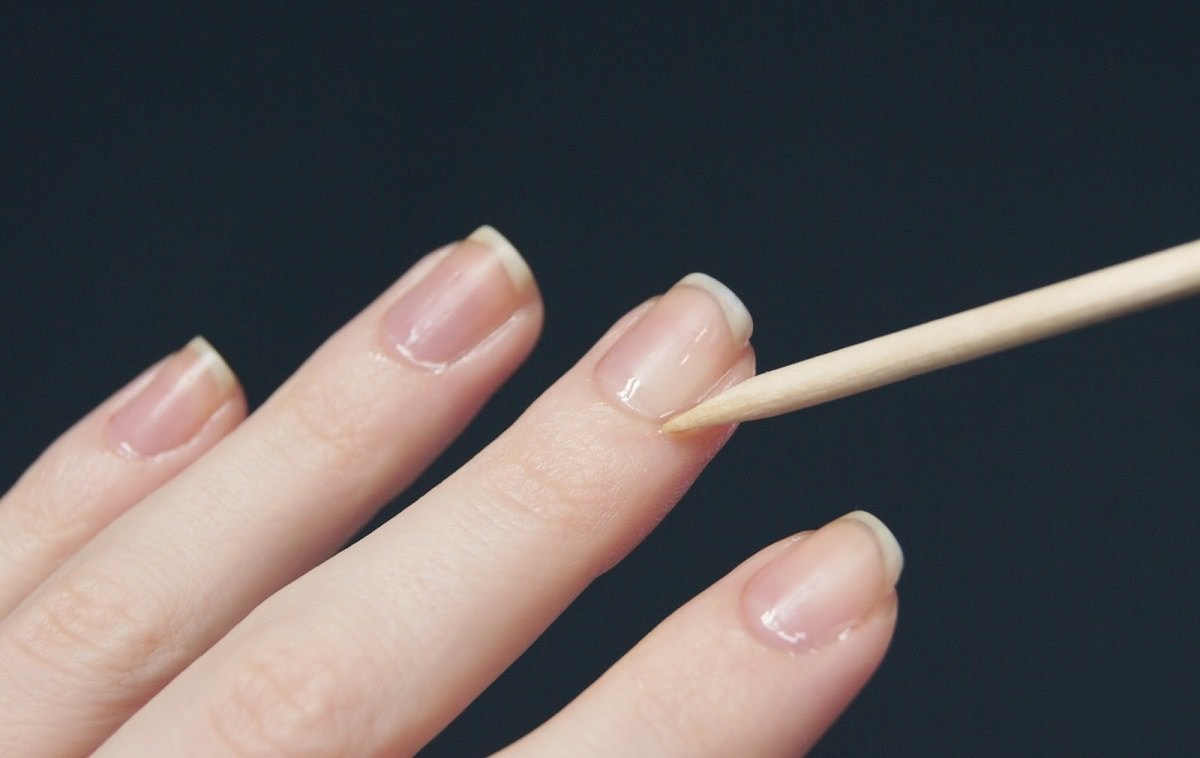
European manicure is another potential competitor to trim manicure. Running from is also fairly quick and easy.
- First of all, of course, do not forget to remove the old coating.
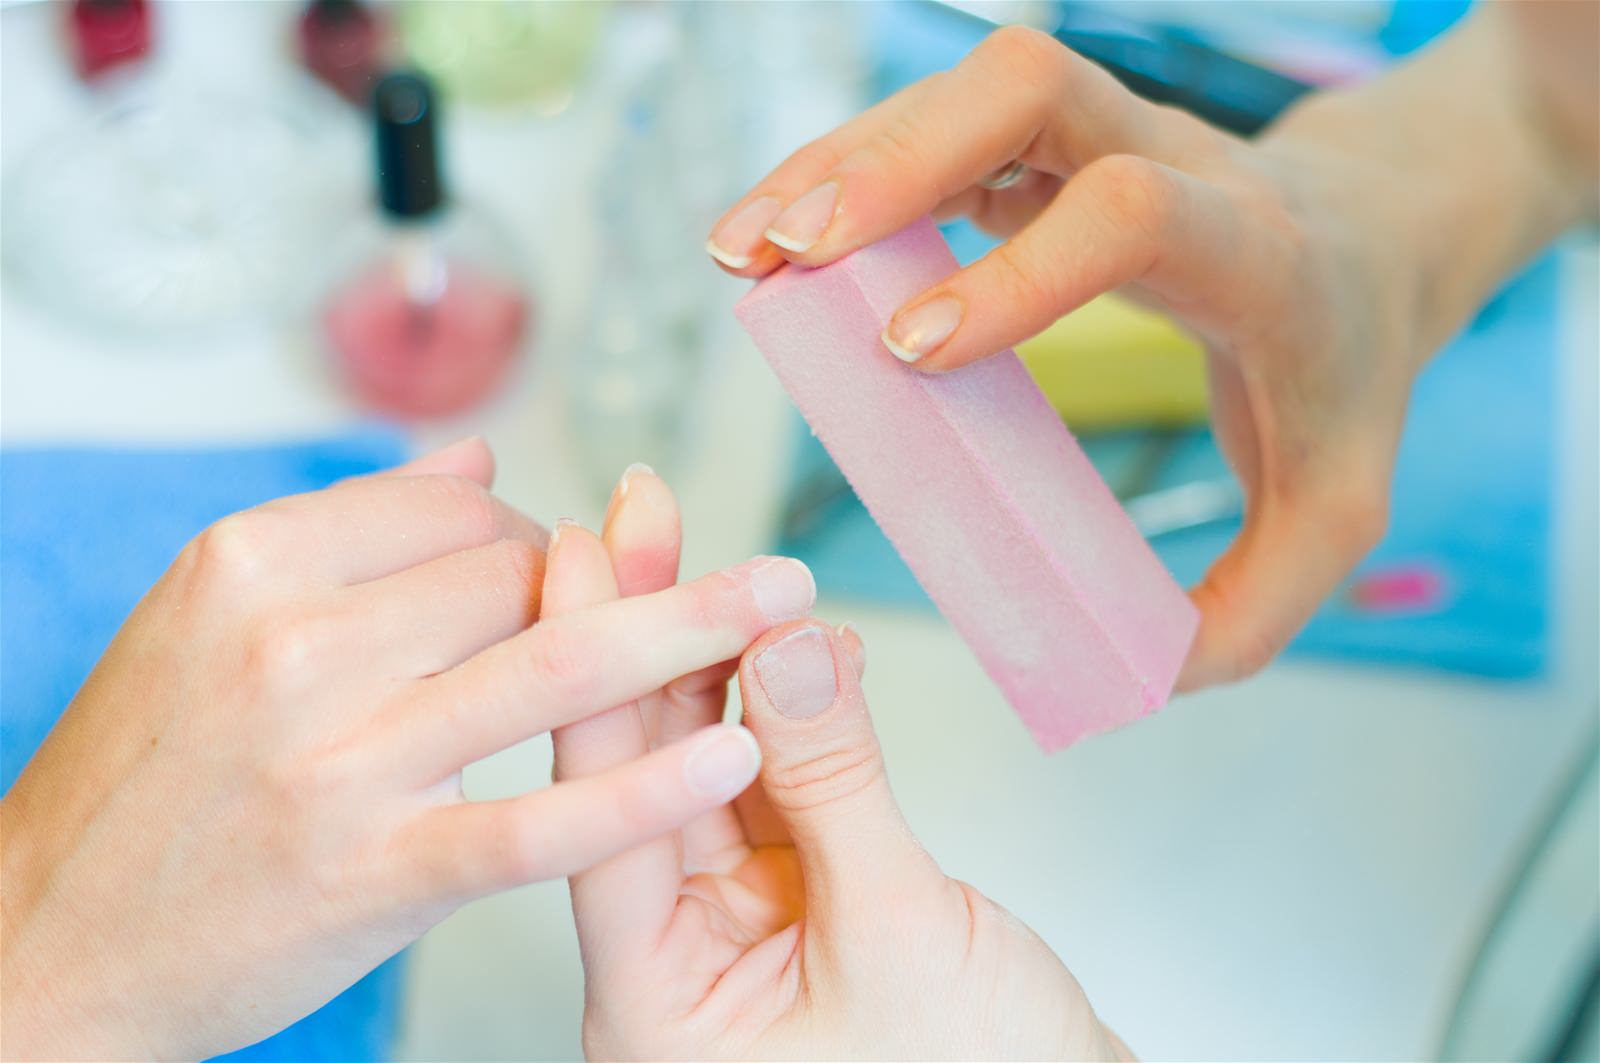
- Then with the help of a file of medium hardness we give the nails the corresponding shape and polish them a little with buff.
- The next step is applying a remover to the cuticle and waiting for 3-5 minutes. The waiting time depends on the brand of the remover. Before use, be sure to read the instructions. After the time has passed, wash off the remover with water or erase with a cotton pad.
- We remove the softened cuticle with a wooden stick and apply a special tool to slow its growth.
- Once again, we polish the nail plate and proceed to the coating.
Coating and removing gel polish at home
Regular nail polish was replaced by gel polish. He immediately won the love of women around the world. Gel polish coating is kept in the region of the month and there is no need to correct or change it every 2-3 days. True, to apply such a coating you need a special lamp. But now you can buy it in any store and it is absolutely inexpensive.
So, the sequence of coating with gel polish is as follows:
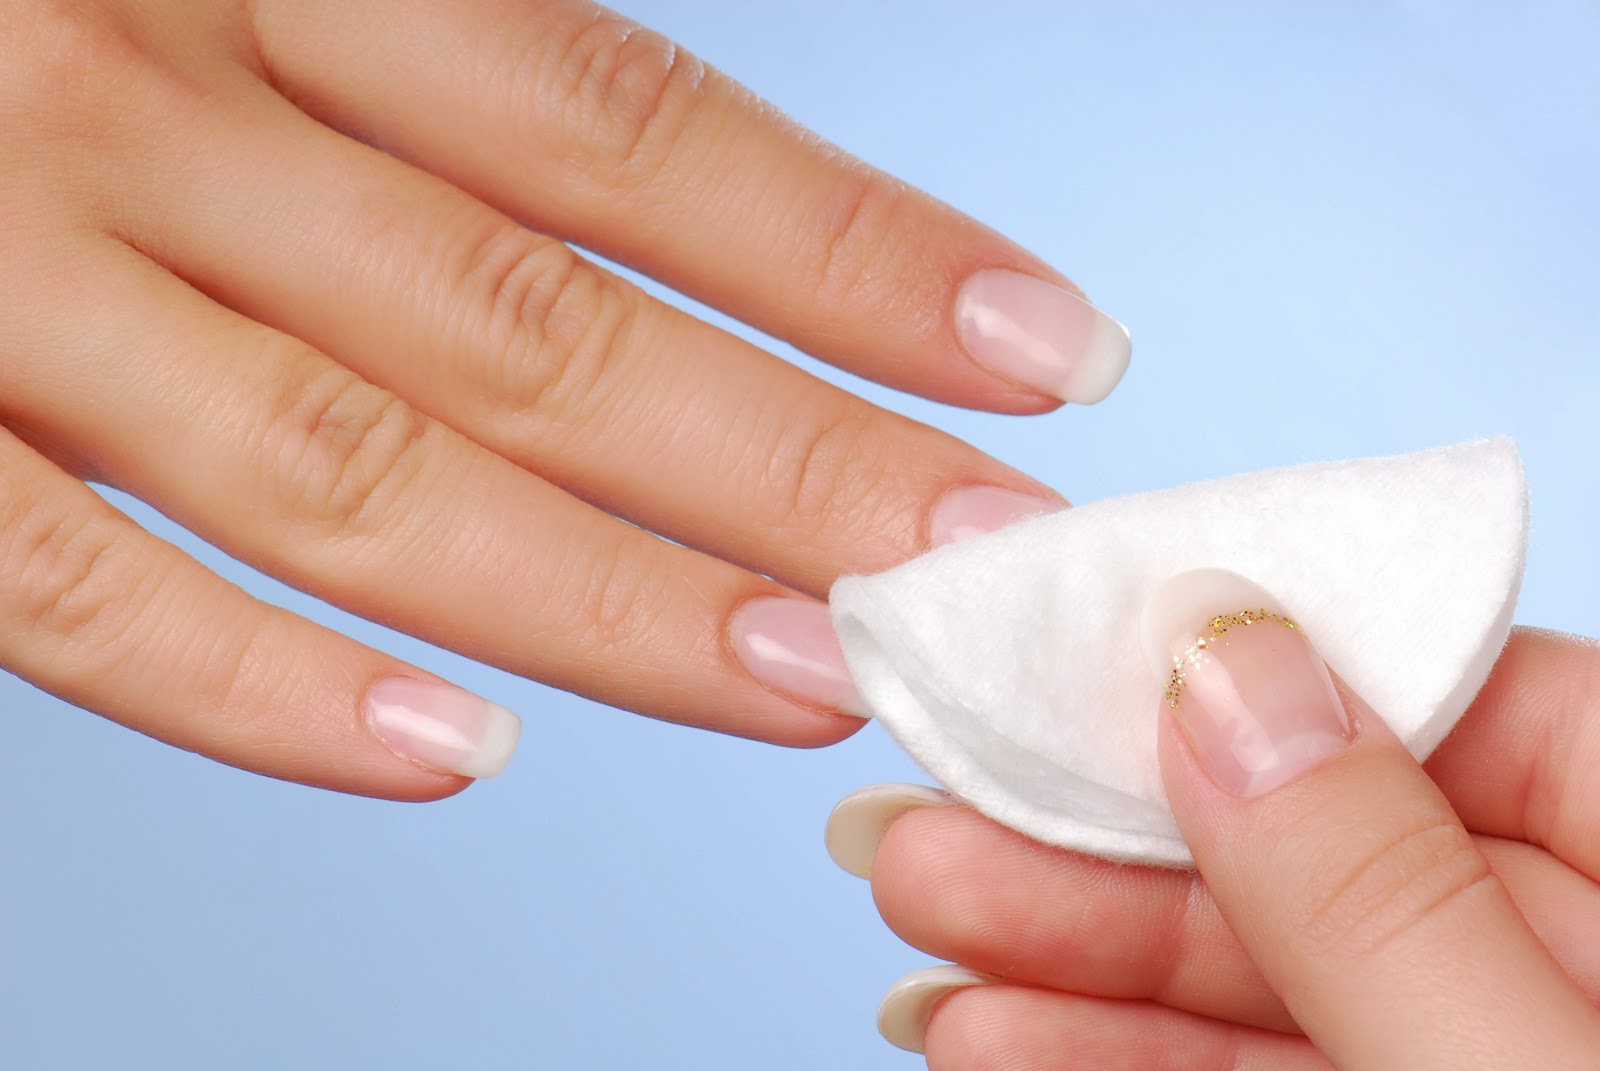
- Polished nails must be degreased with a special tool to remove the sticky layer.
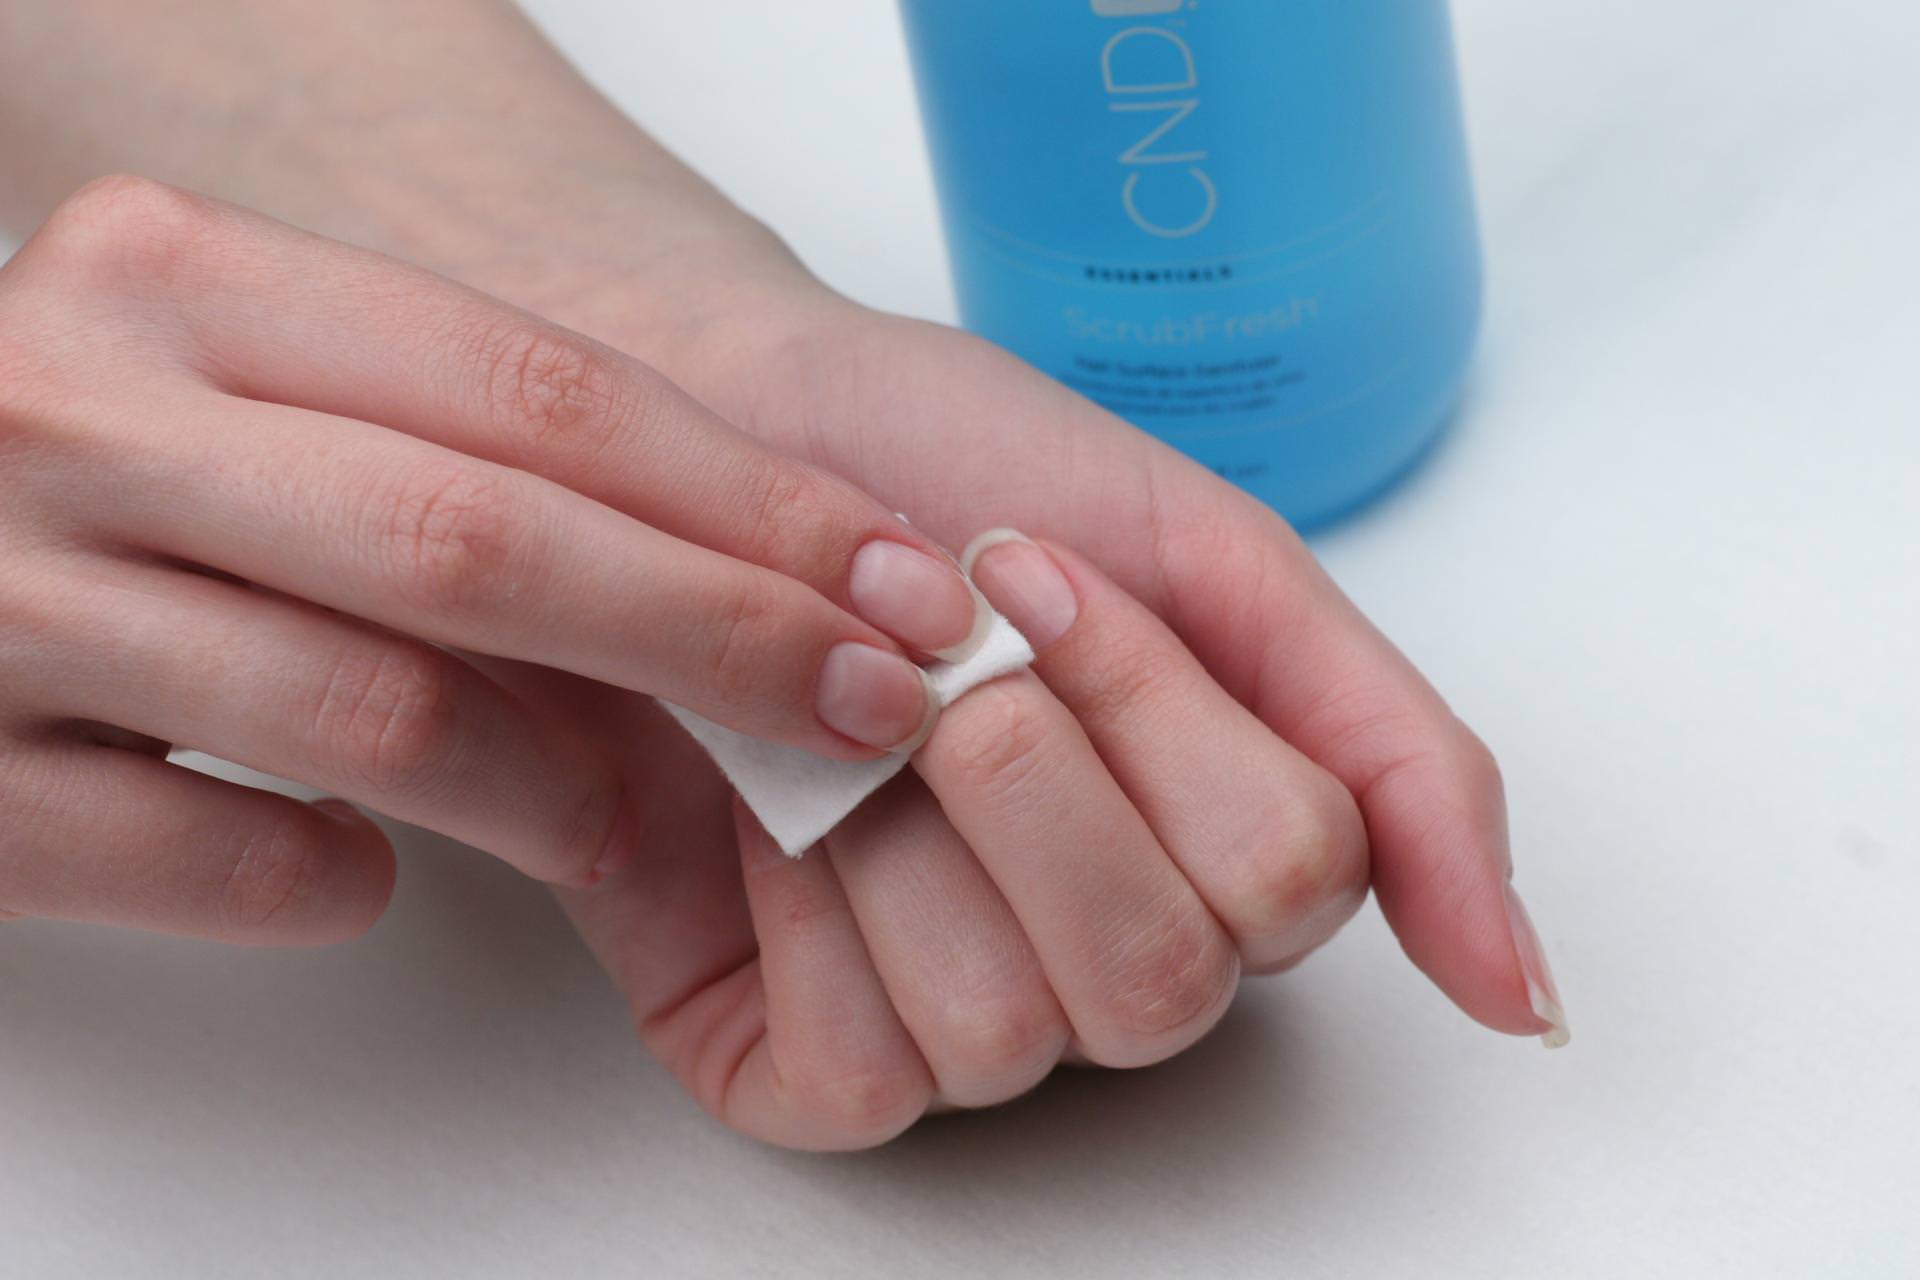
It is better to degrease nails with the help of special lint-free manicure wipes.
- The next step is to apply a primer.

- Next, apply the base under gel polish to protect the nail plate from its effects. Dry in the LED lamp for 30 seconds.

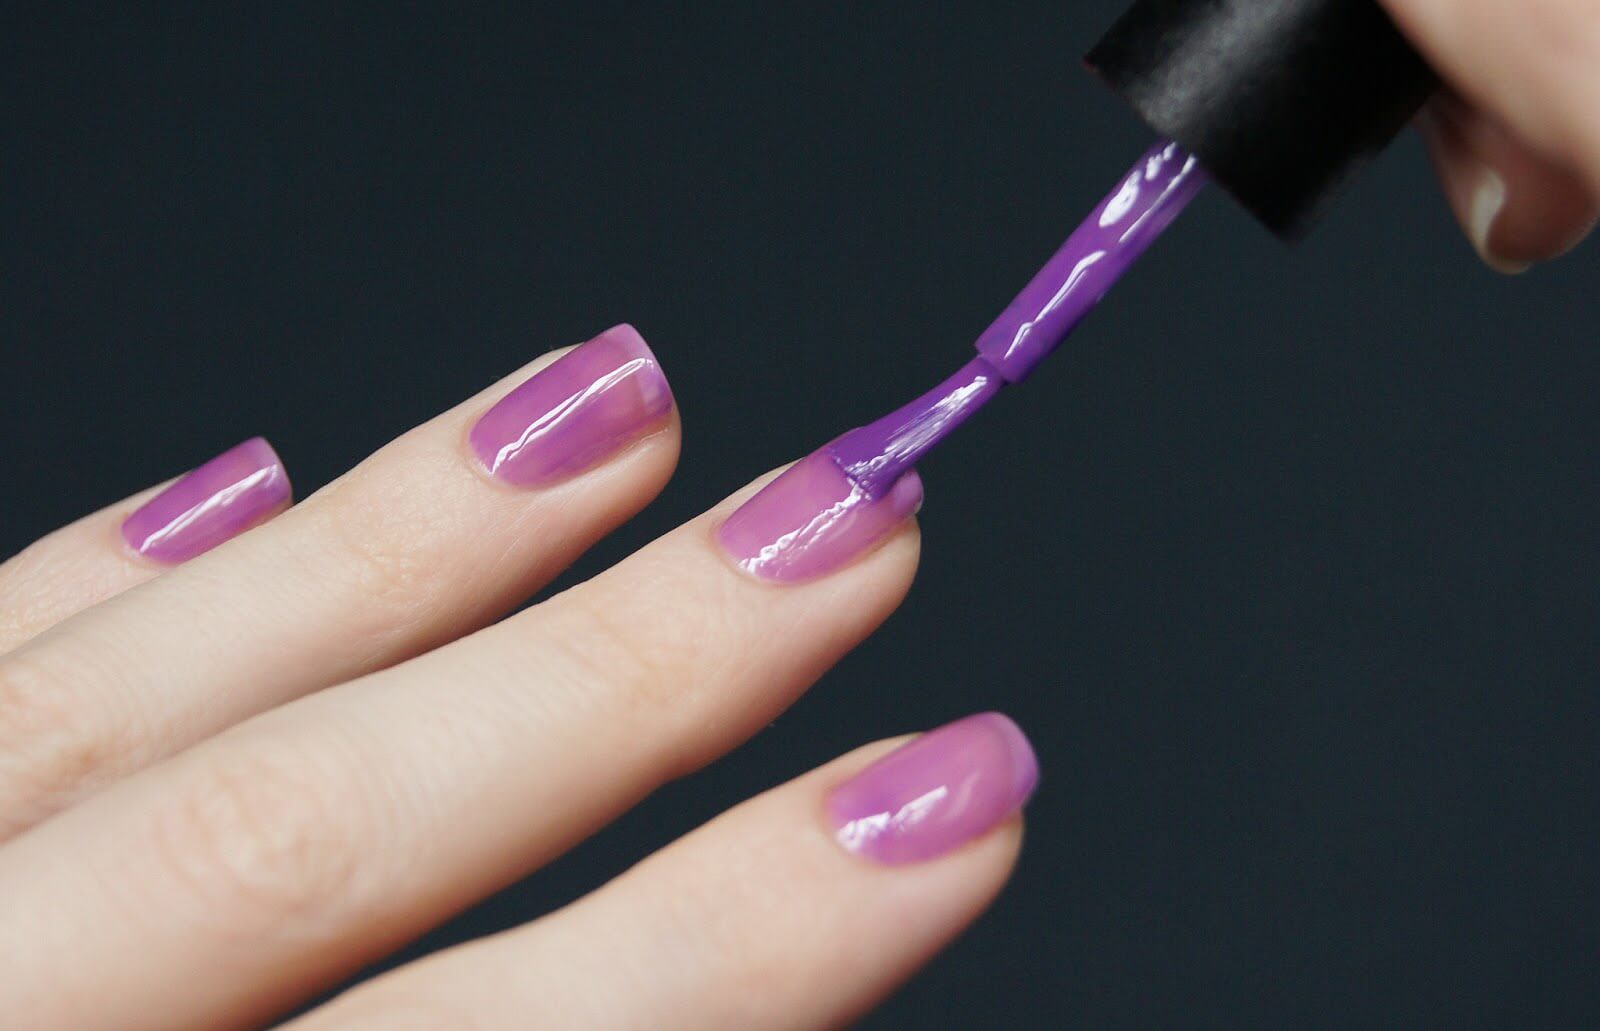
- The next step is to apply the varnish itself. Lacquer should be applied from the middle, gradually approaching the edges. If necessary, you can apply 2 or 3 layers. Each layer must be dried in a lamp.
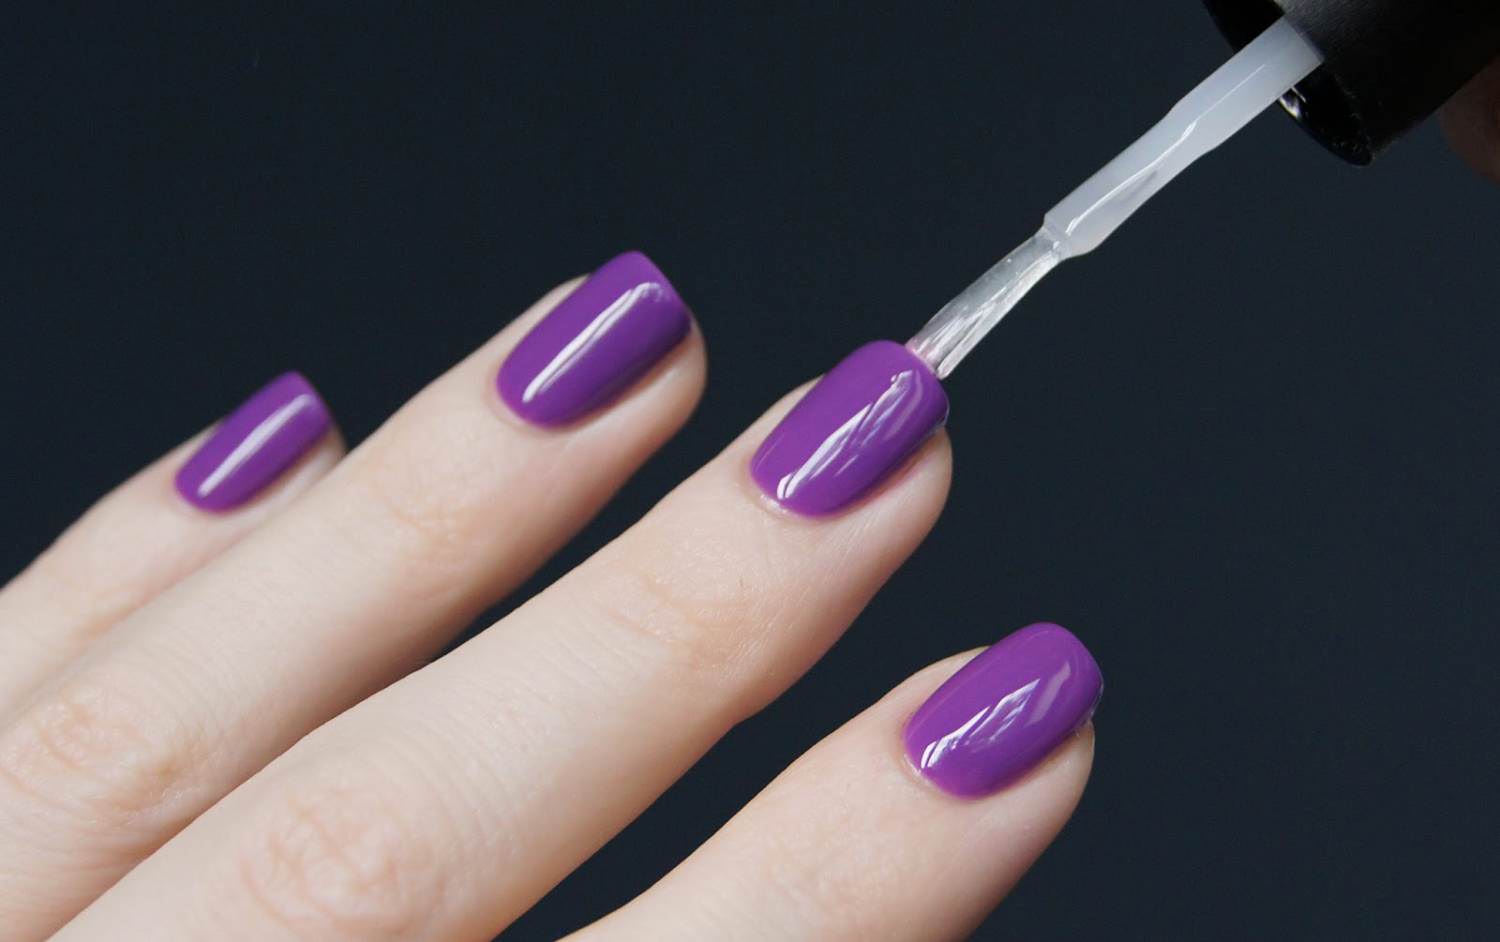
- Next, apply a transparent fastener (top) so that the coating lasts longer. It must also be dried in a lamp.
Now we will figure out how to properly remove the gel polish.
First of all, it is worth noting that the gel polish coating is very durable and it will not work just to remove it with ordinary liquid. However, having a certain tool and dexterity, you can remove gel polish at home.
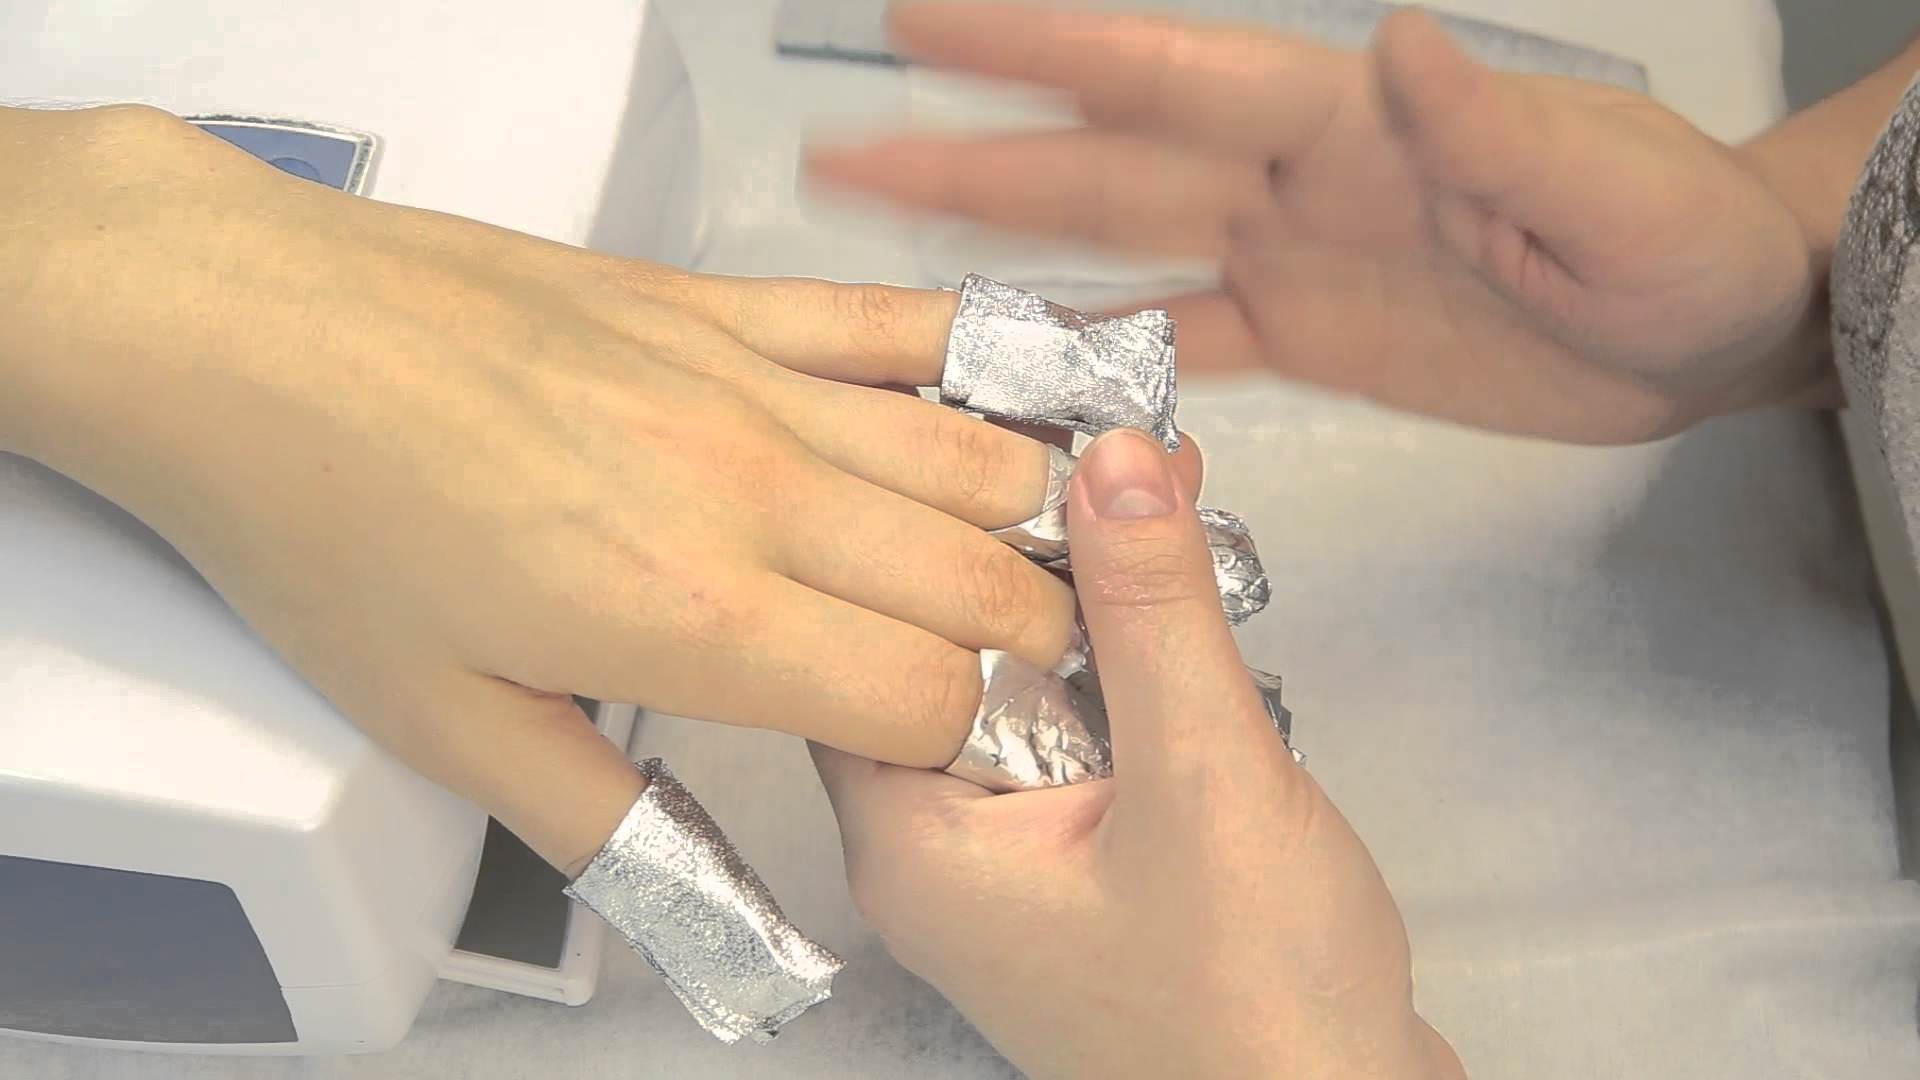
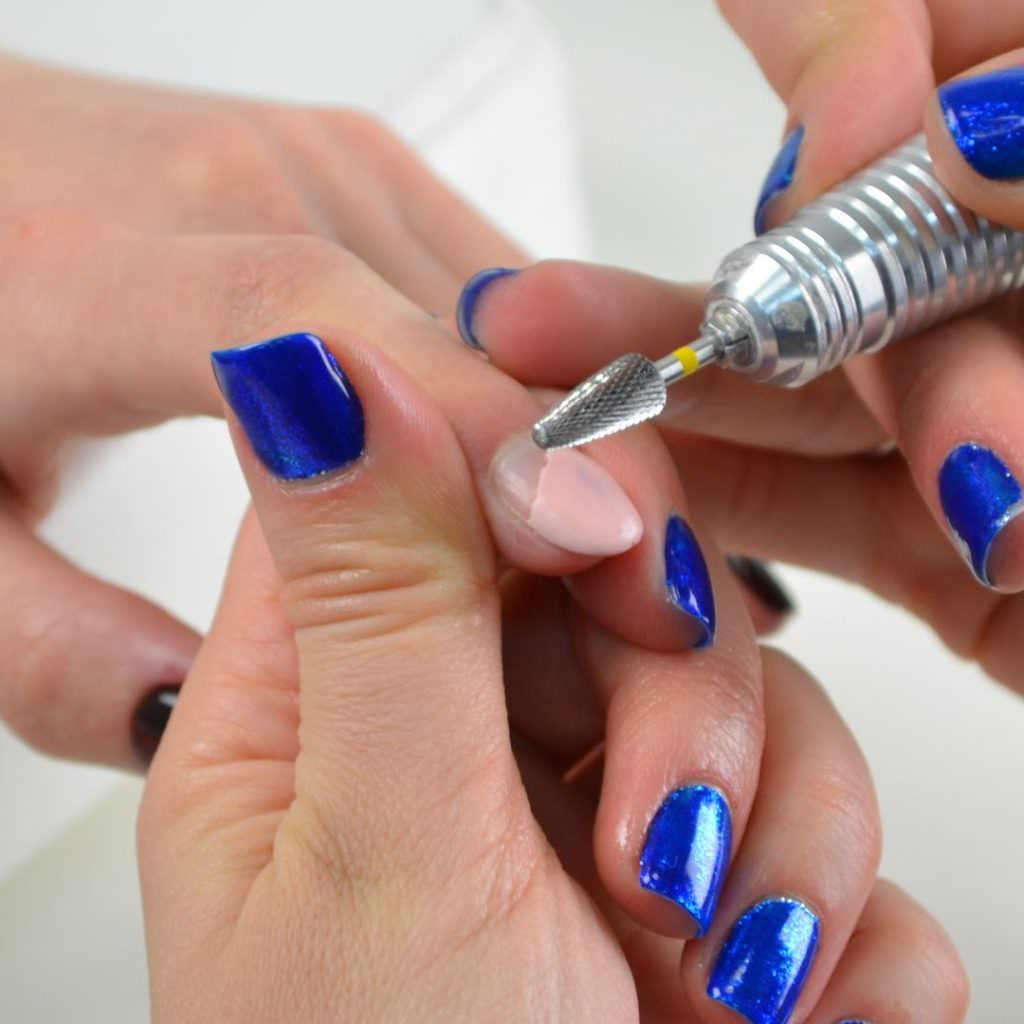
- First of all, with the help of a rough file, we remove the finish coating (top).
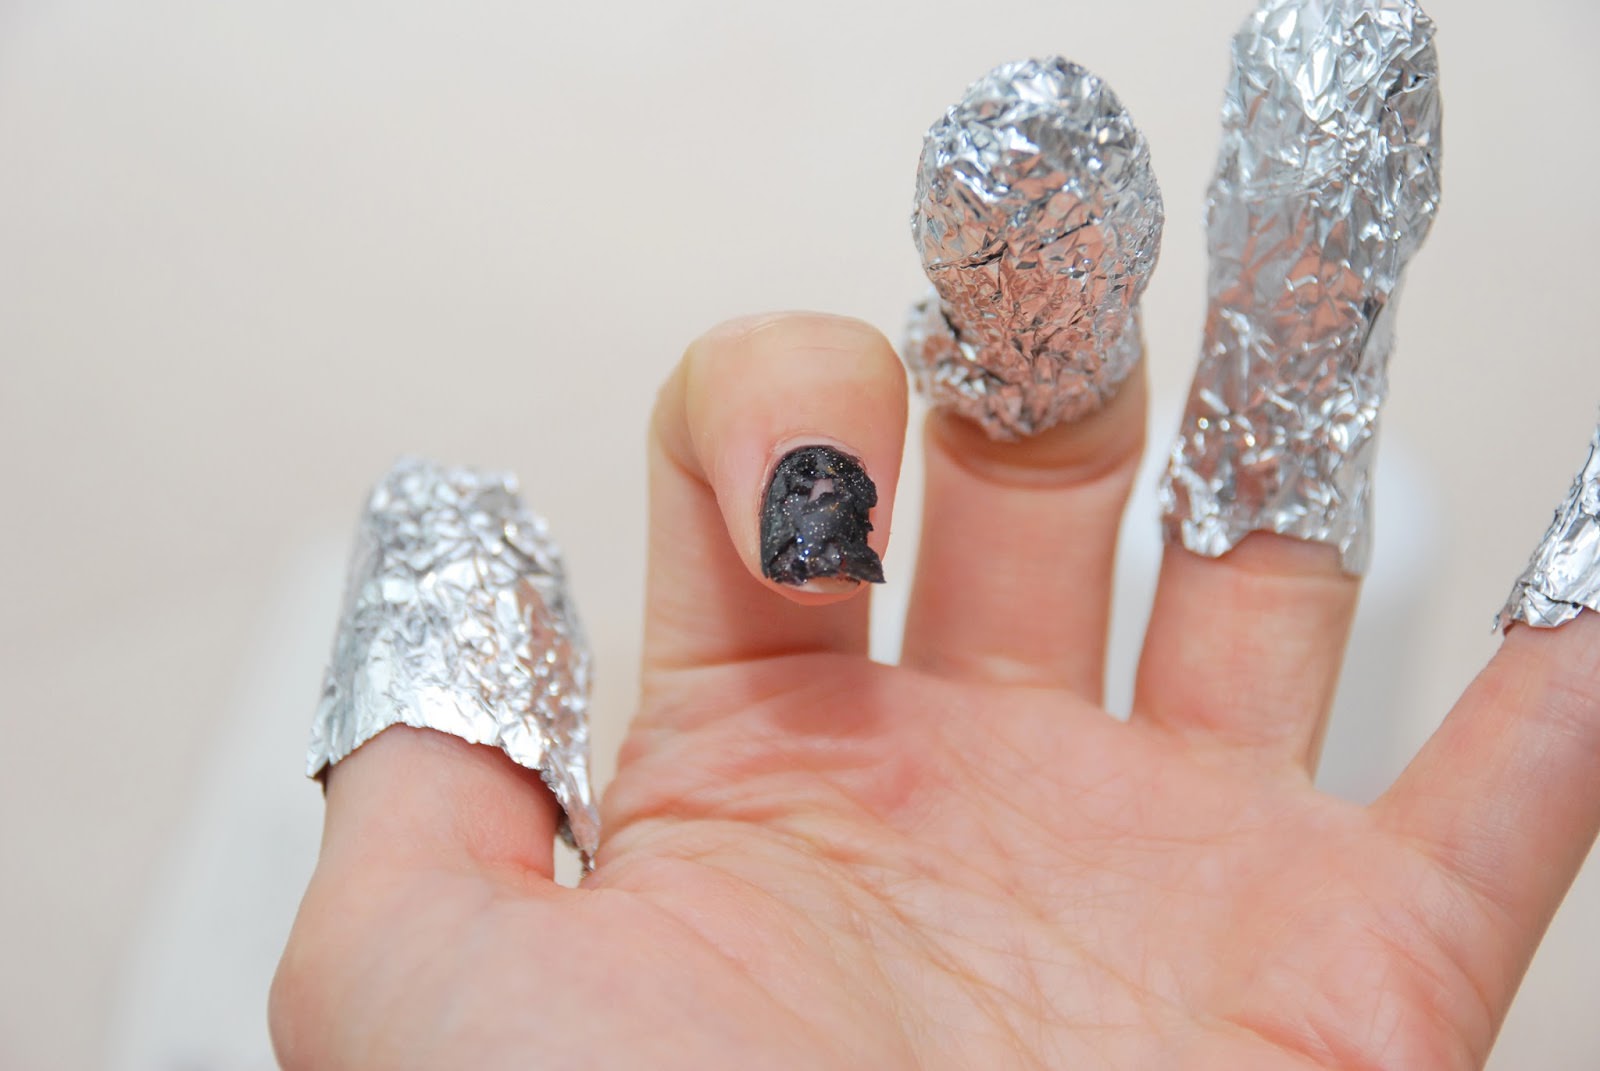
- Next, we apply specially for gel polish remover on a cotton pad, put the disc on the nail and wrap in foil. We carry out all these manipulations with each finger.
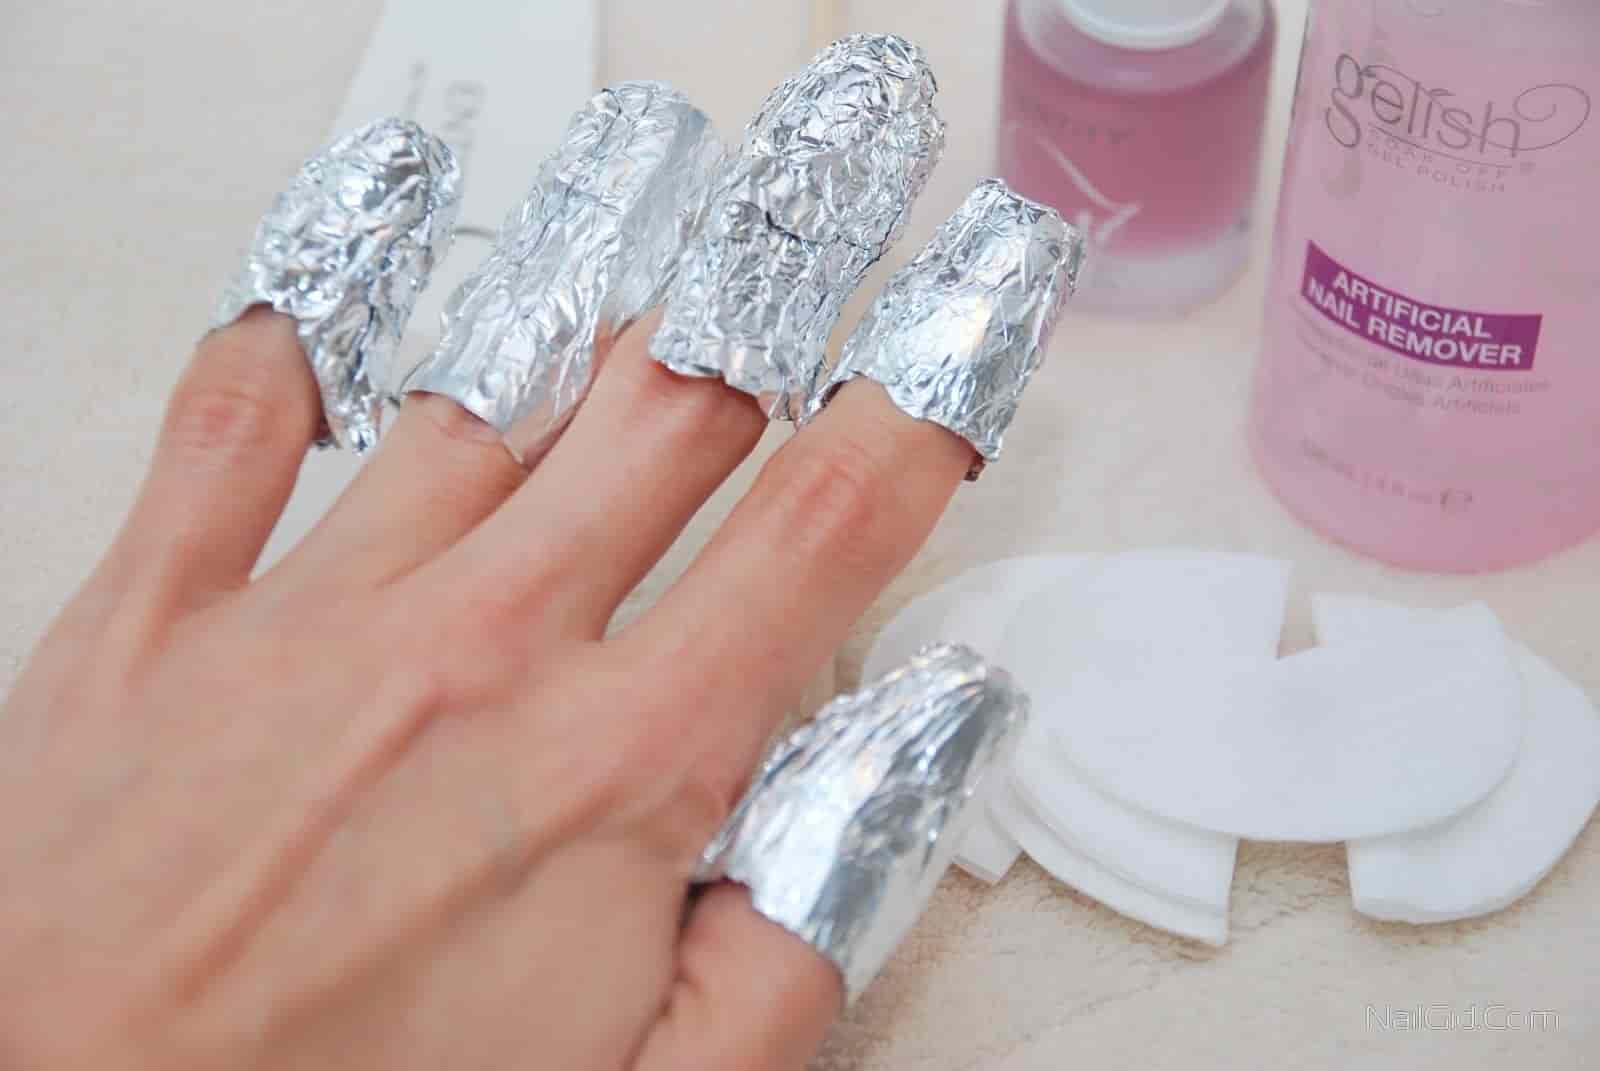
- We hold the nails in the foil for about 10-20 minutes, depending on the brand of the product.Again, read the instructions for use.
- After the time has passed, remove the foil and remove the coating with a stick or pusher. We smooth out irregularities with a buff.
Ideas for easy manicure design.
A simple manicure is not an ordinary monophonic varnish. It can easily be varied with various options for simple design and decor, which even a novice manicure will master.
One of the simplest design options is a gradient manicure. To execute it, we need:
- sponge or sponge;
- varnish of at least two colors;
- liquid latex.
So, for a start, we cover the treated nails with white varnish. Next, apply liquid latex near the nail so as not to stain the skin. Then apply dark varnish to the sponge on one side, lighter on the other. Next, with a brush, gently mix these colors between each other in the middle so that a smooth transition is obtained. After that, take a sponge and transfer our varnish to the nail. Repeat the procedure with each nail. Do not forget to dry each layer in a lamp. In the end, we cover the nails with the top. This seemingly sophisticated design is very quick and easy. You can master and make it yourself at home.
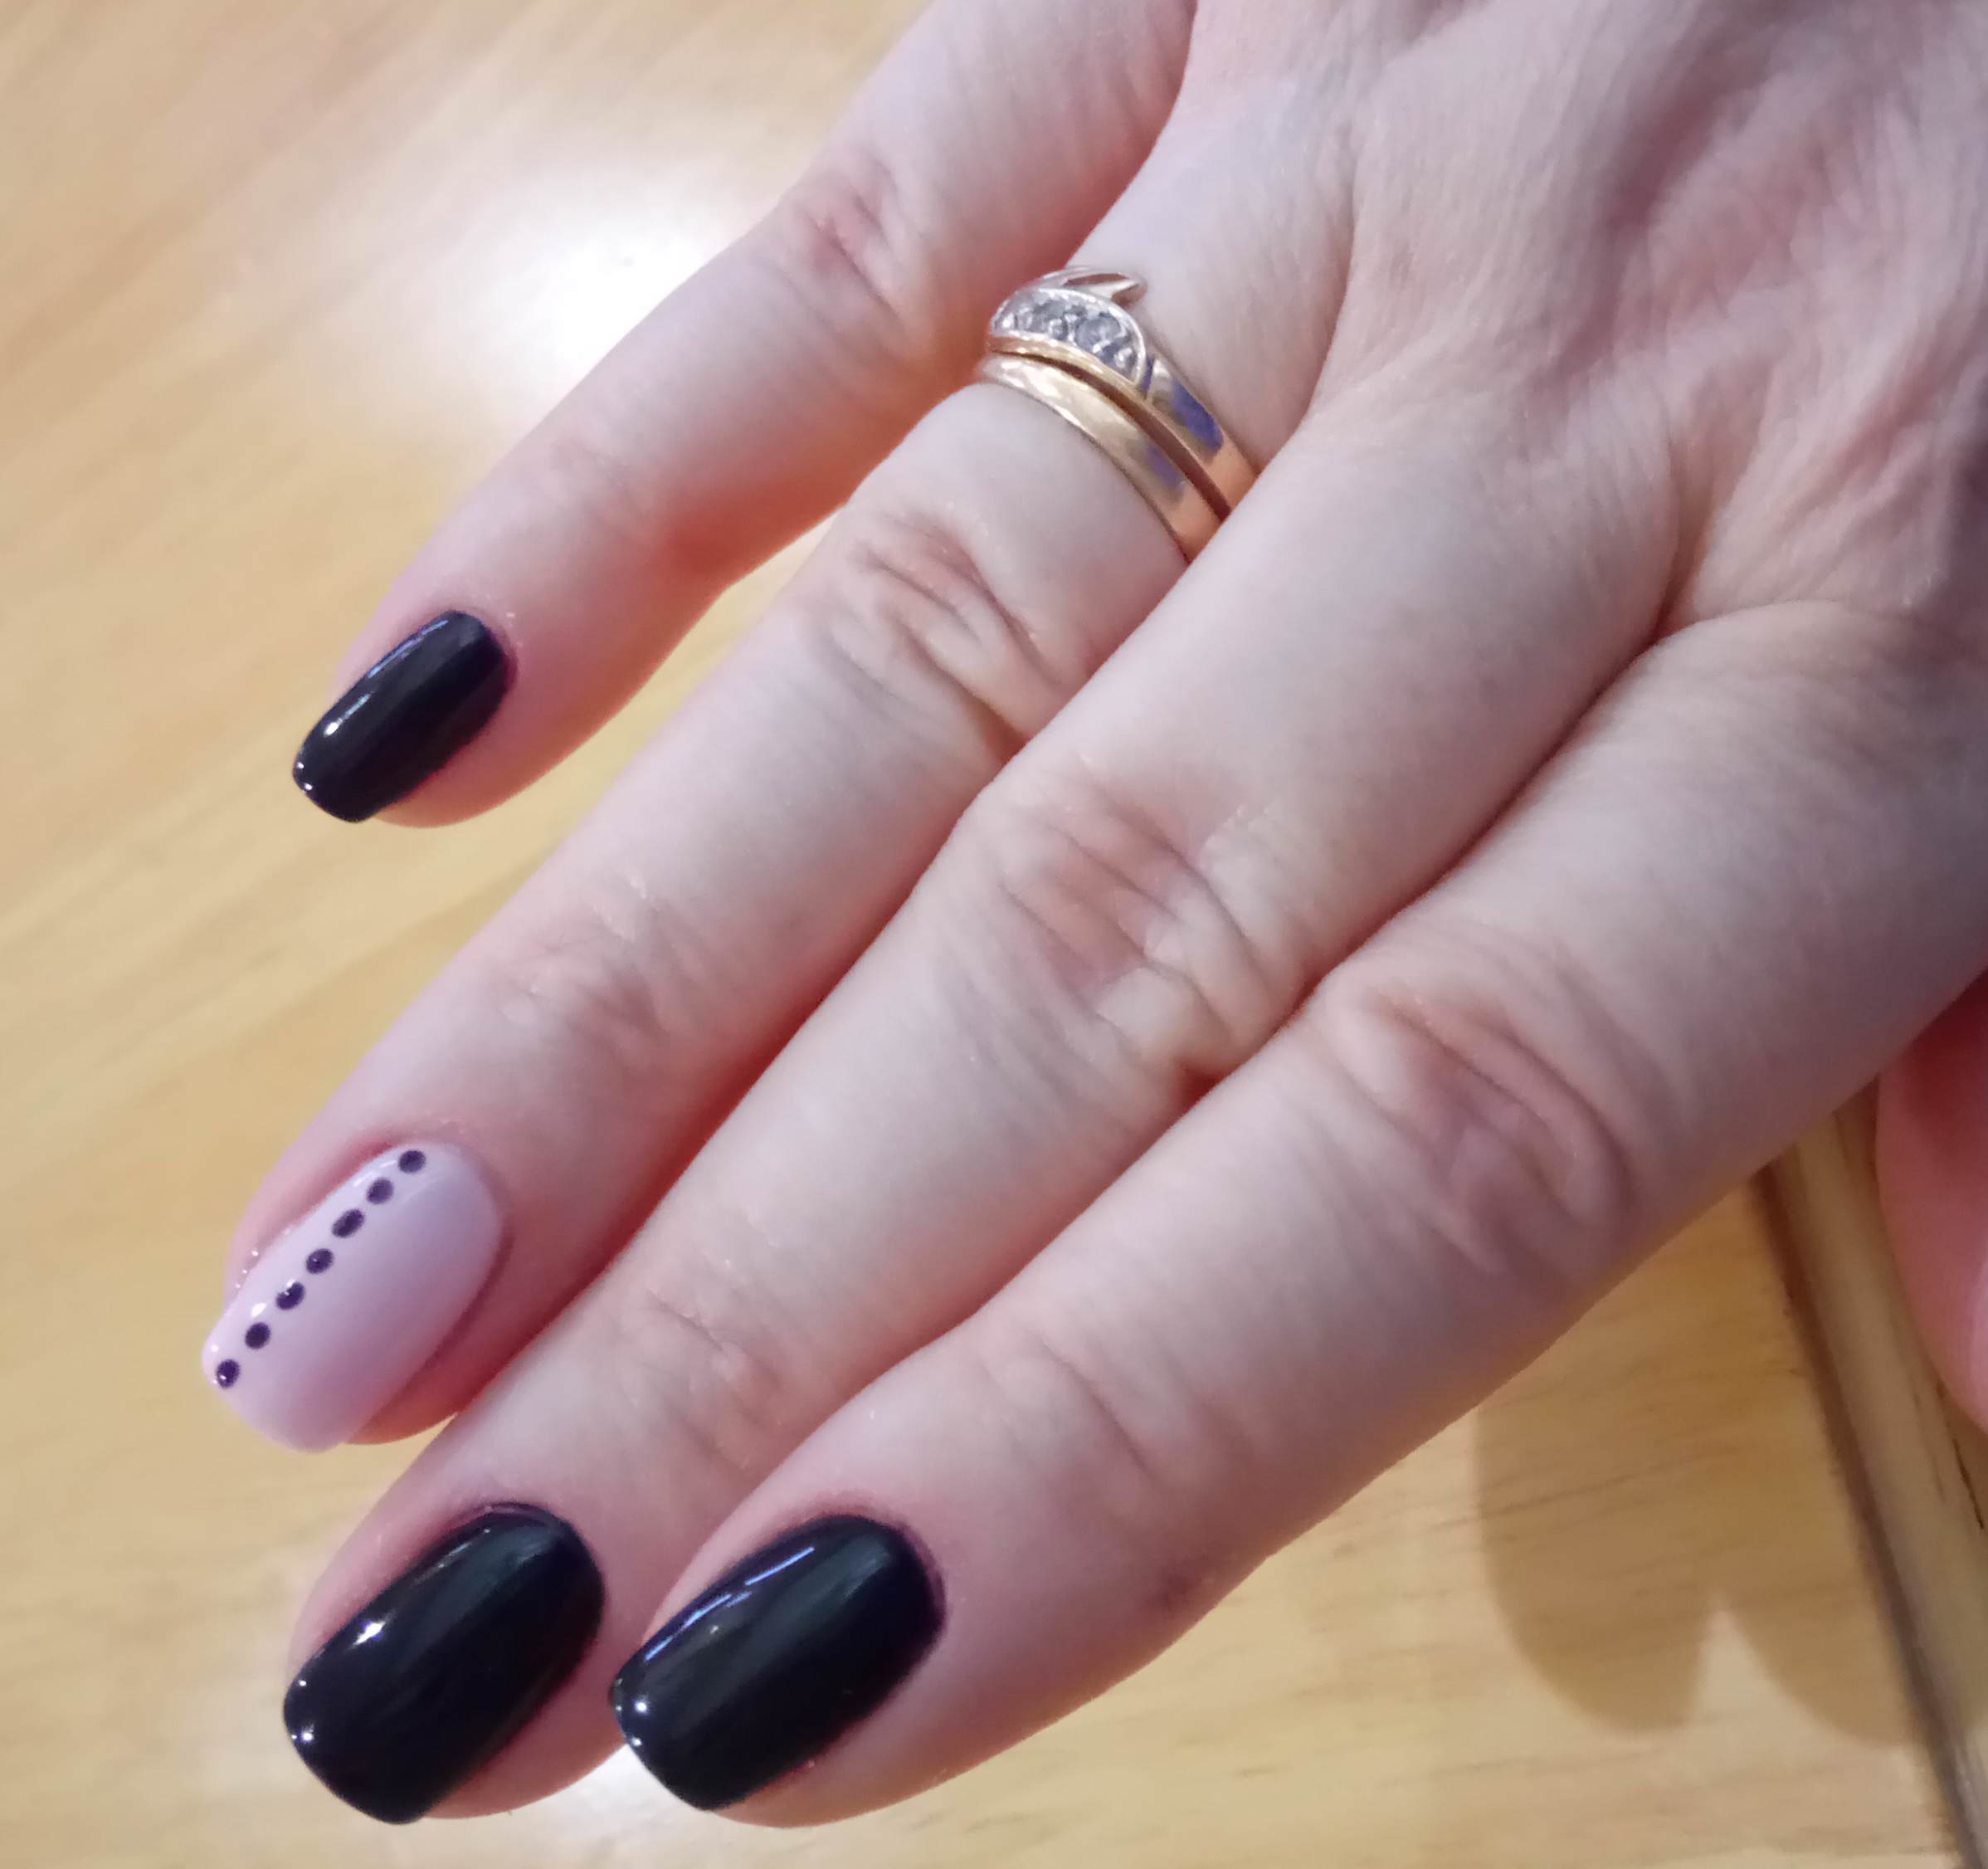
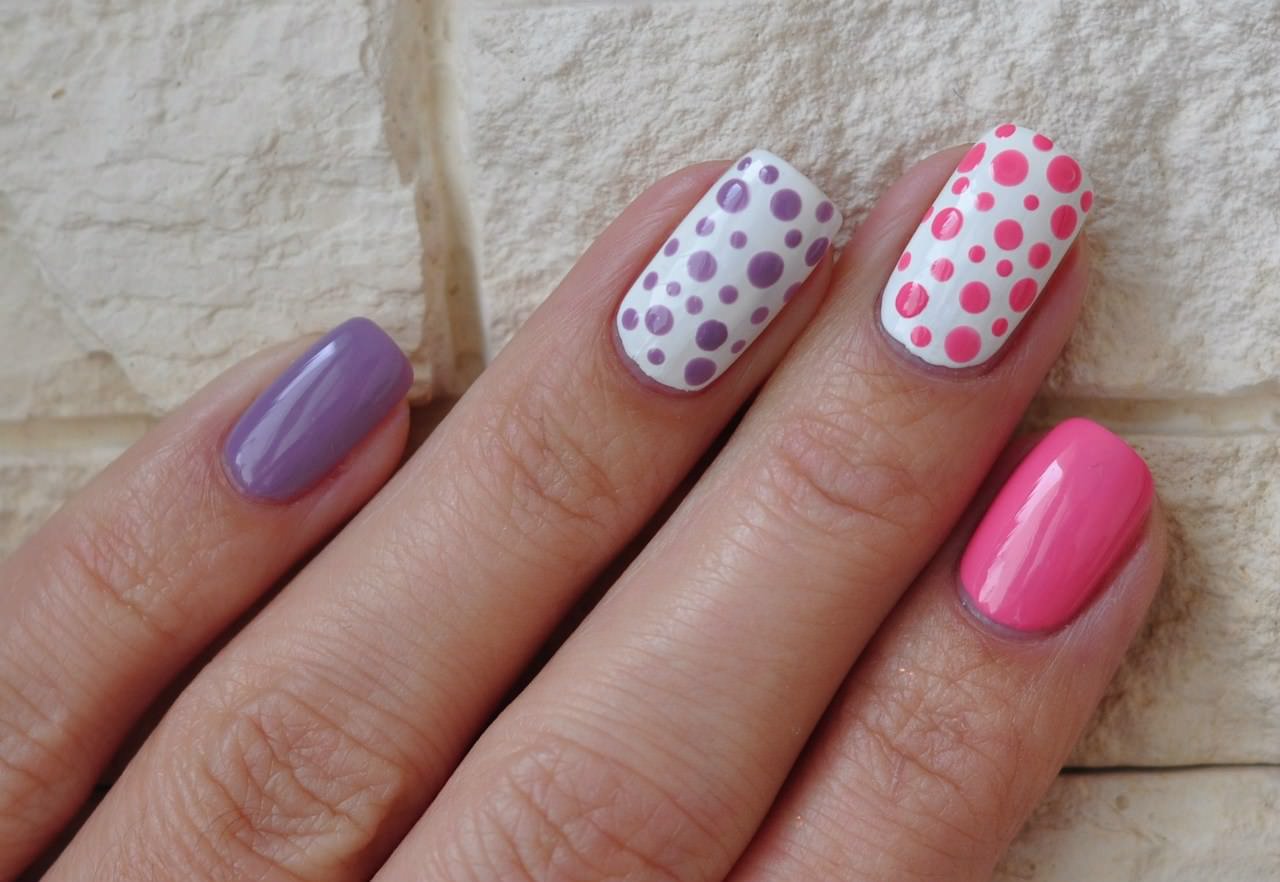
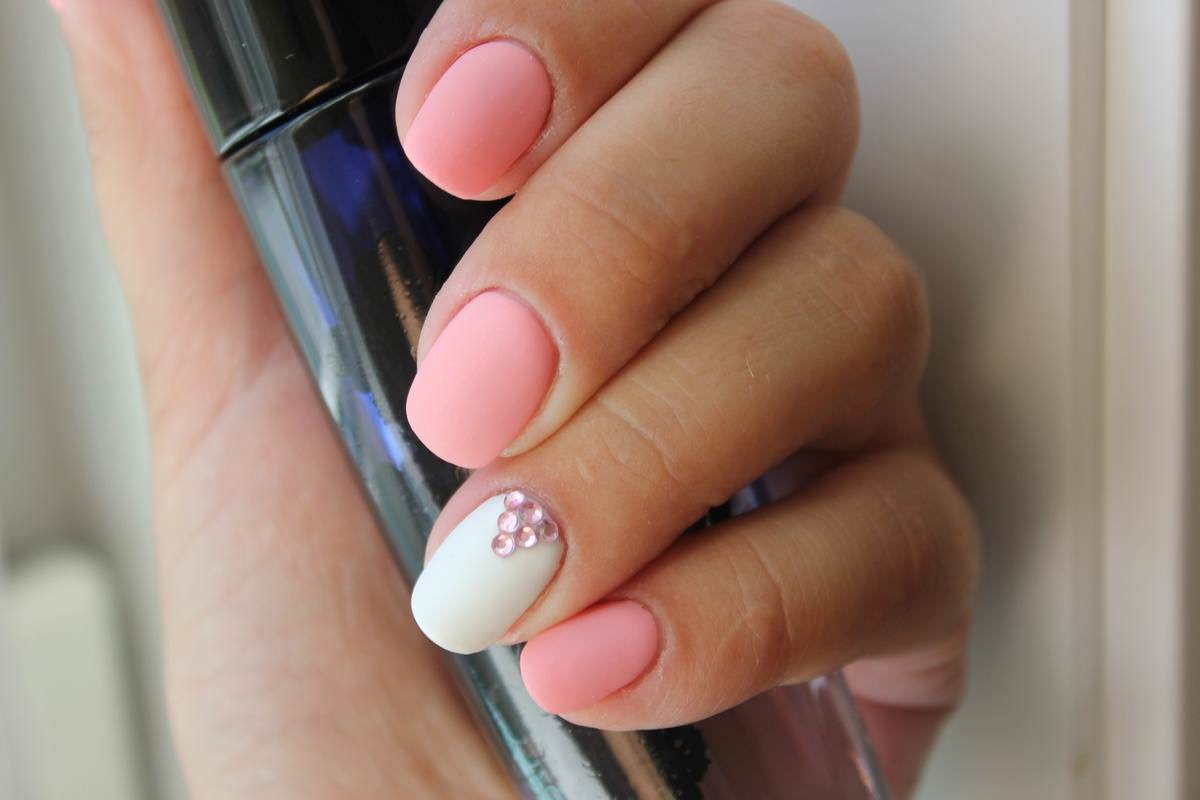
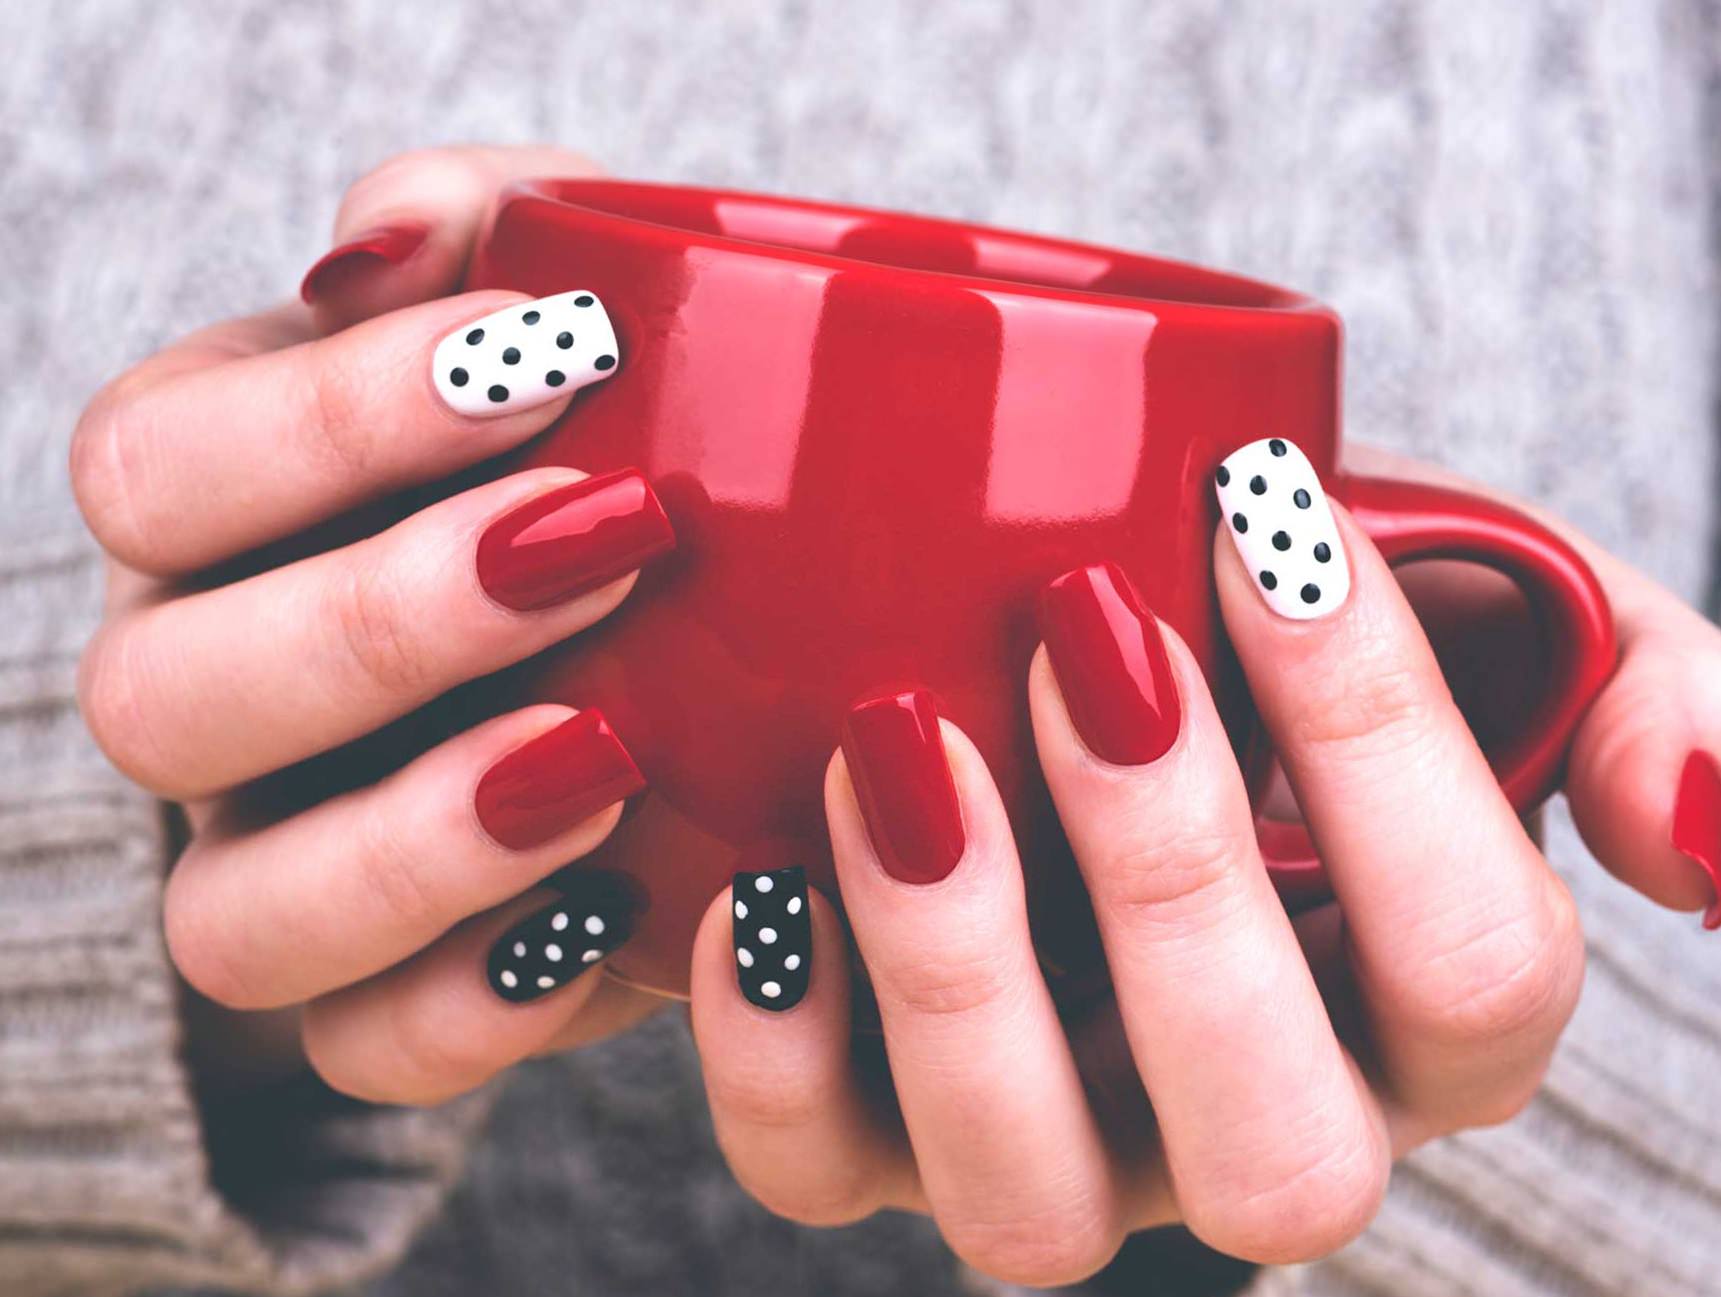
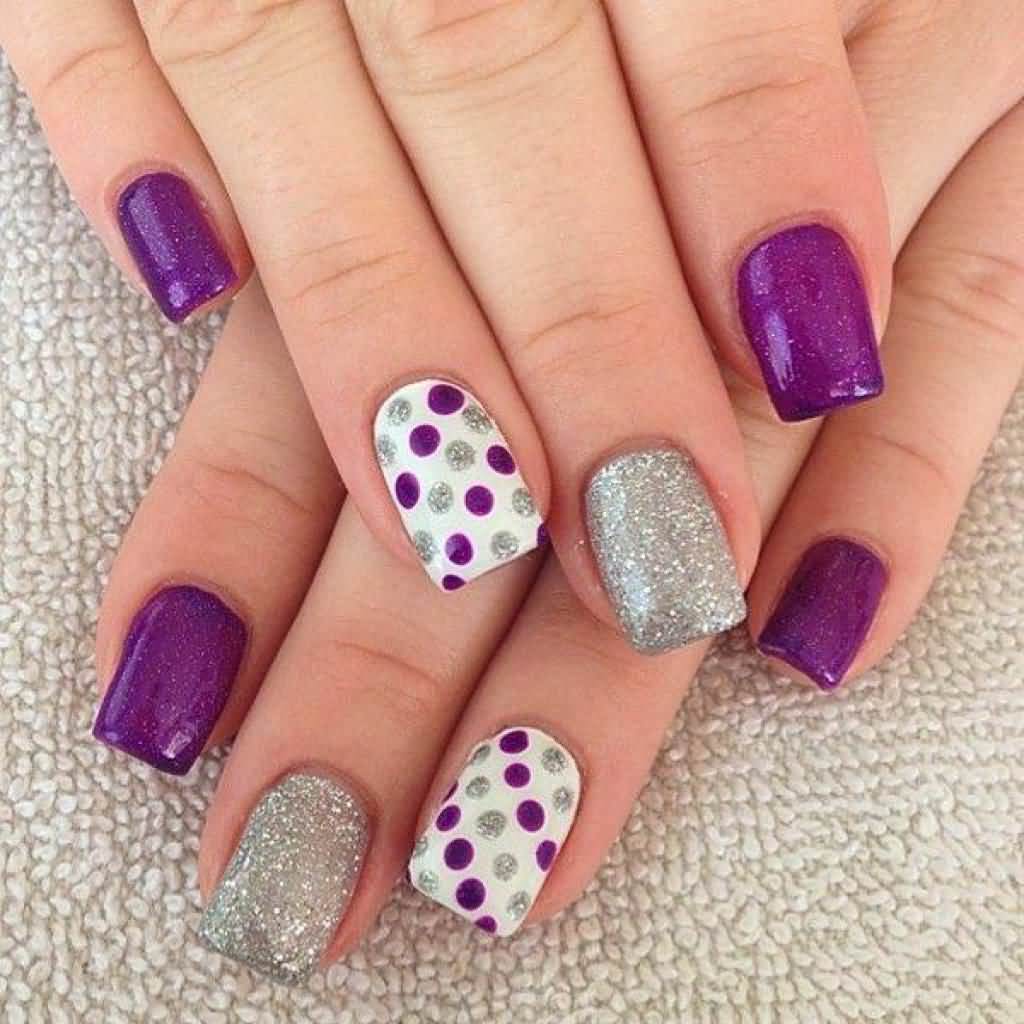
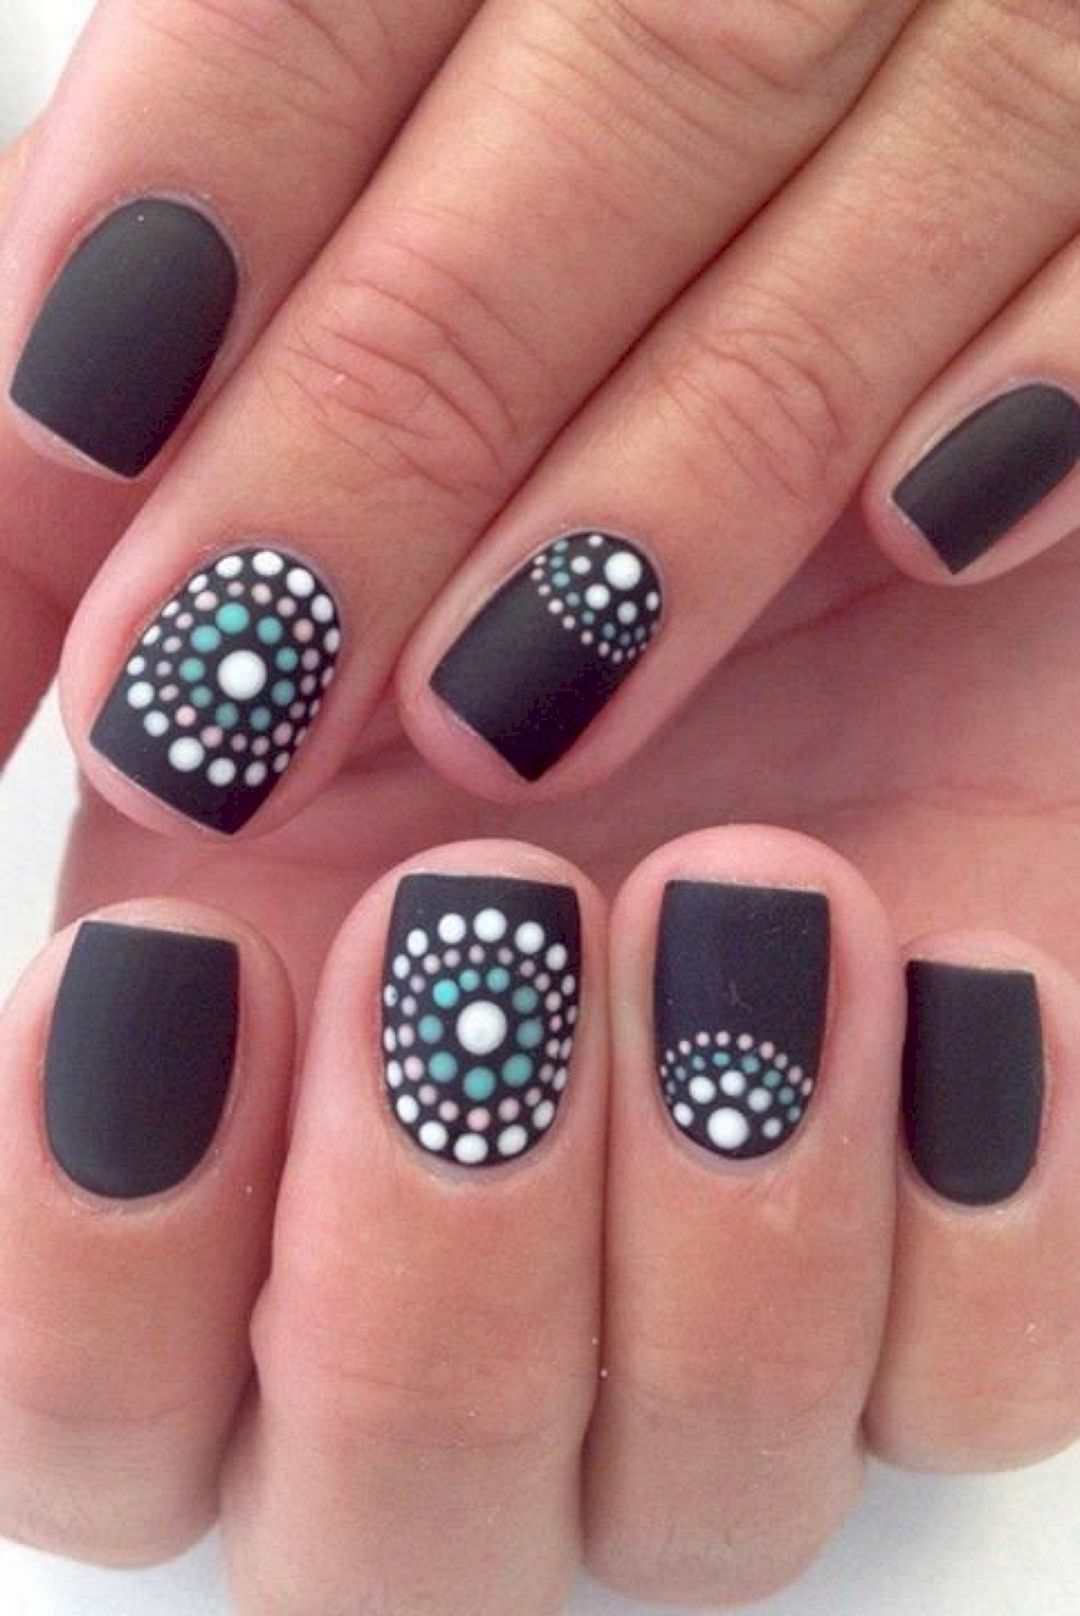
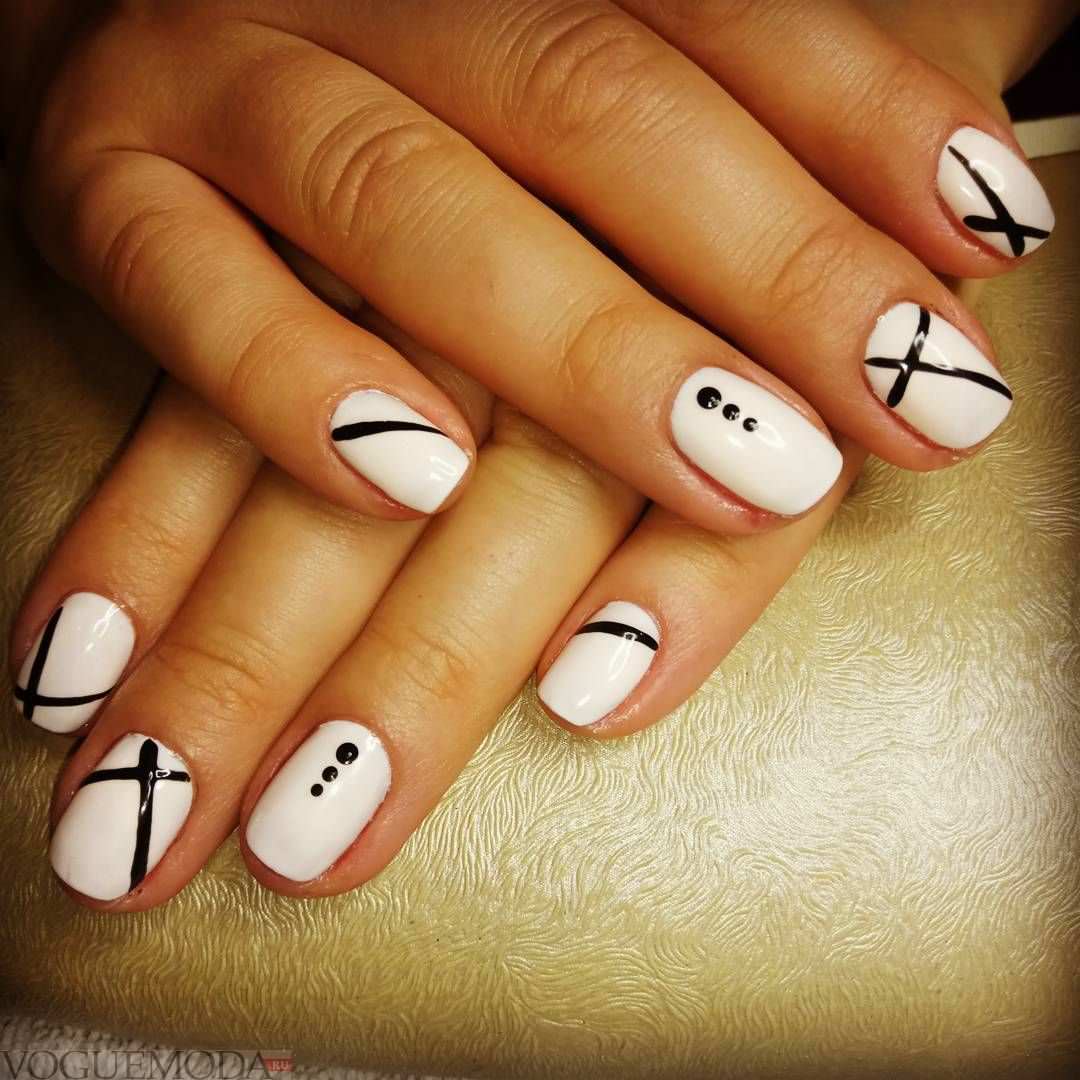
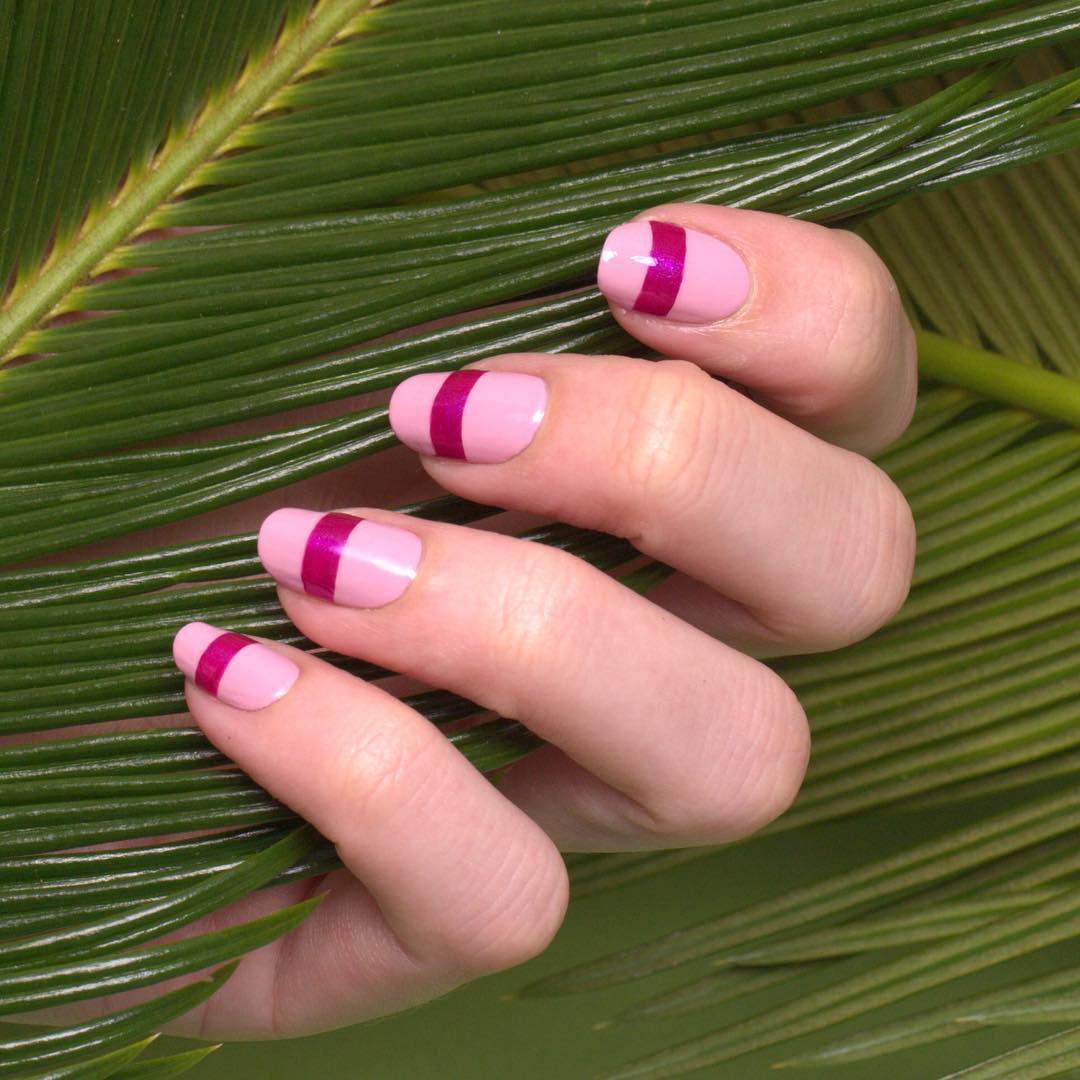
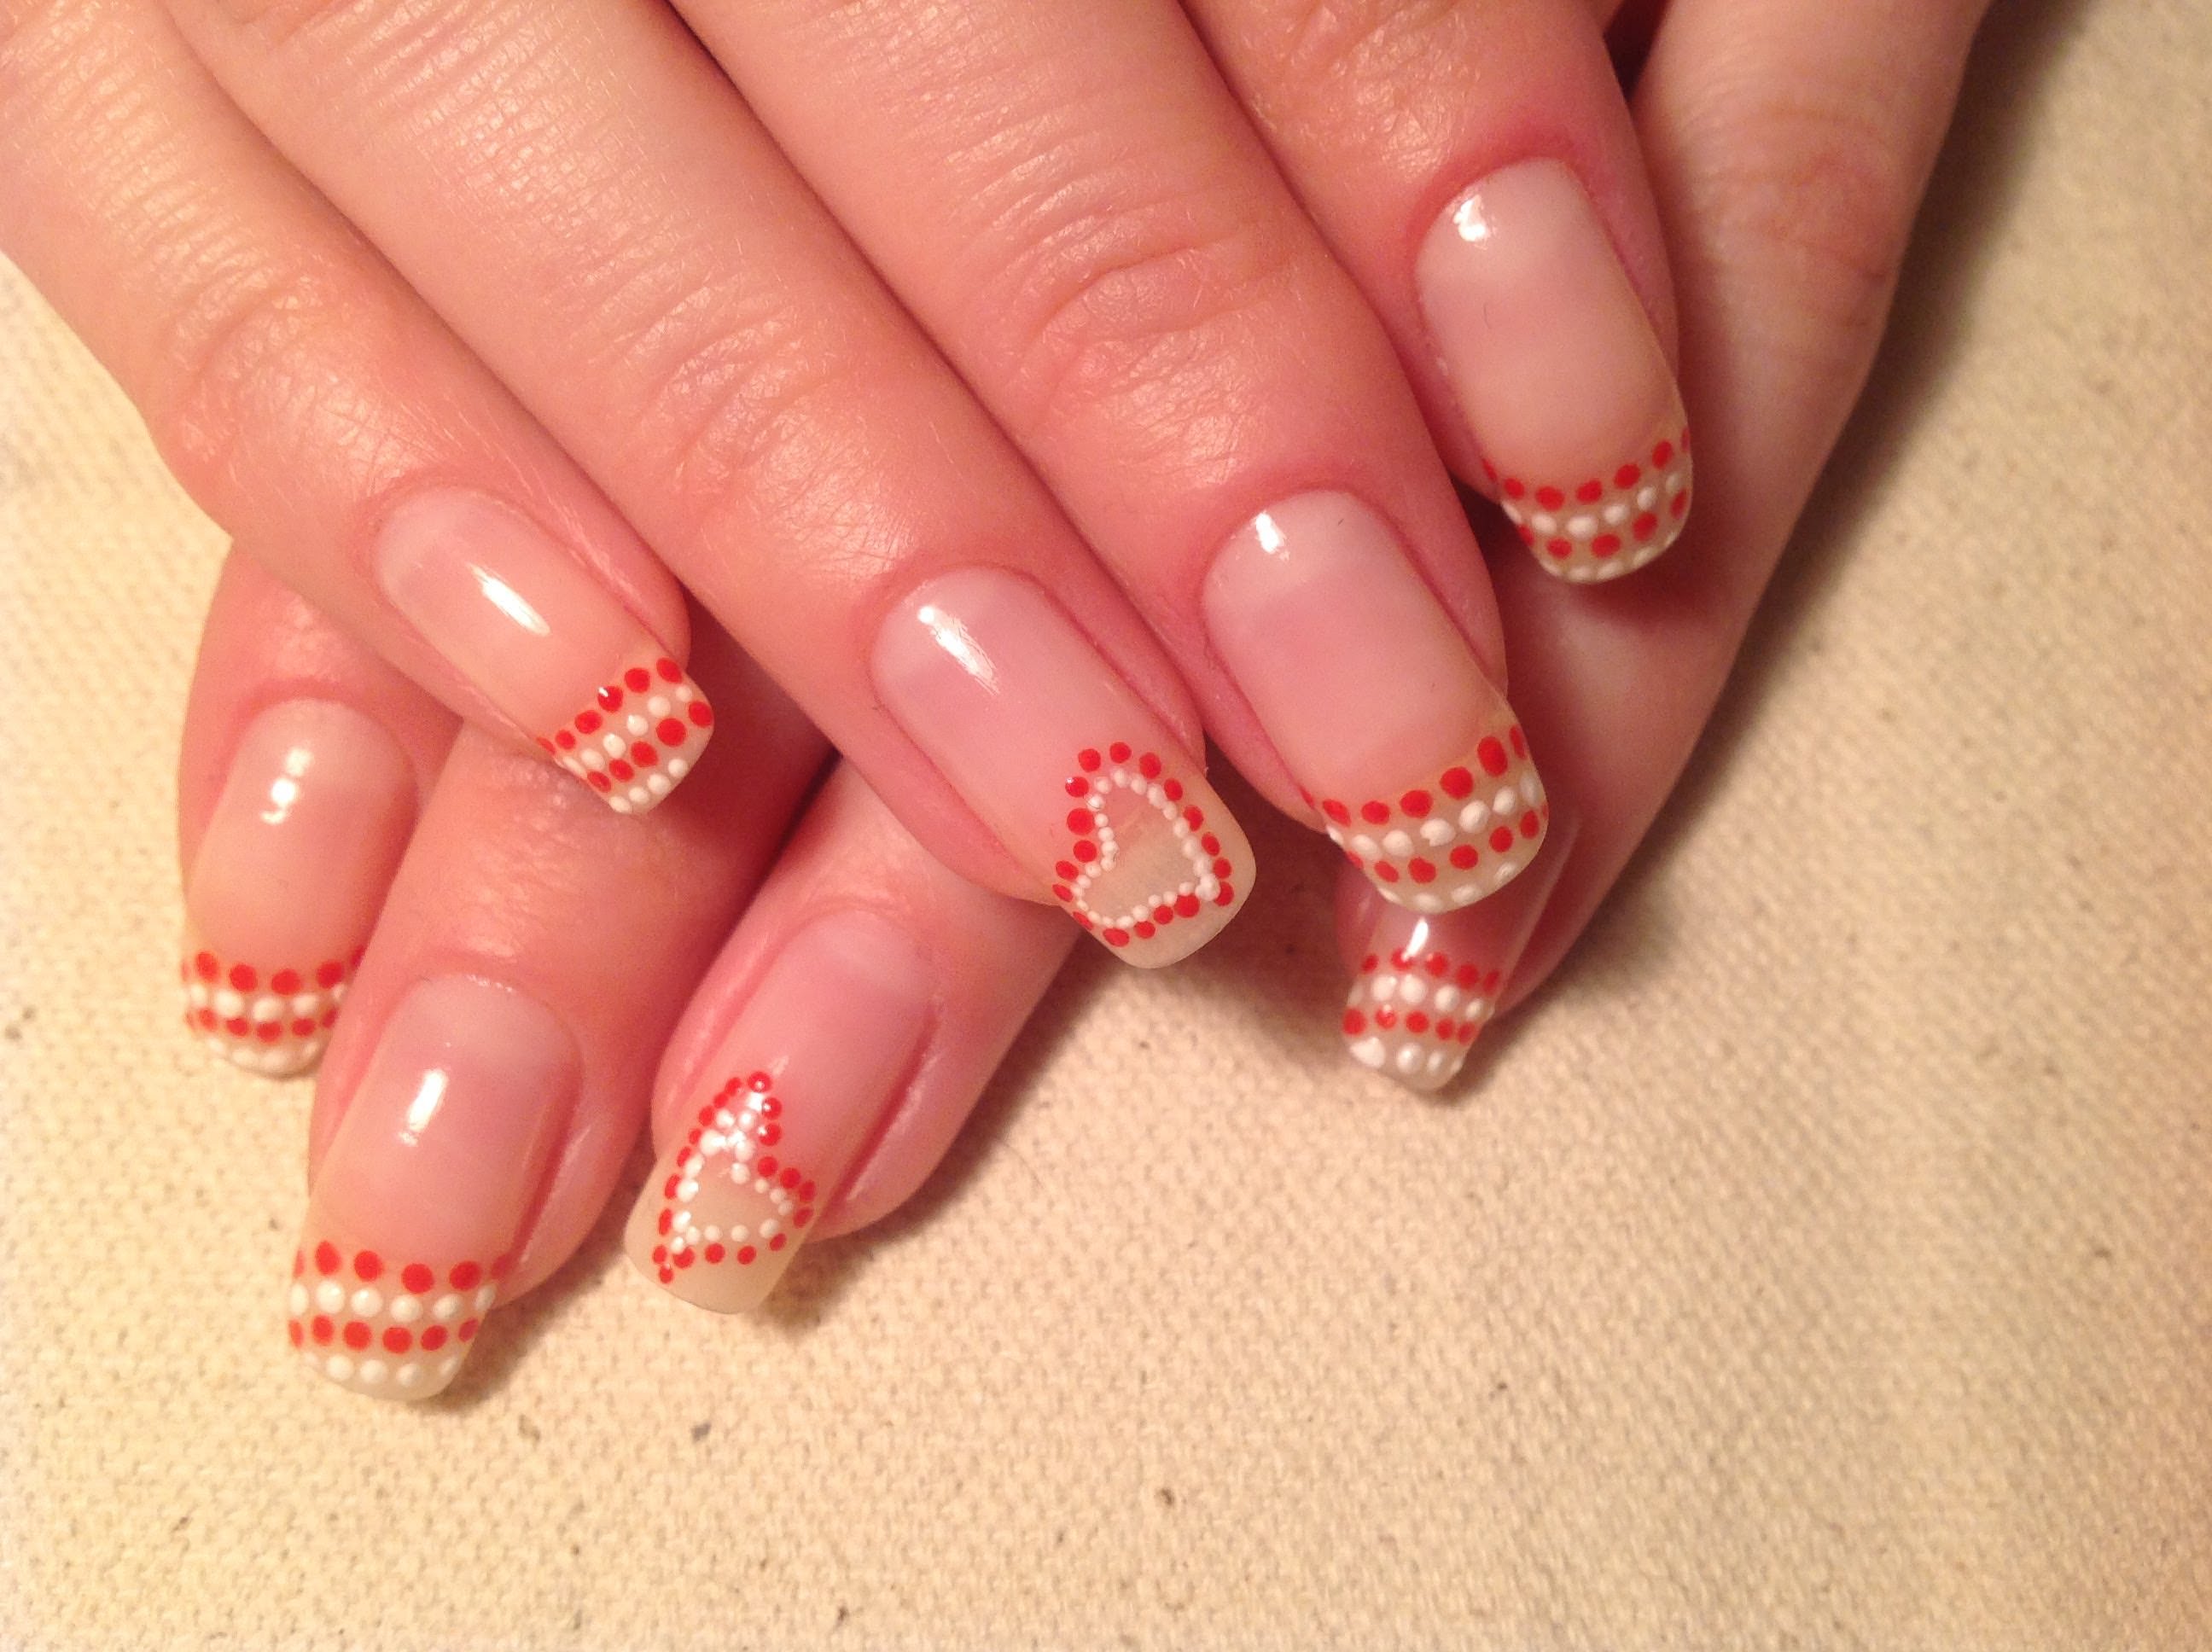
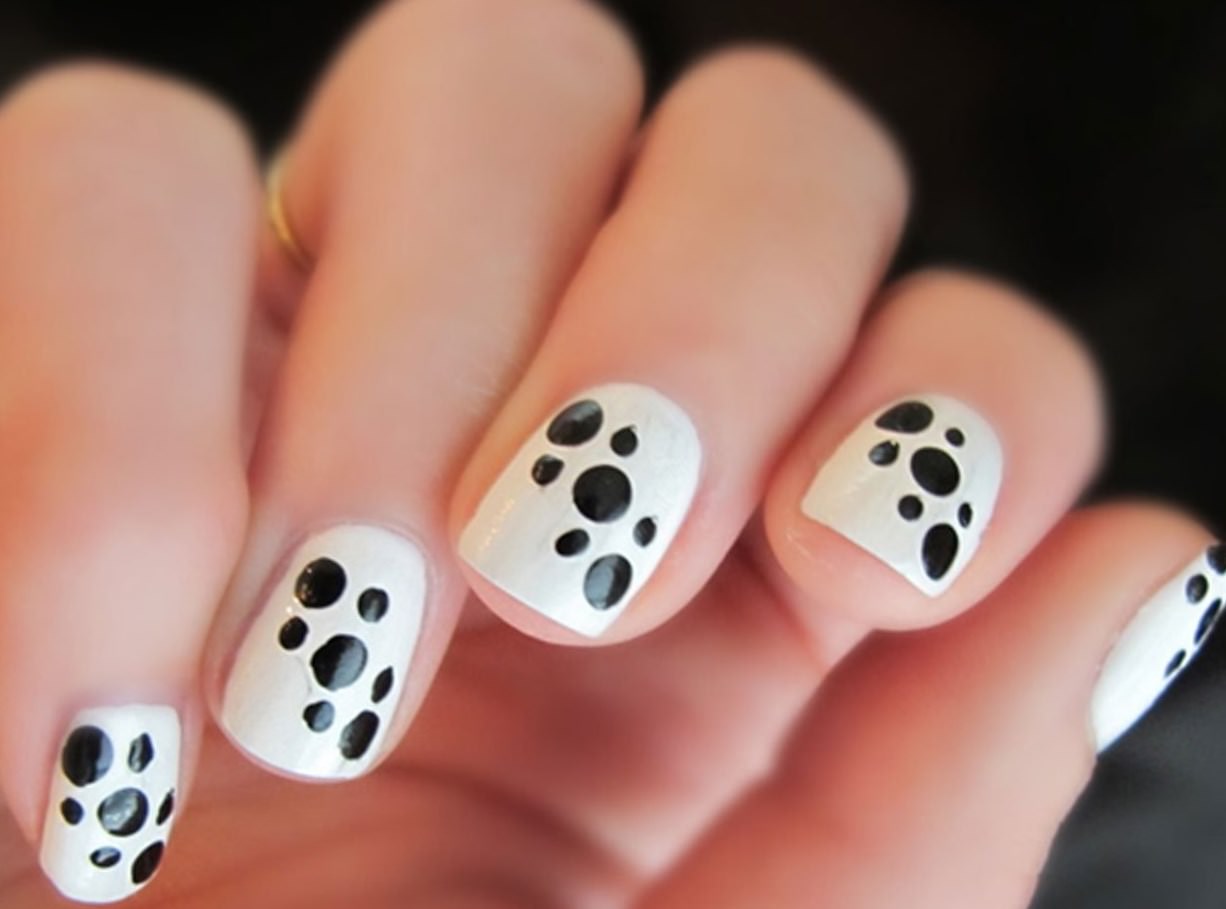
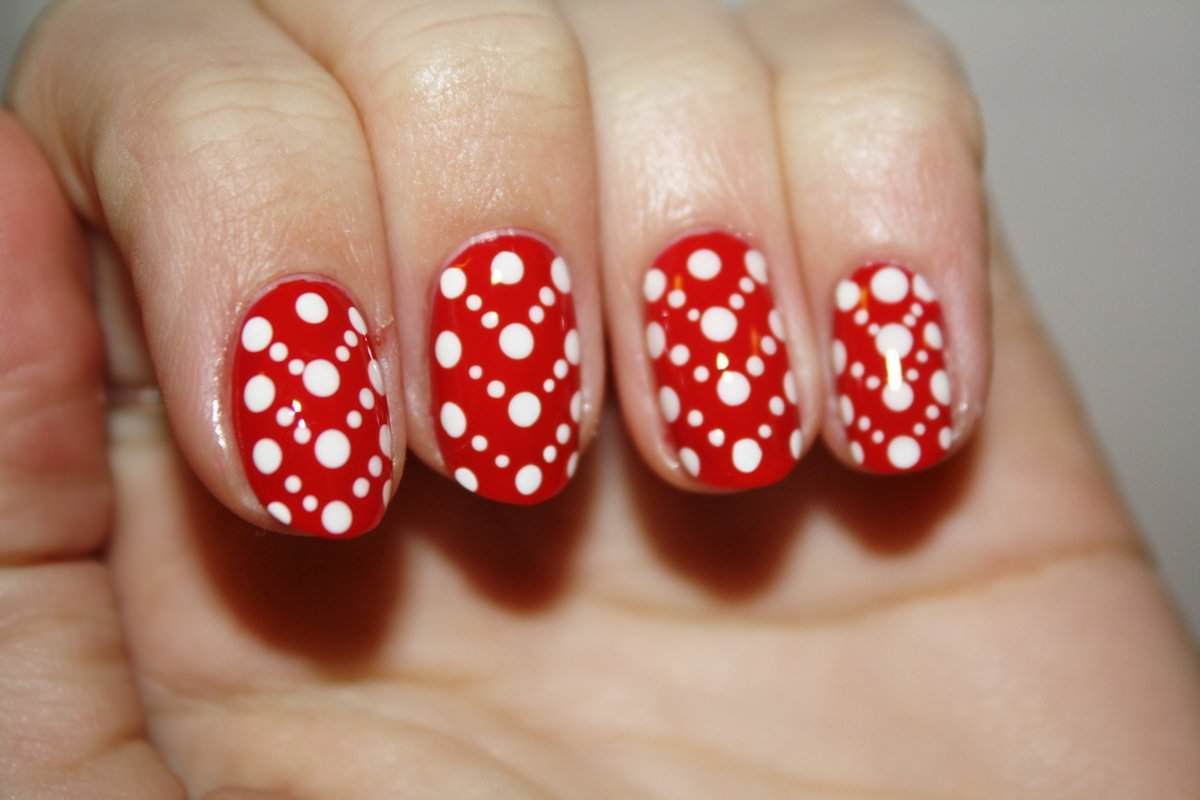
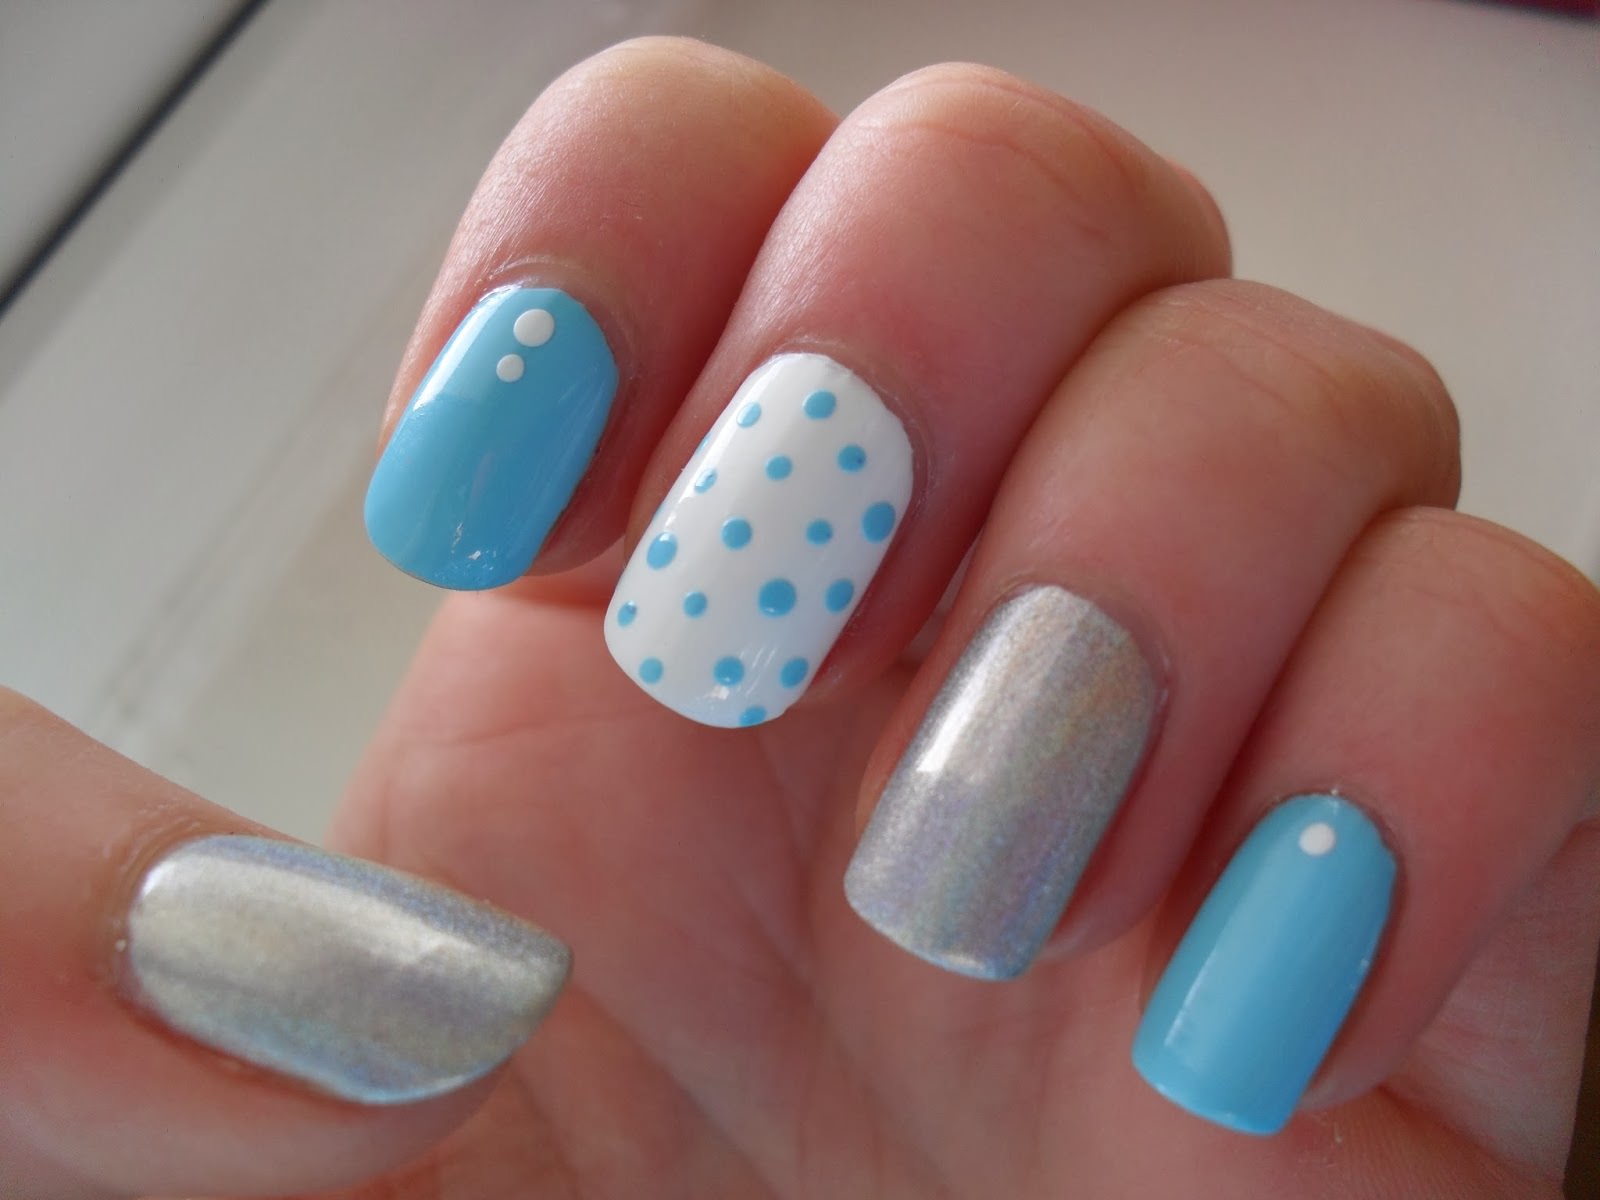
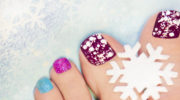
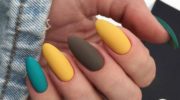
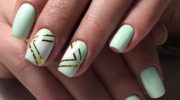
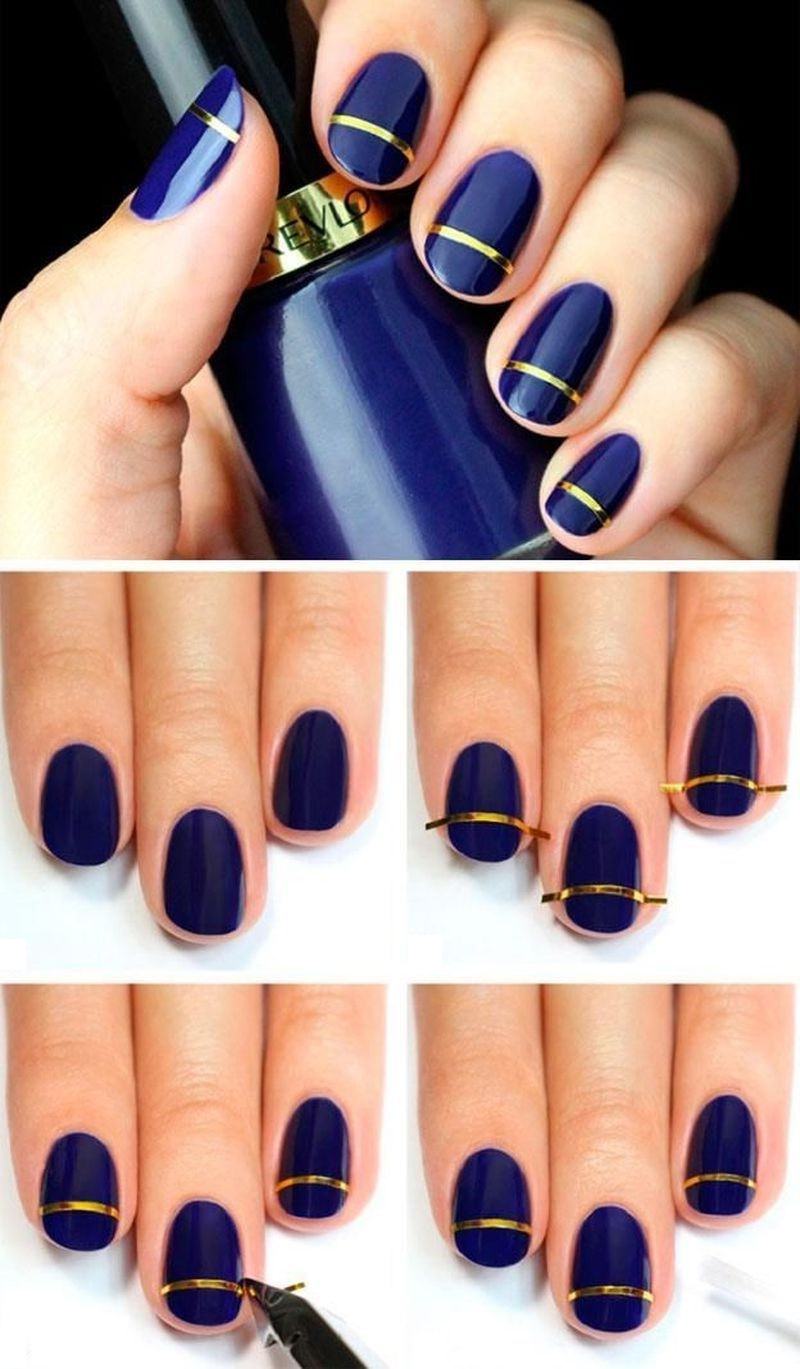
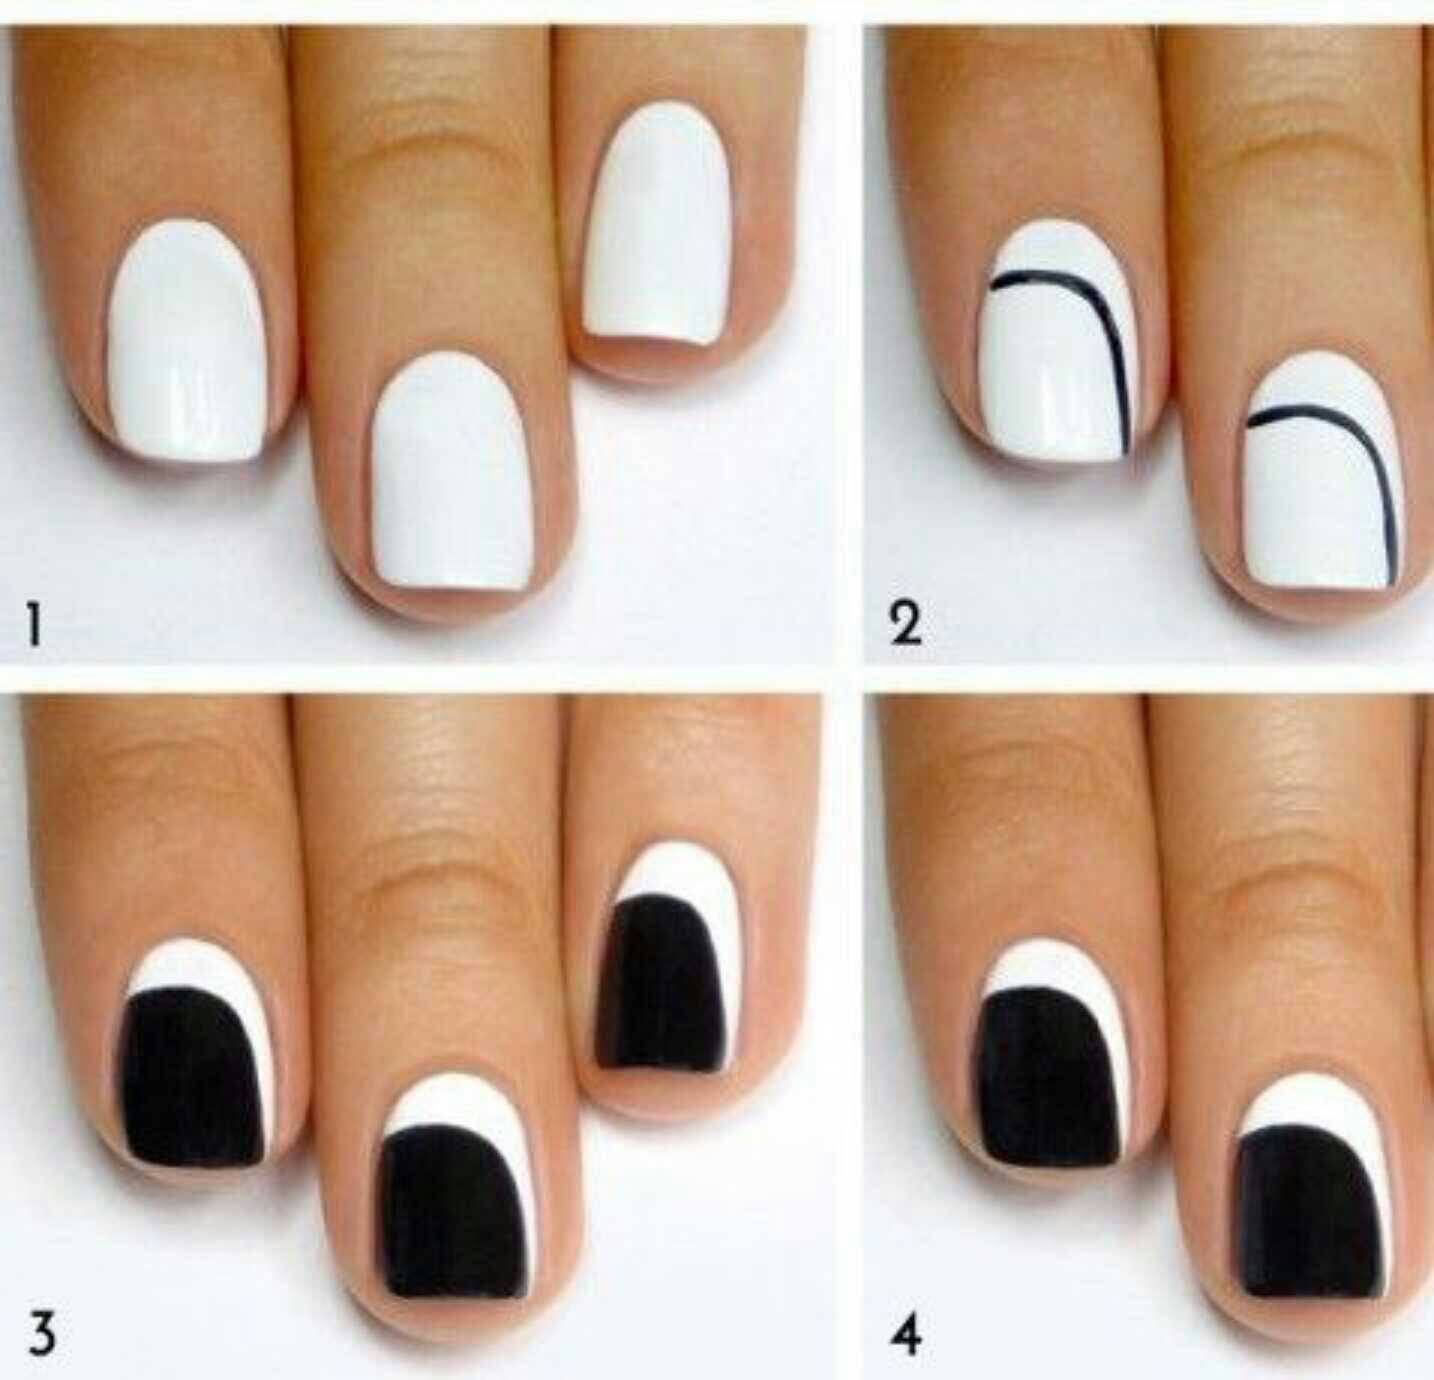
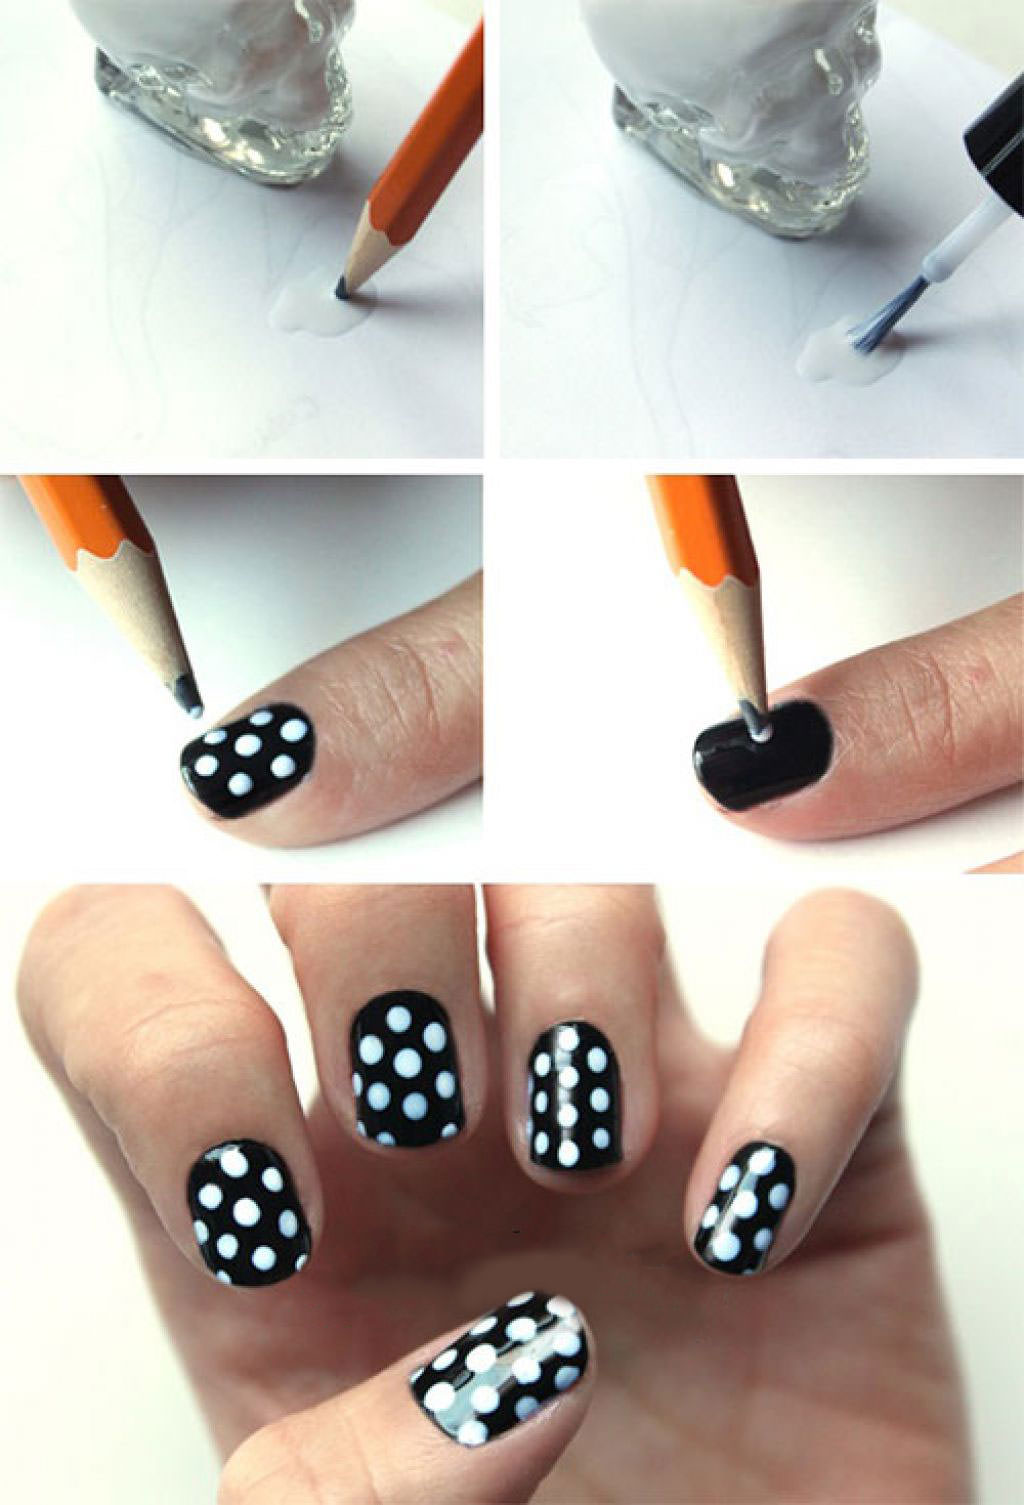
Well, and a few more step-by-step photo ideas for a simple manicure at home.
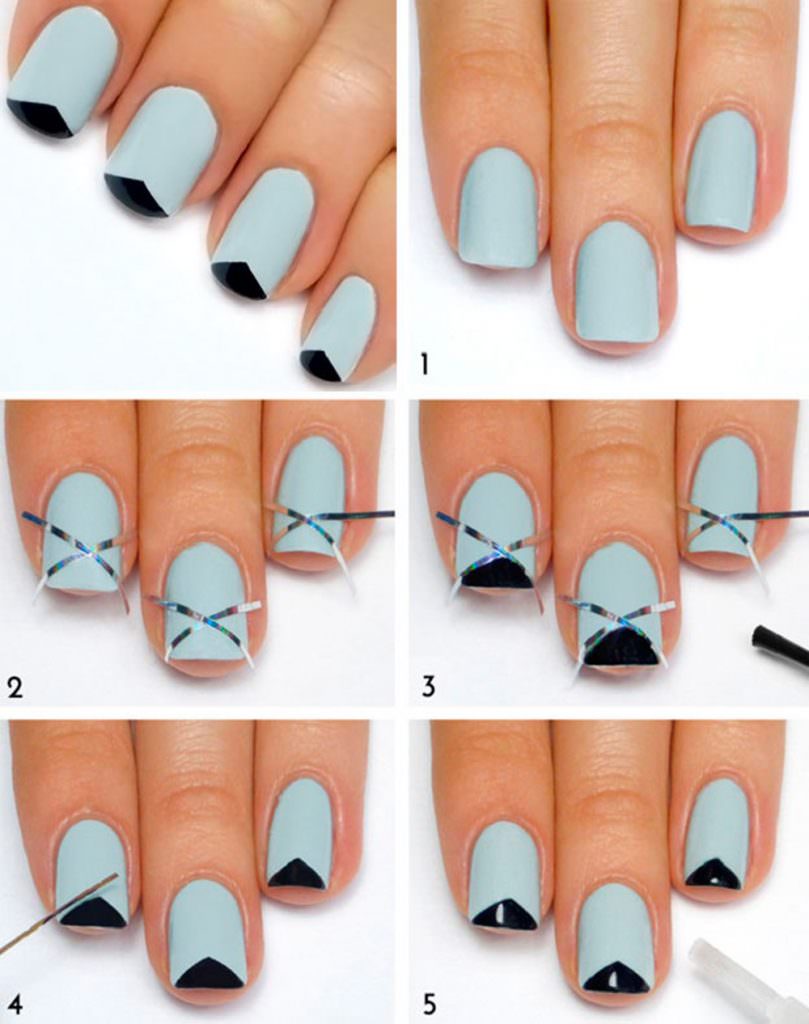

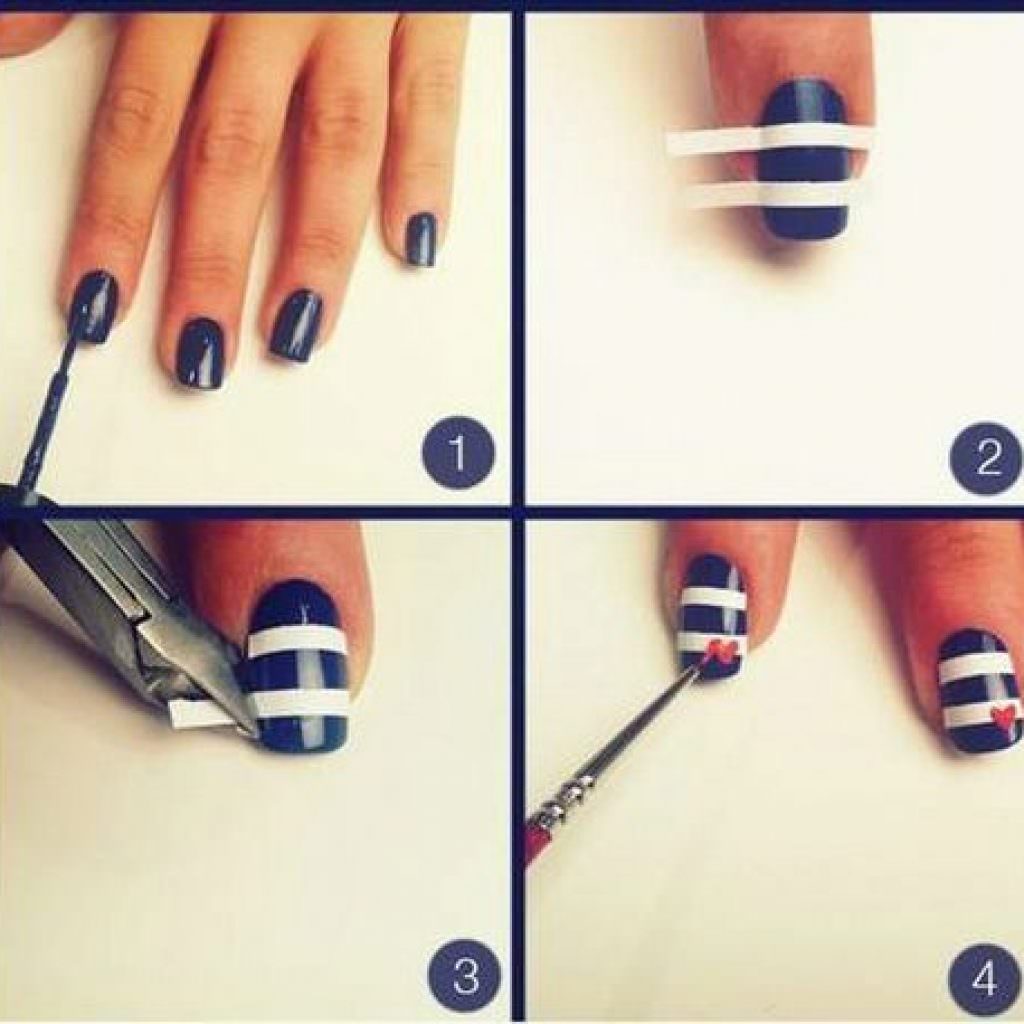
And a few simple designs for your inspiration.